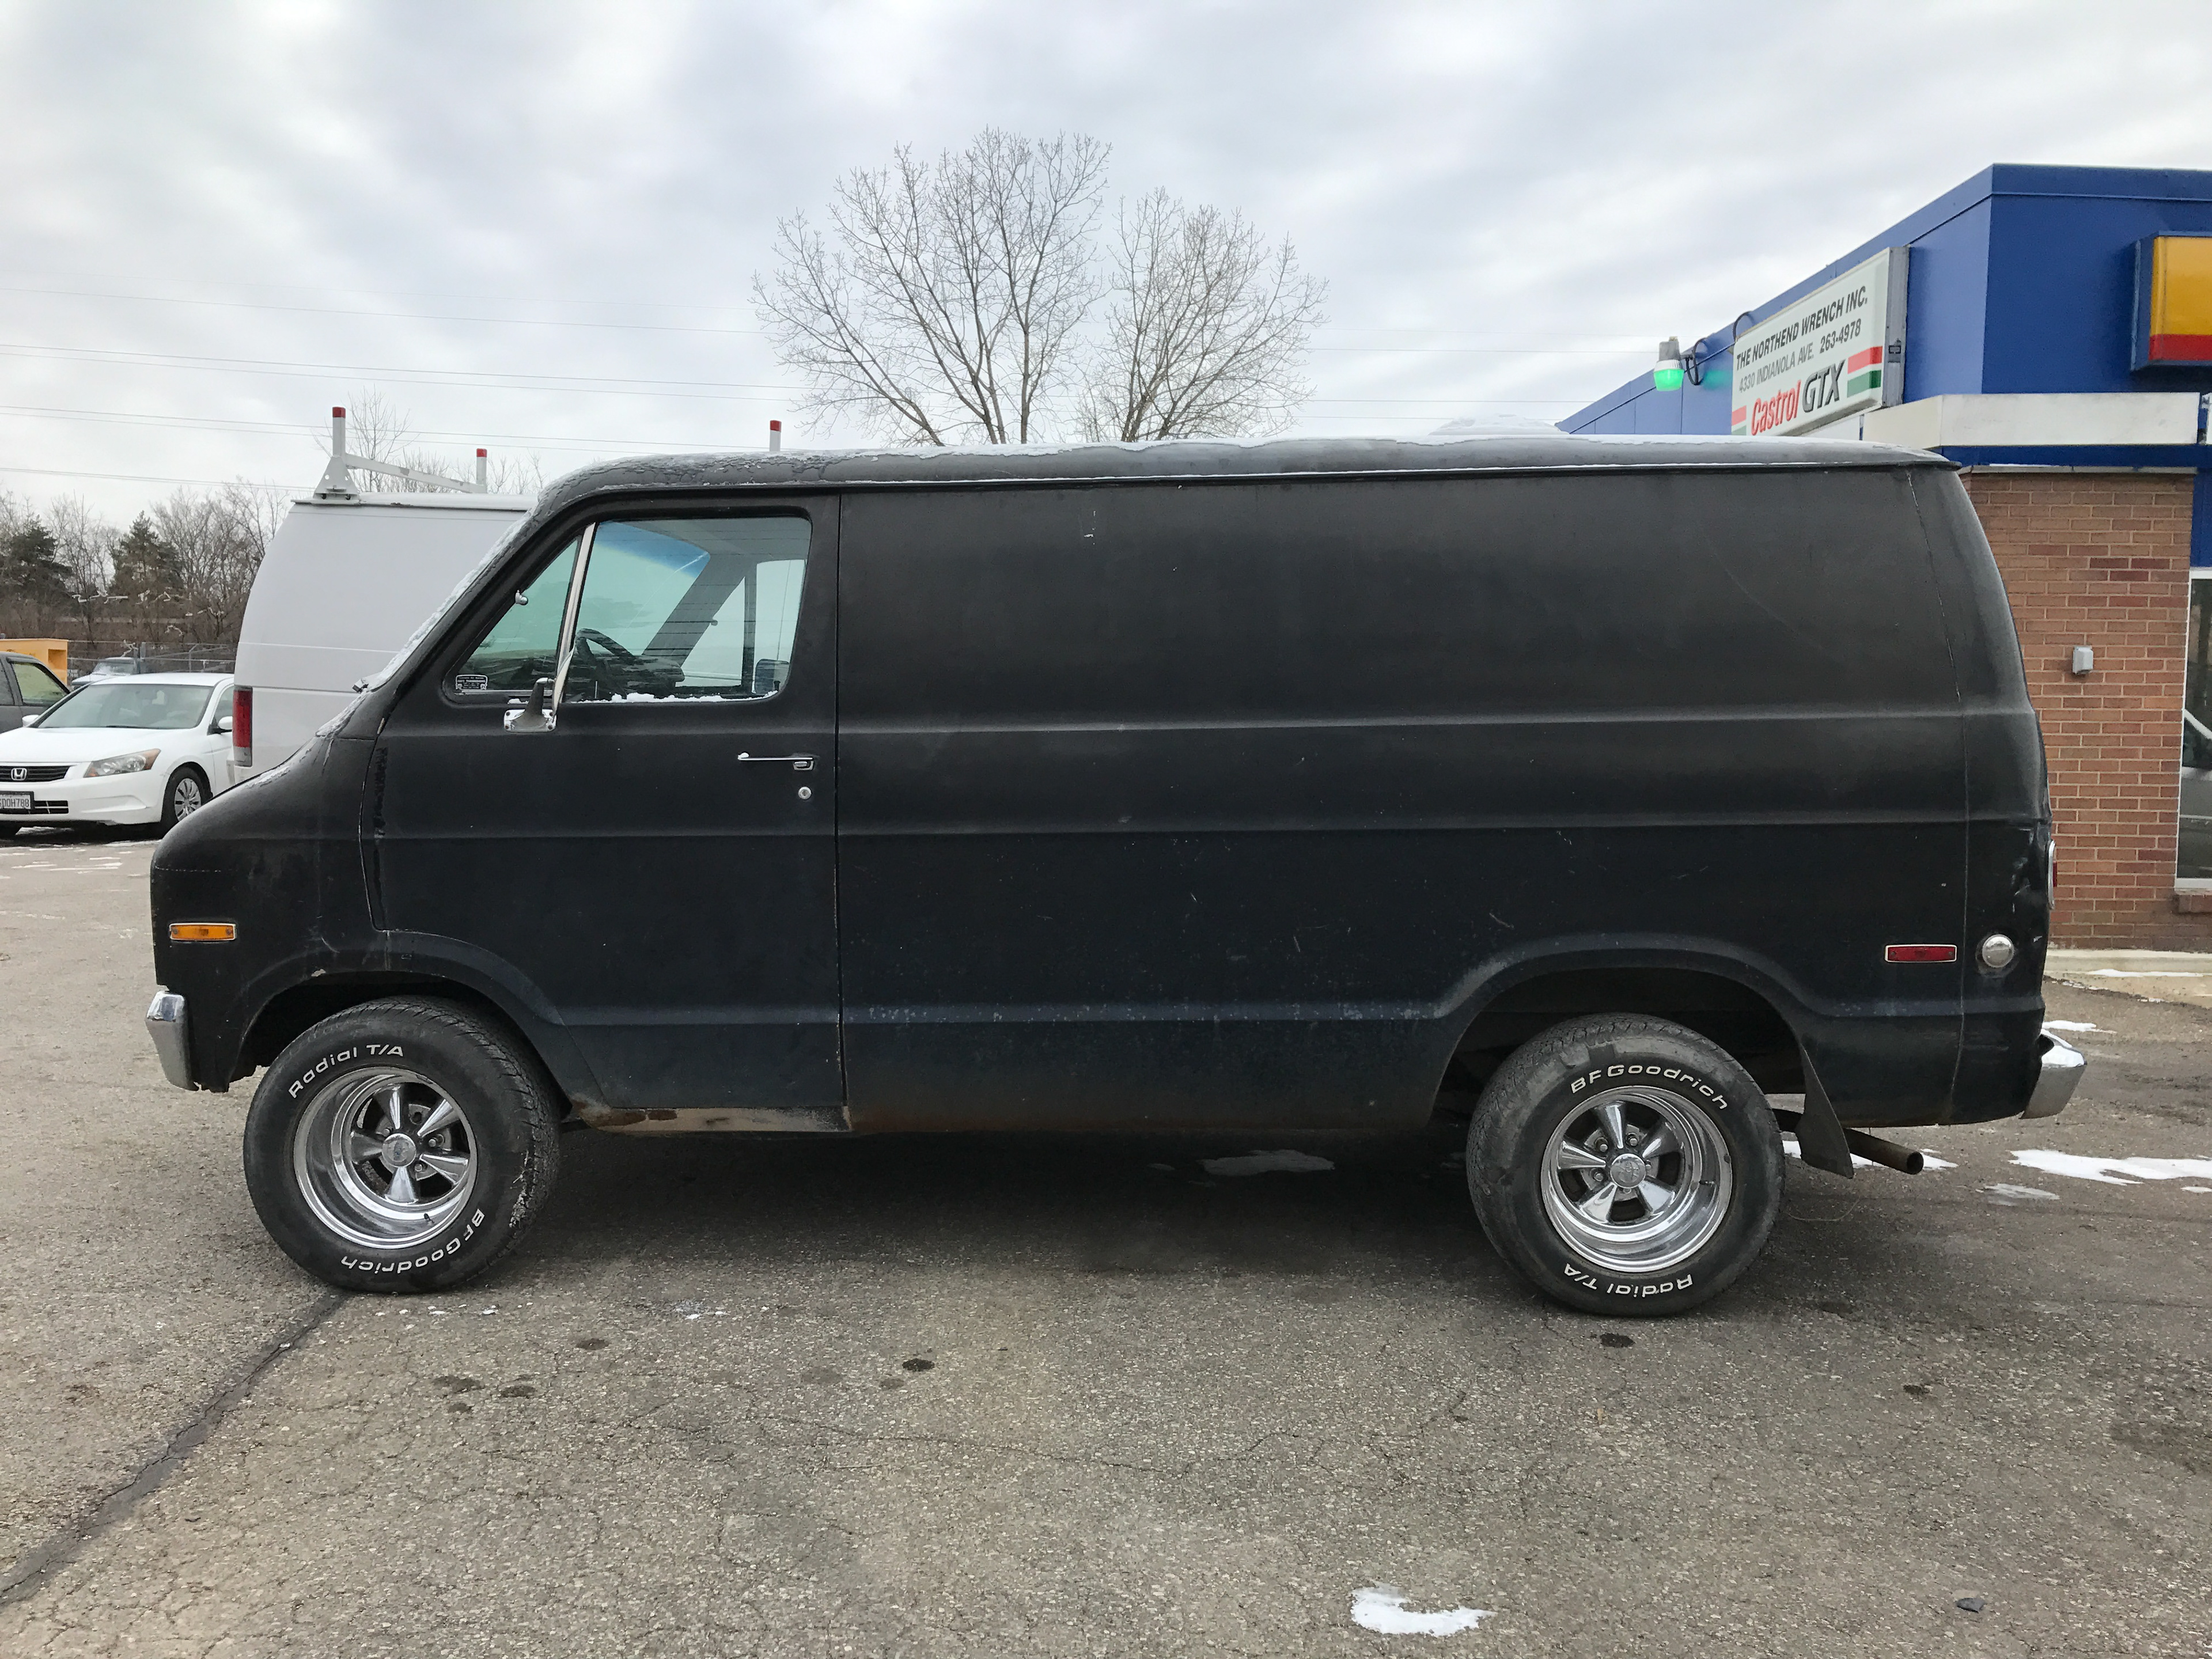
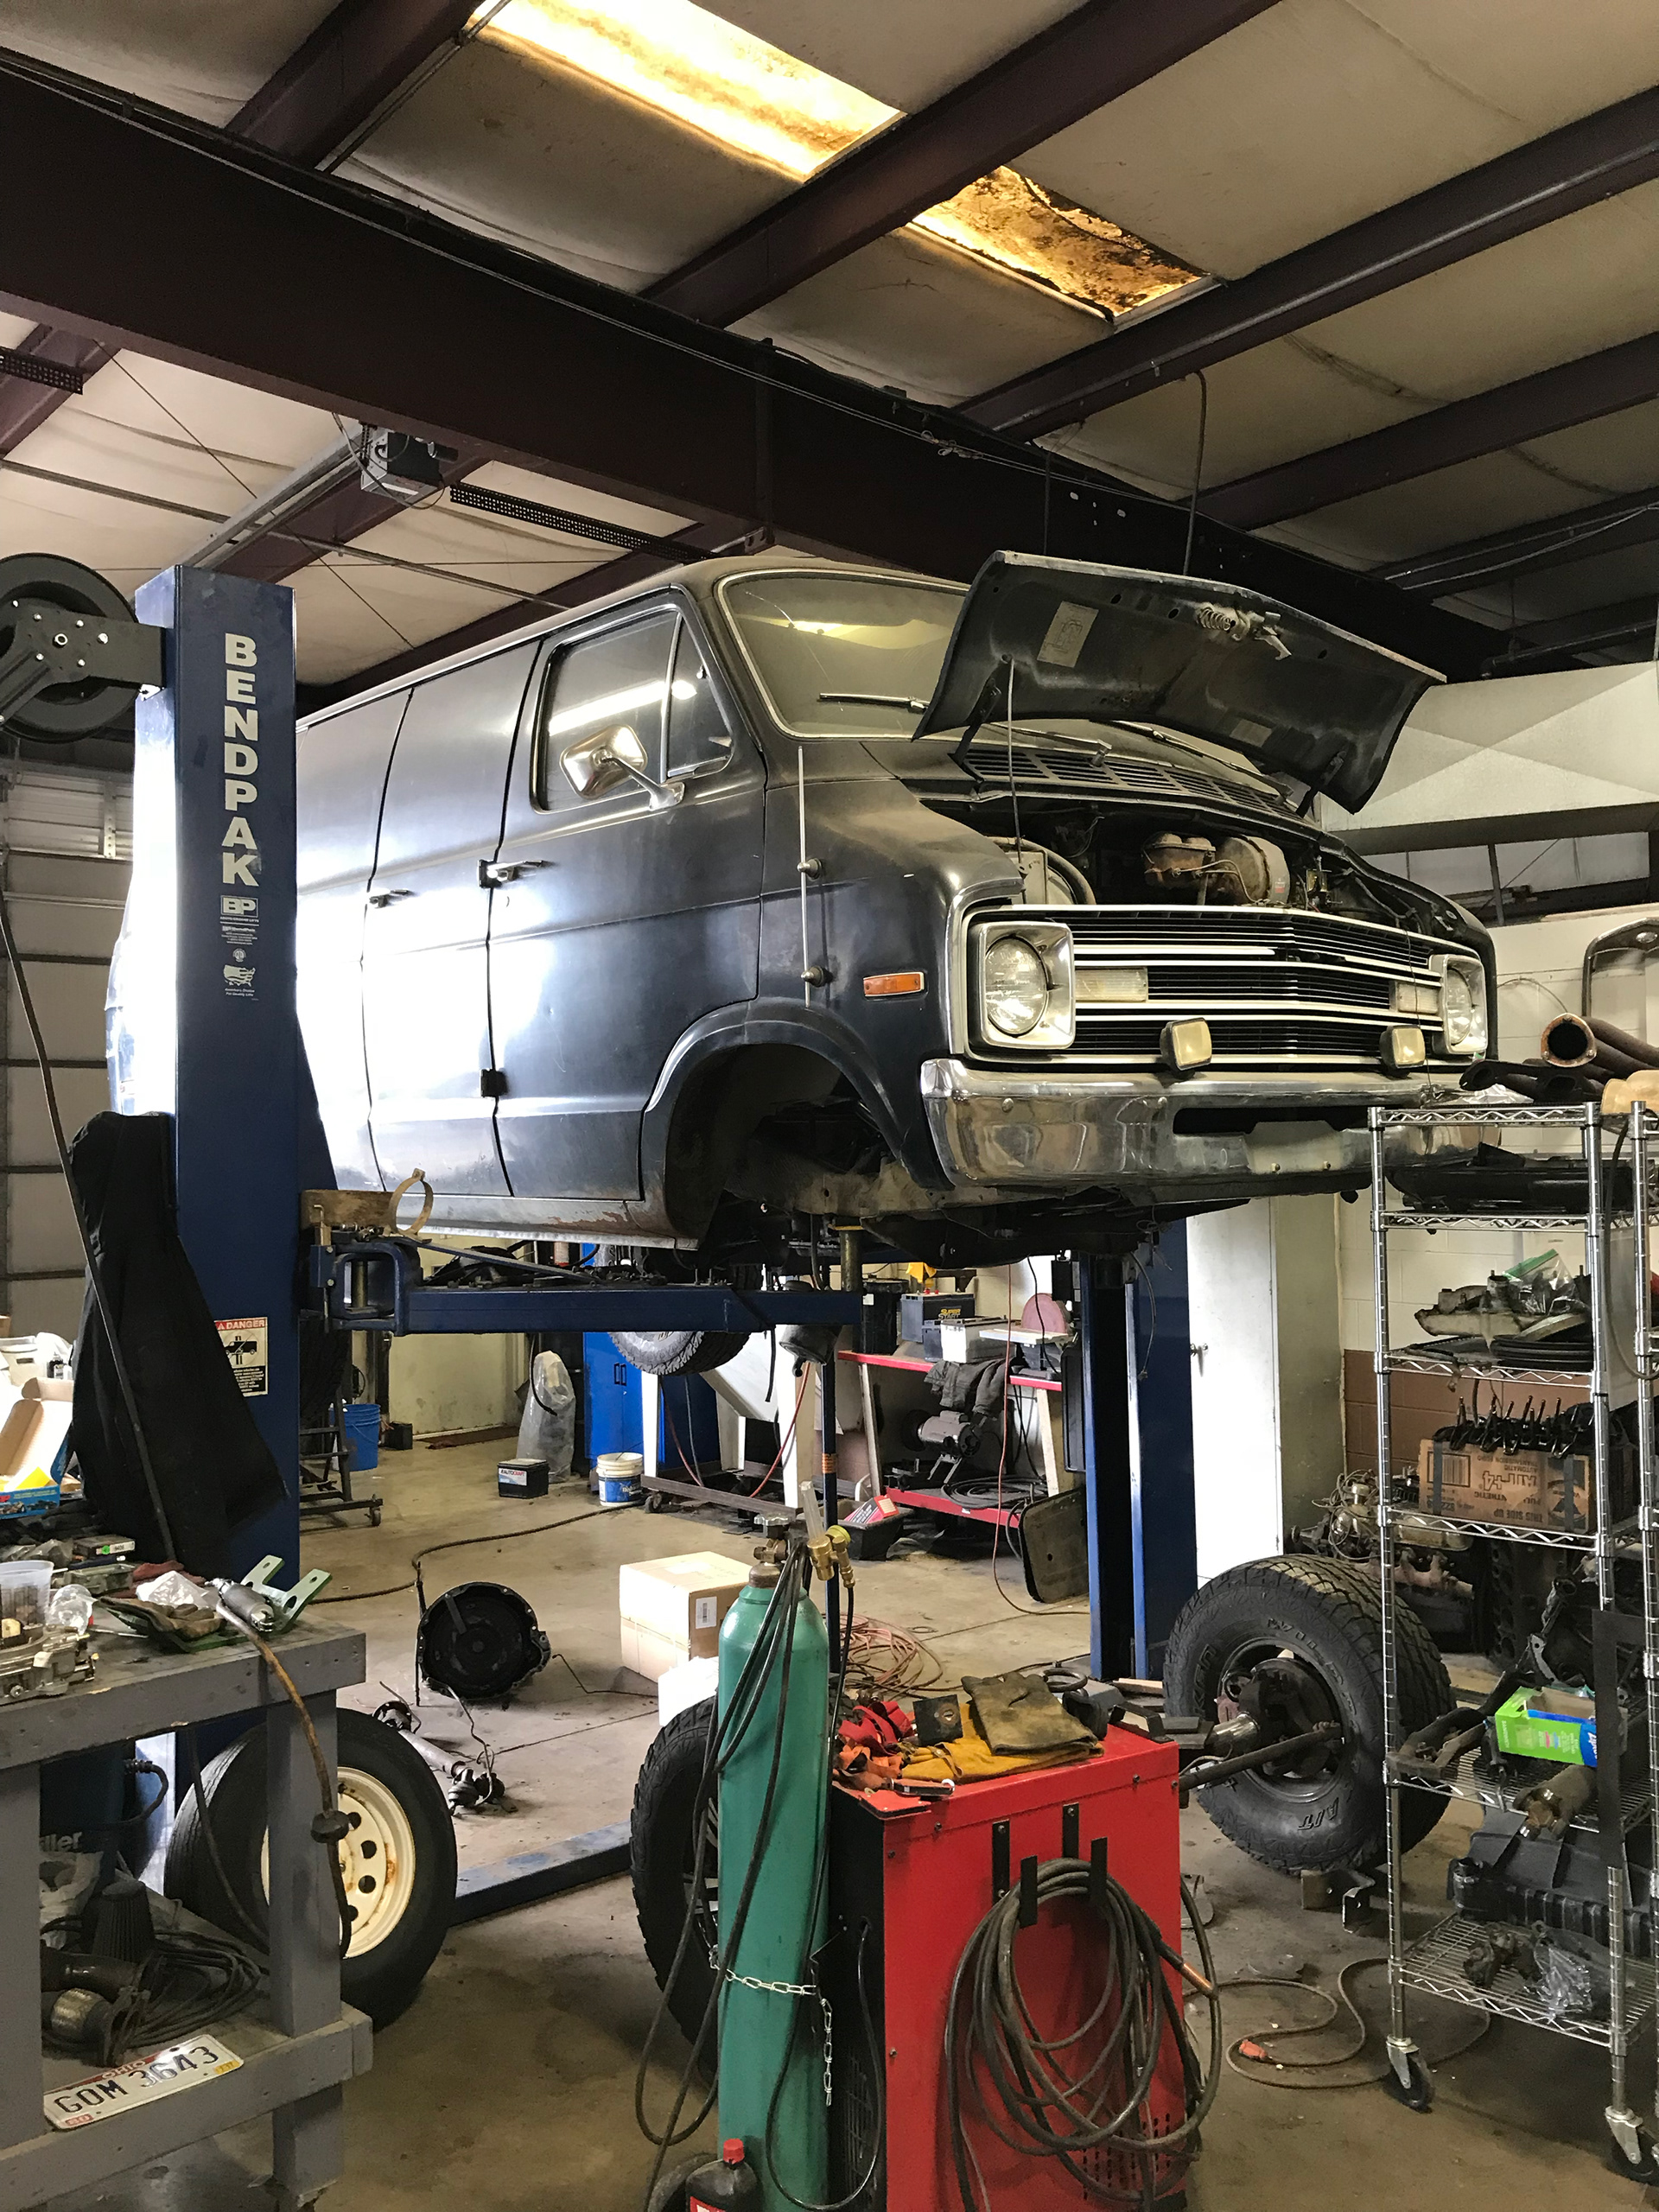
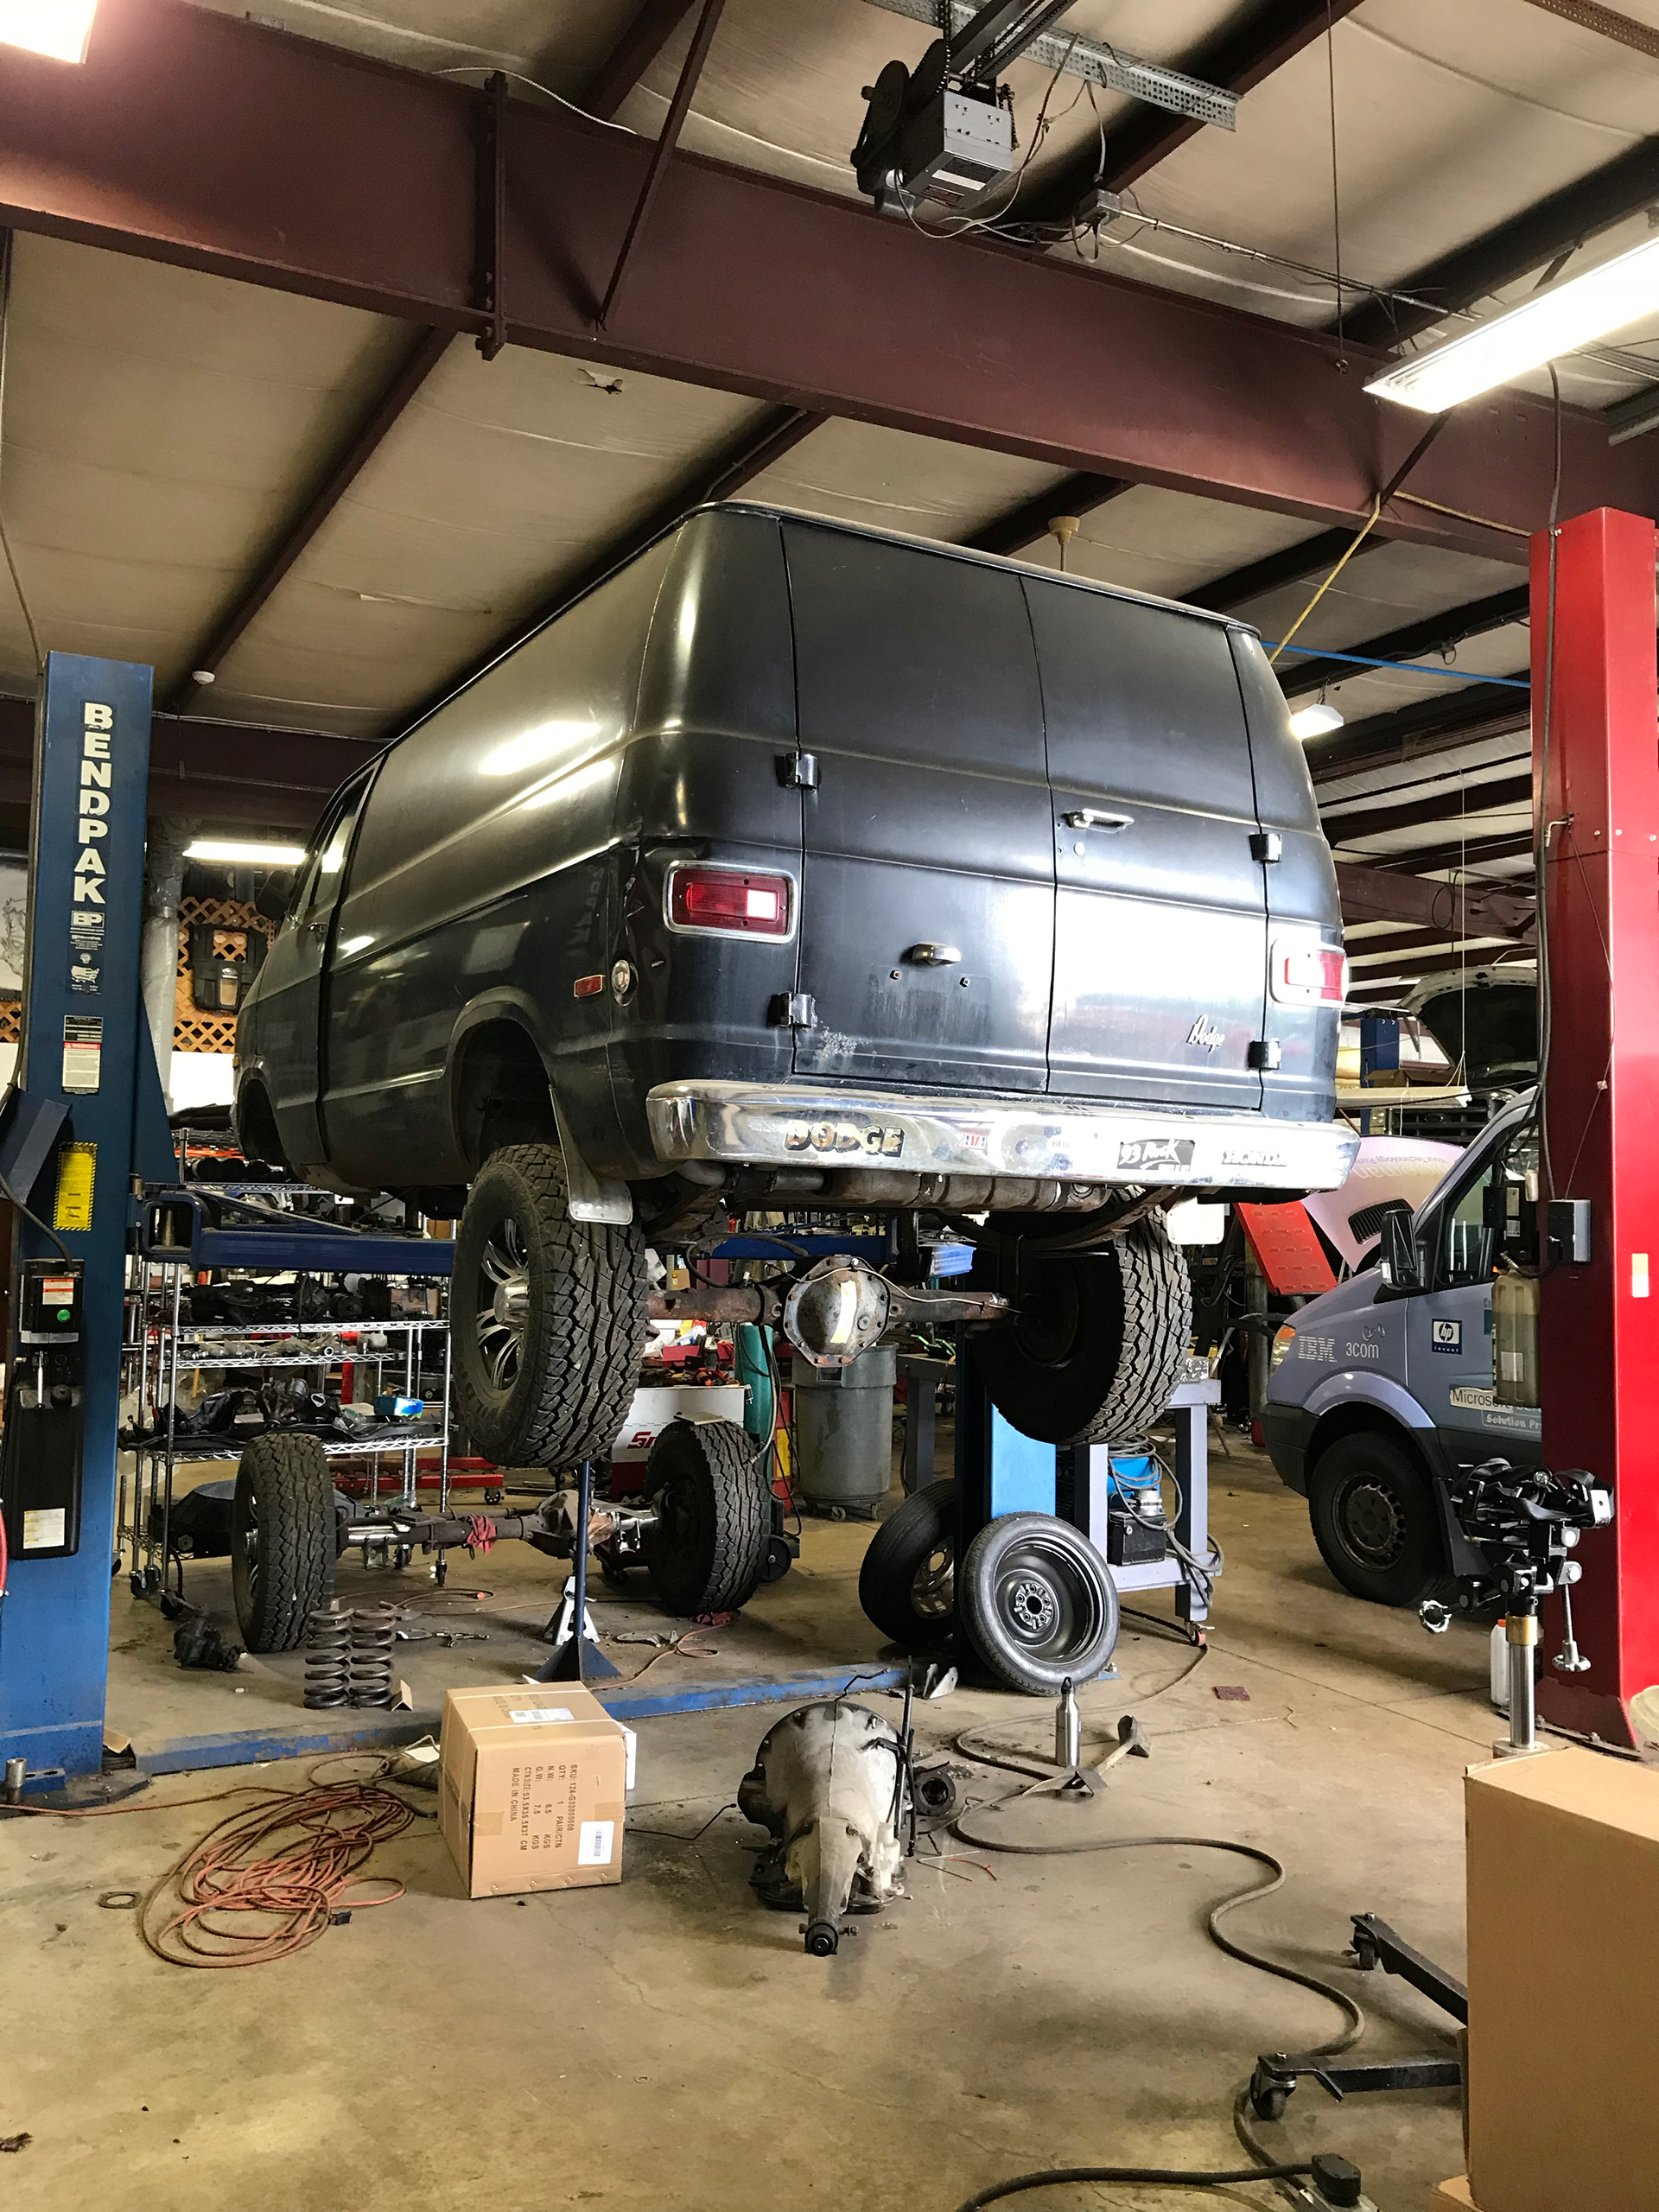
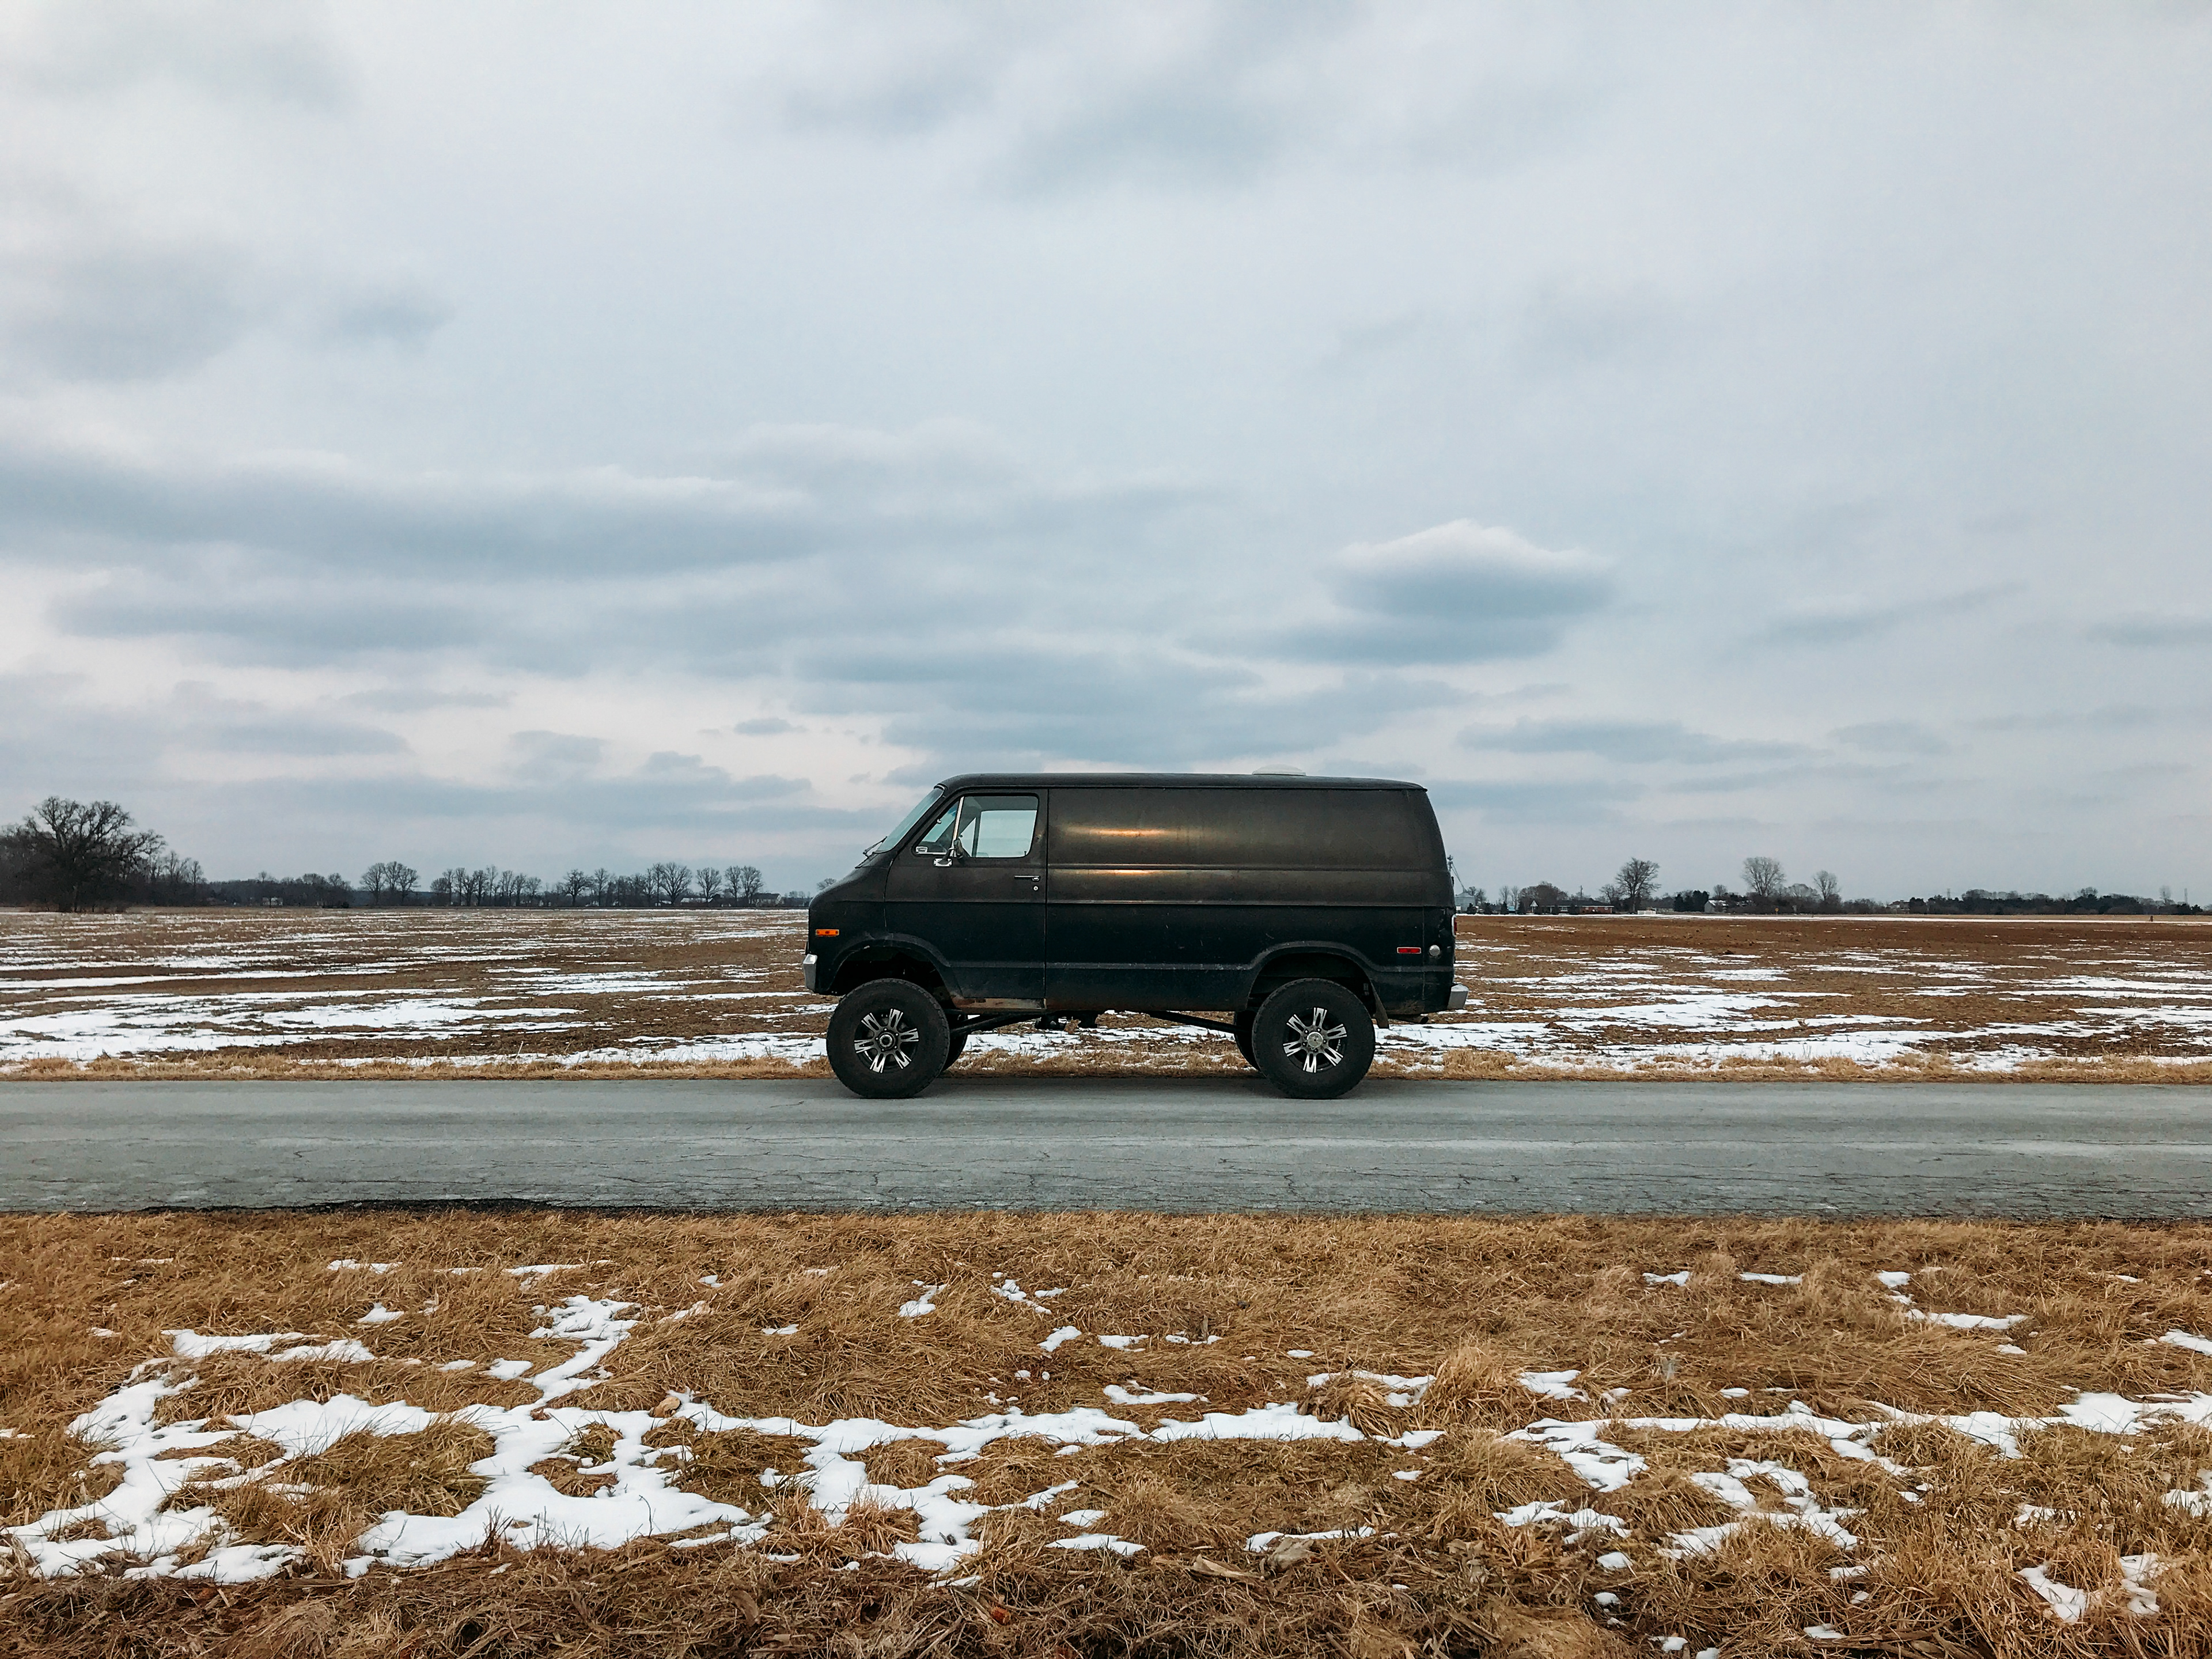
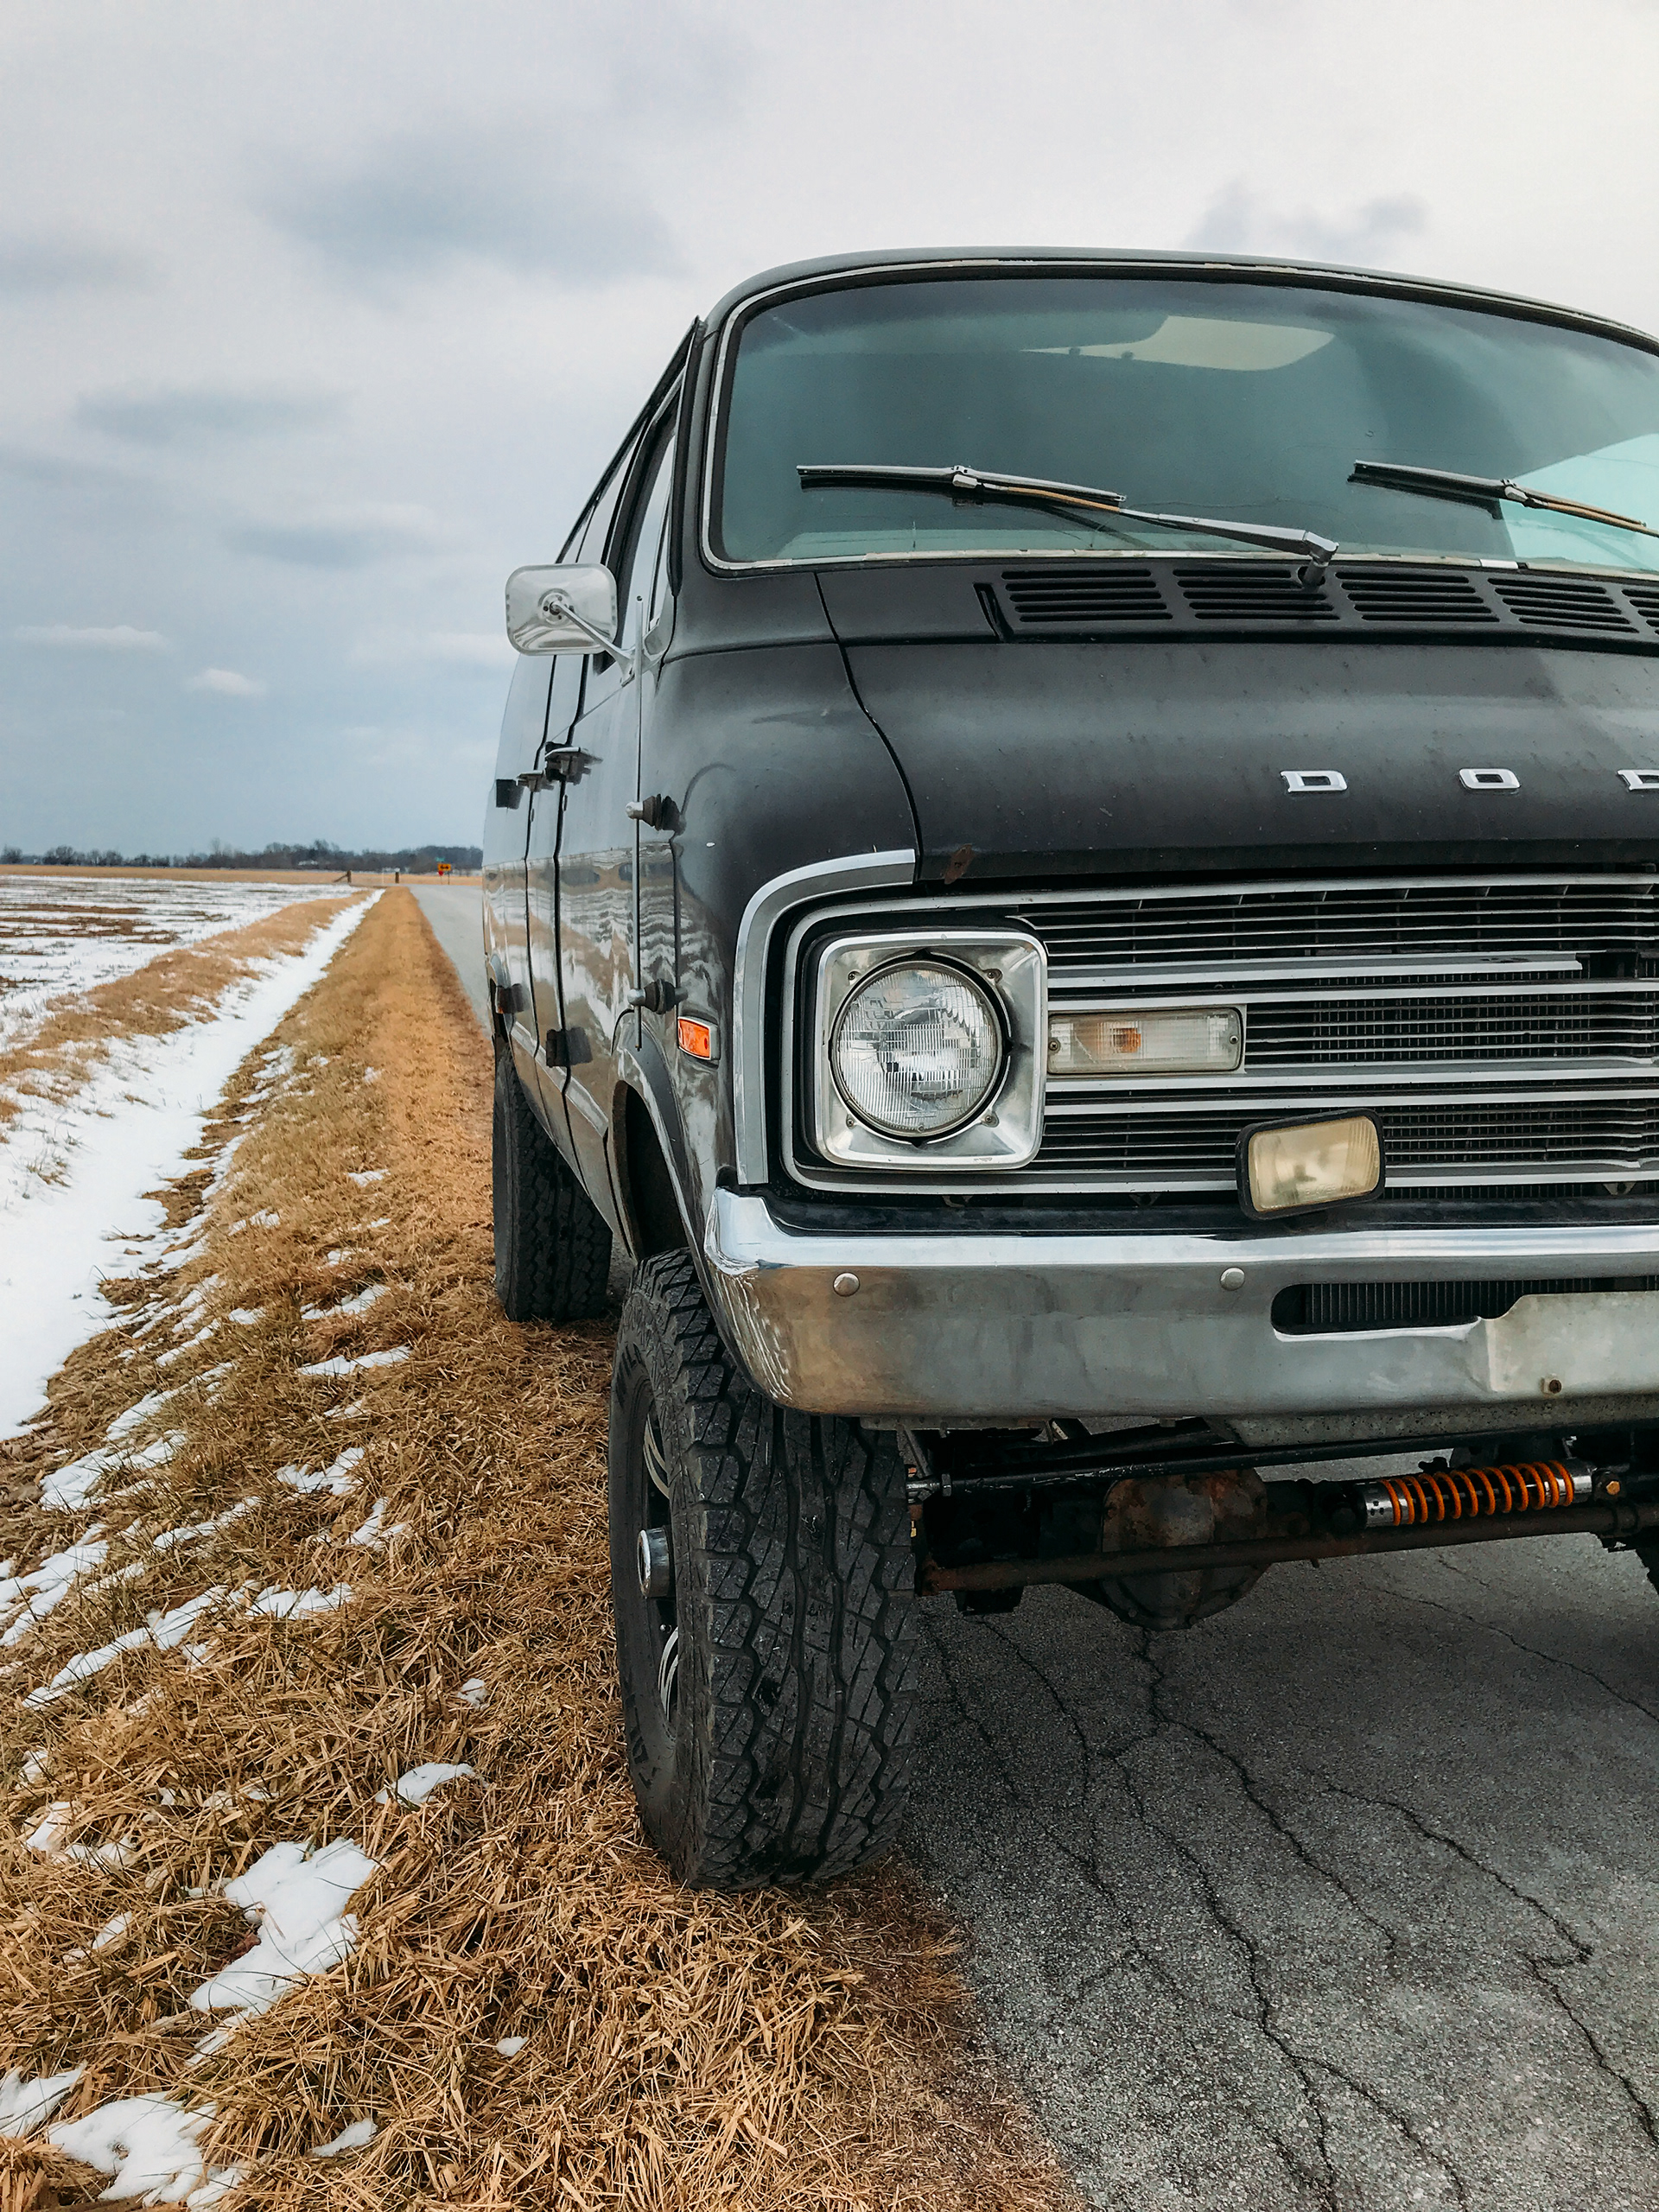
Now that everything runs, some minor tweaks are getting made like new rims, new window, new door hinge, new steering gears, ect. The lower part of the van is going to get sanded and repainted to remove the surface rust and help protect against any scratches. Once the interior is in, the ride height will be tweaked one last time and ready to hit the road.
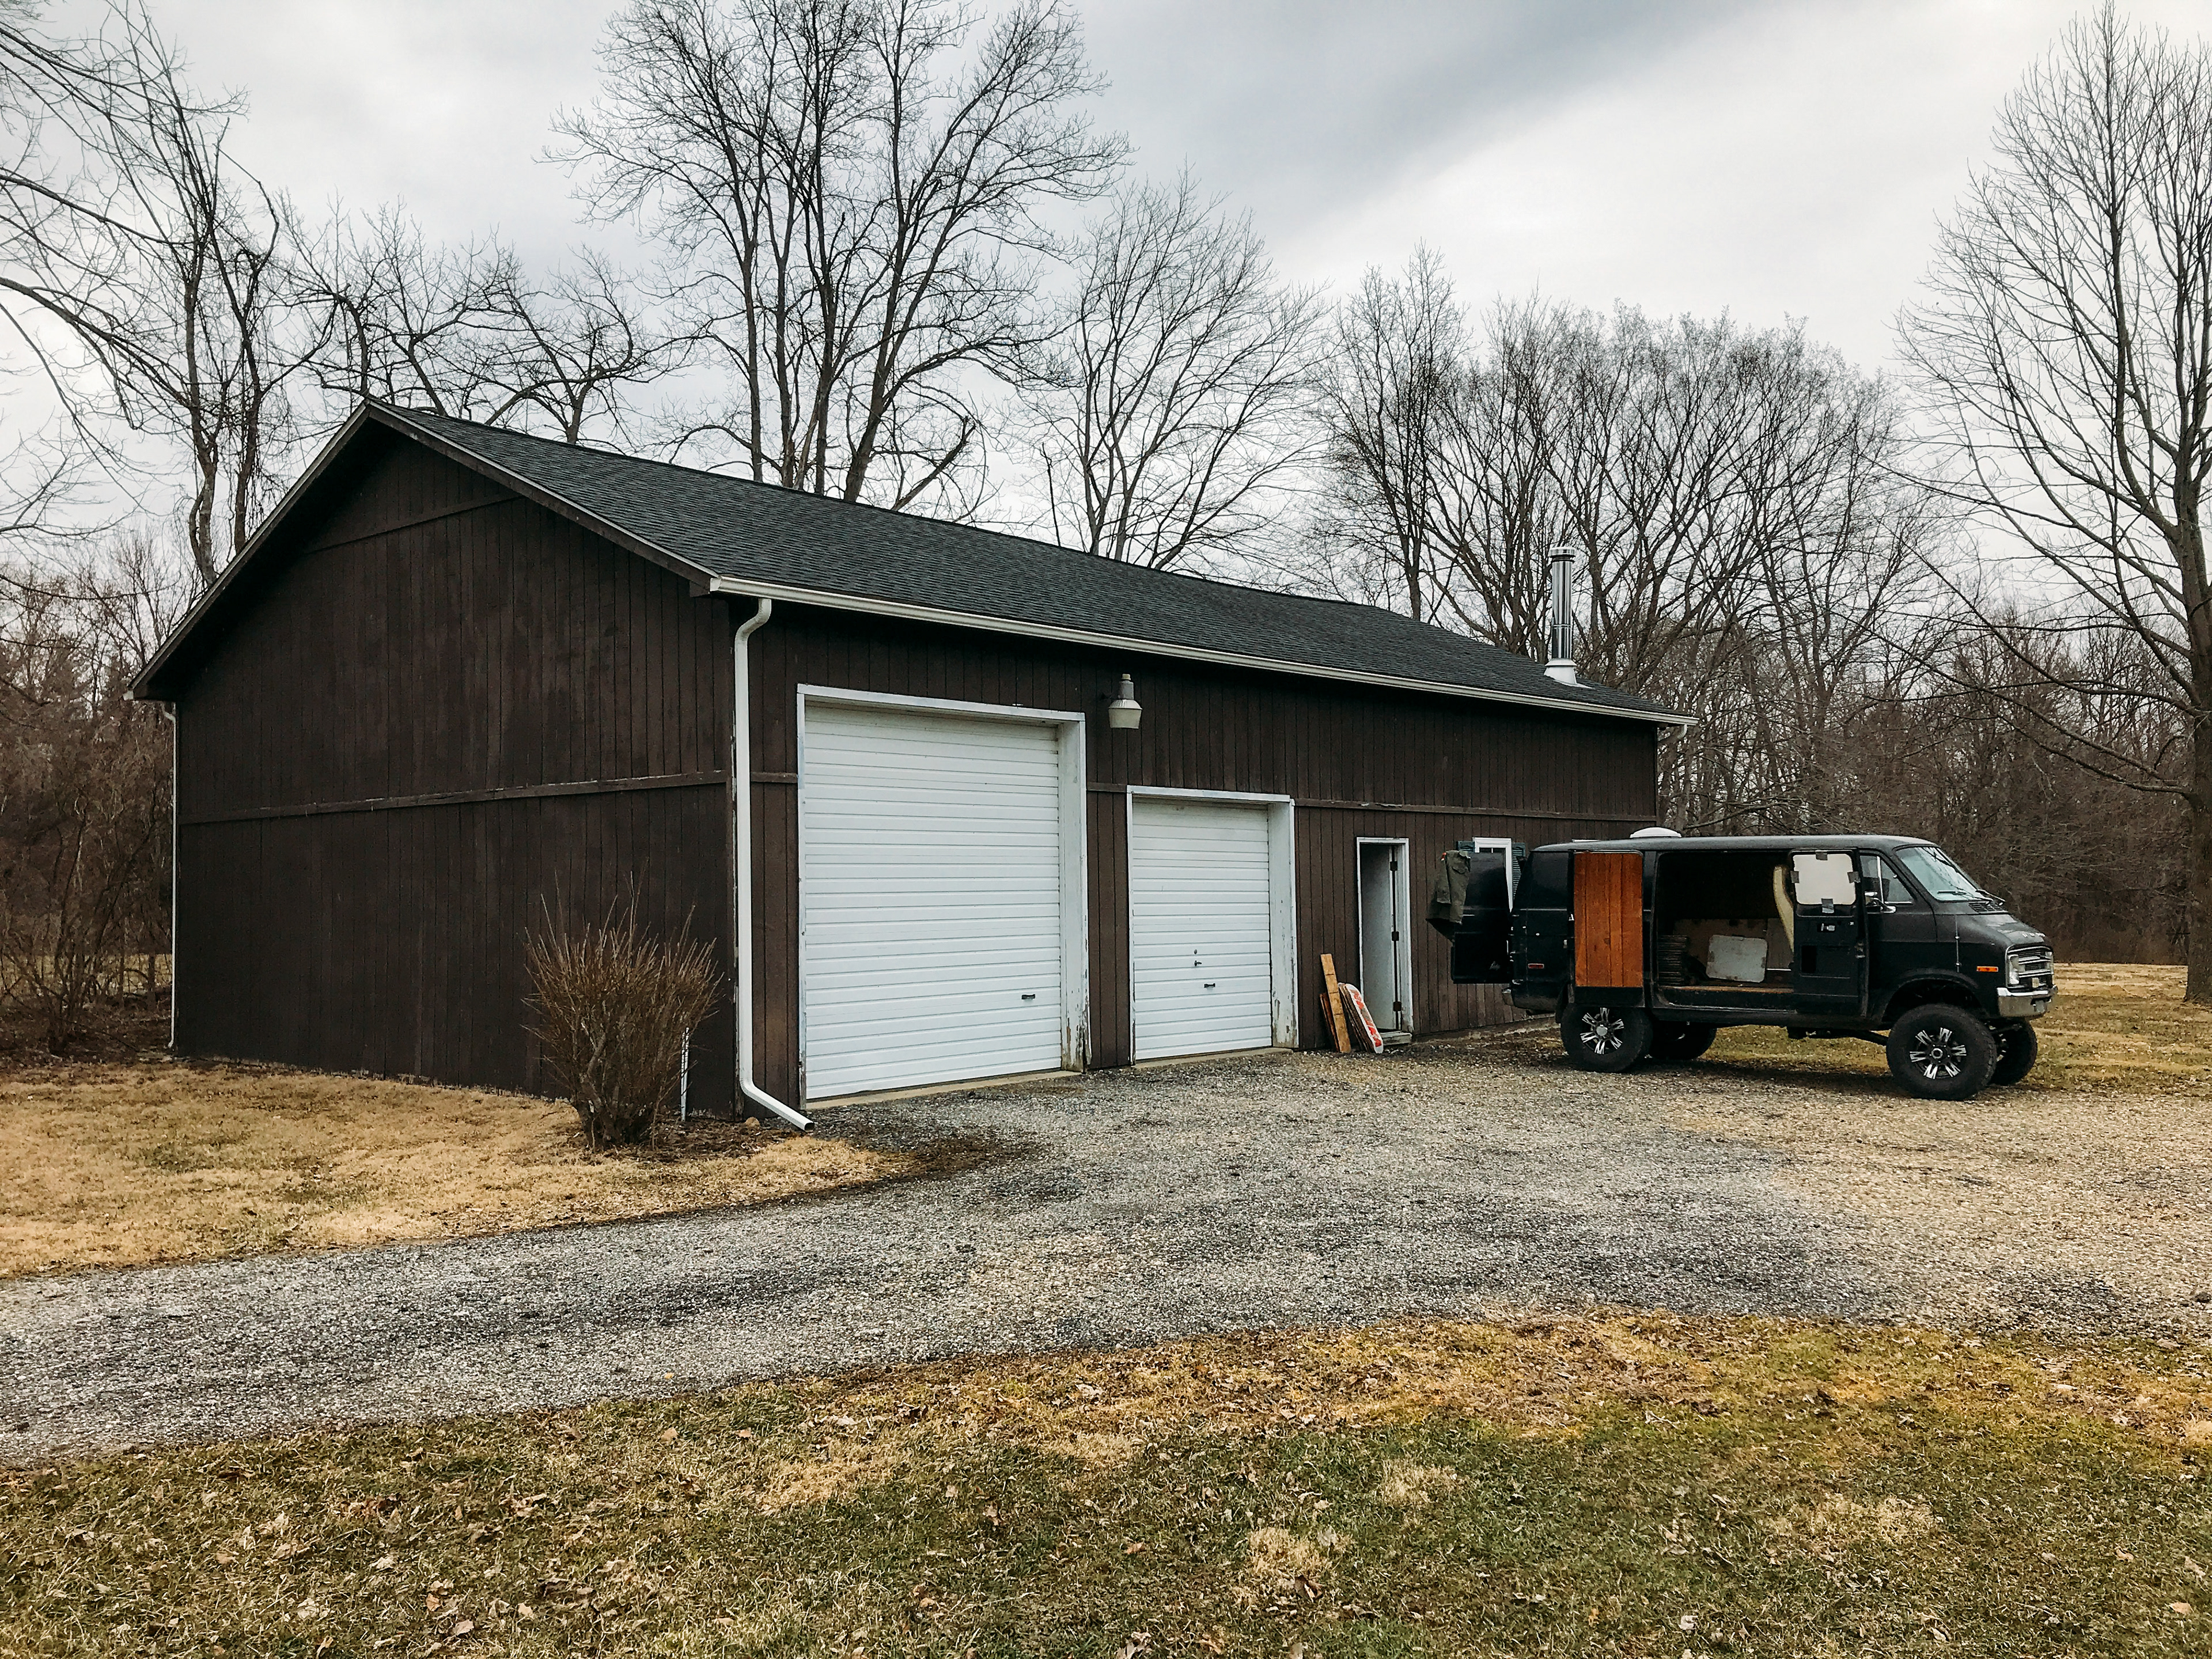
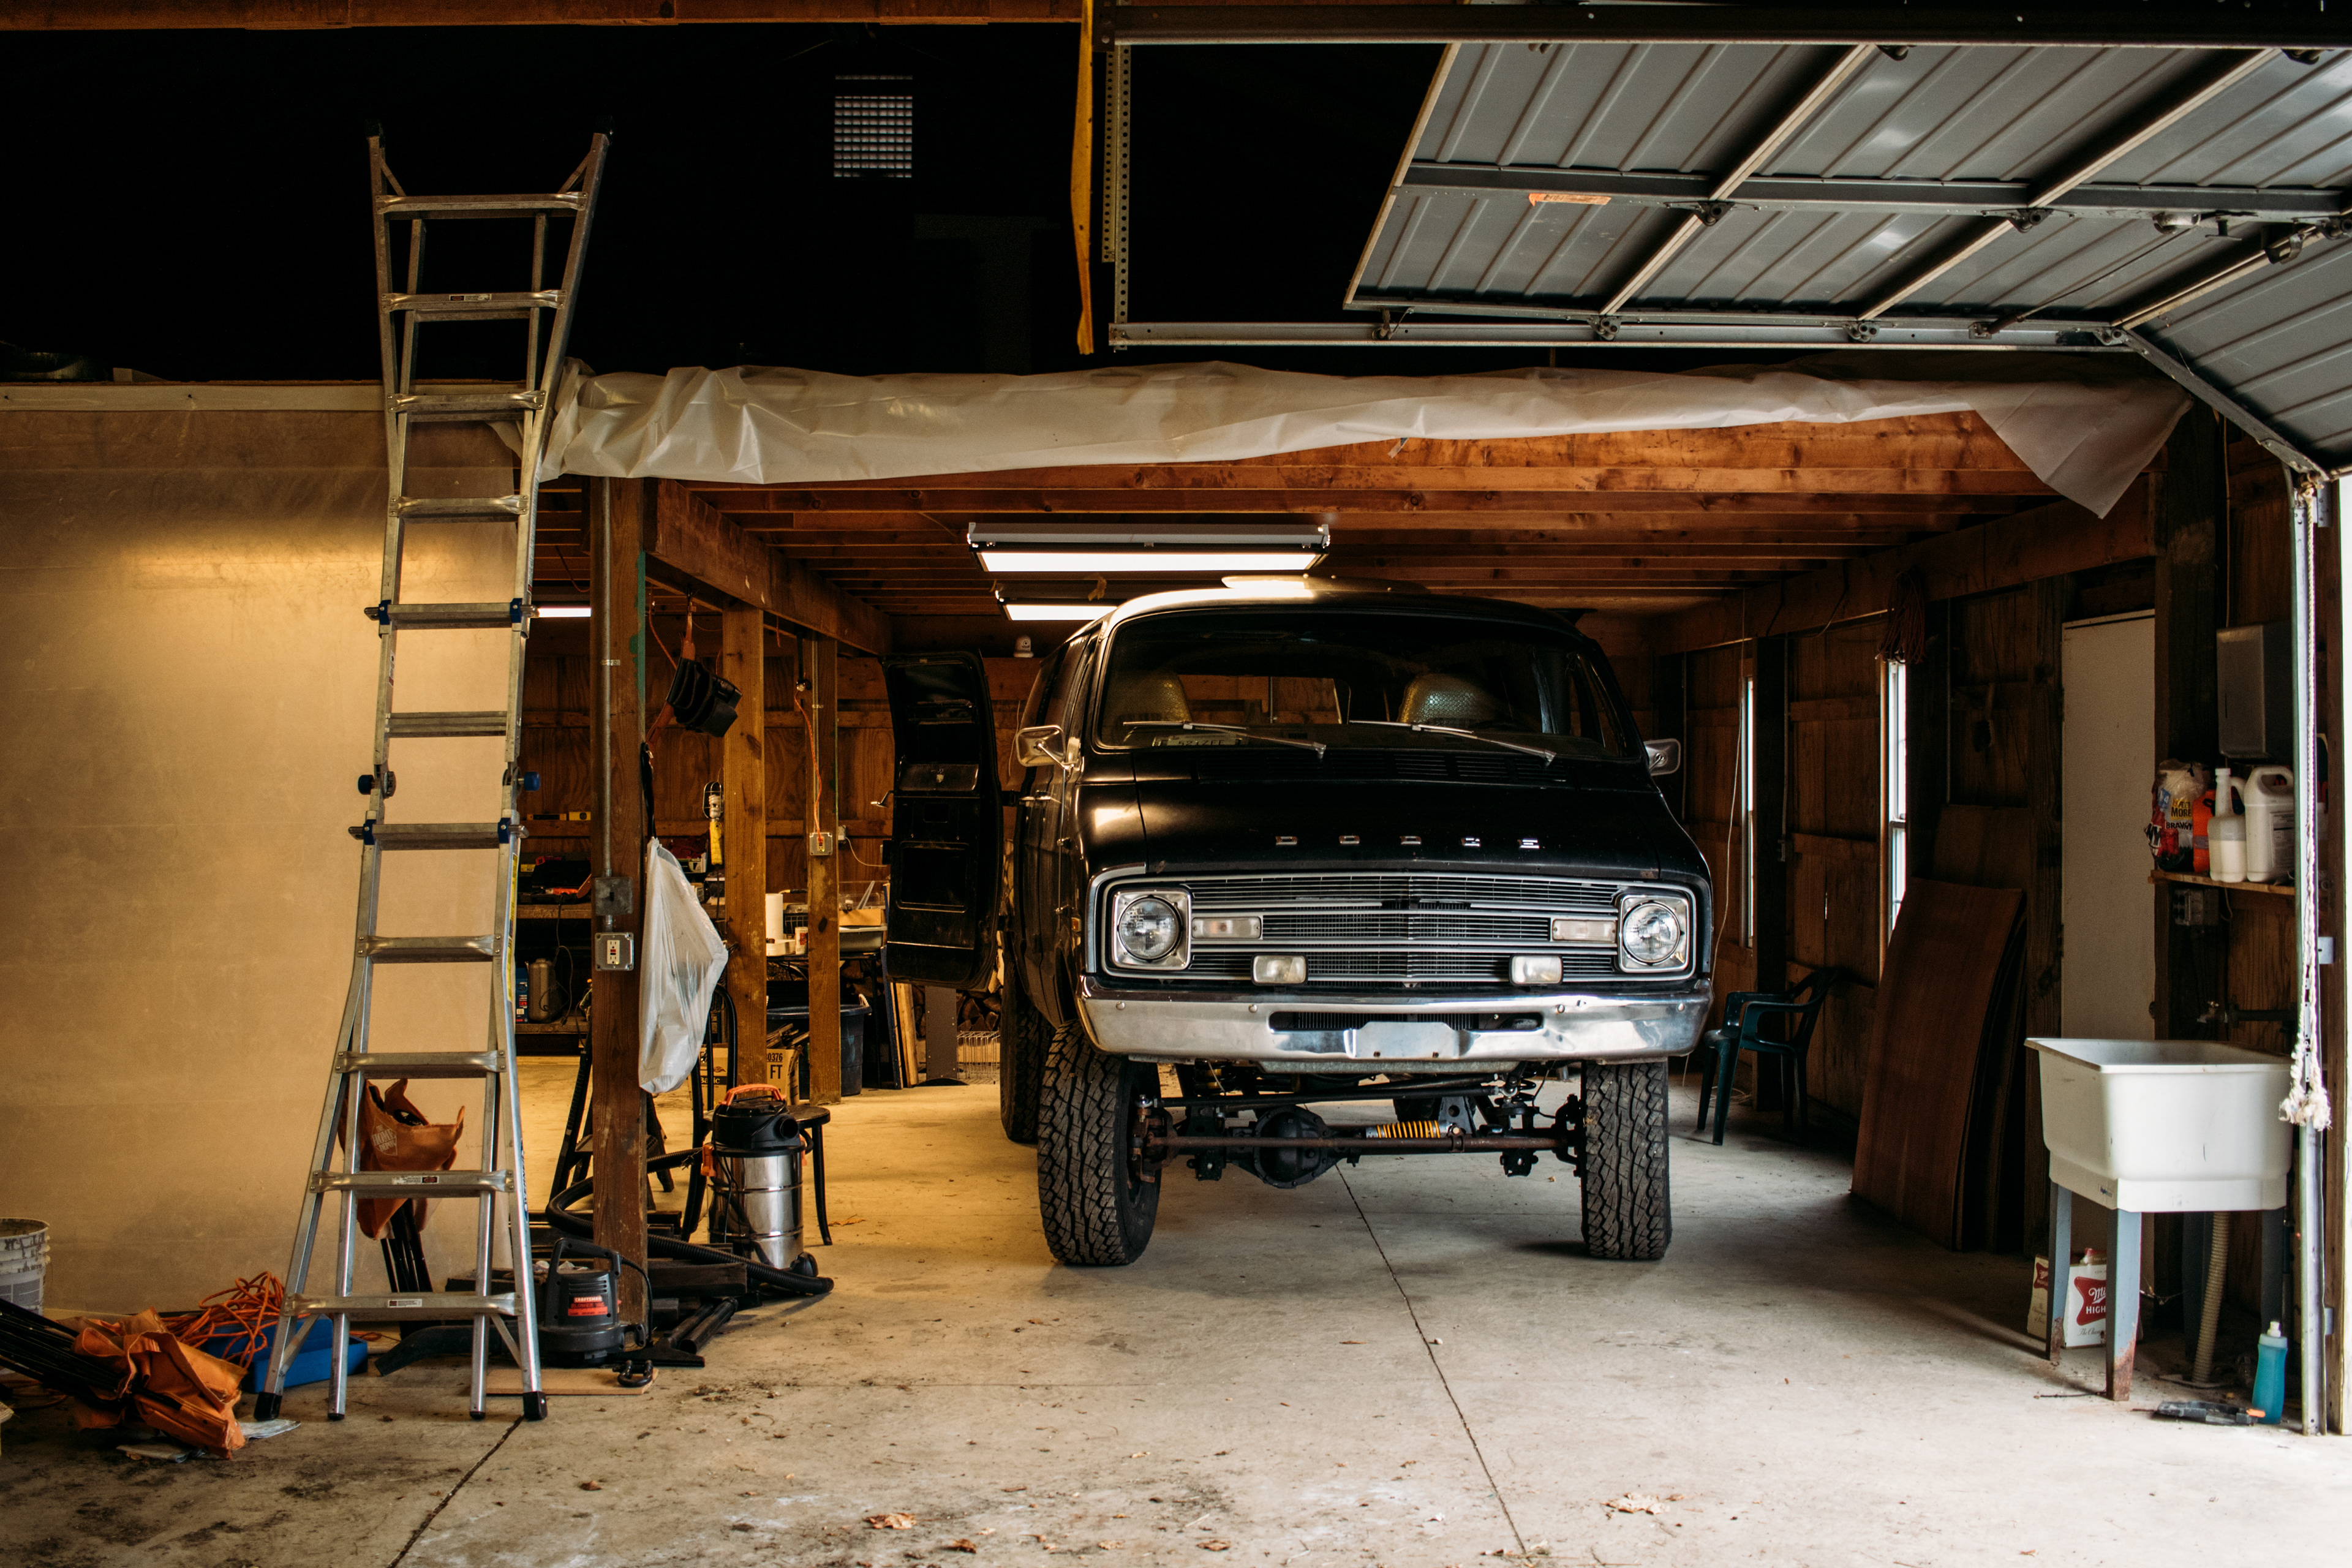
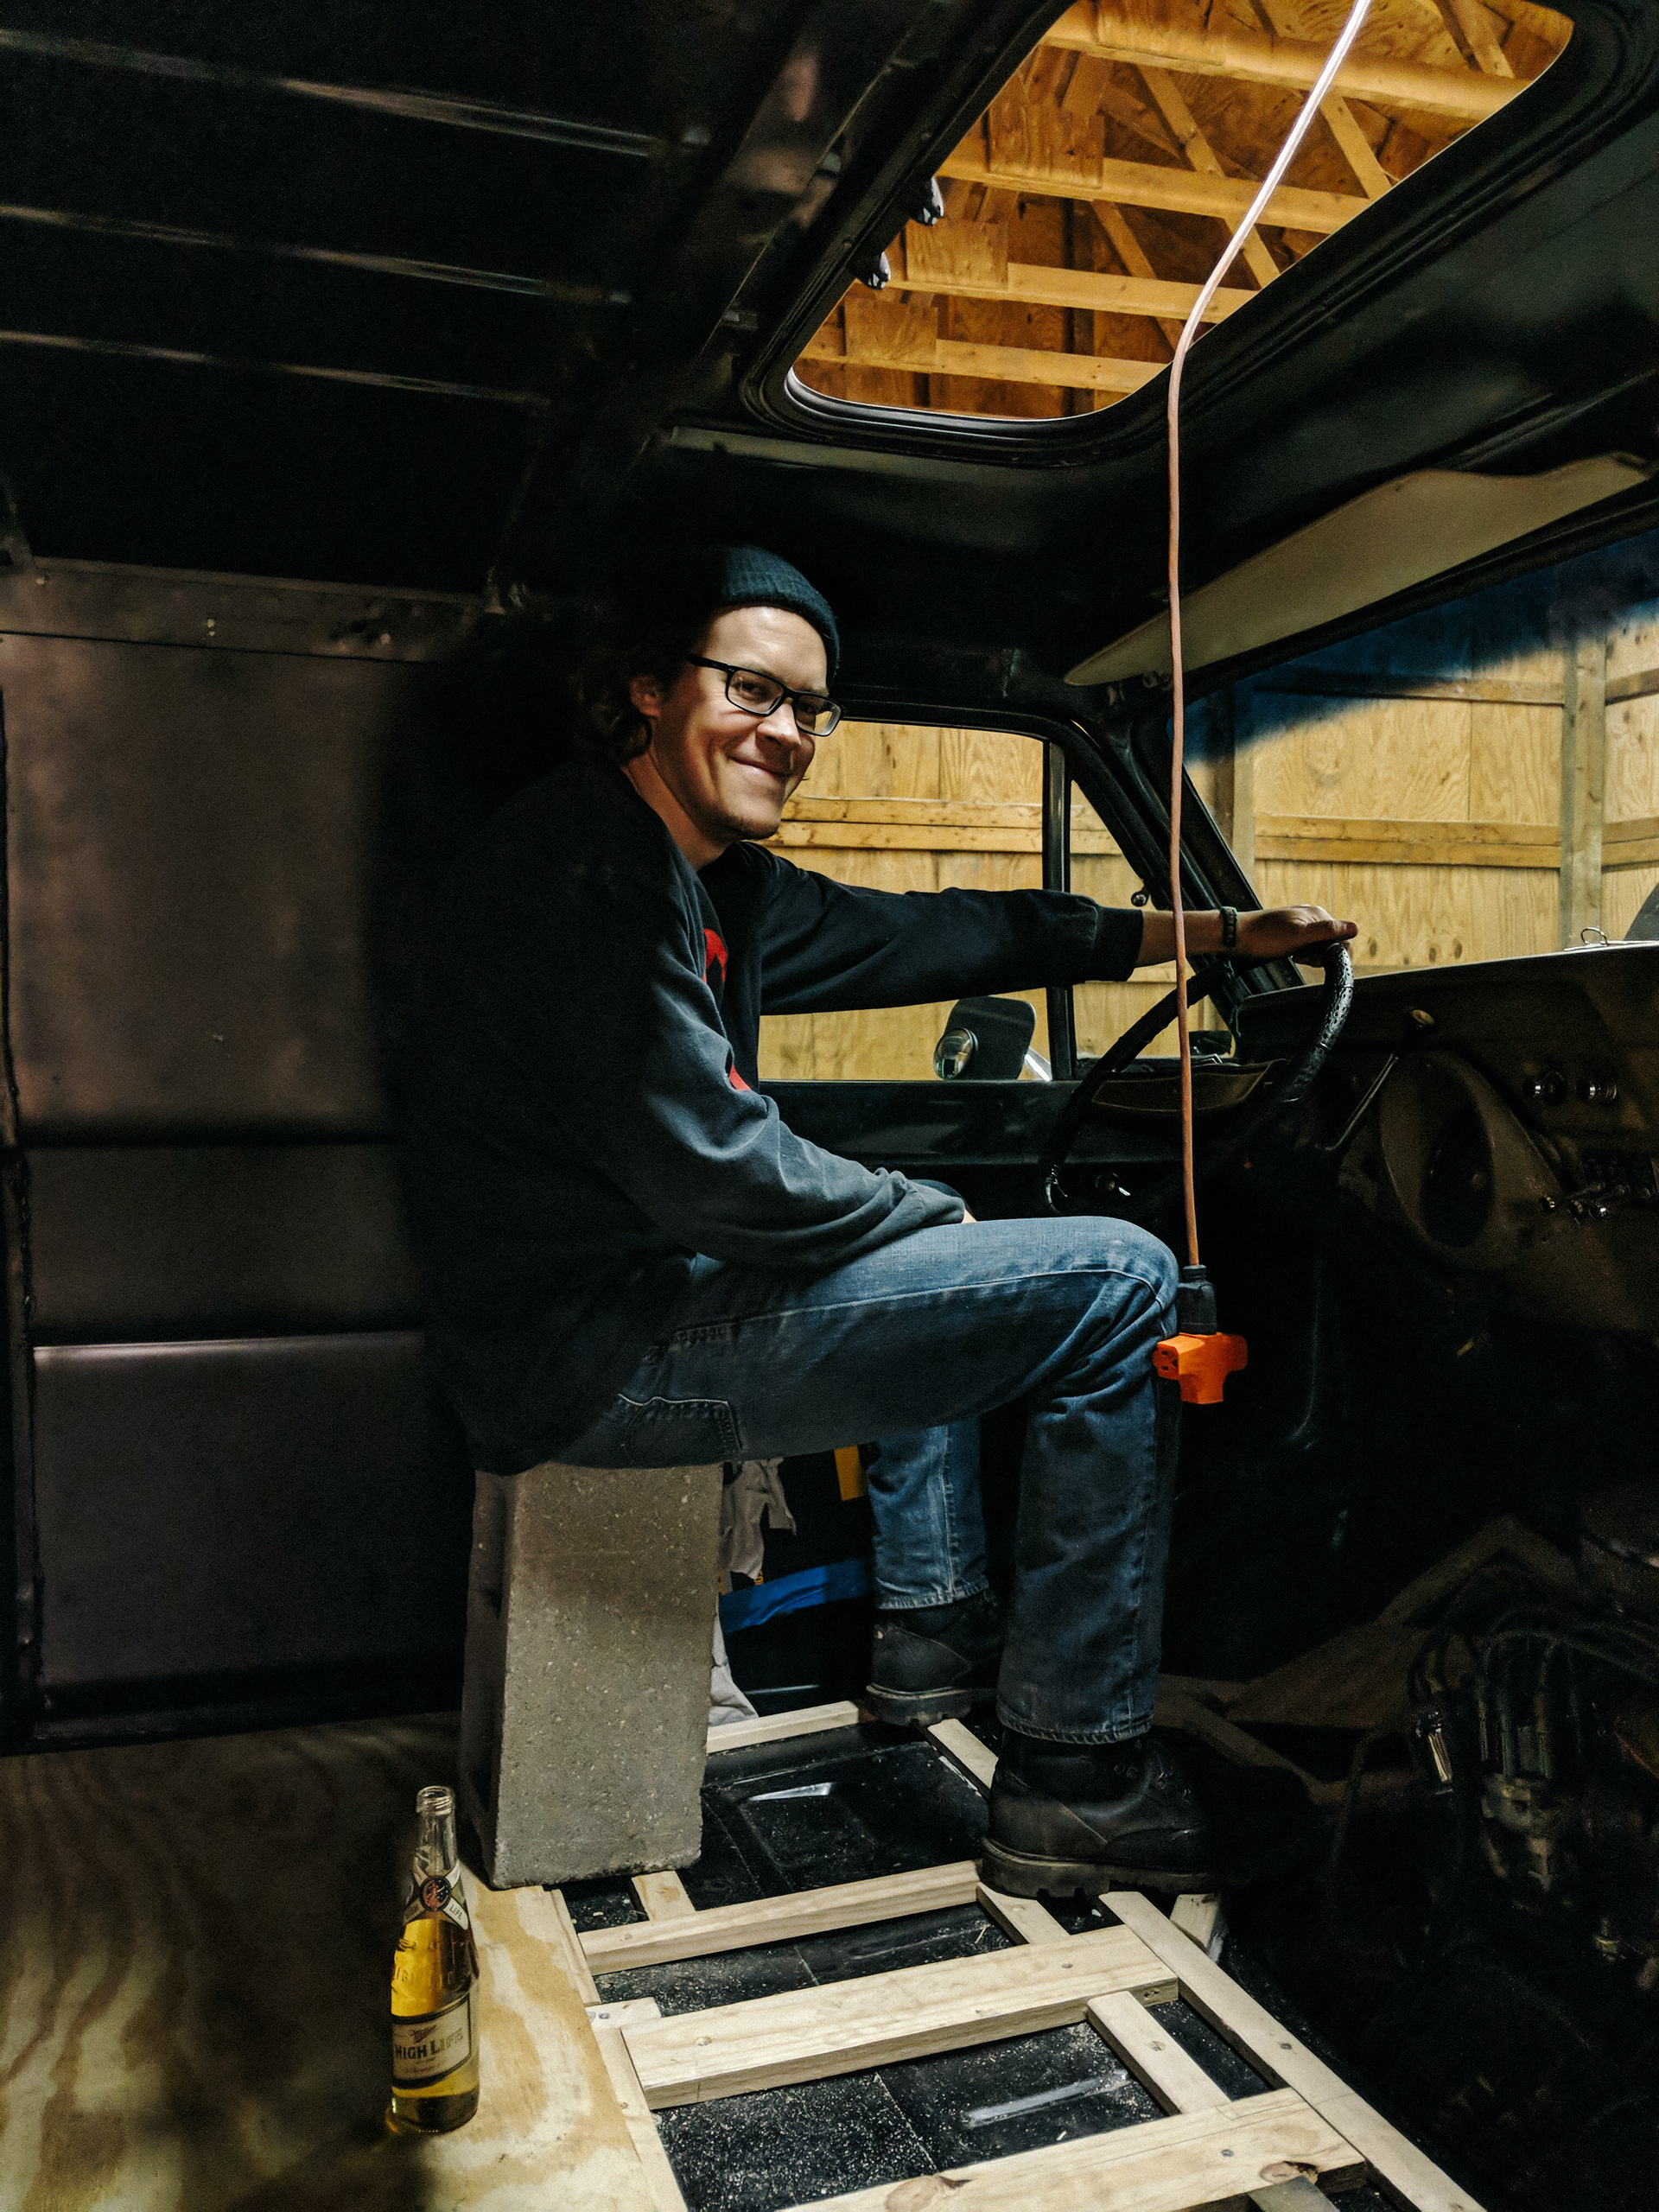
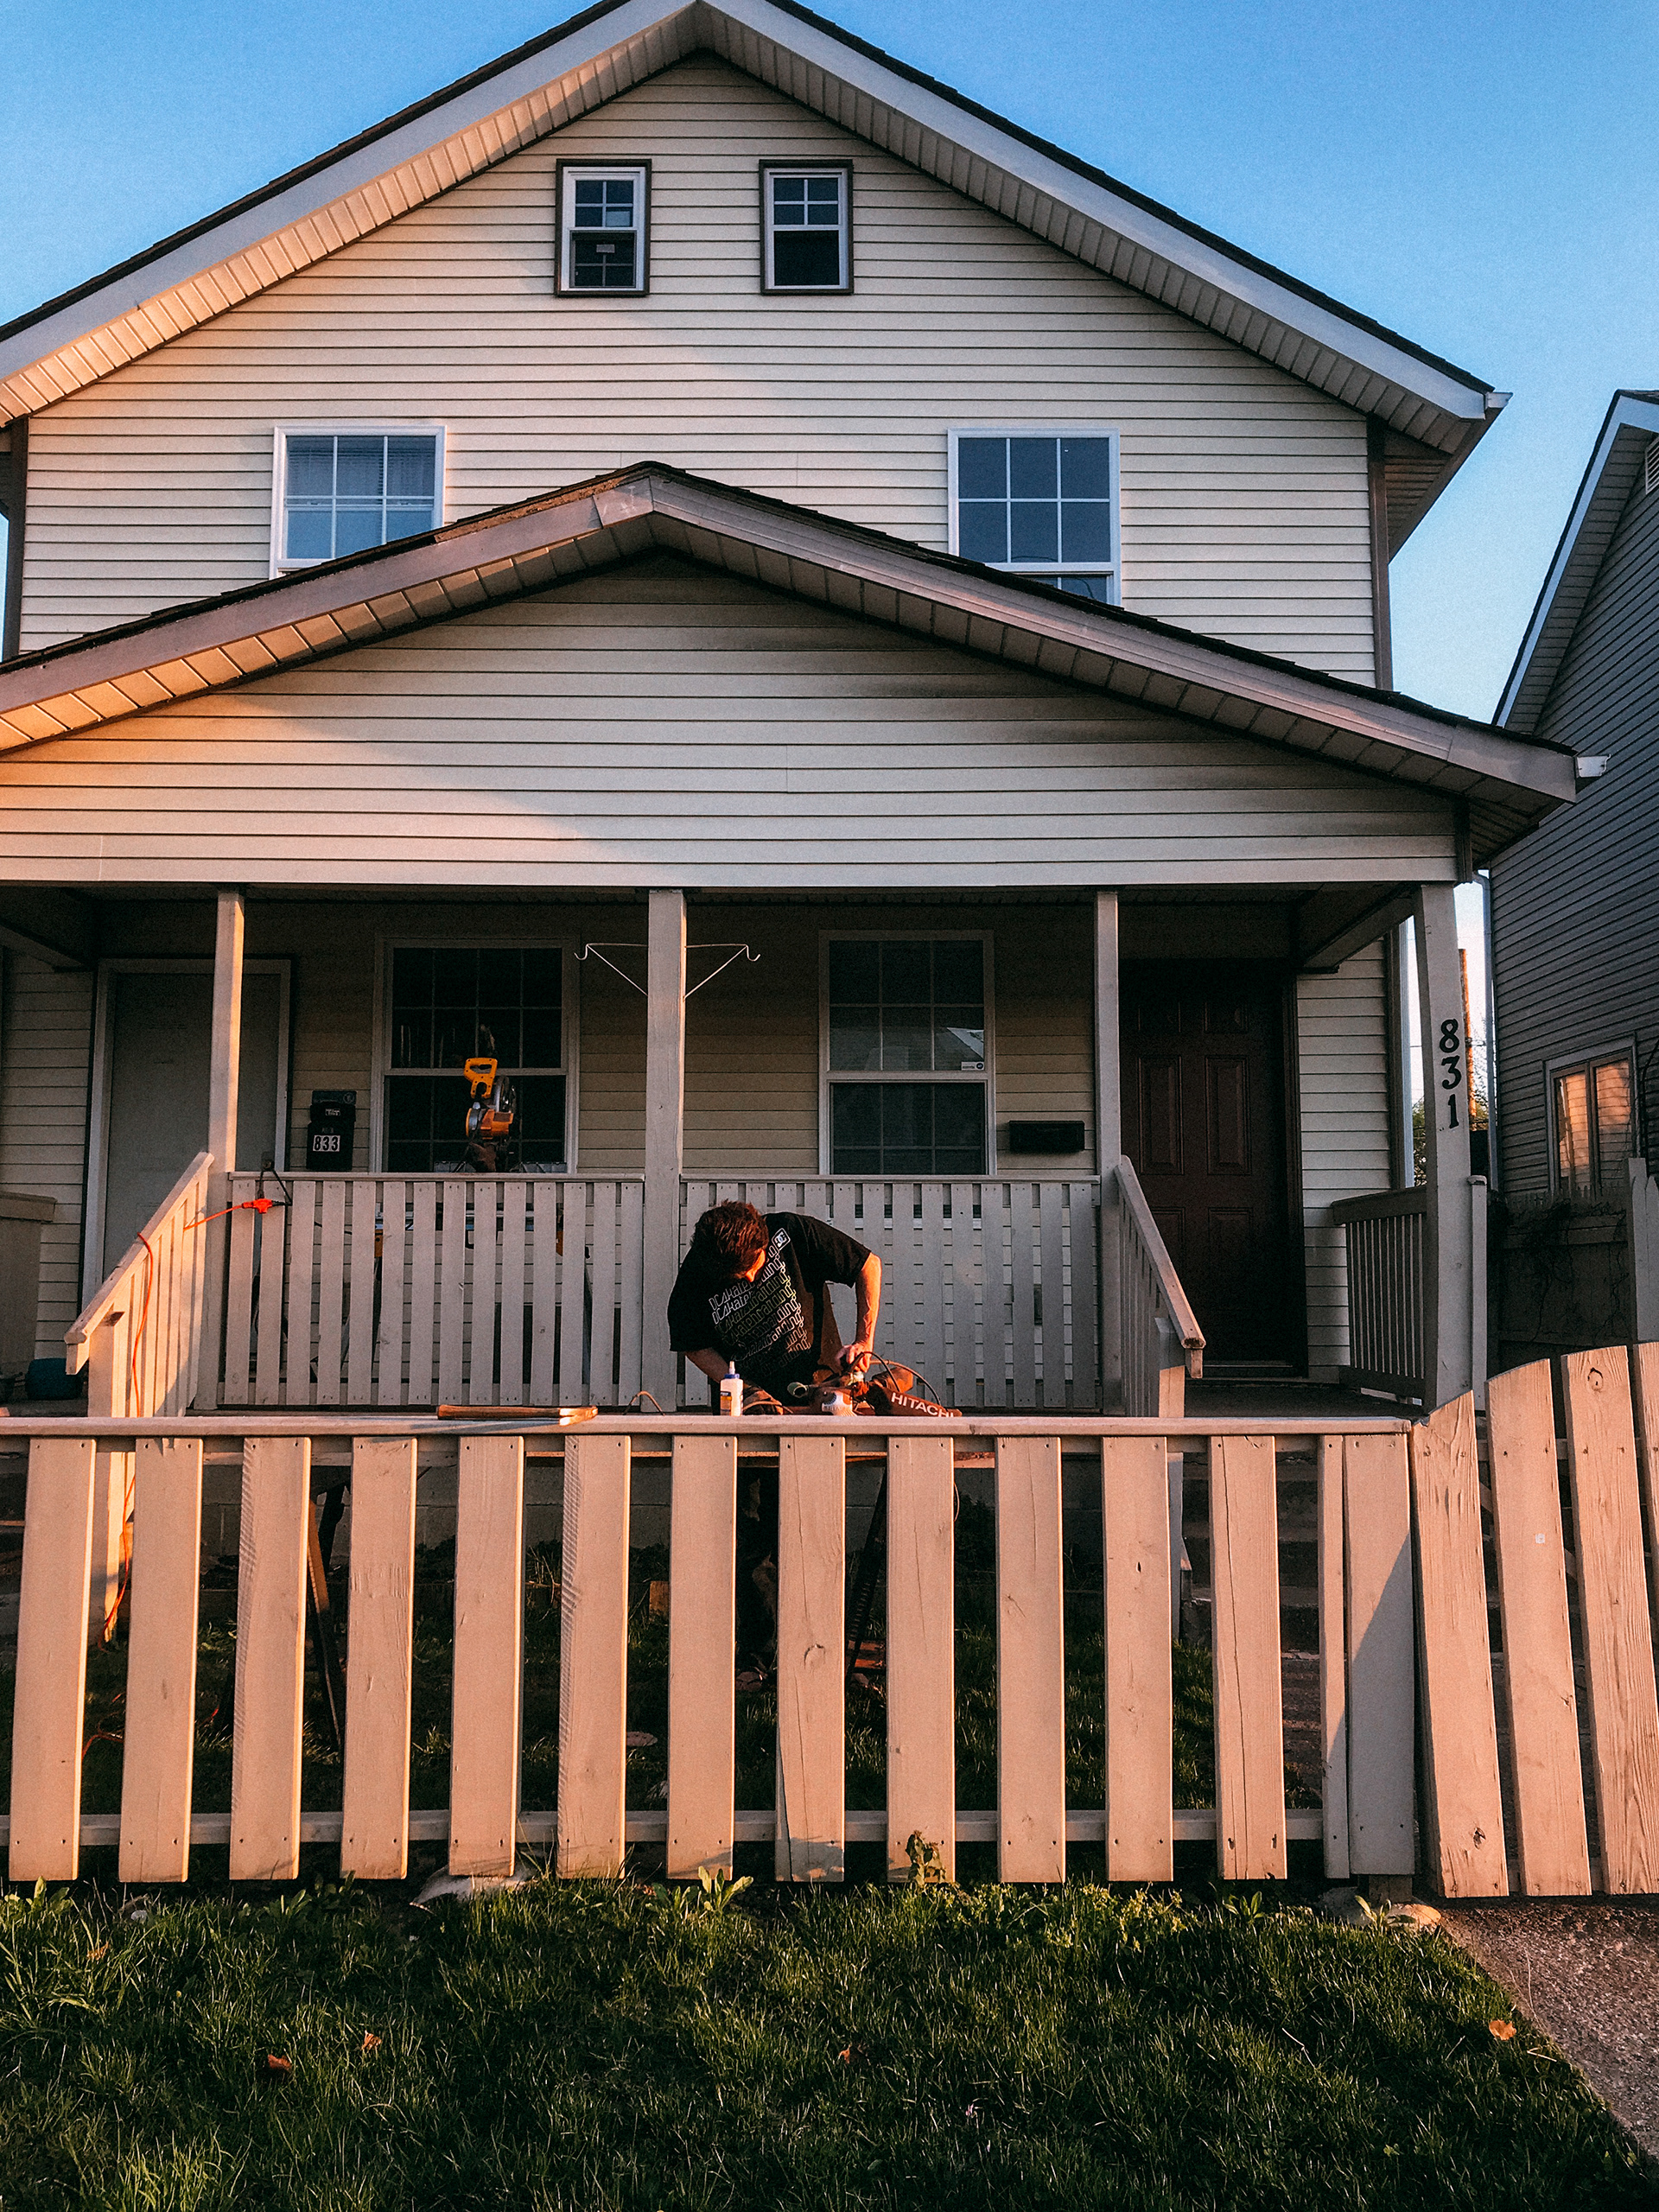
I loaded the van full of lumber, tools and enough clothes for 3 weeks and headed to my buddy Josh's house up in Chagrin Falls, Ohio to work on the van. He has a barn with a wood stove and enough room for me to tear into this beast while keeping me shielded from Ohio weather. I spent the next 19 days redoing what Jerry considered acceptable work for 1976.

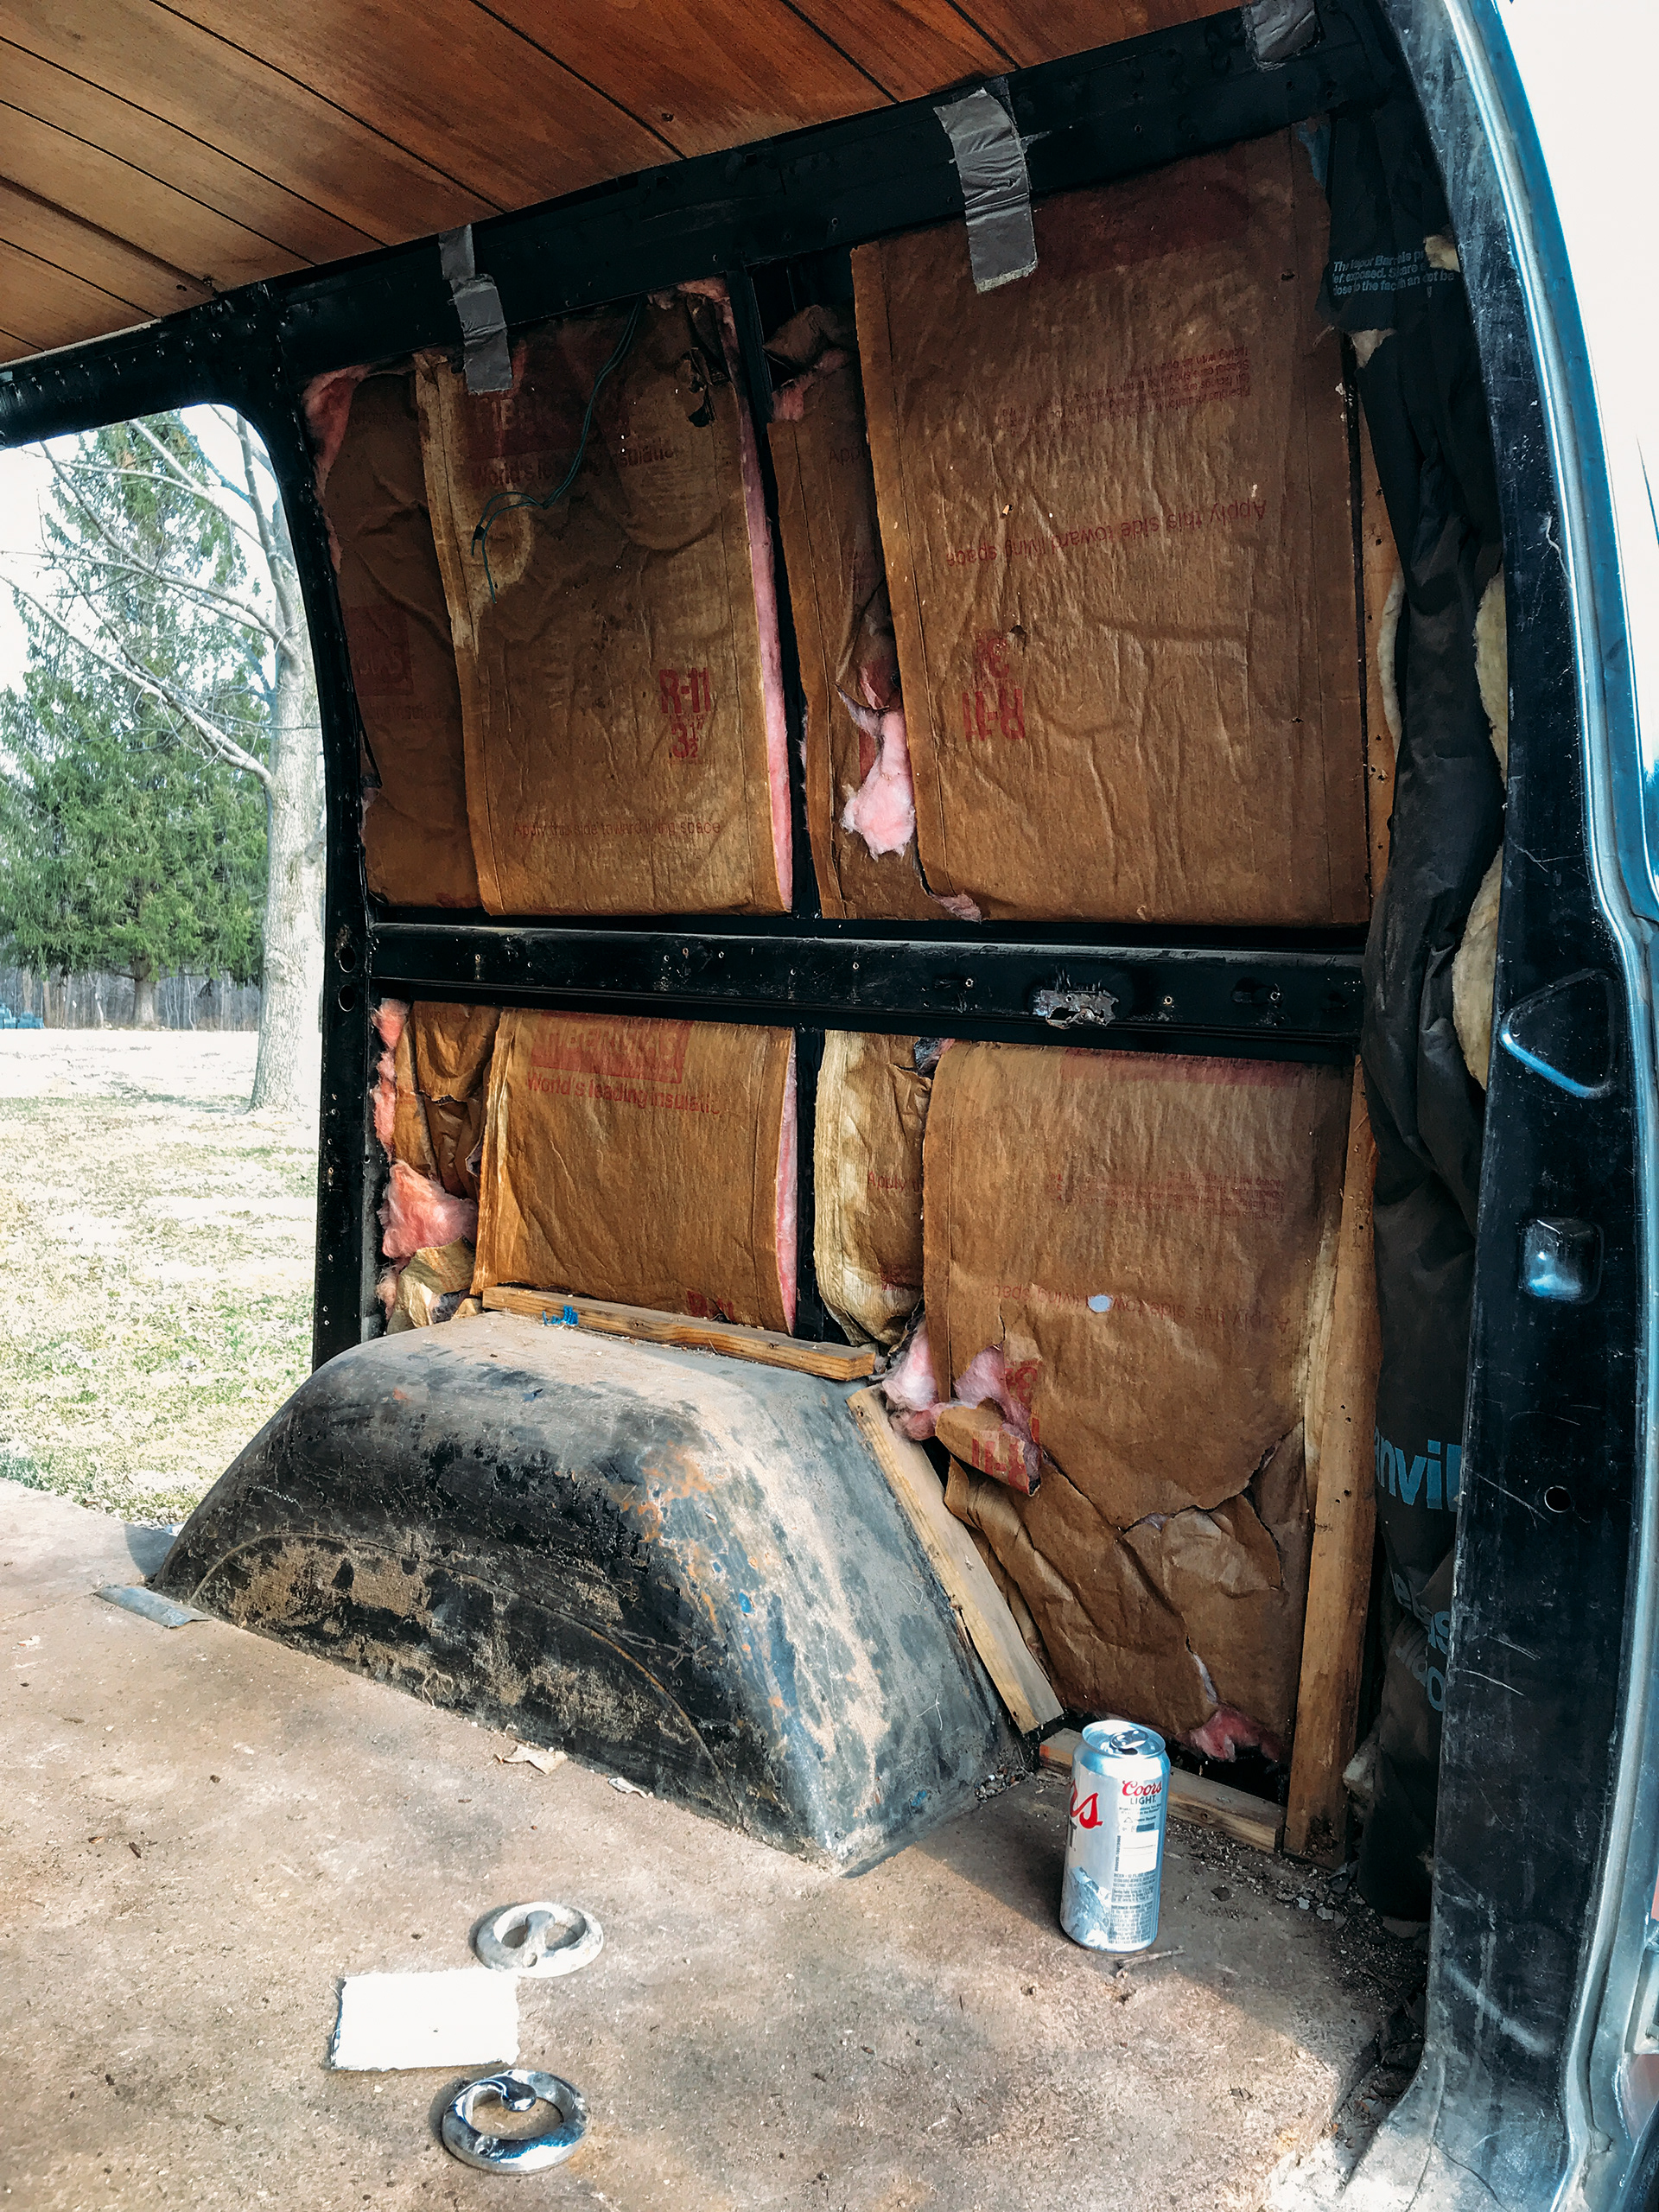
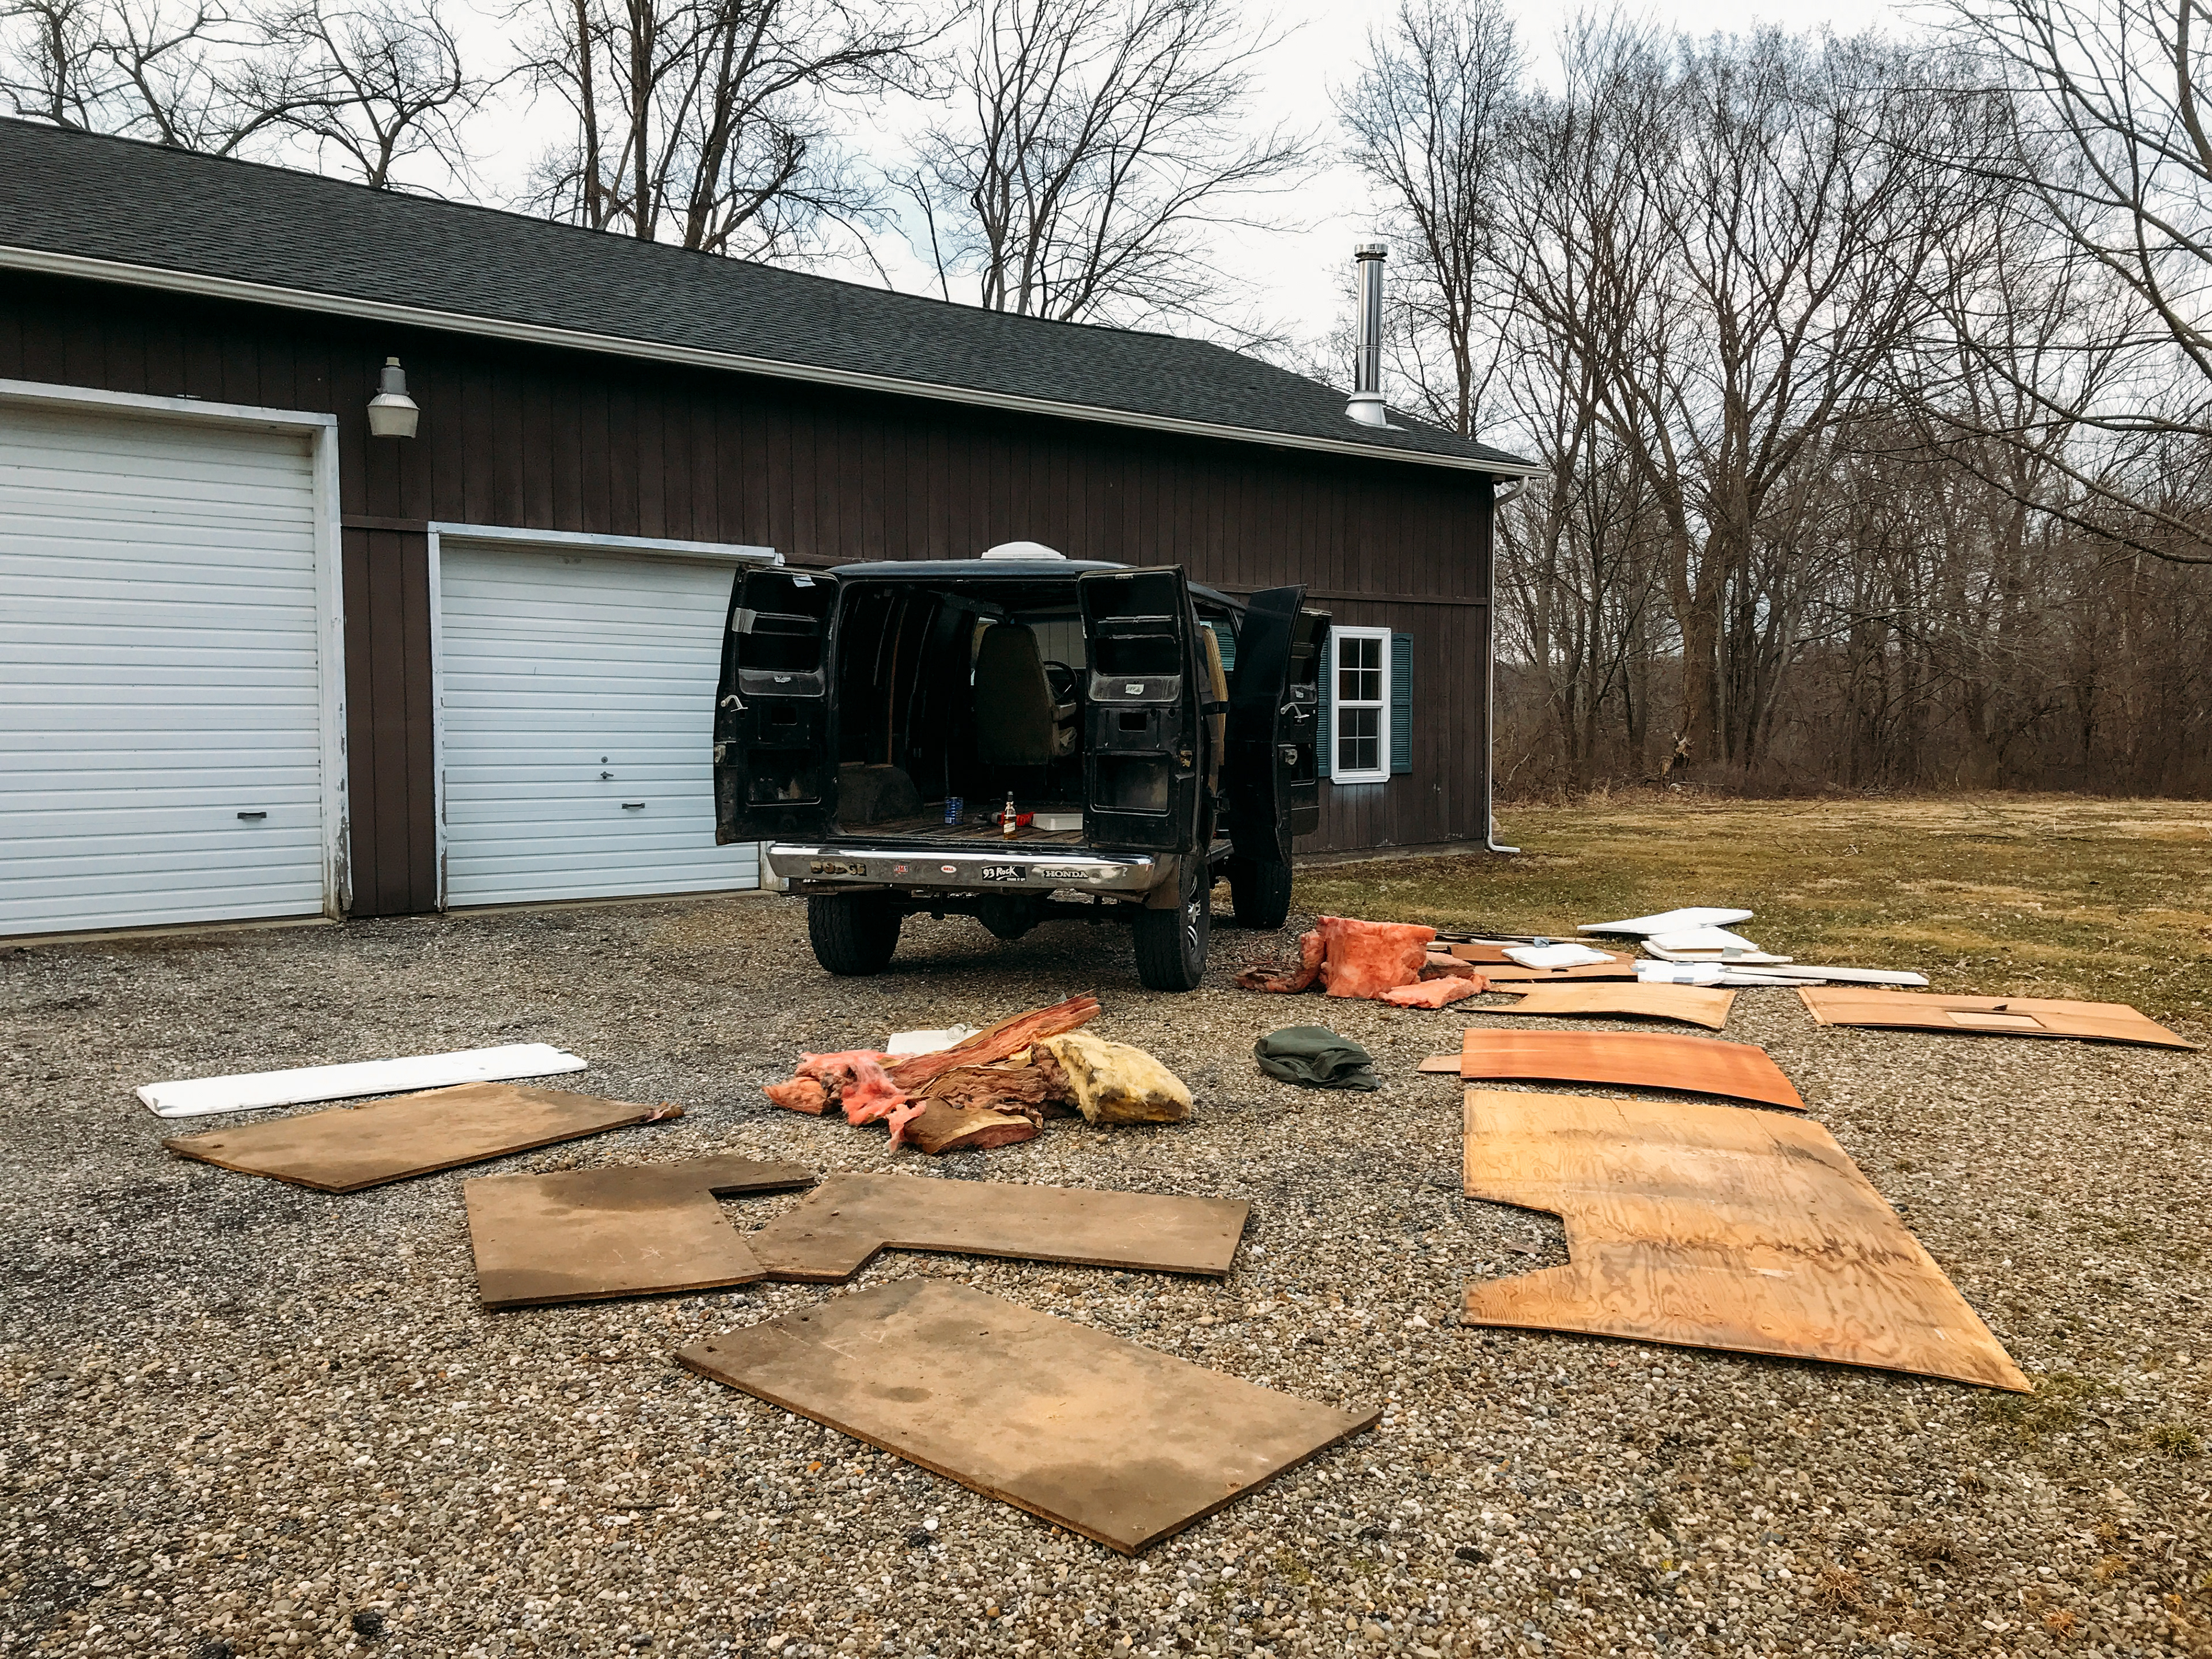
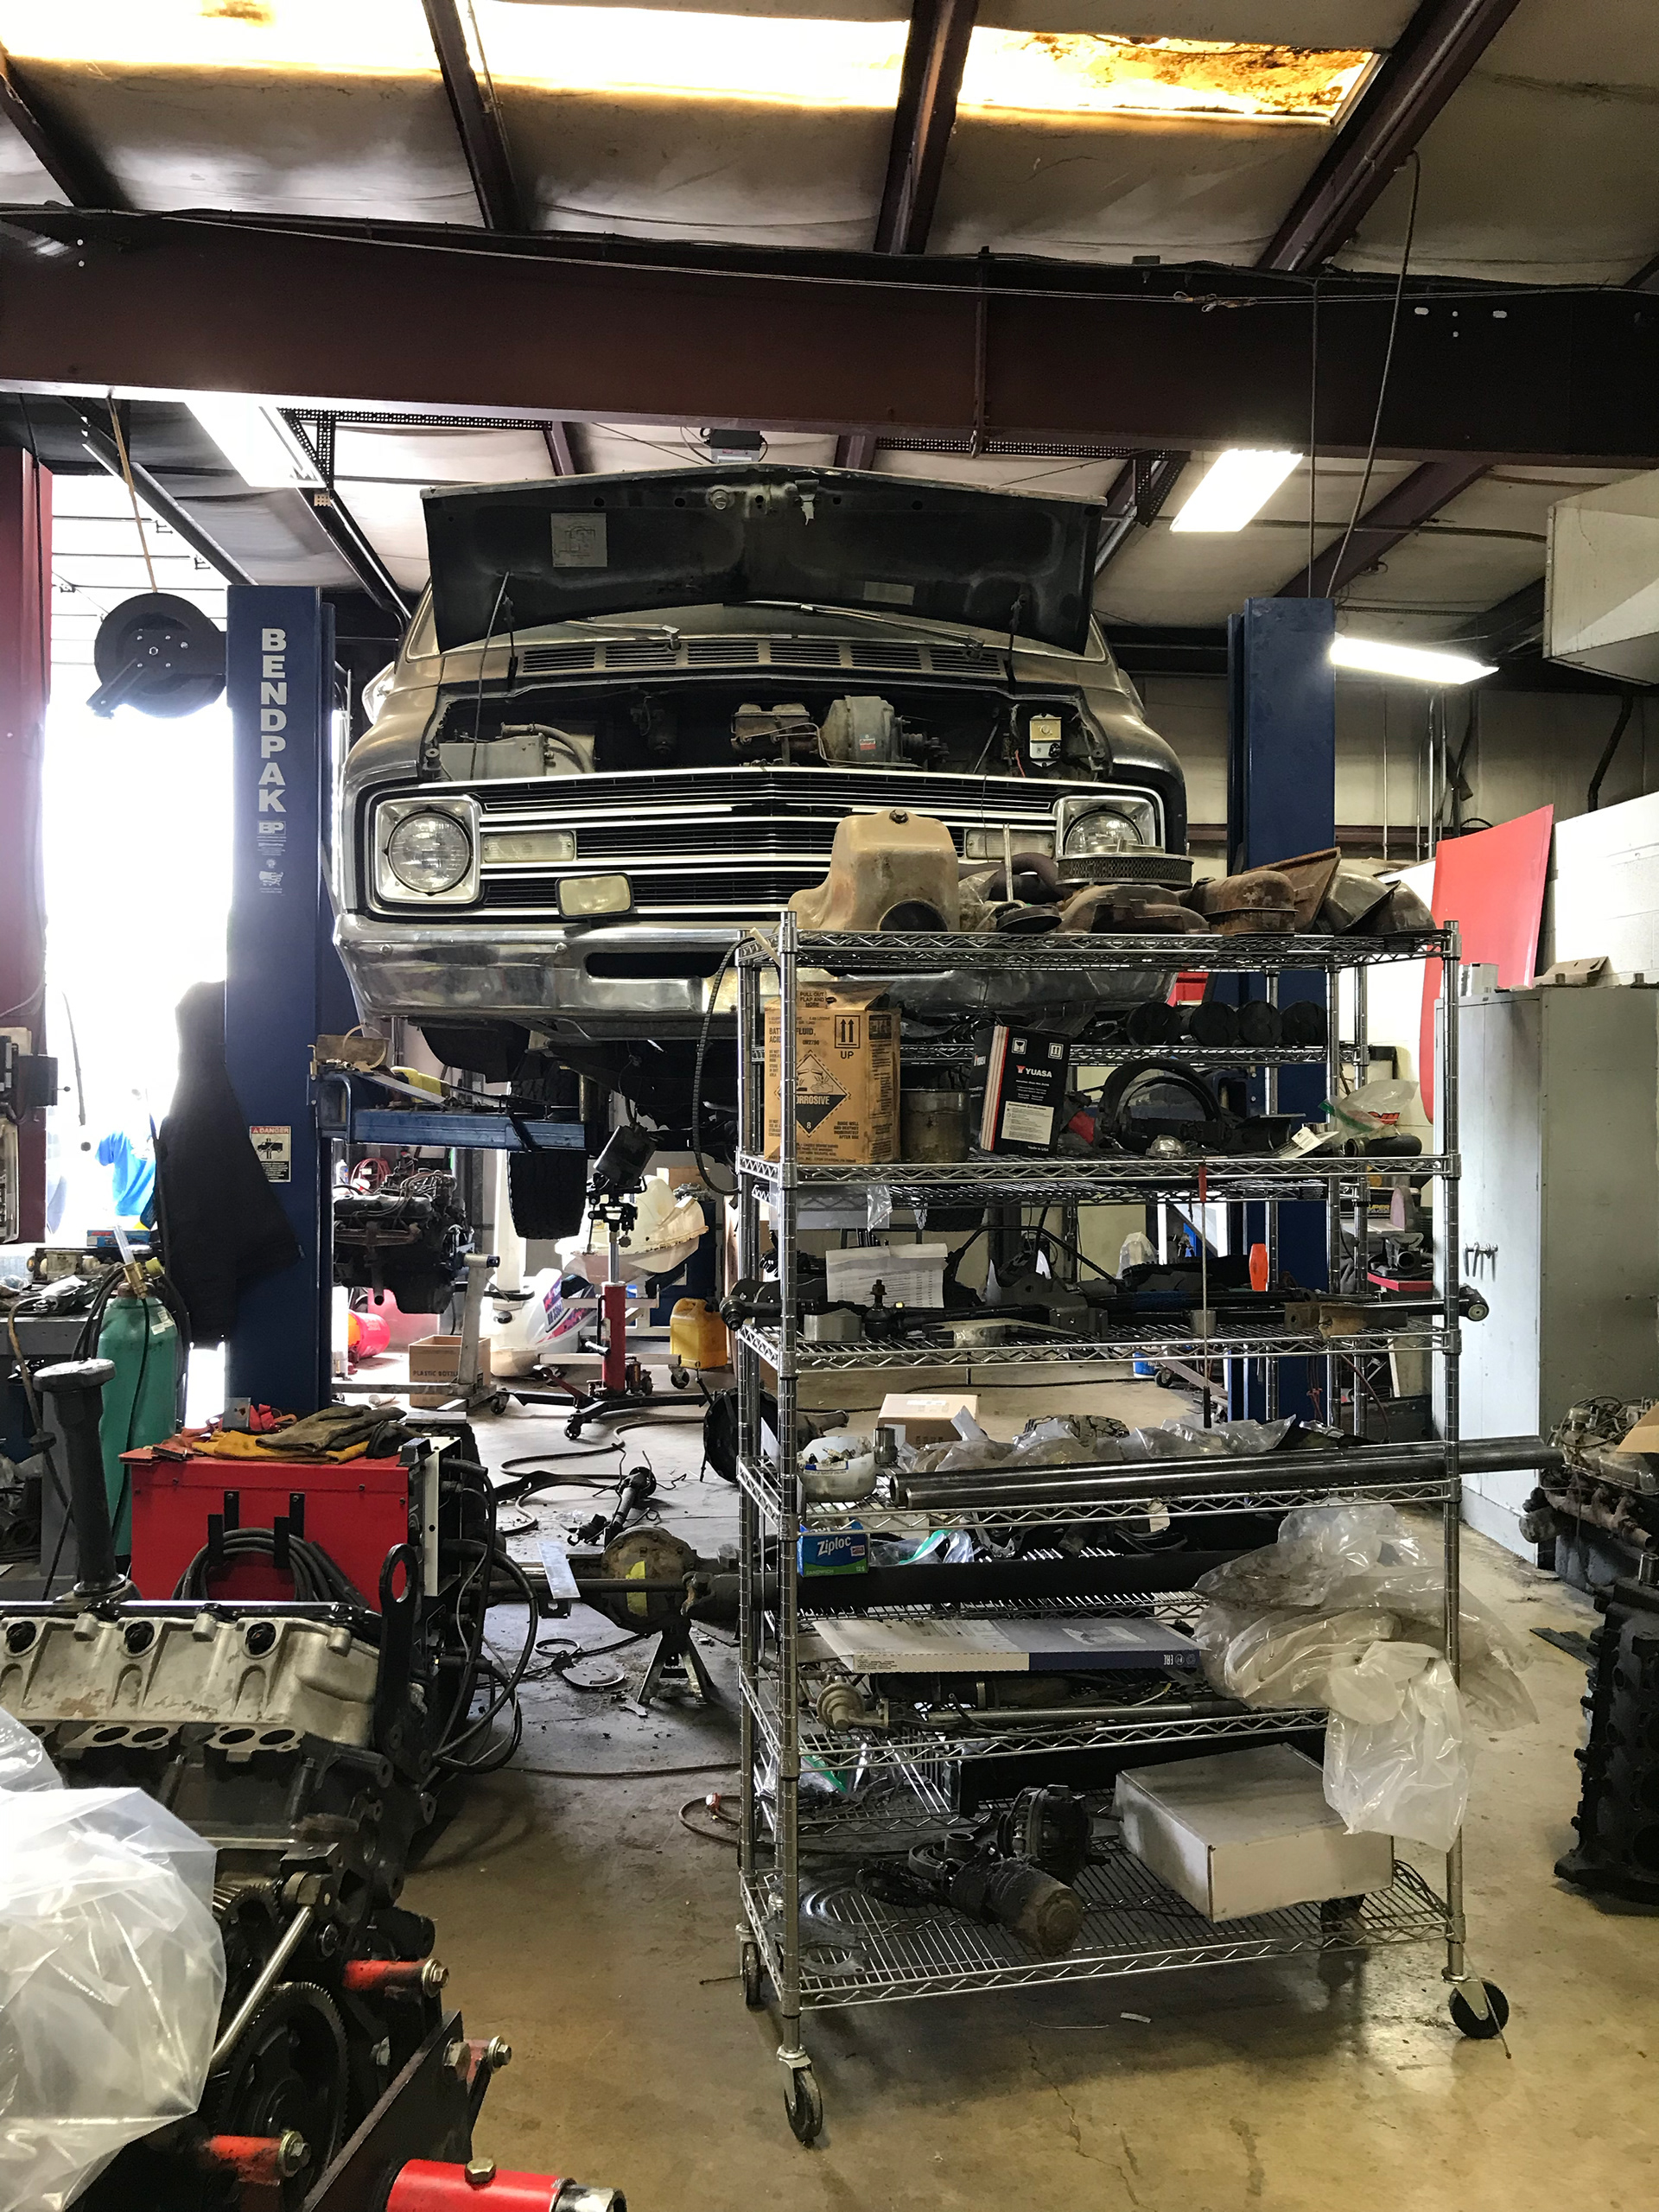
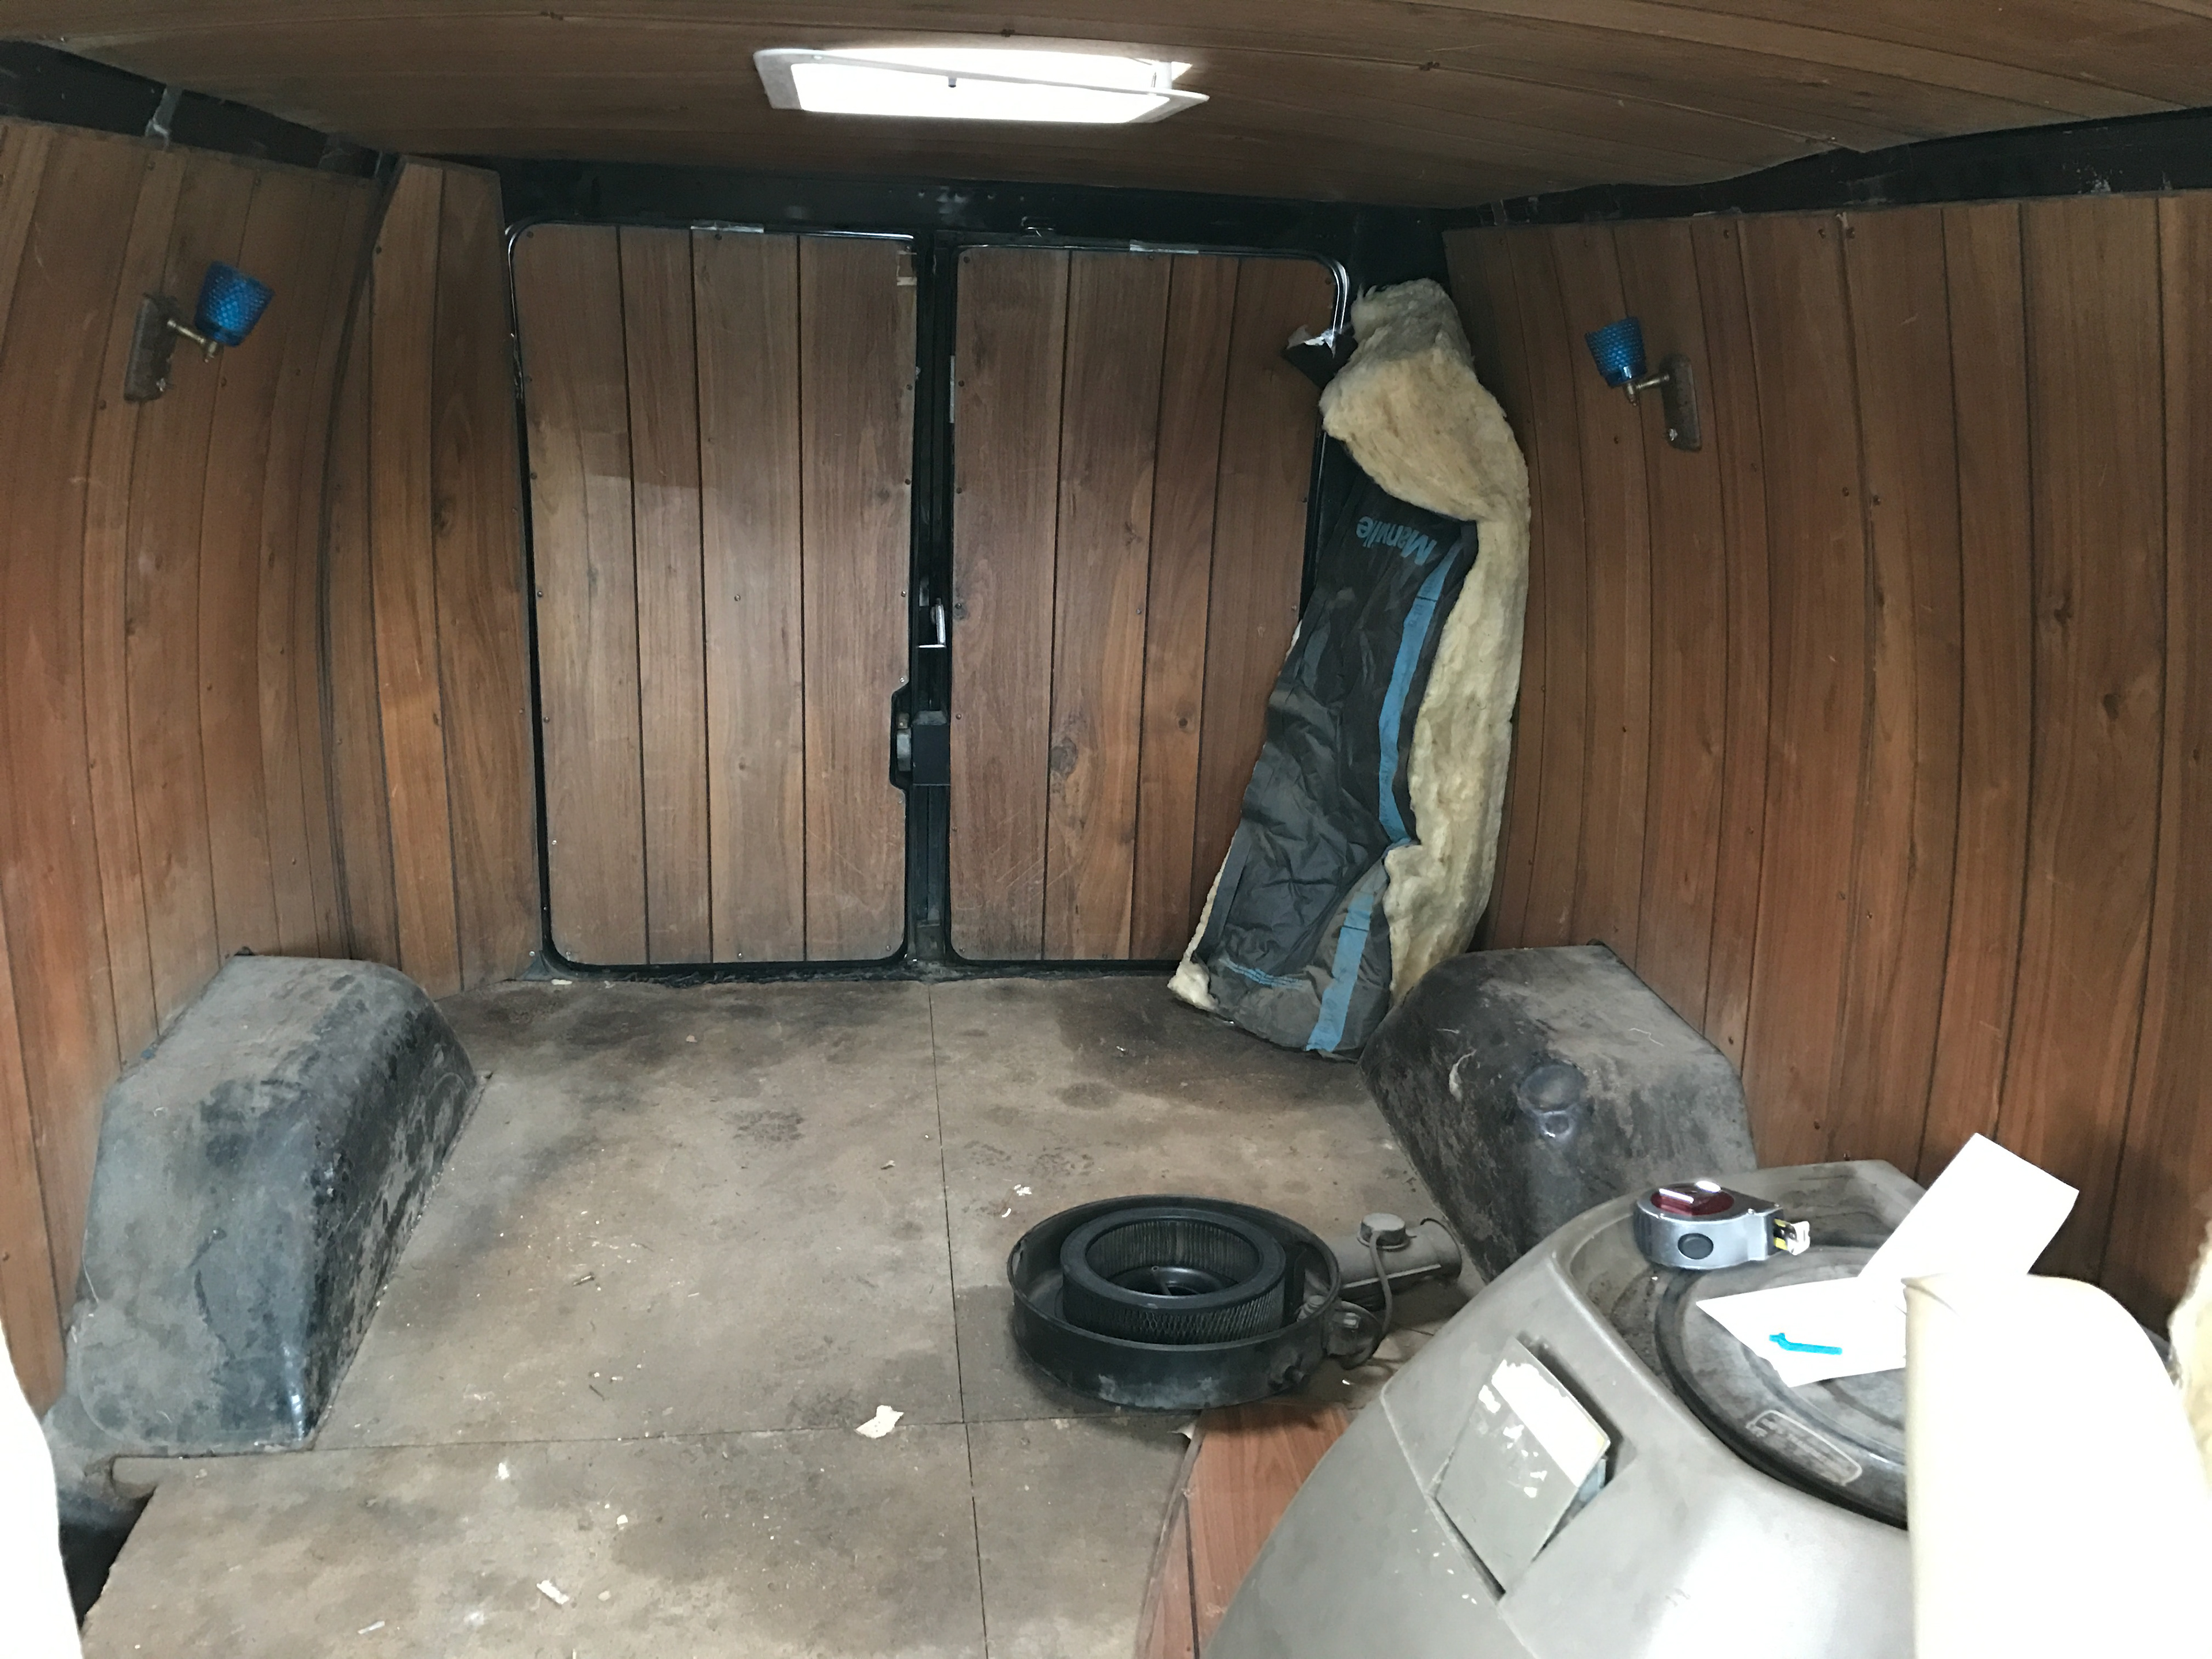
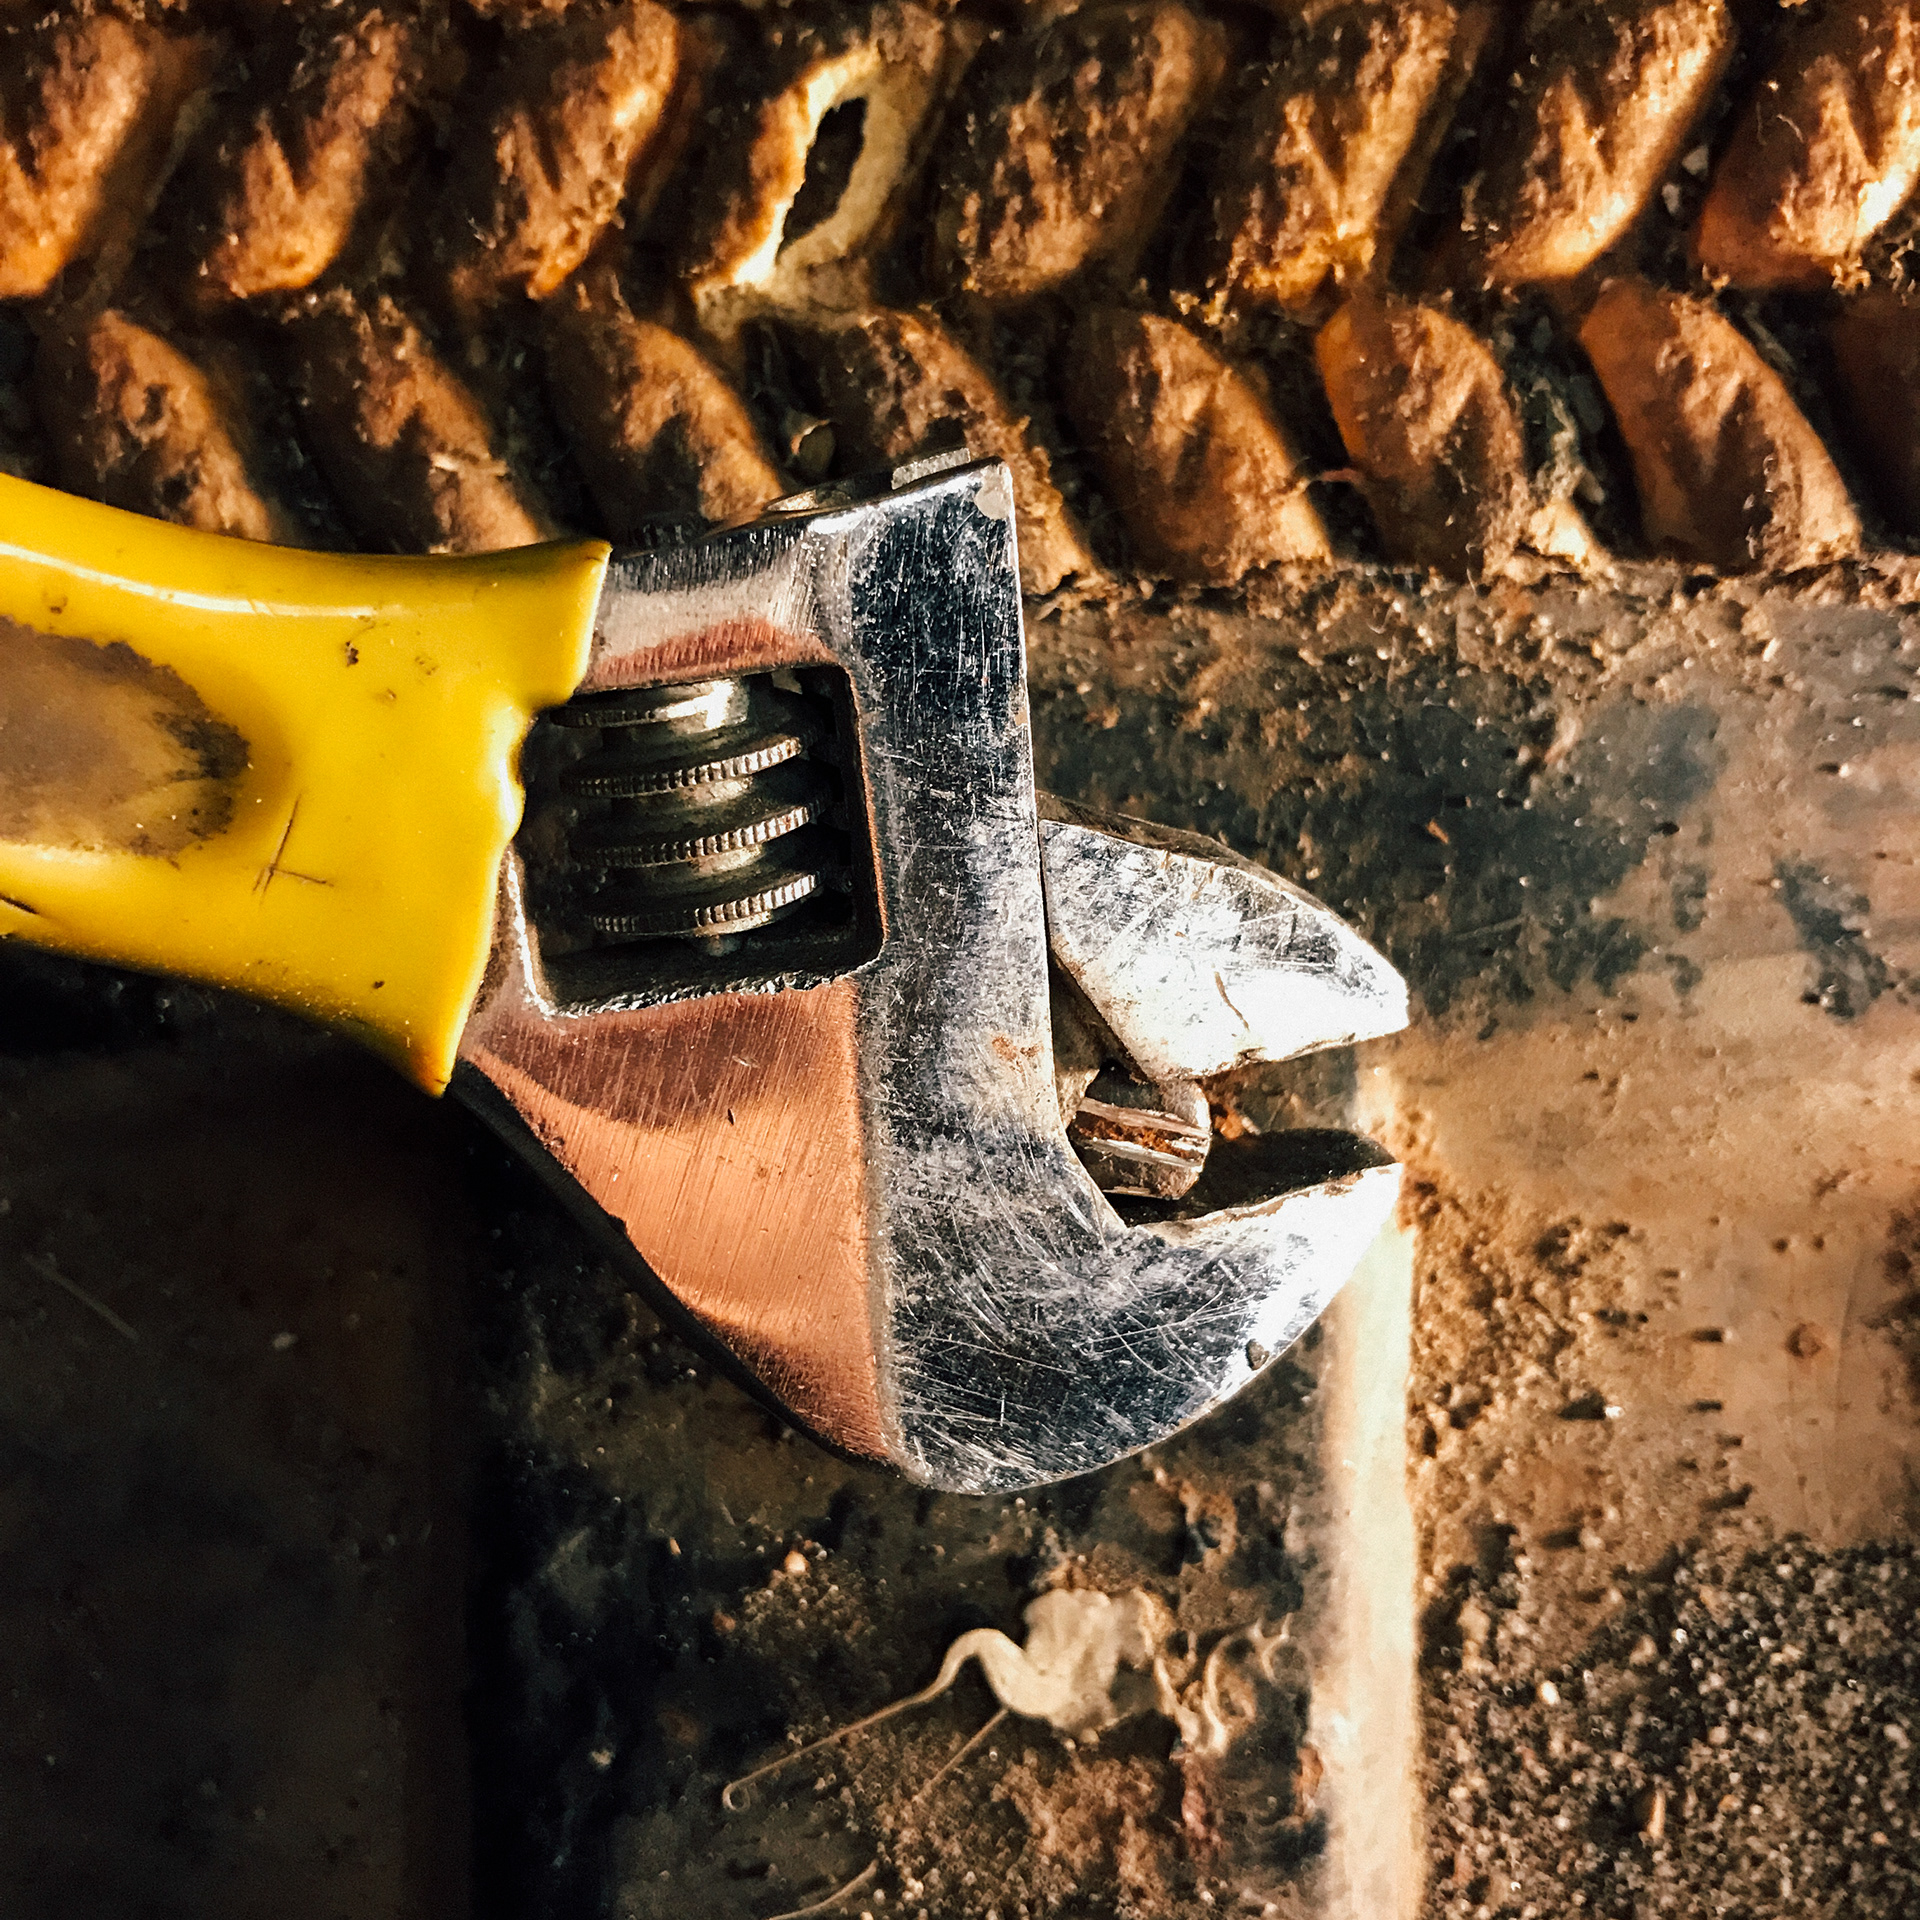
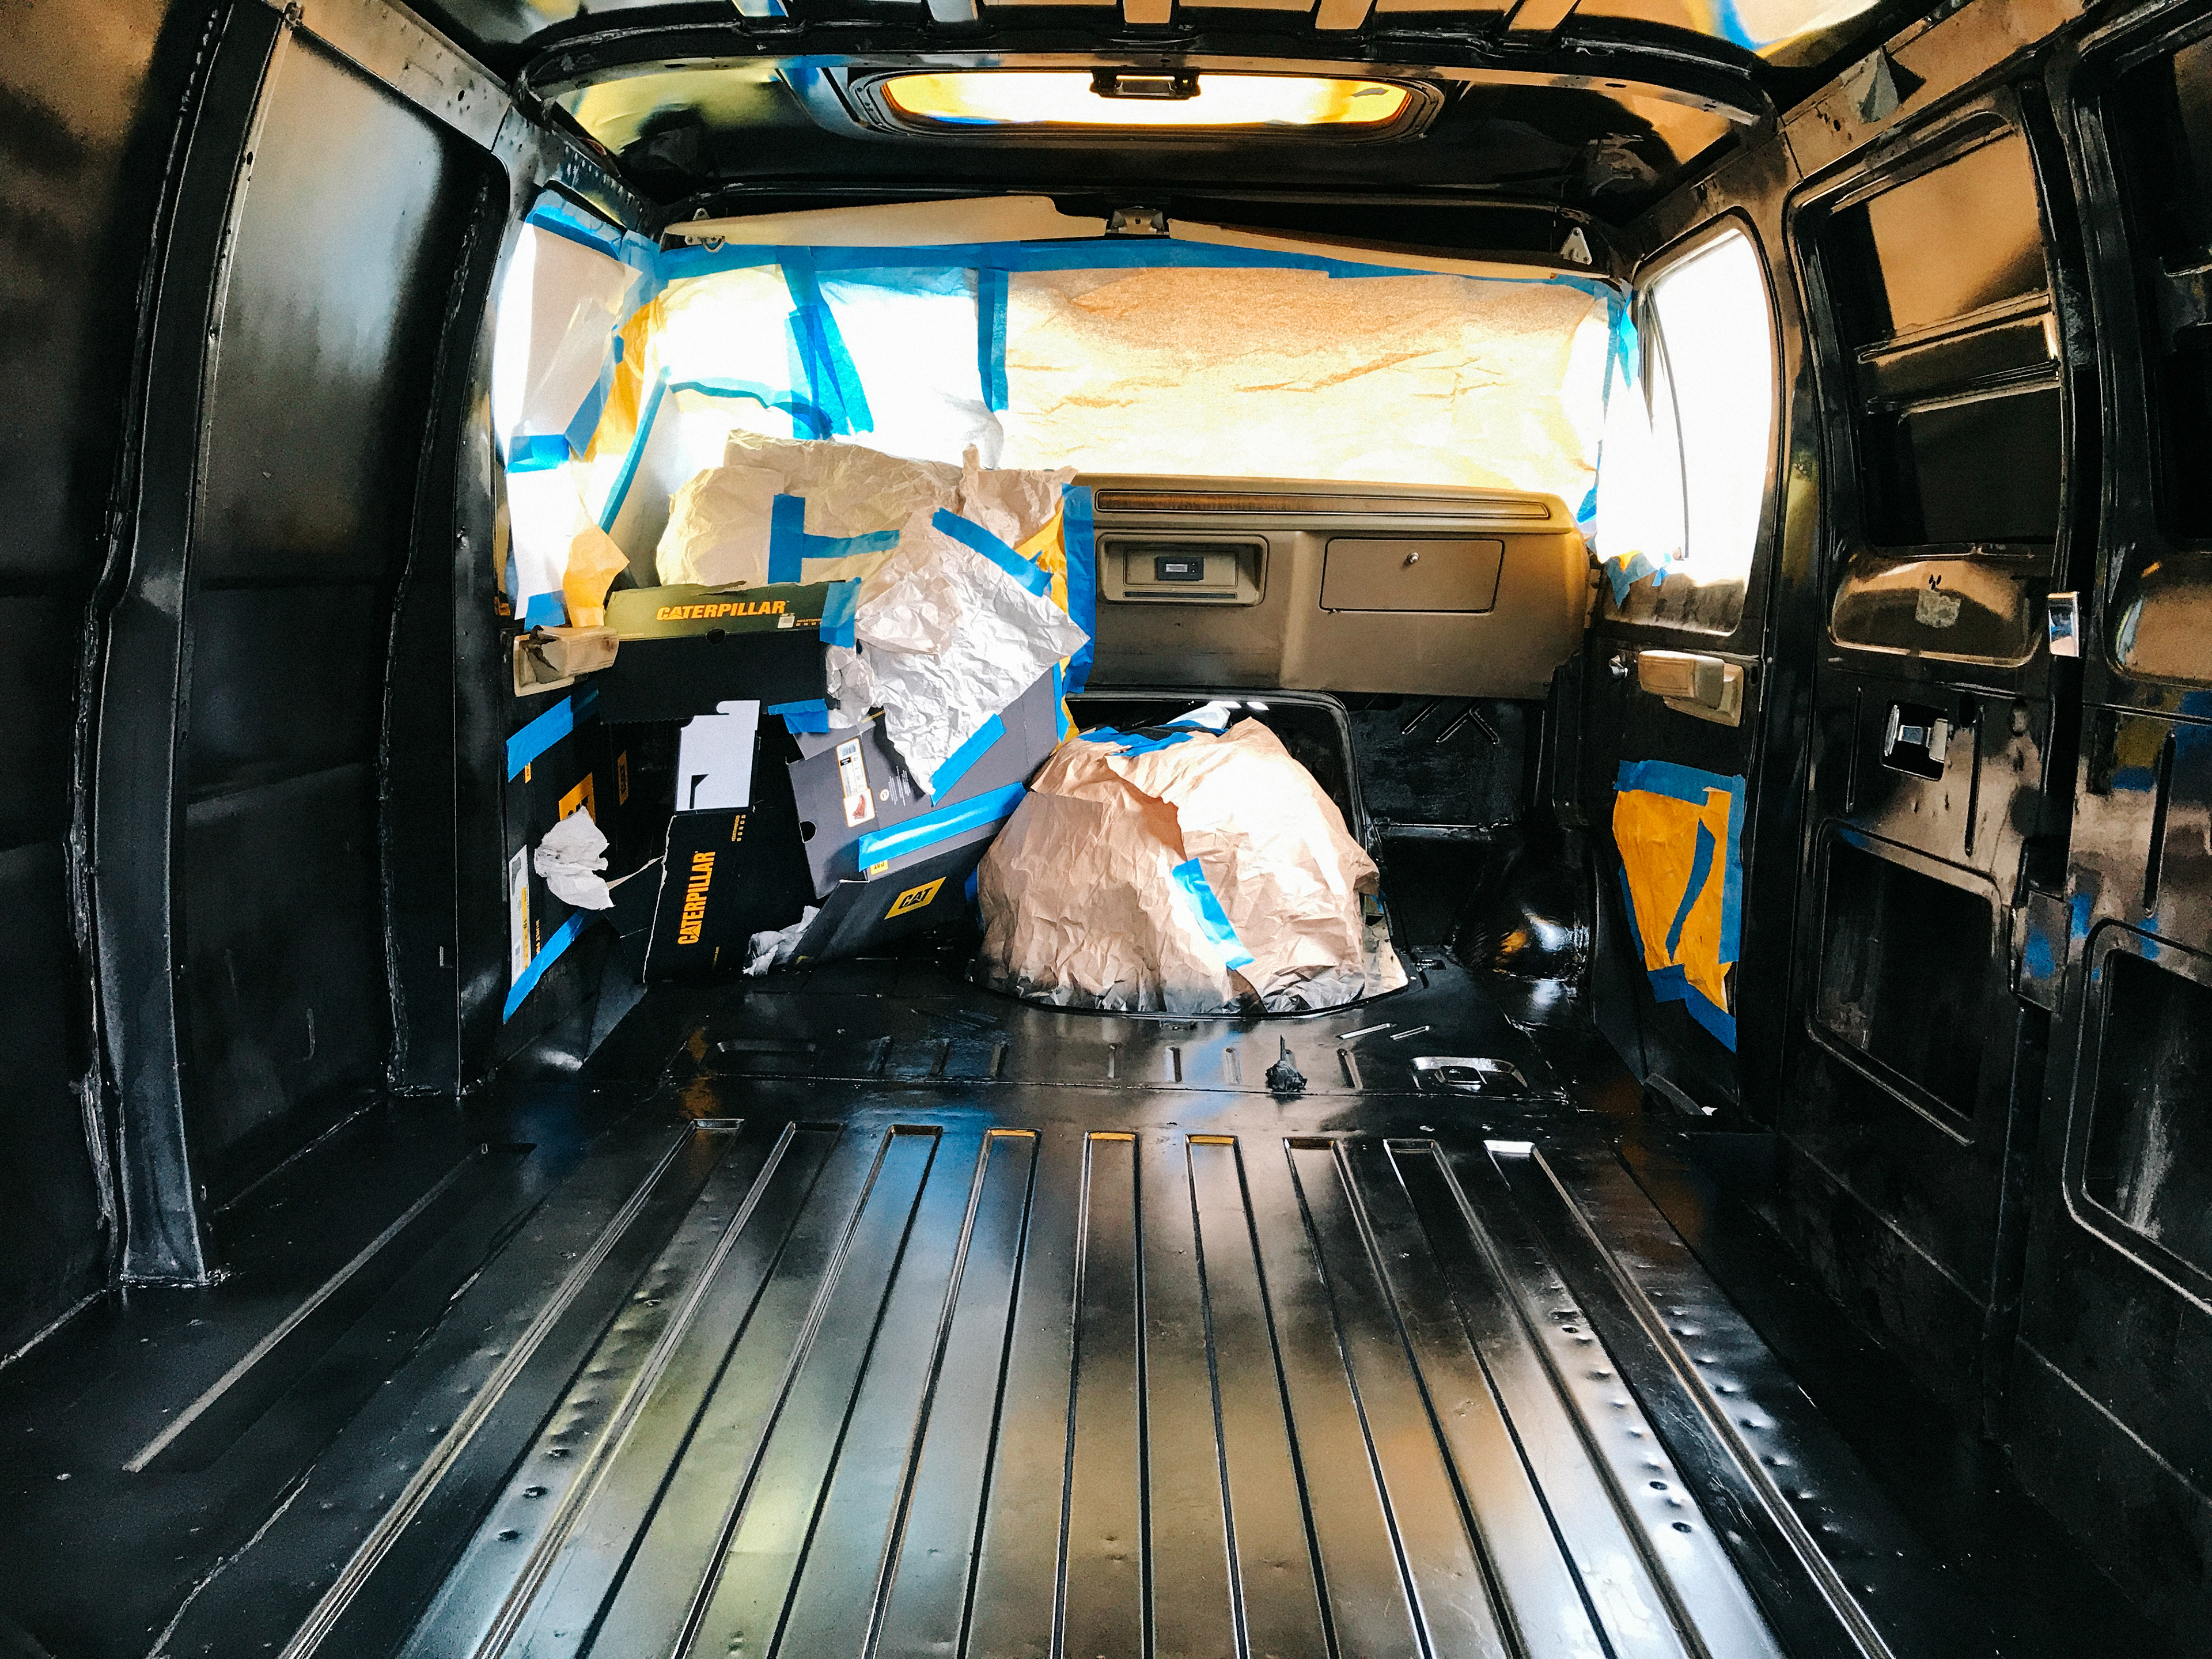
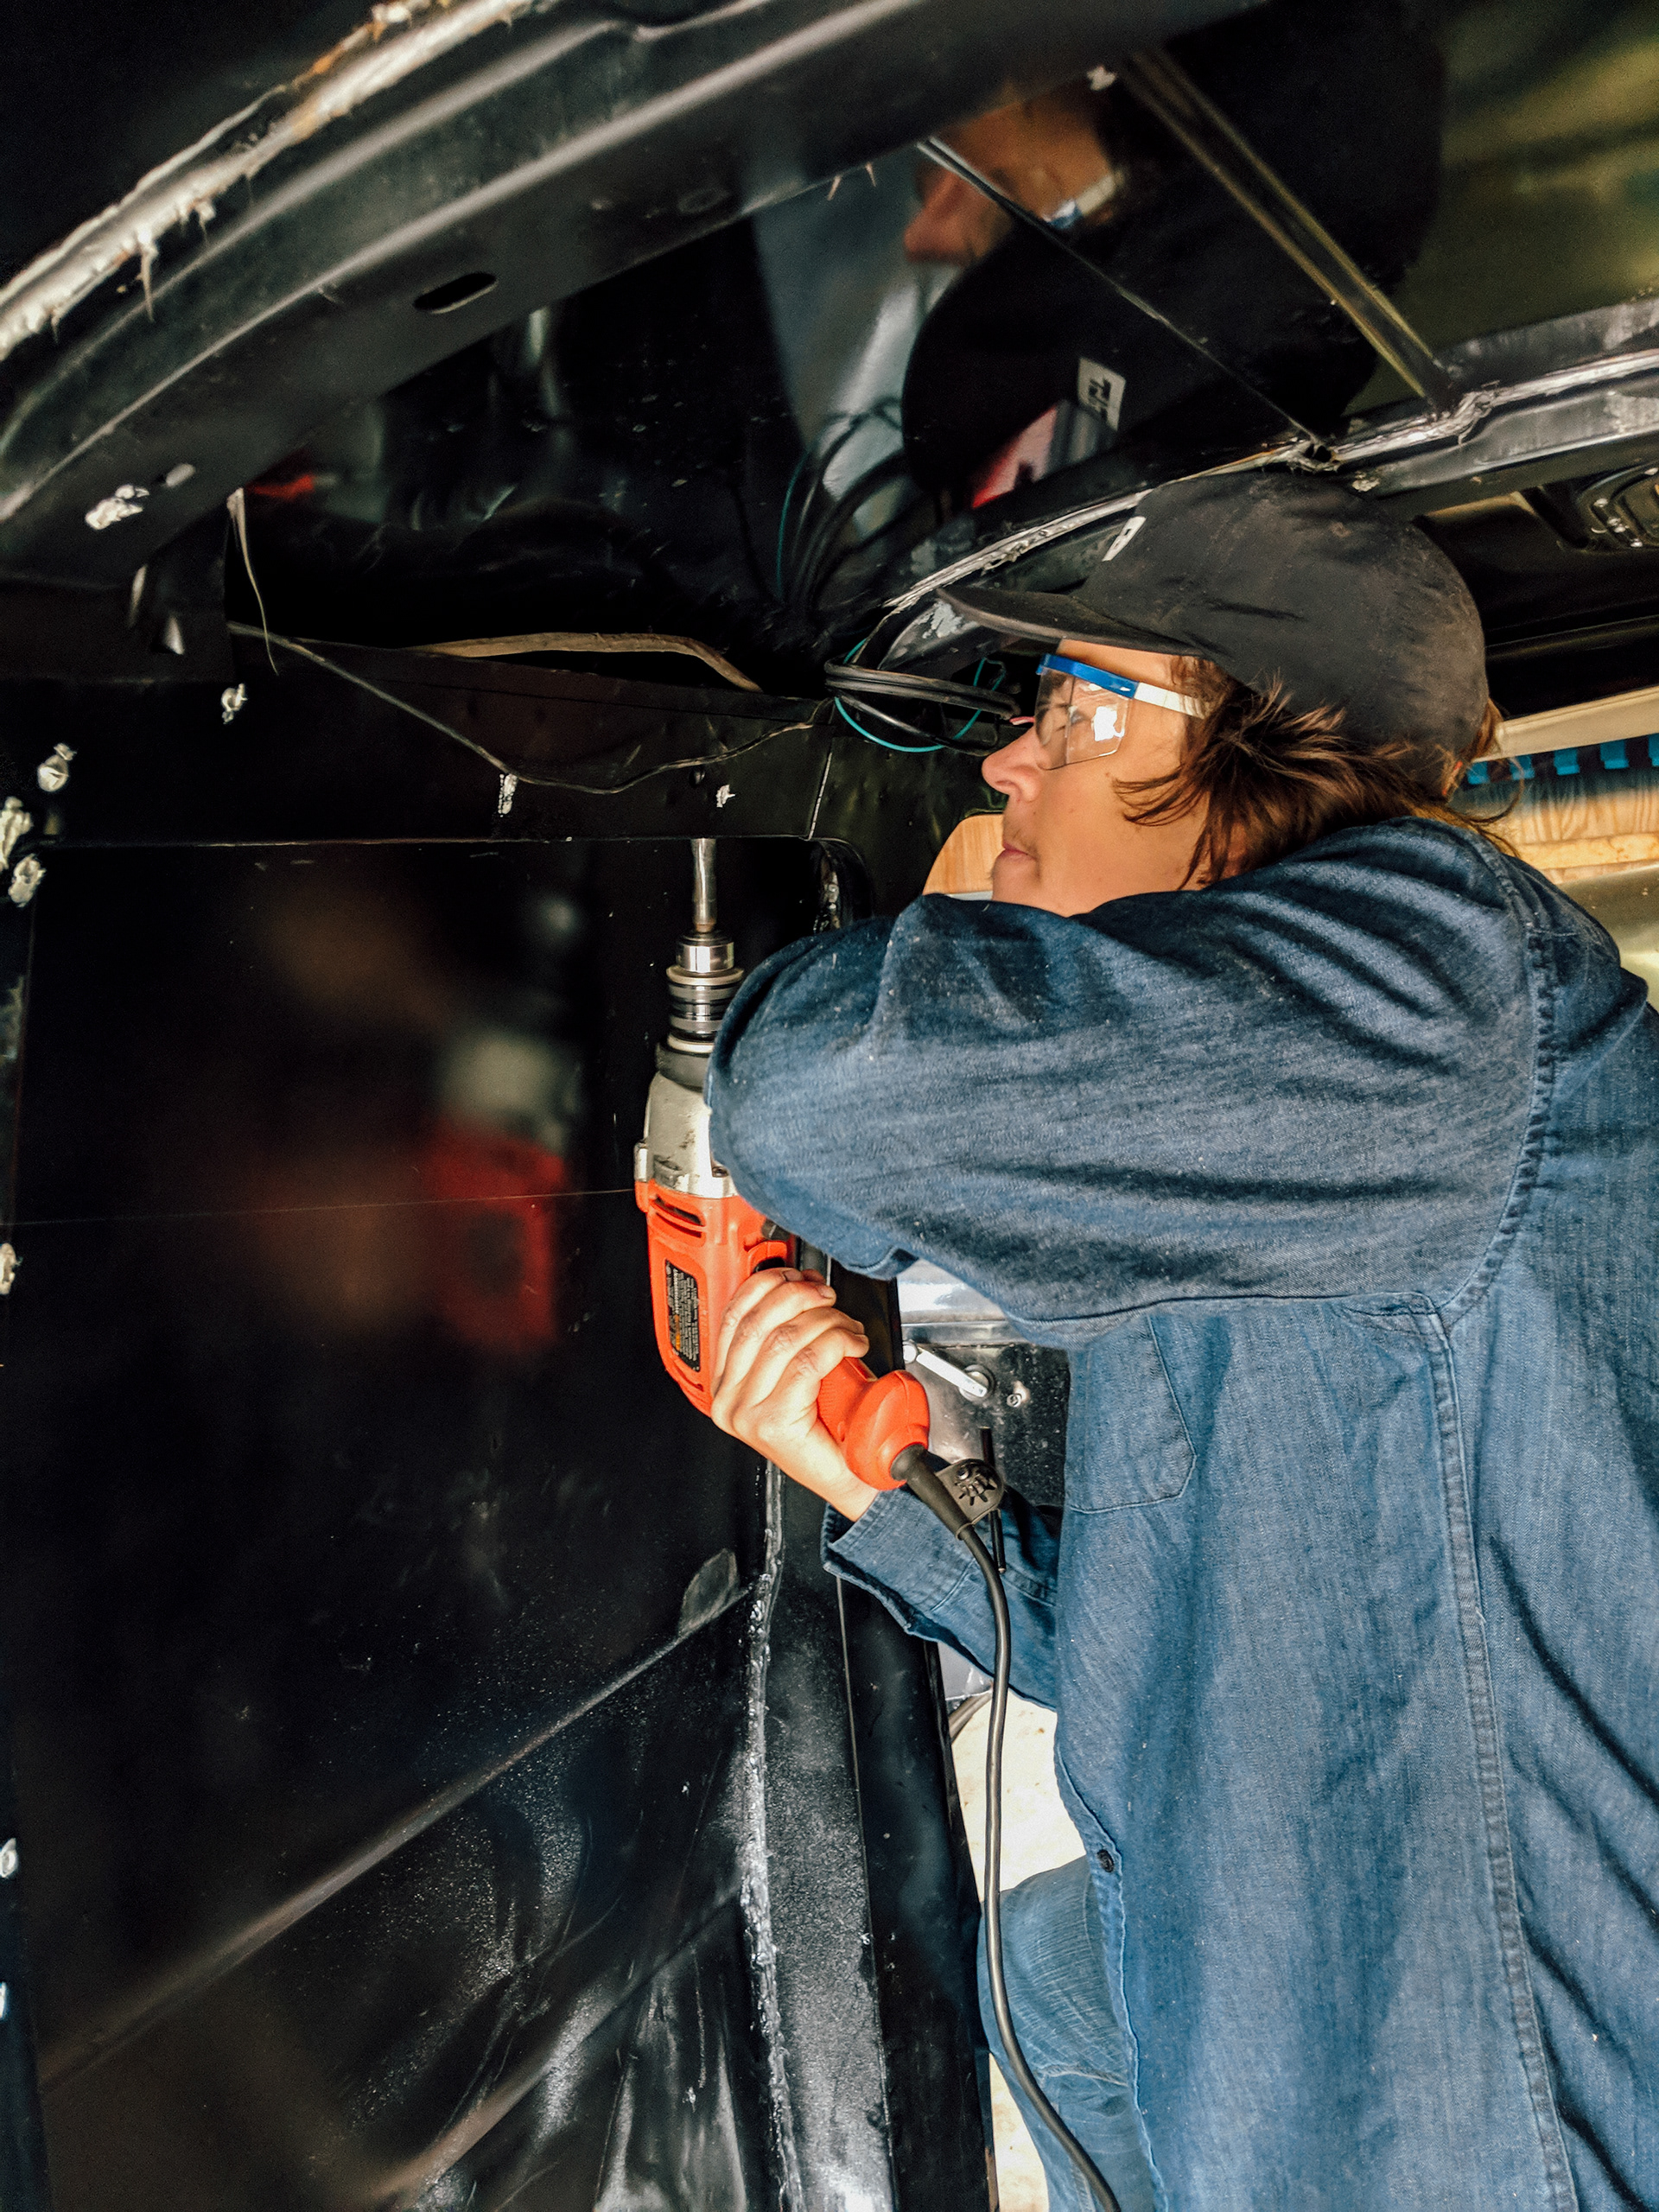
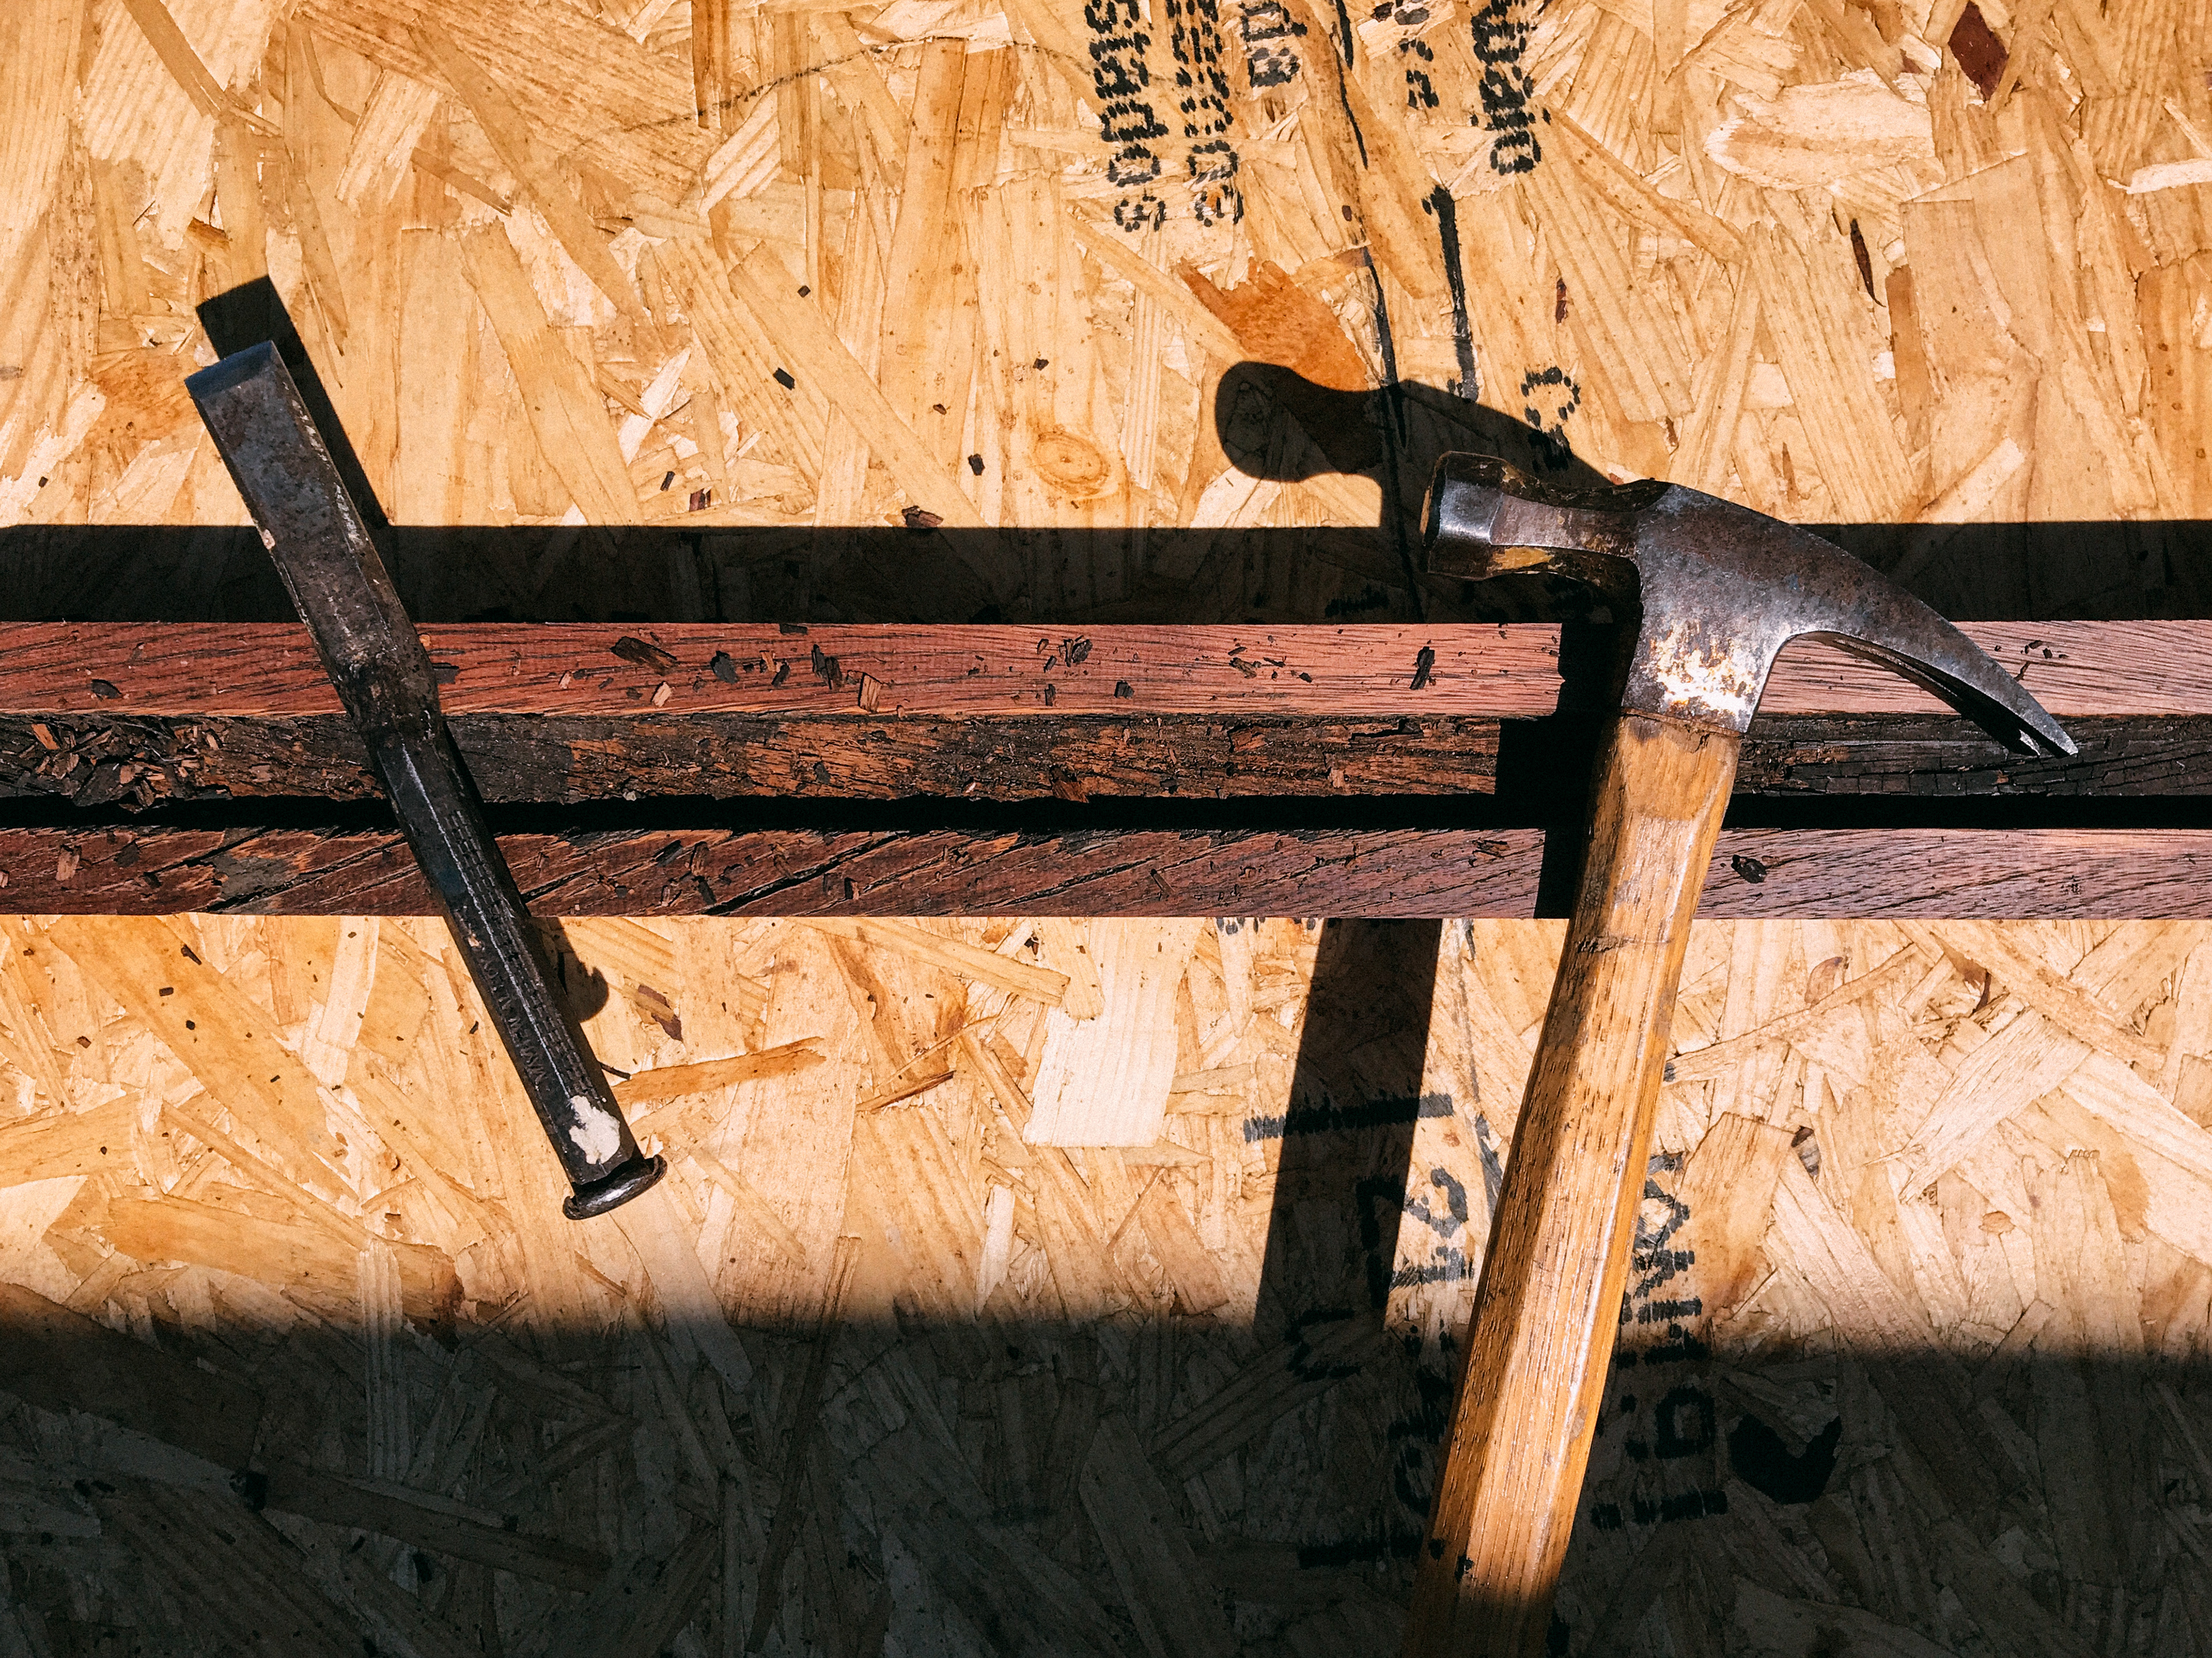
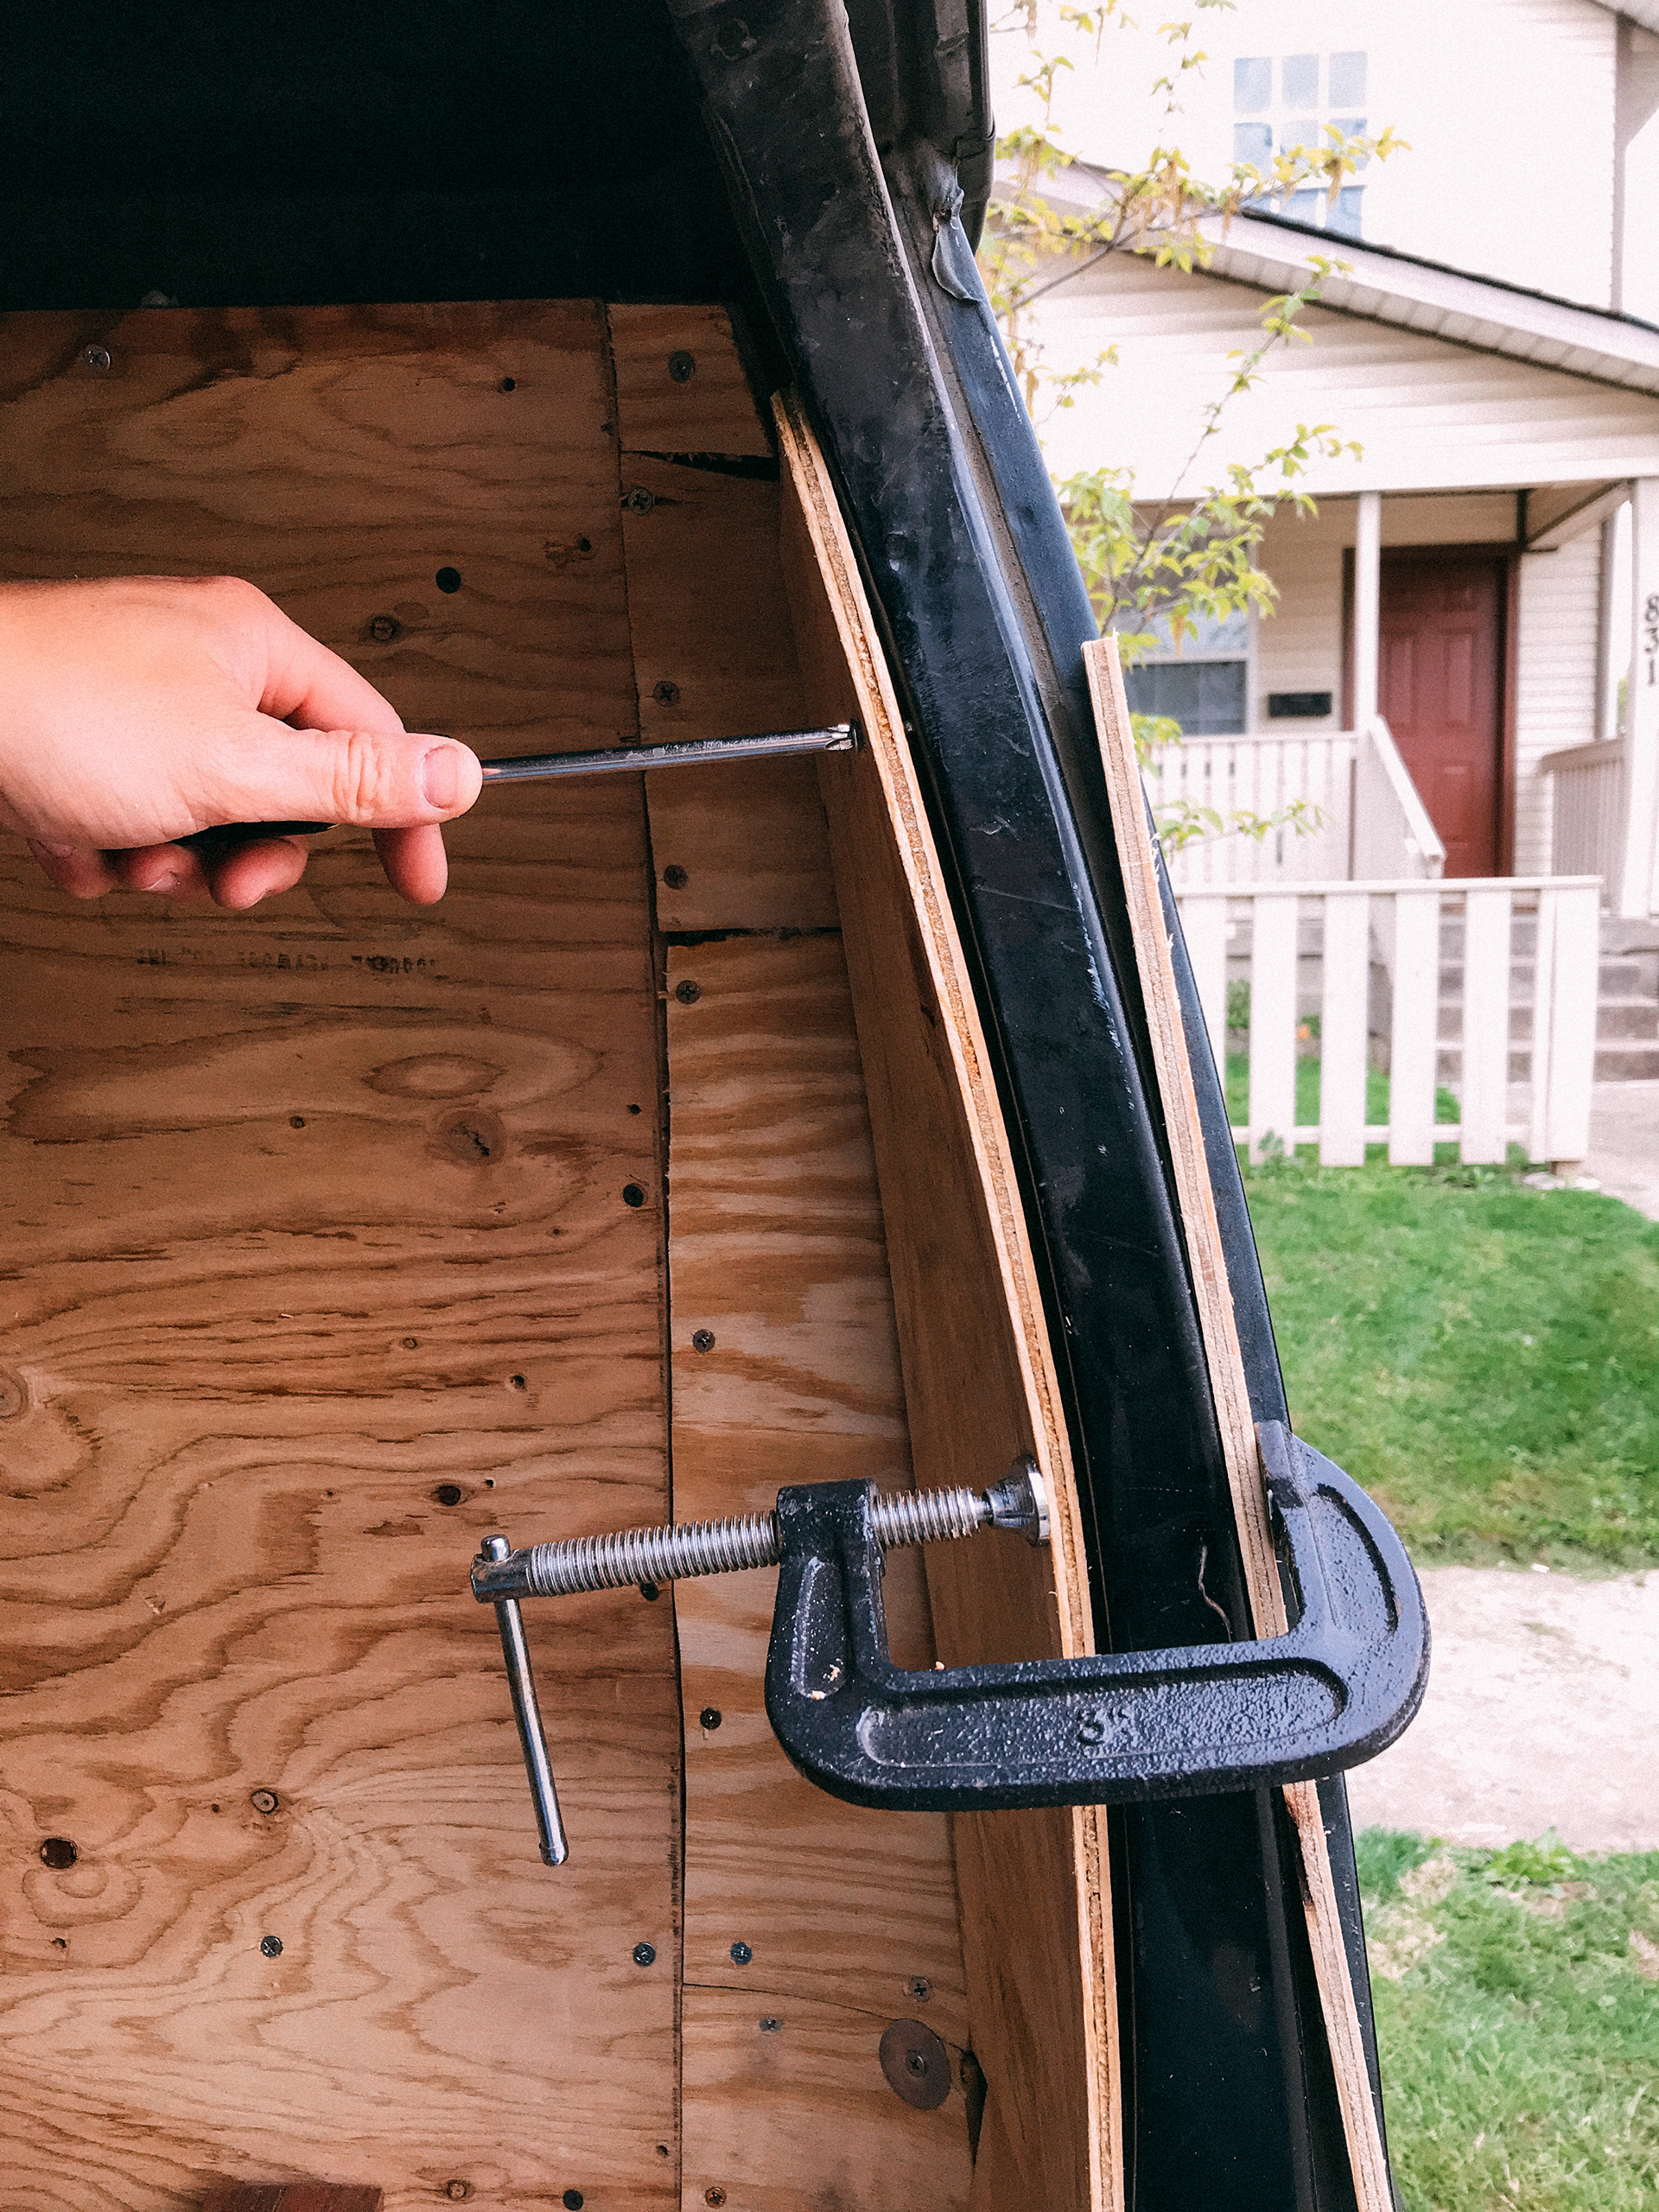
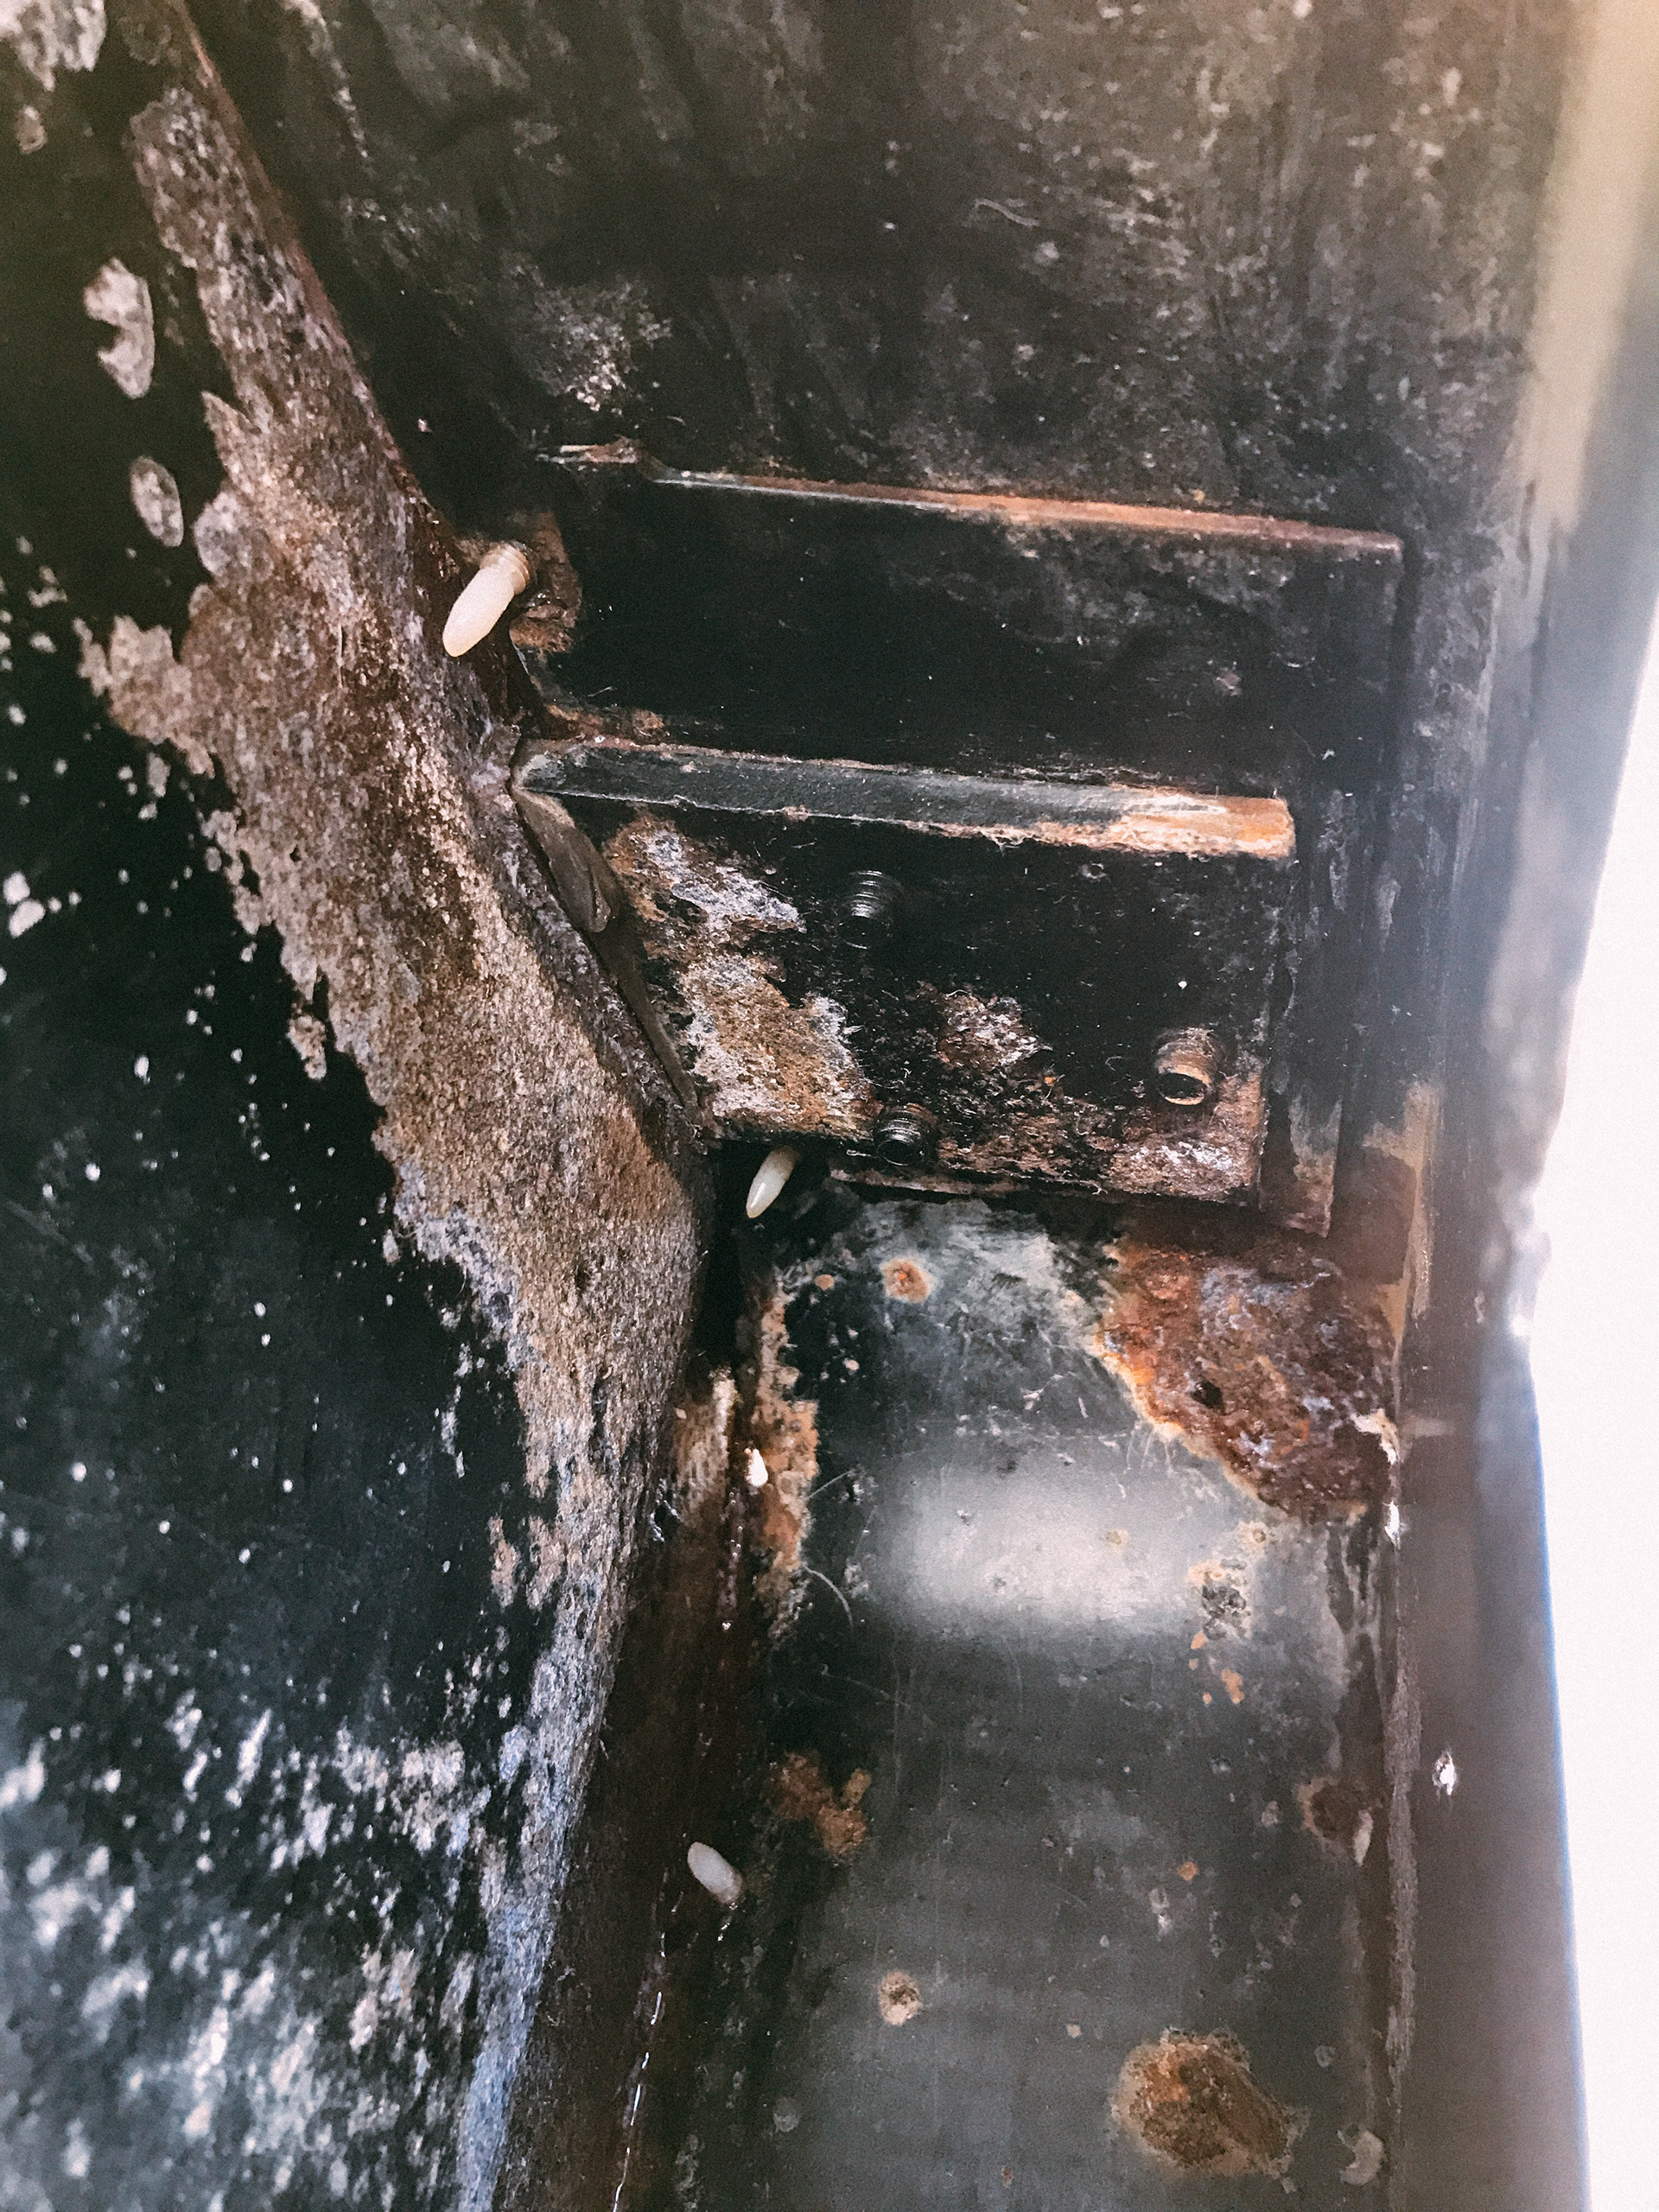
Removing the insulation and flooring started to show me what the weather will do to a vehicle even if it was kept in a garage for 30 years. While the wooden paneling was out, I also decided to tackle the bottom drivers side door hinge which took me 2 days to fix. I found out the van had been in an accident on the drivers side and made aligning the door a massive pain in the ass. Requiring 6 spacers for 3 bolts. While working on the door, I cleared the floor and walls from over 100 flat head screws that liked to strip easily. Luckily when I was working on a bus build back in 2016, I learned a few tricks on how to remove rusted stripped screws/bolts.
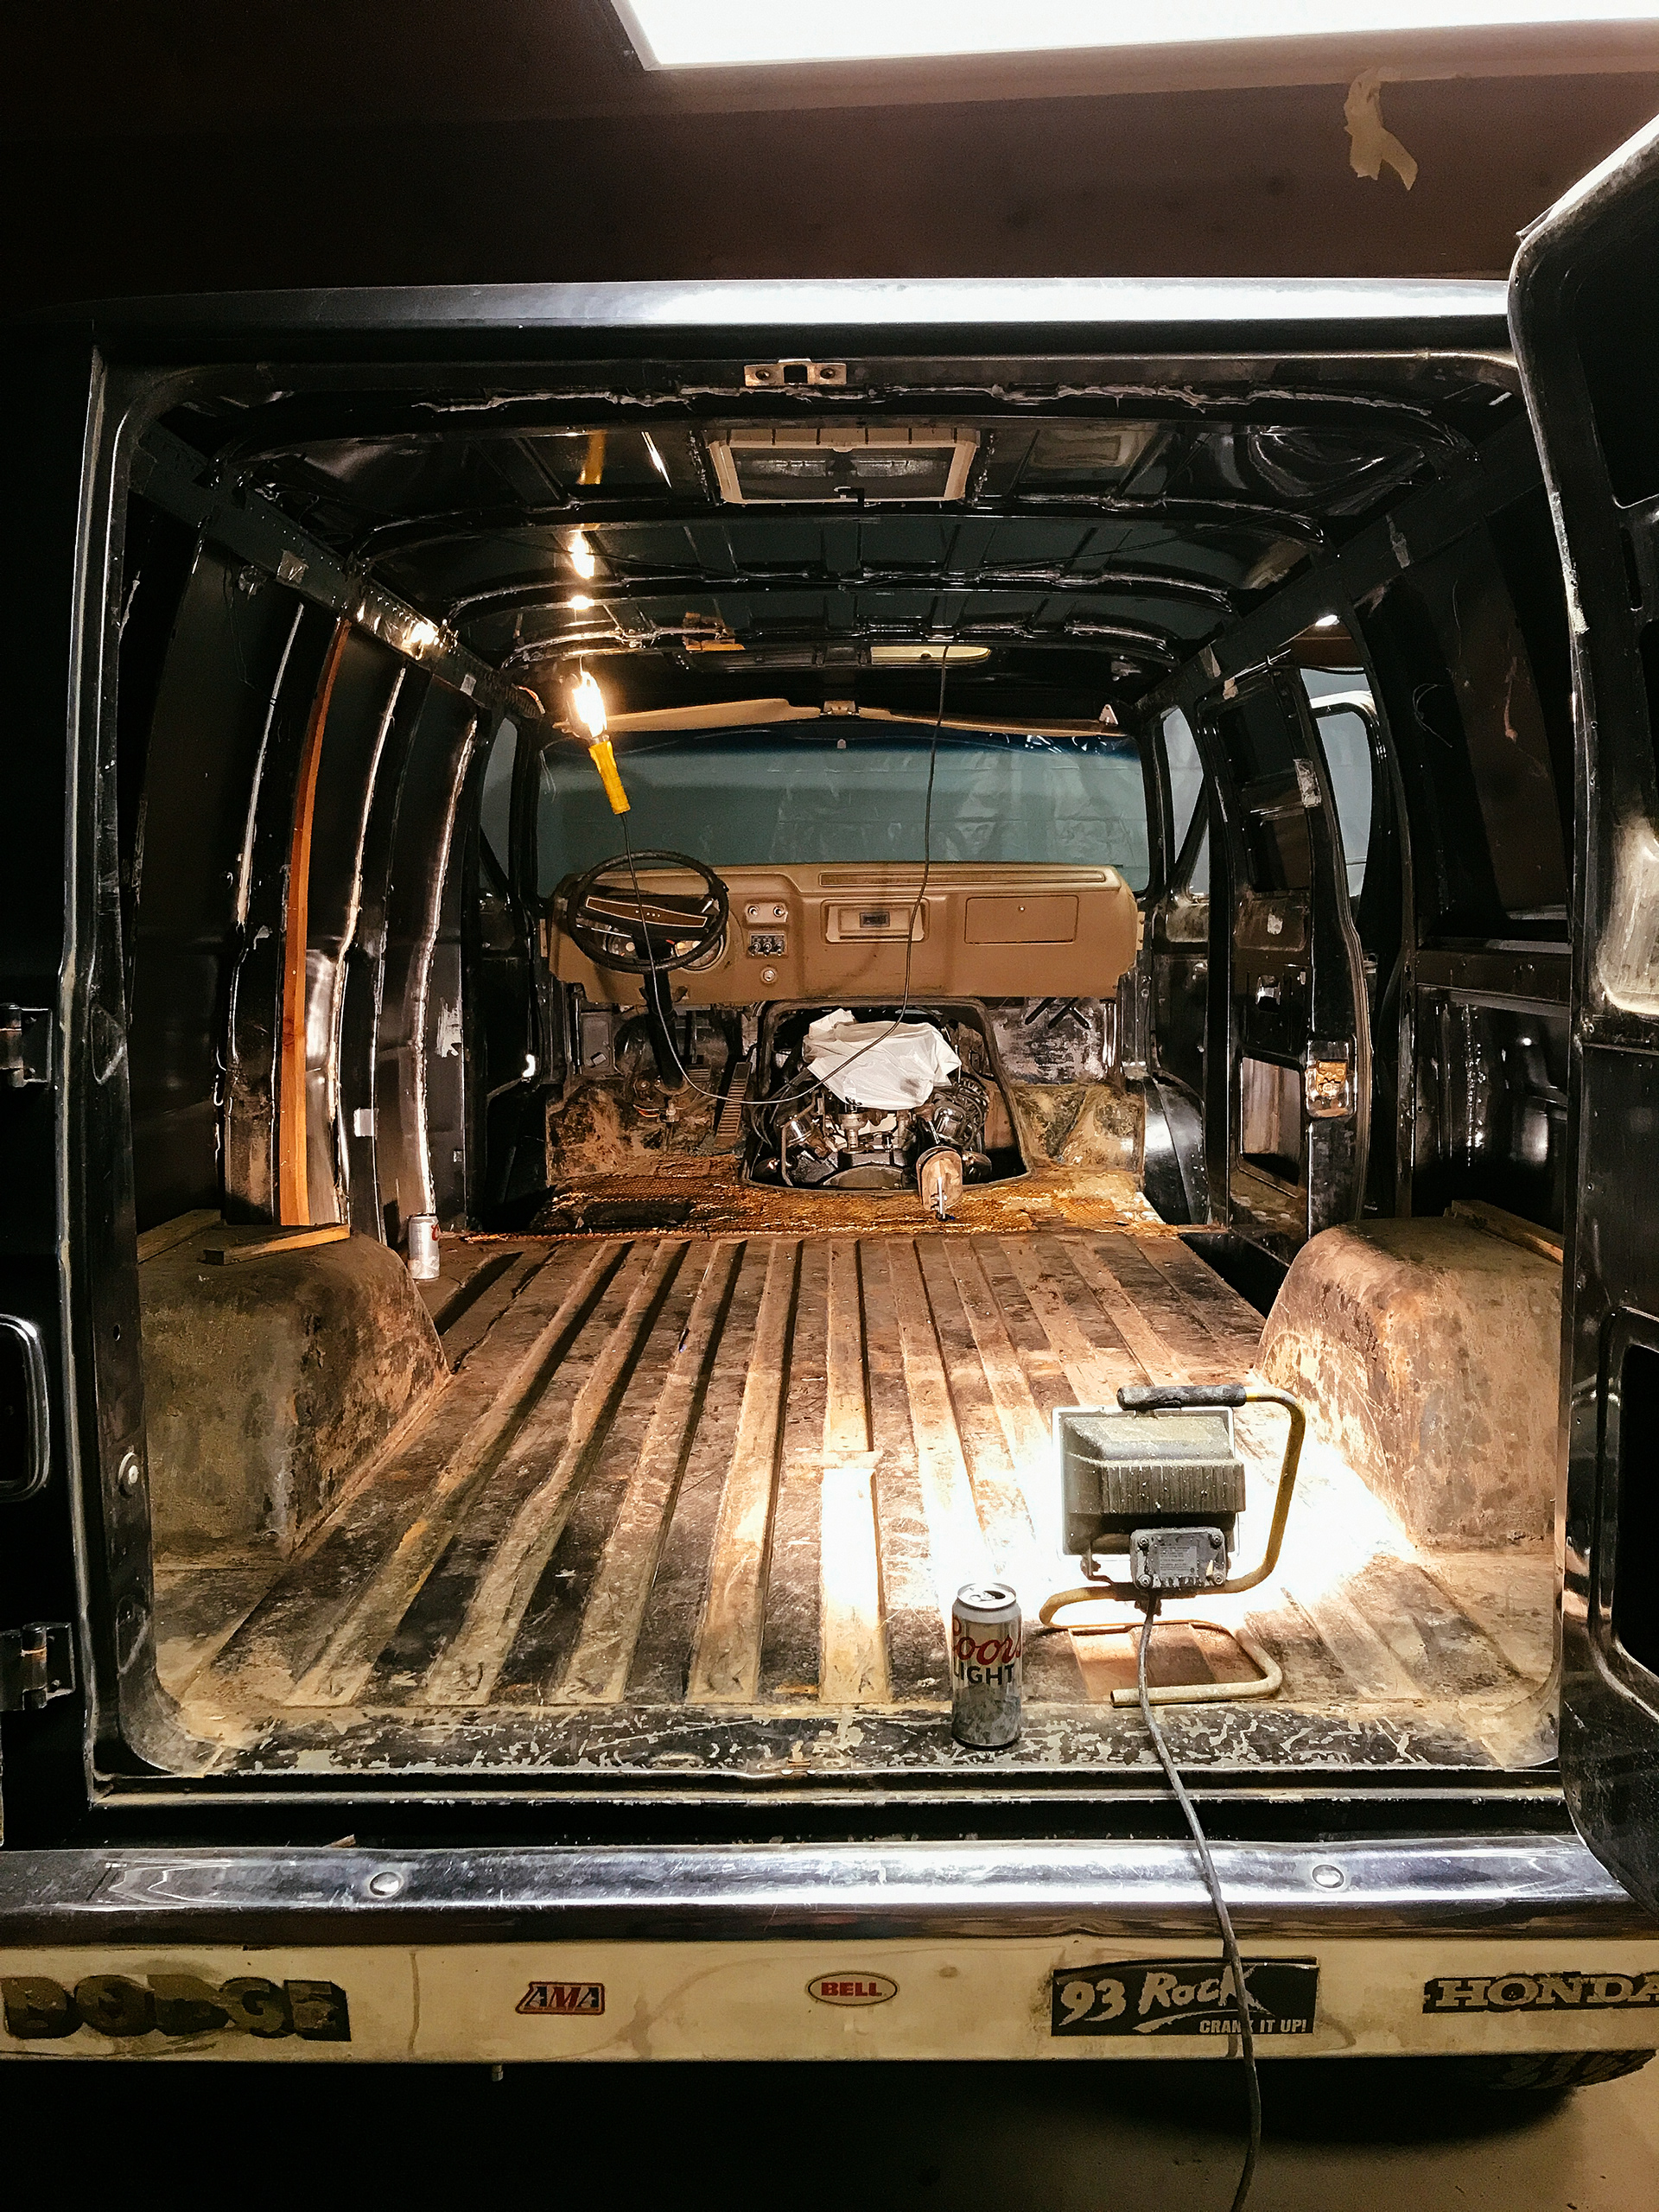
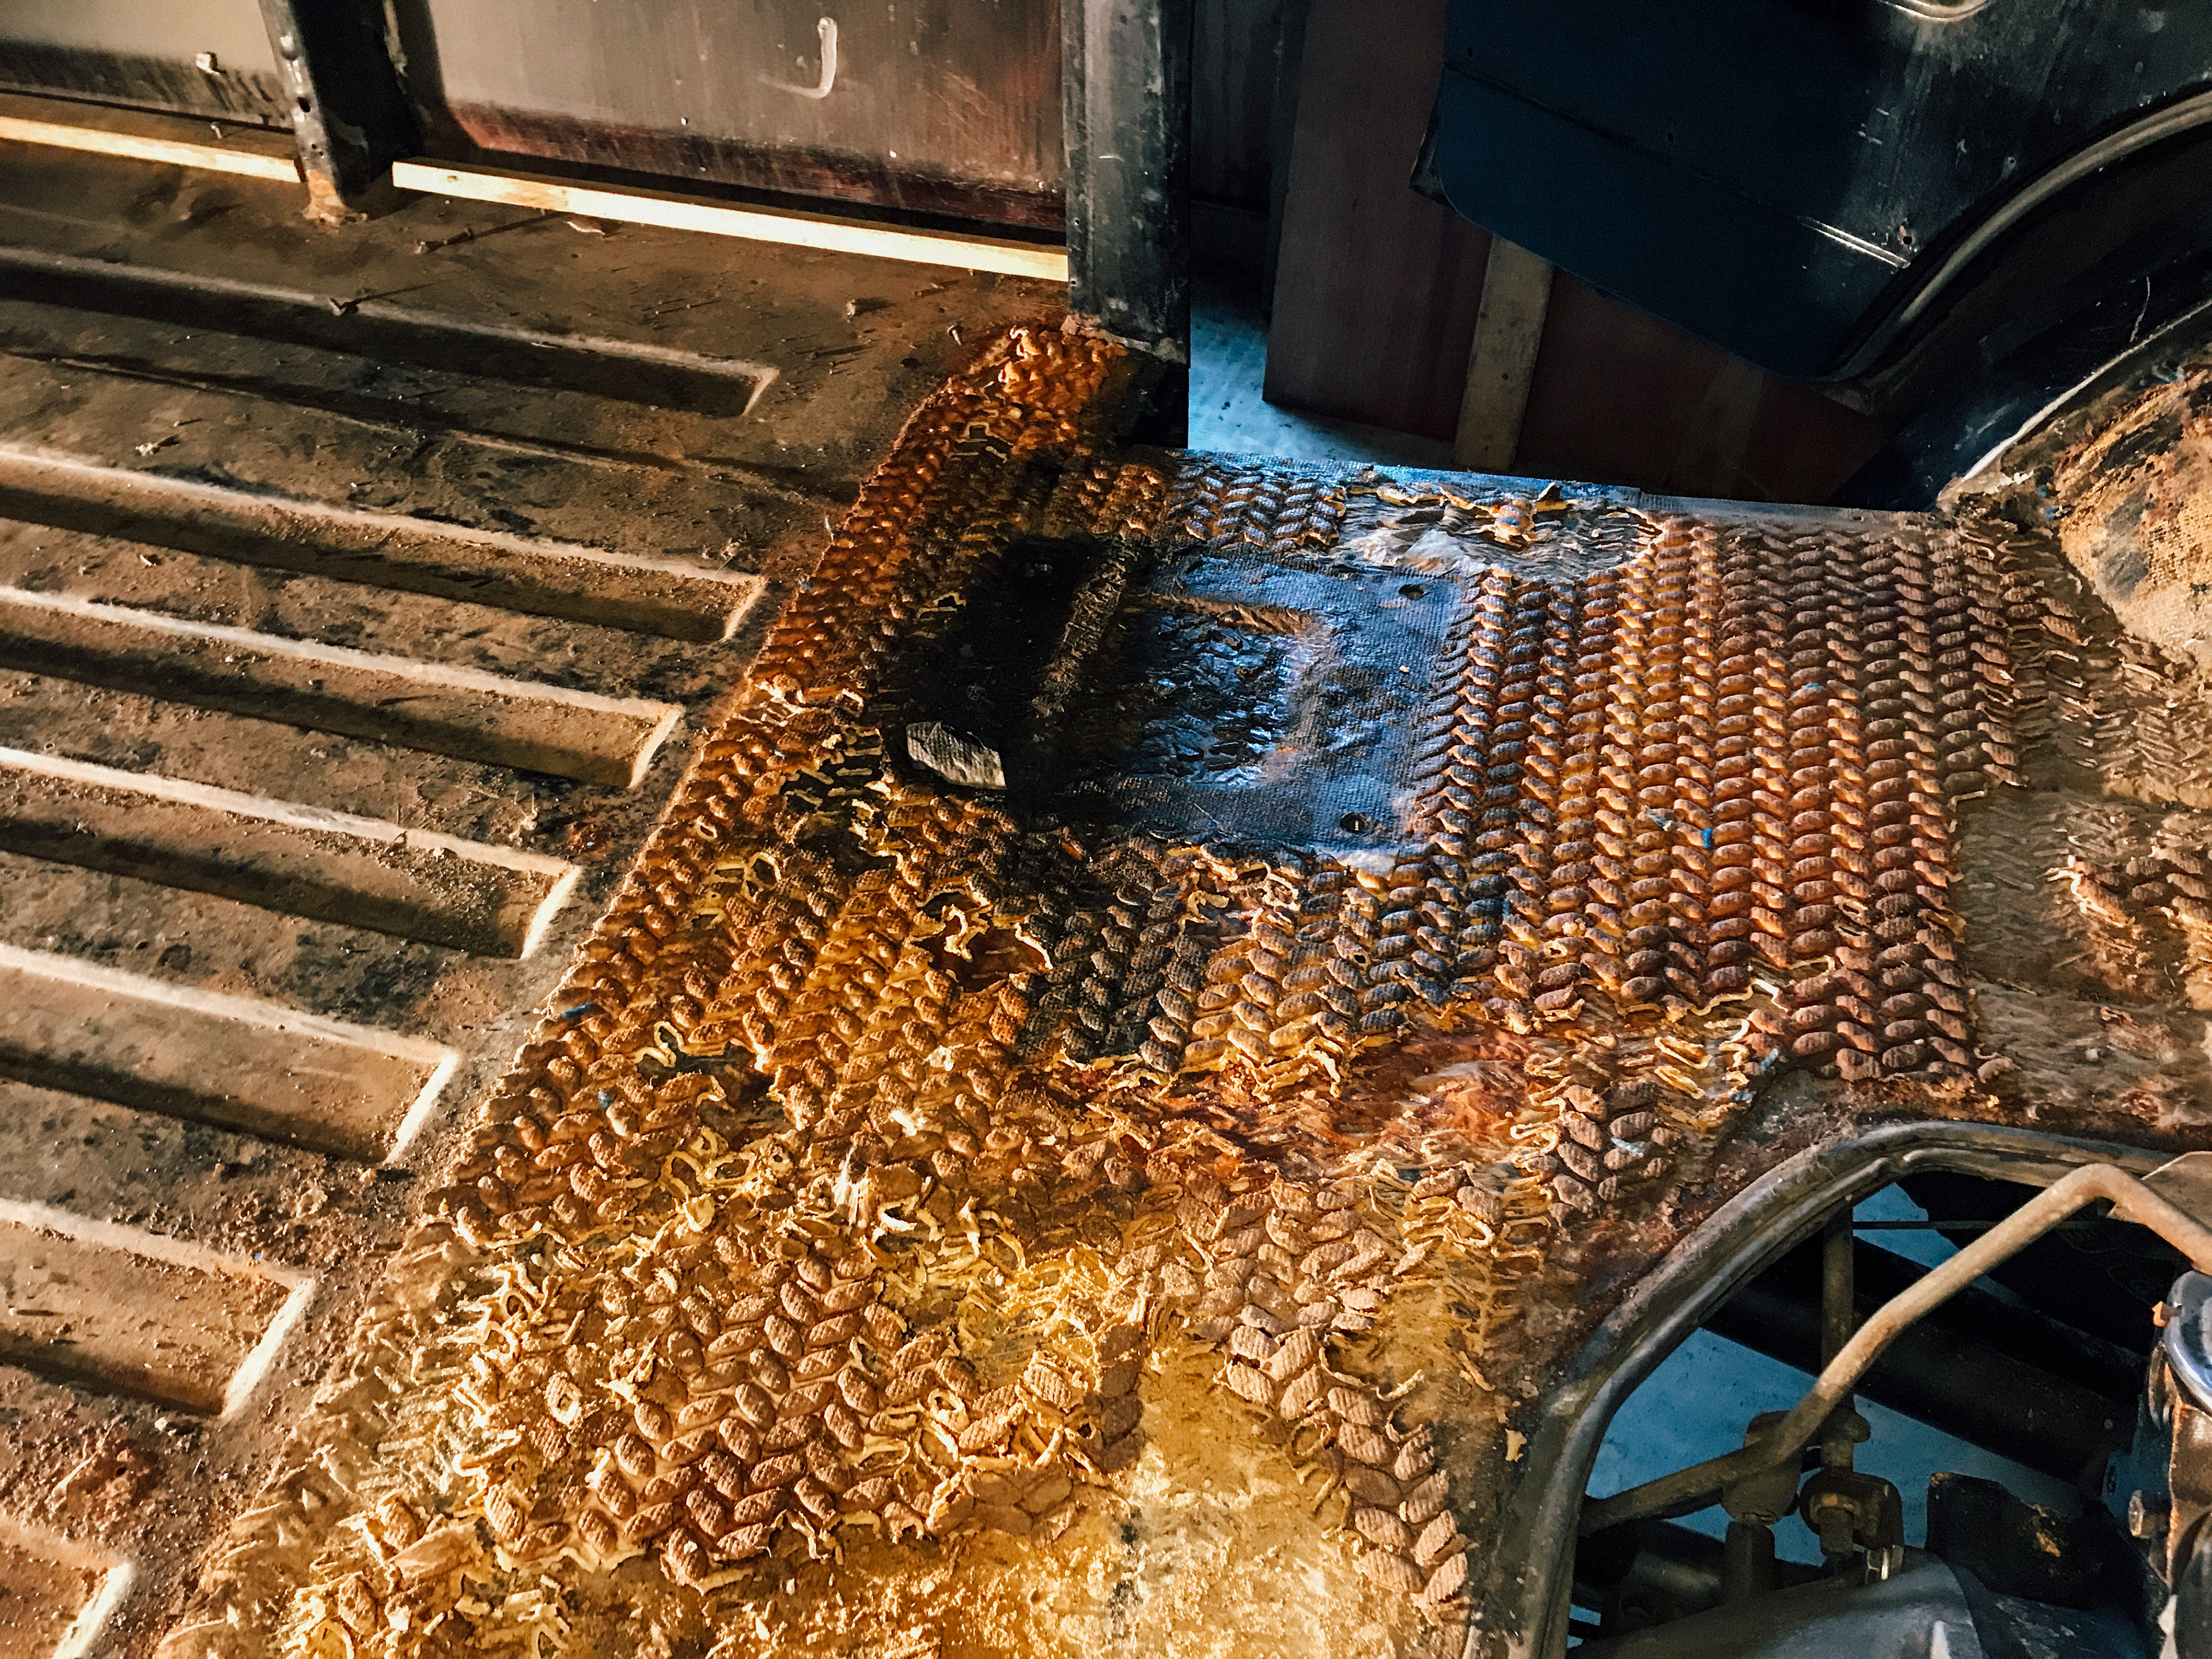

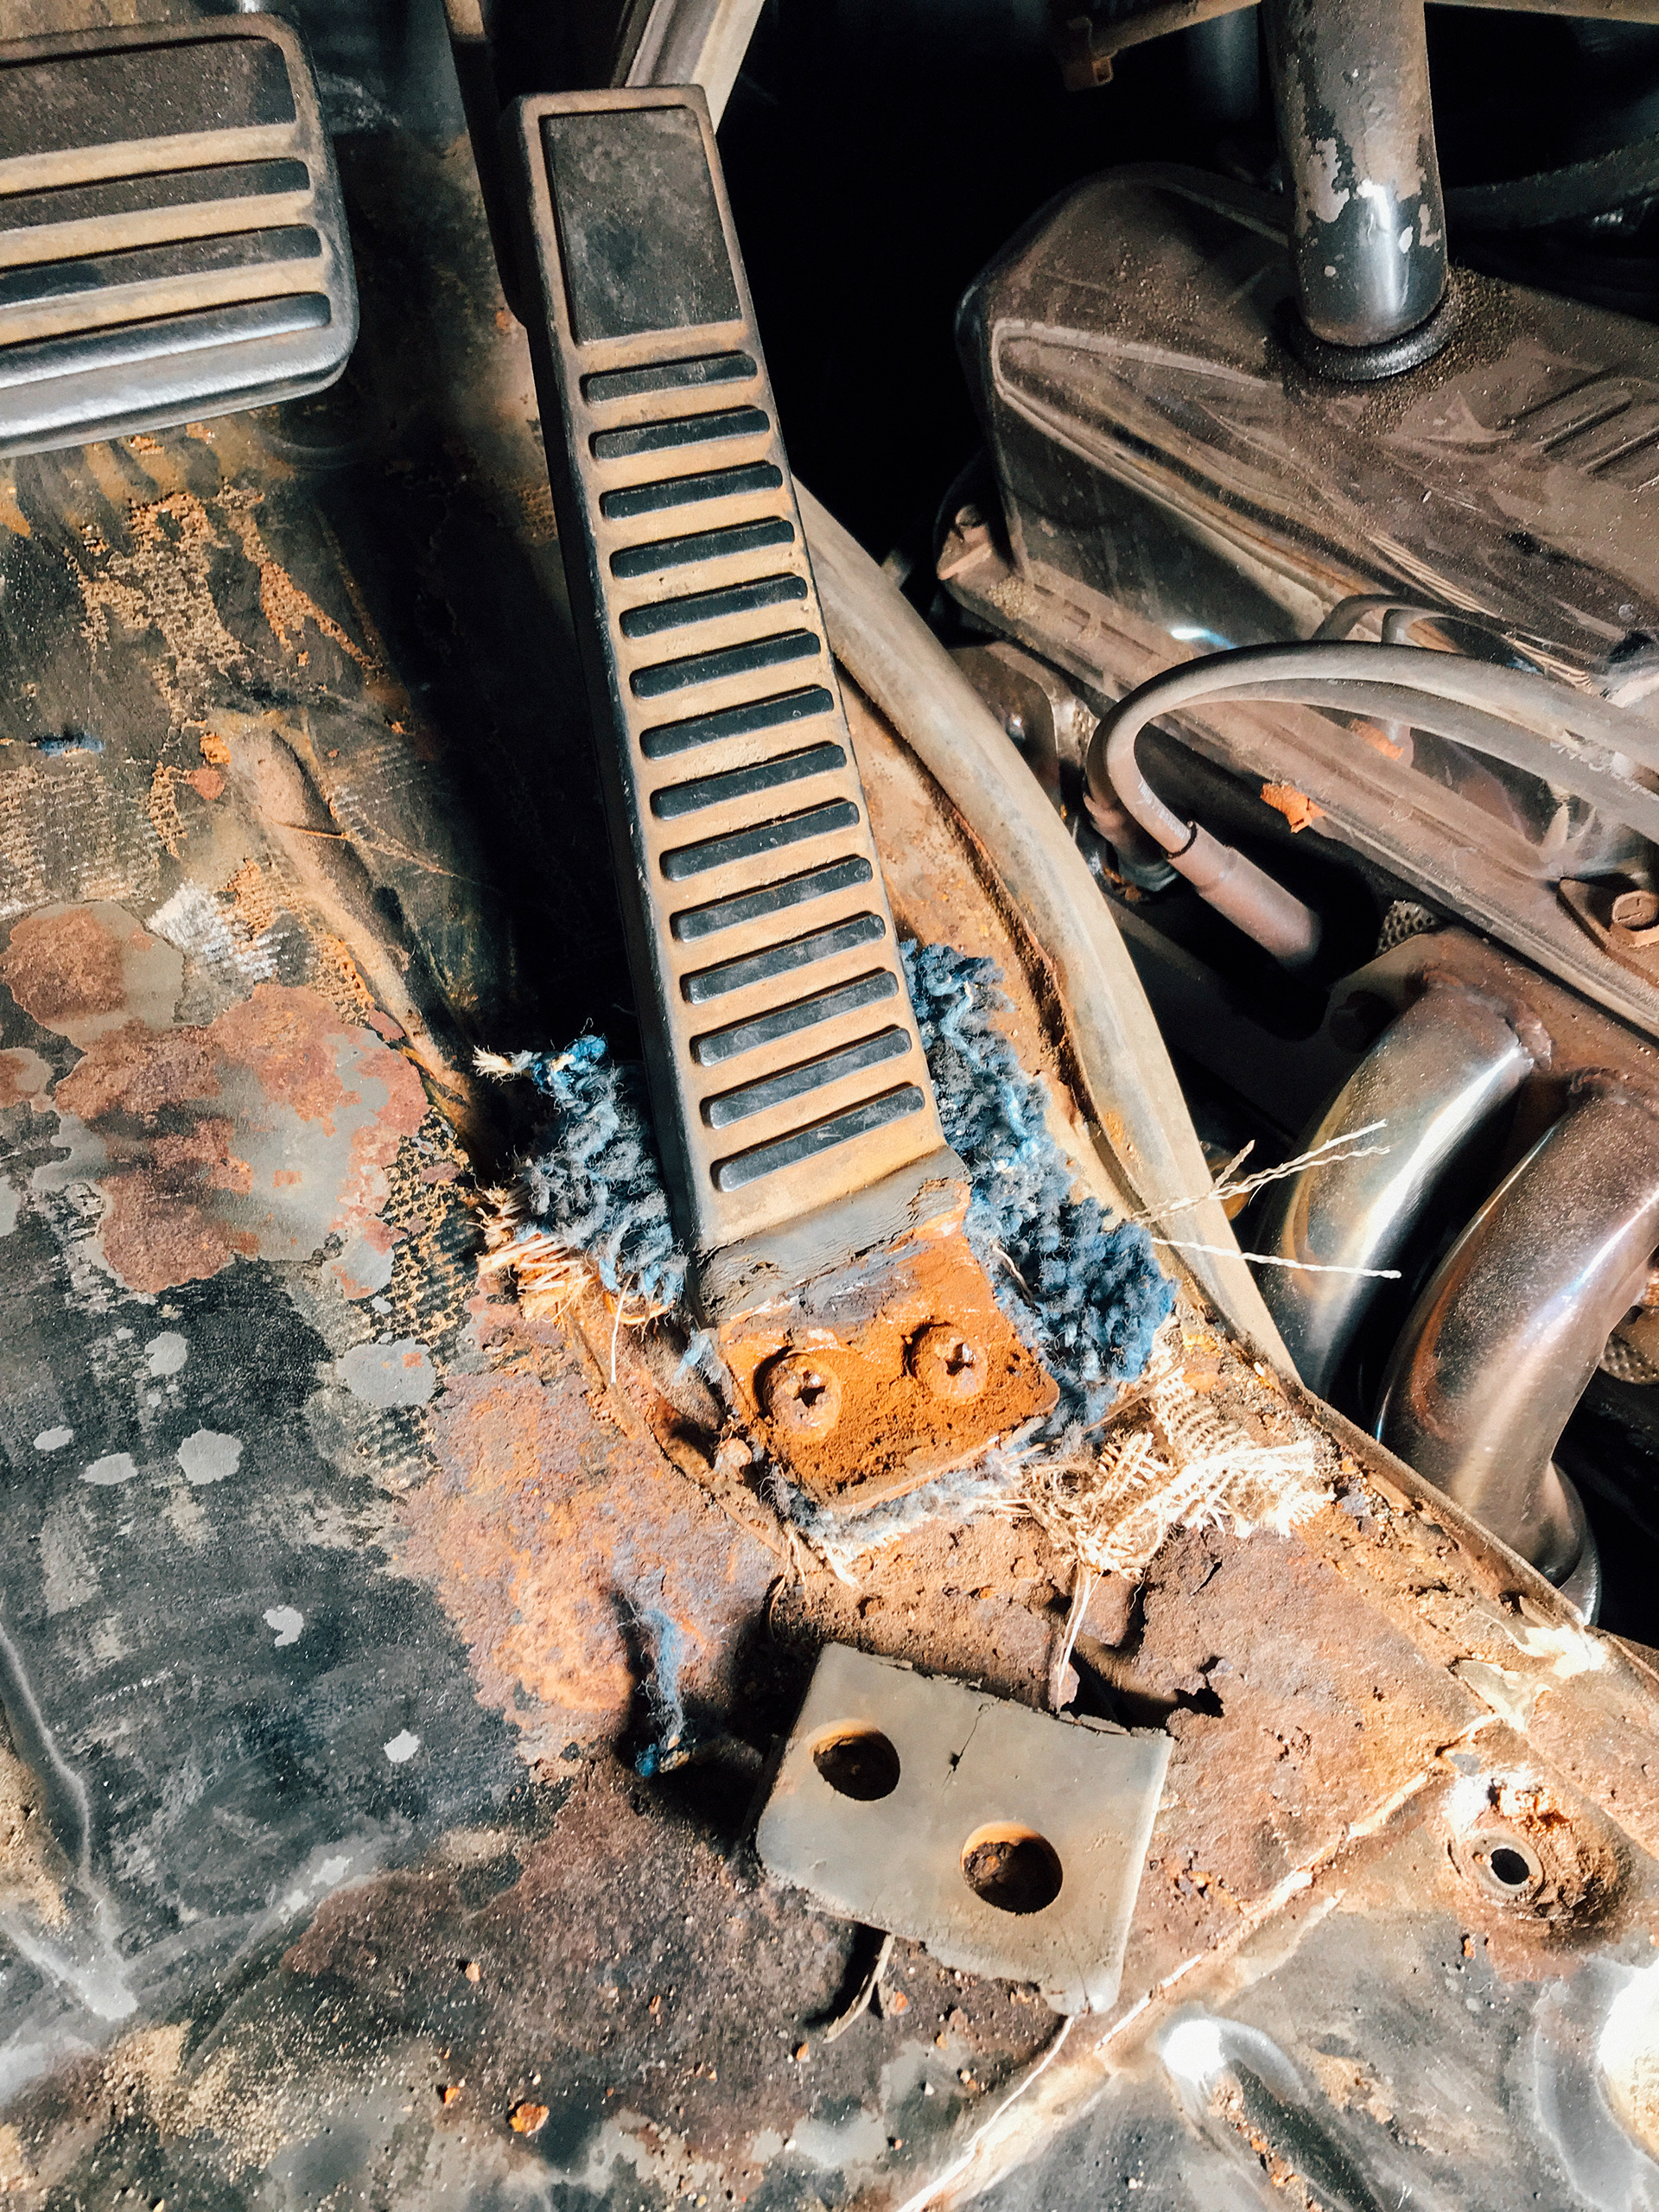
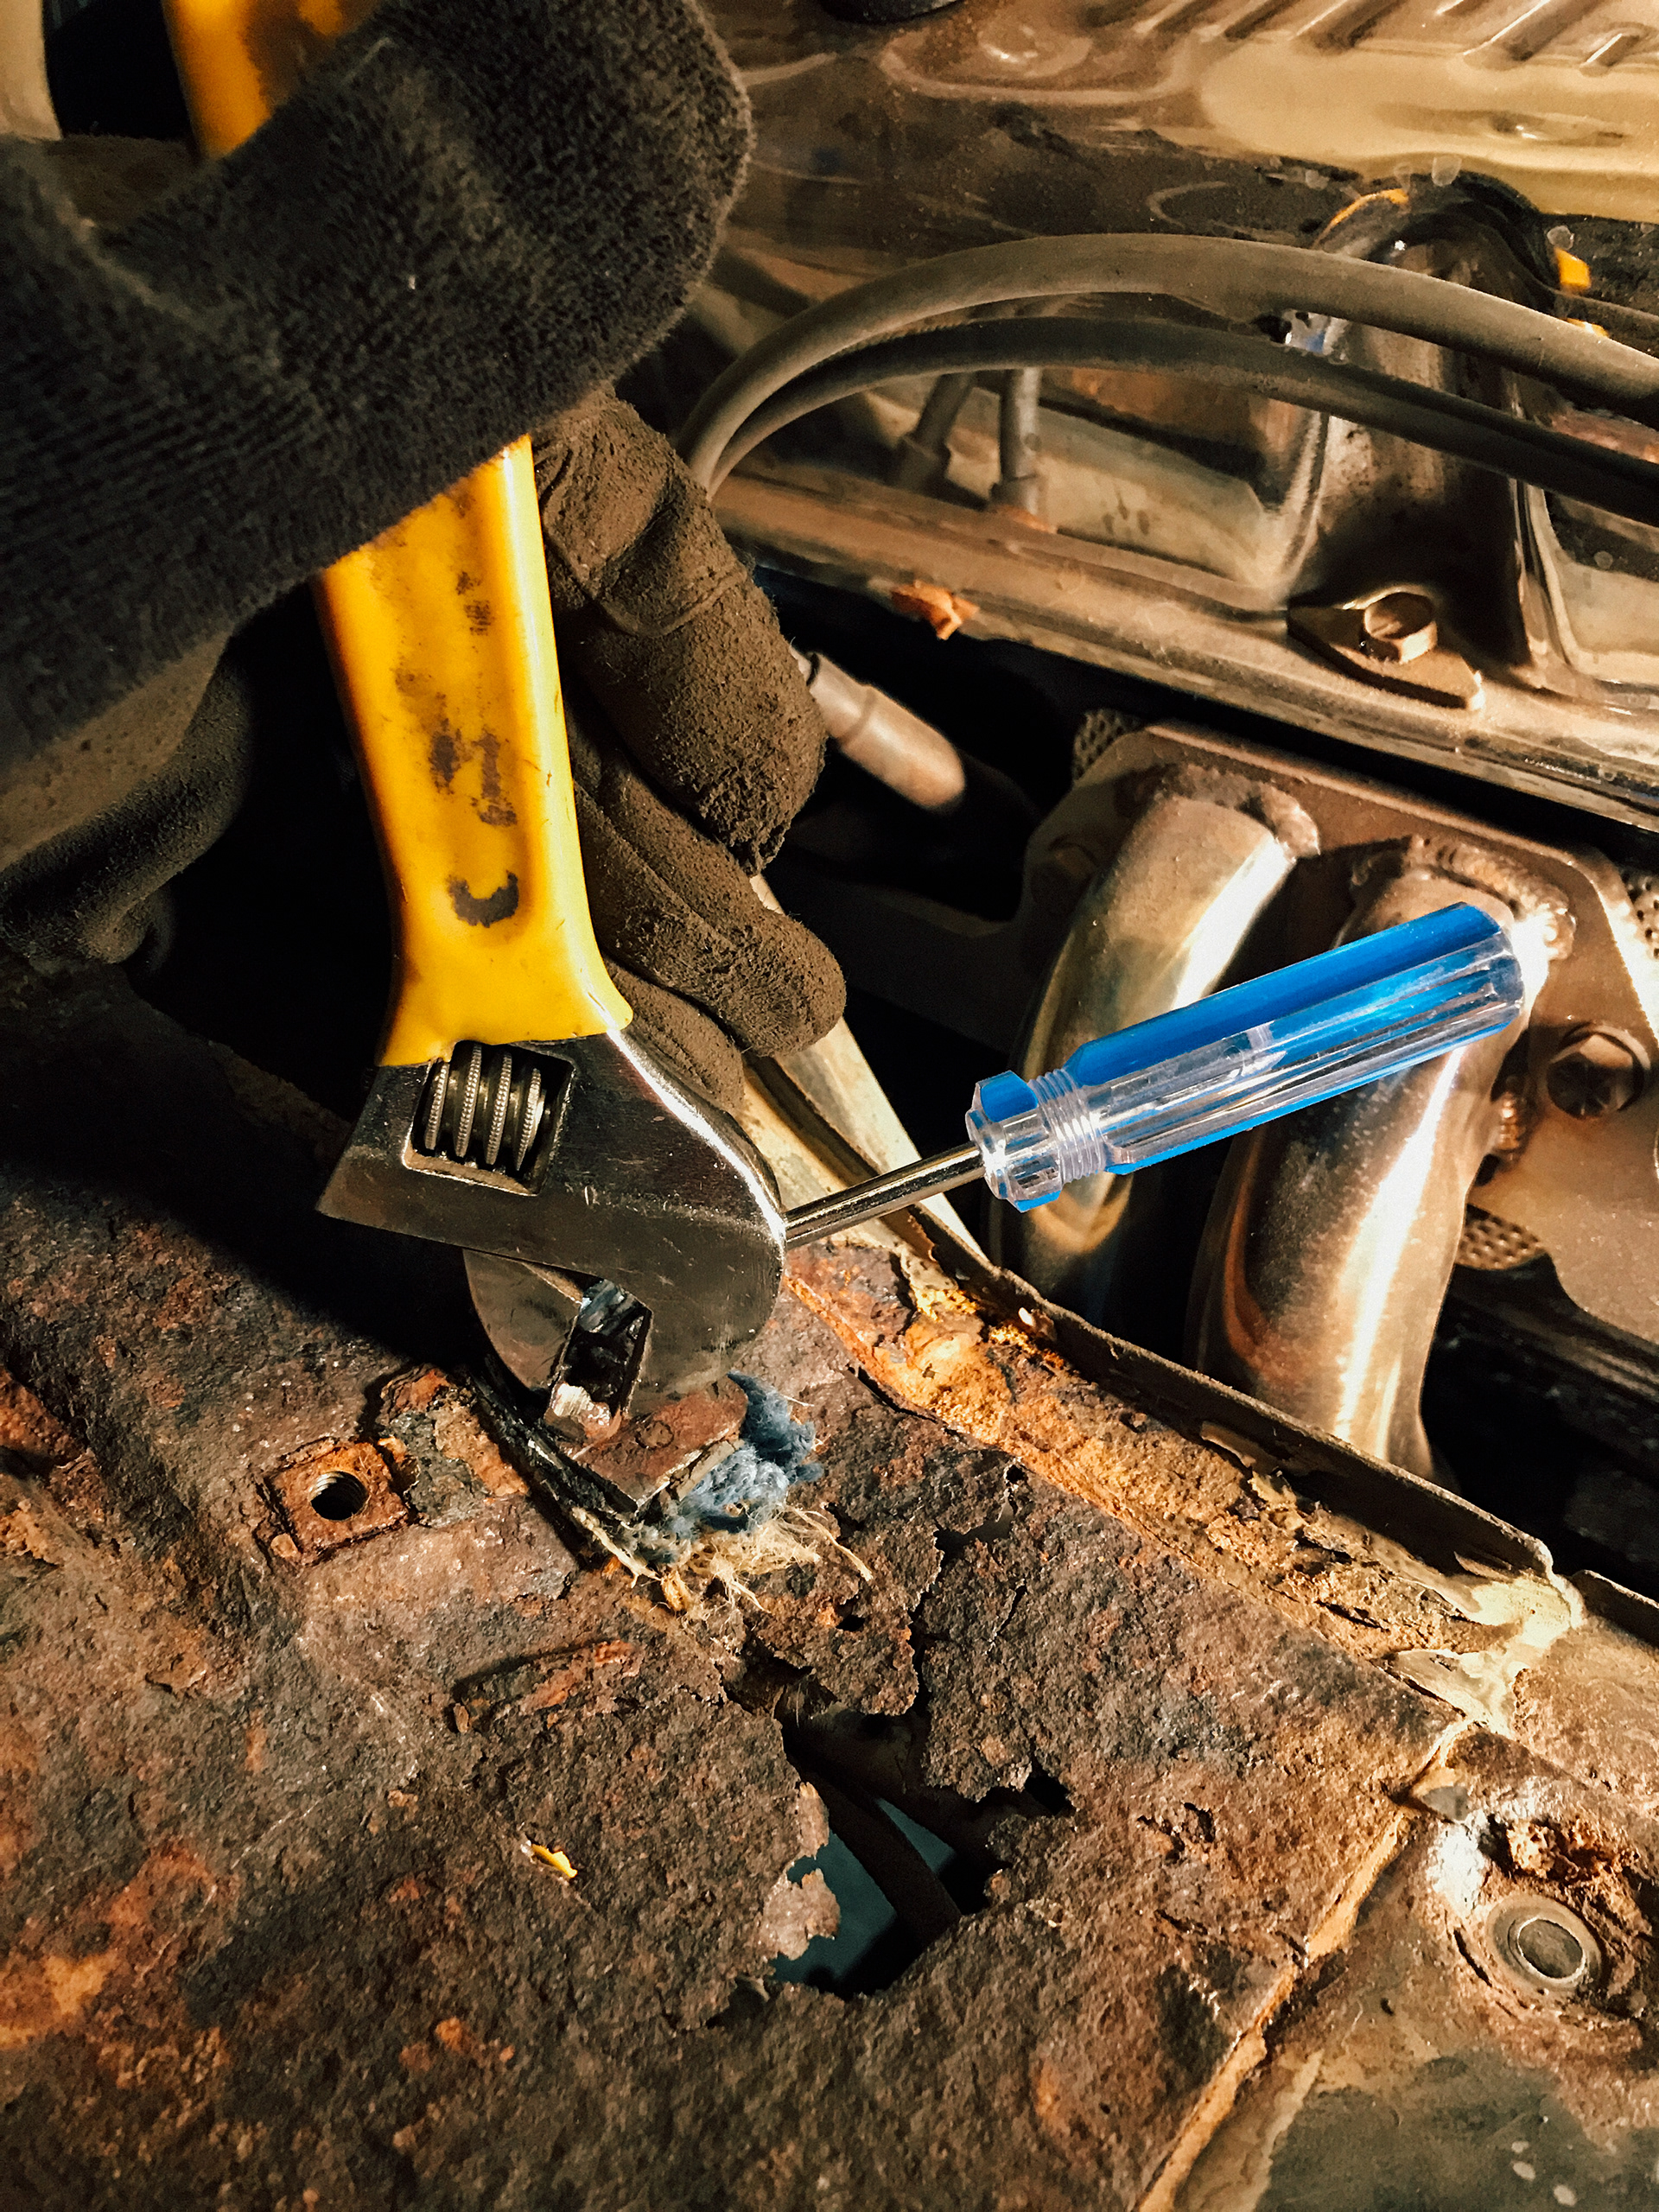
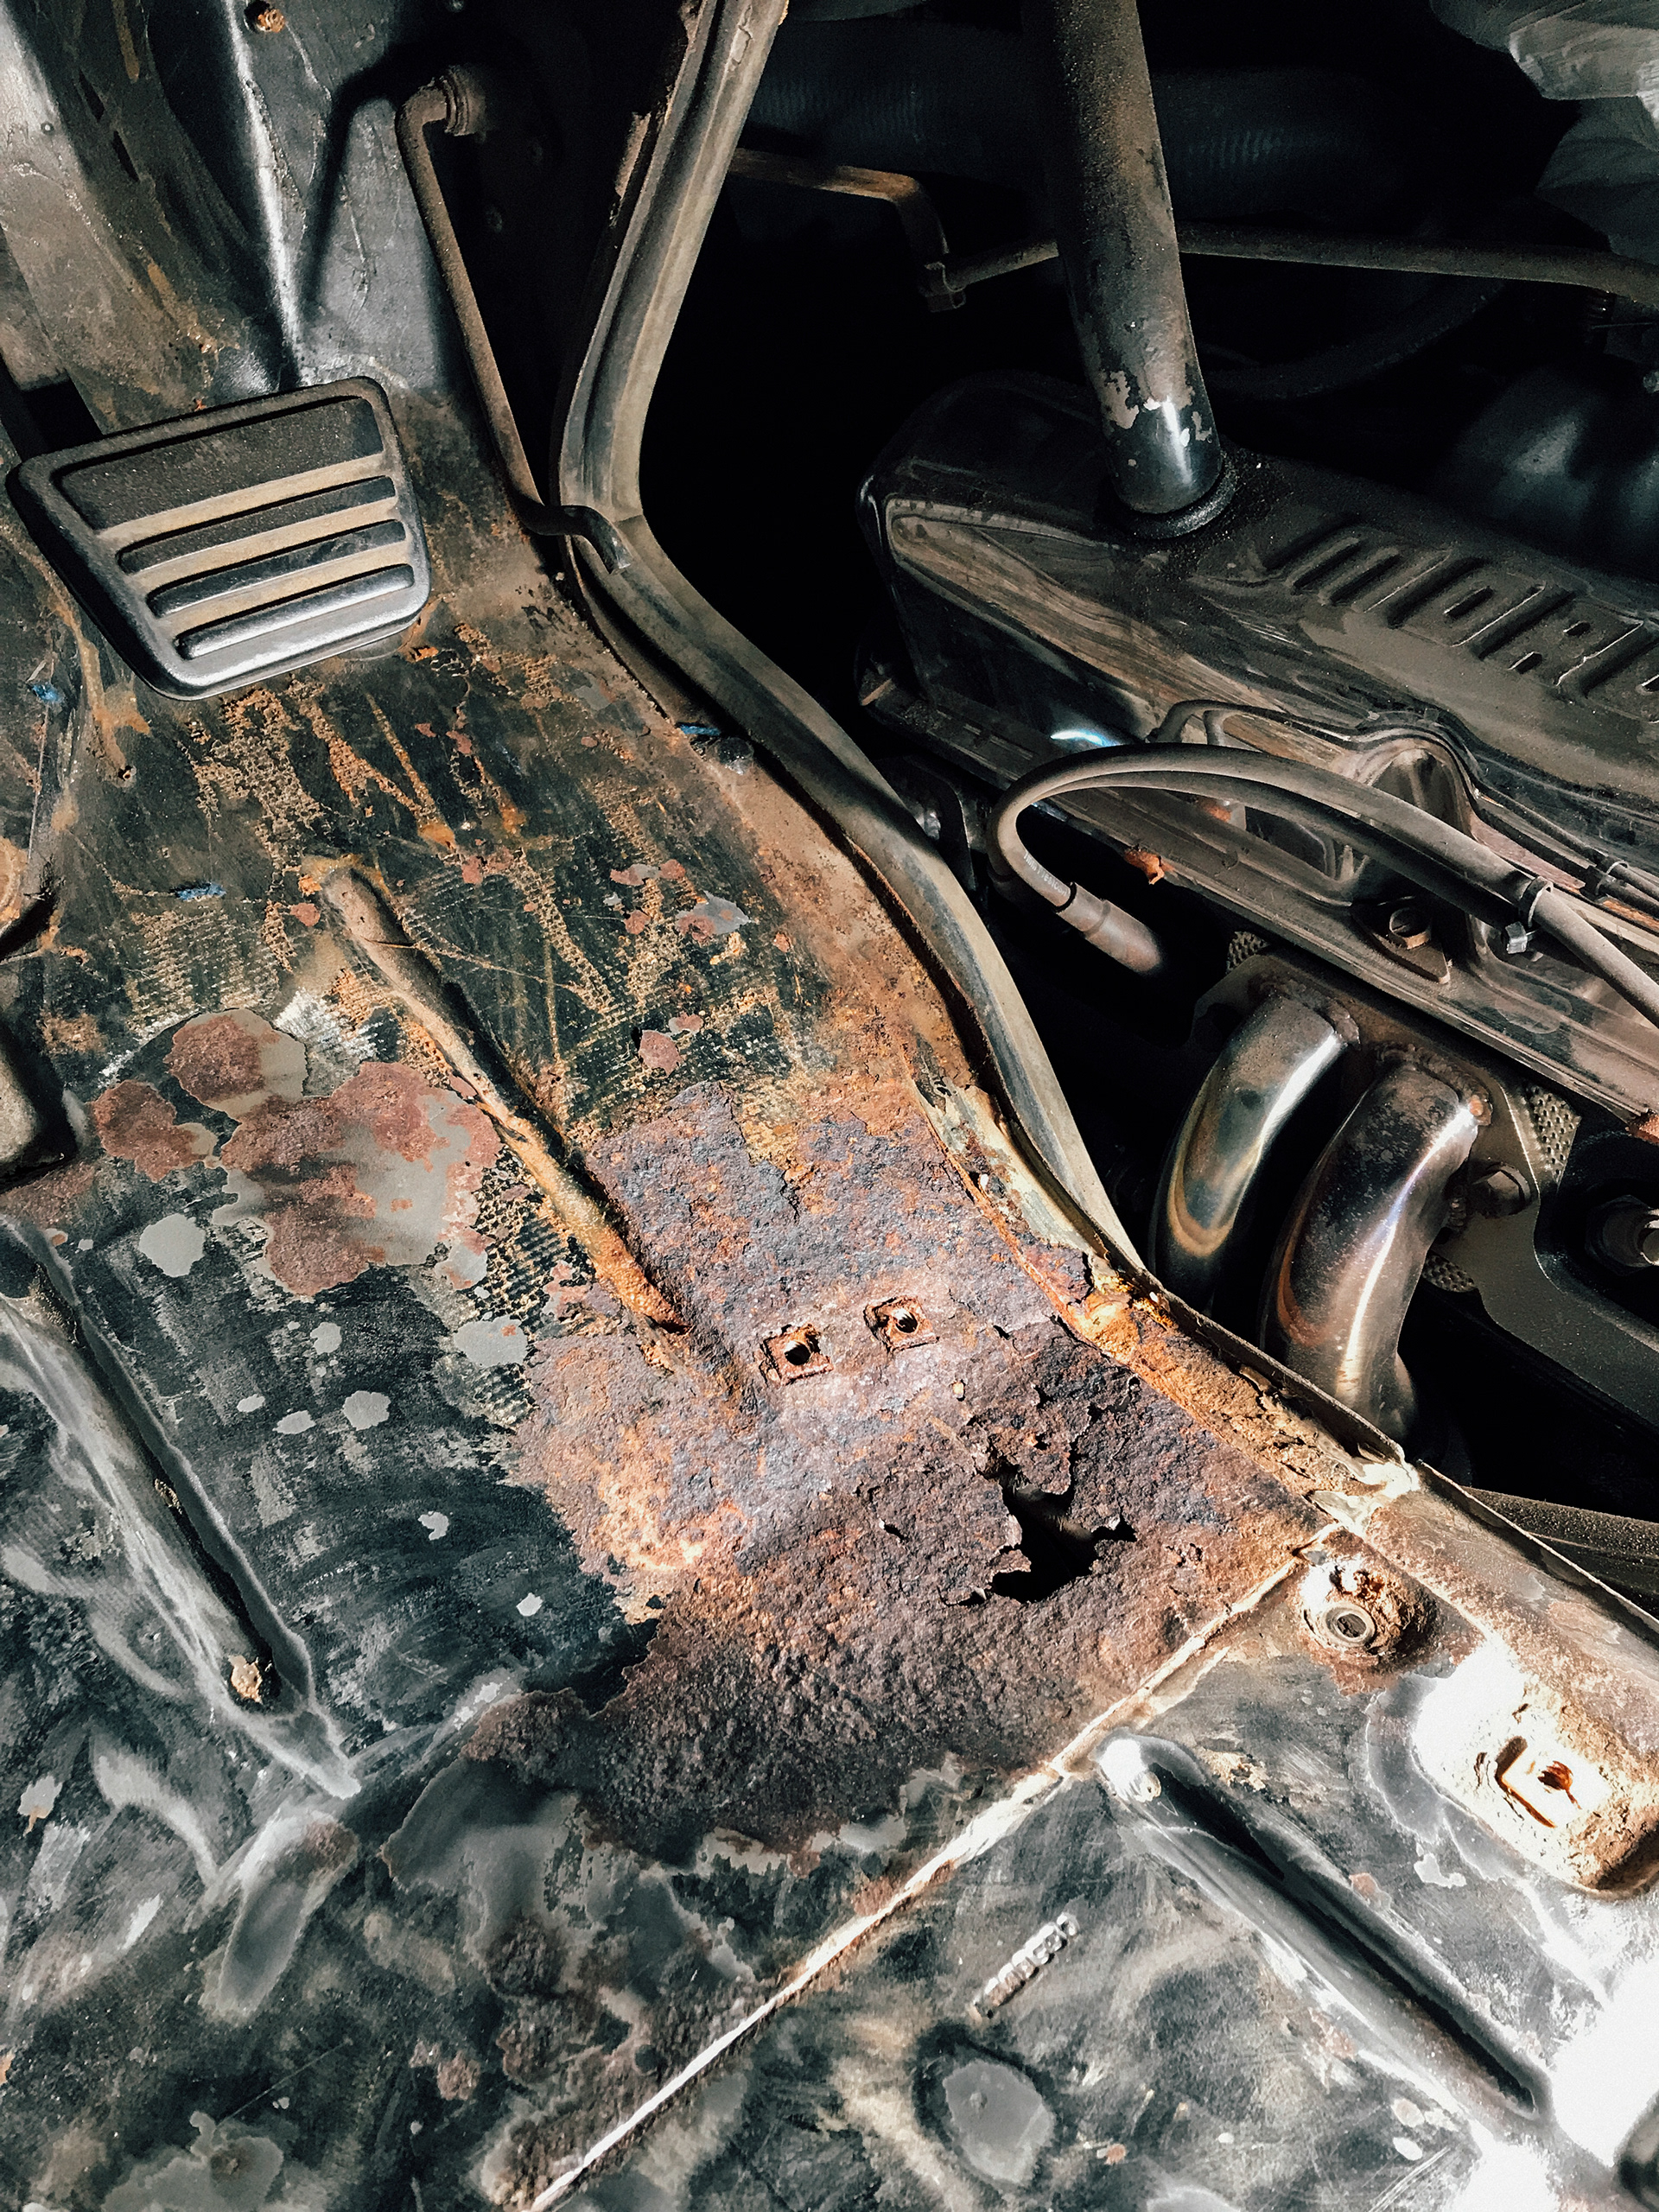
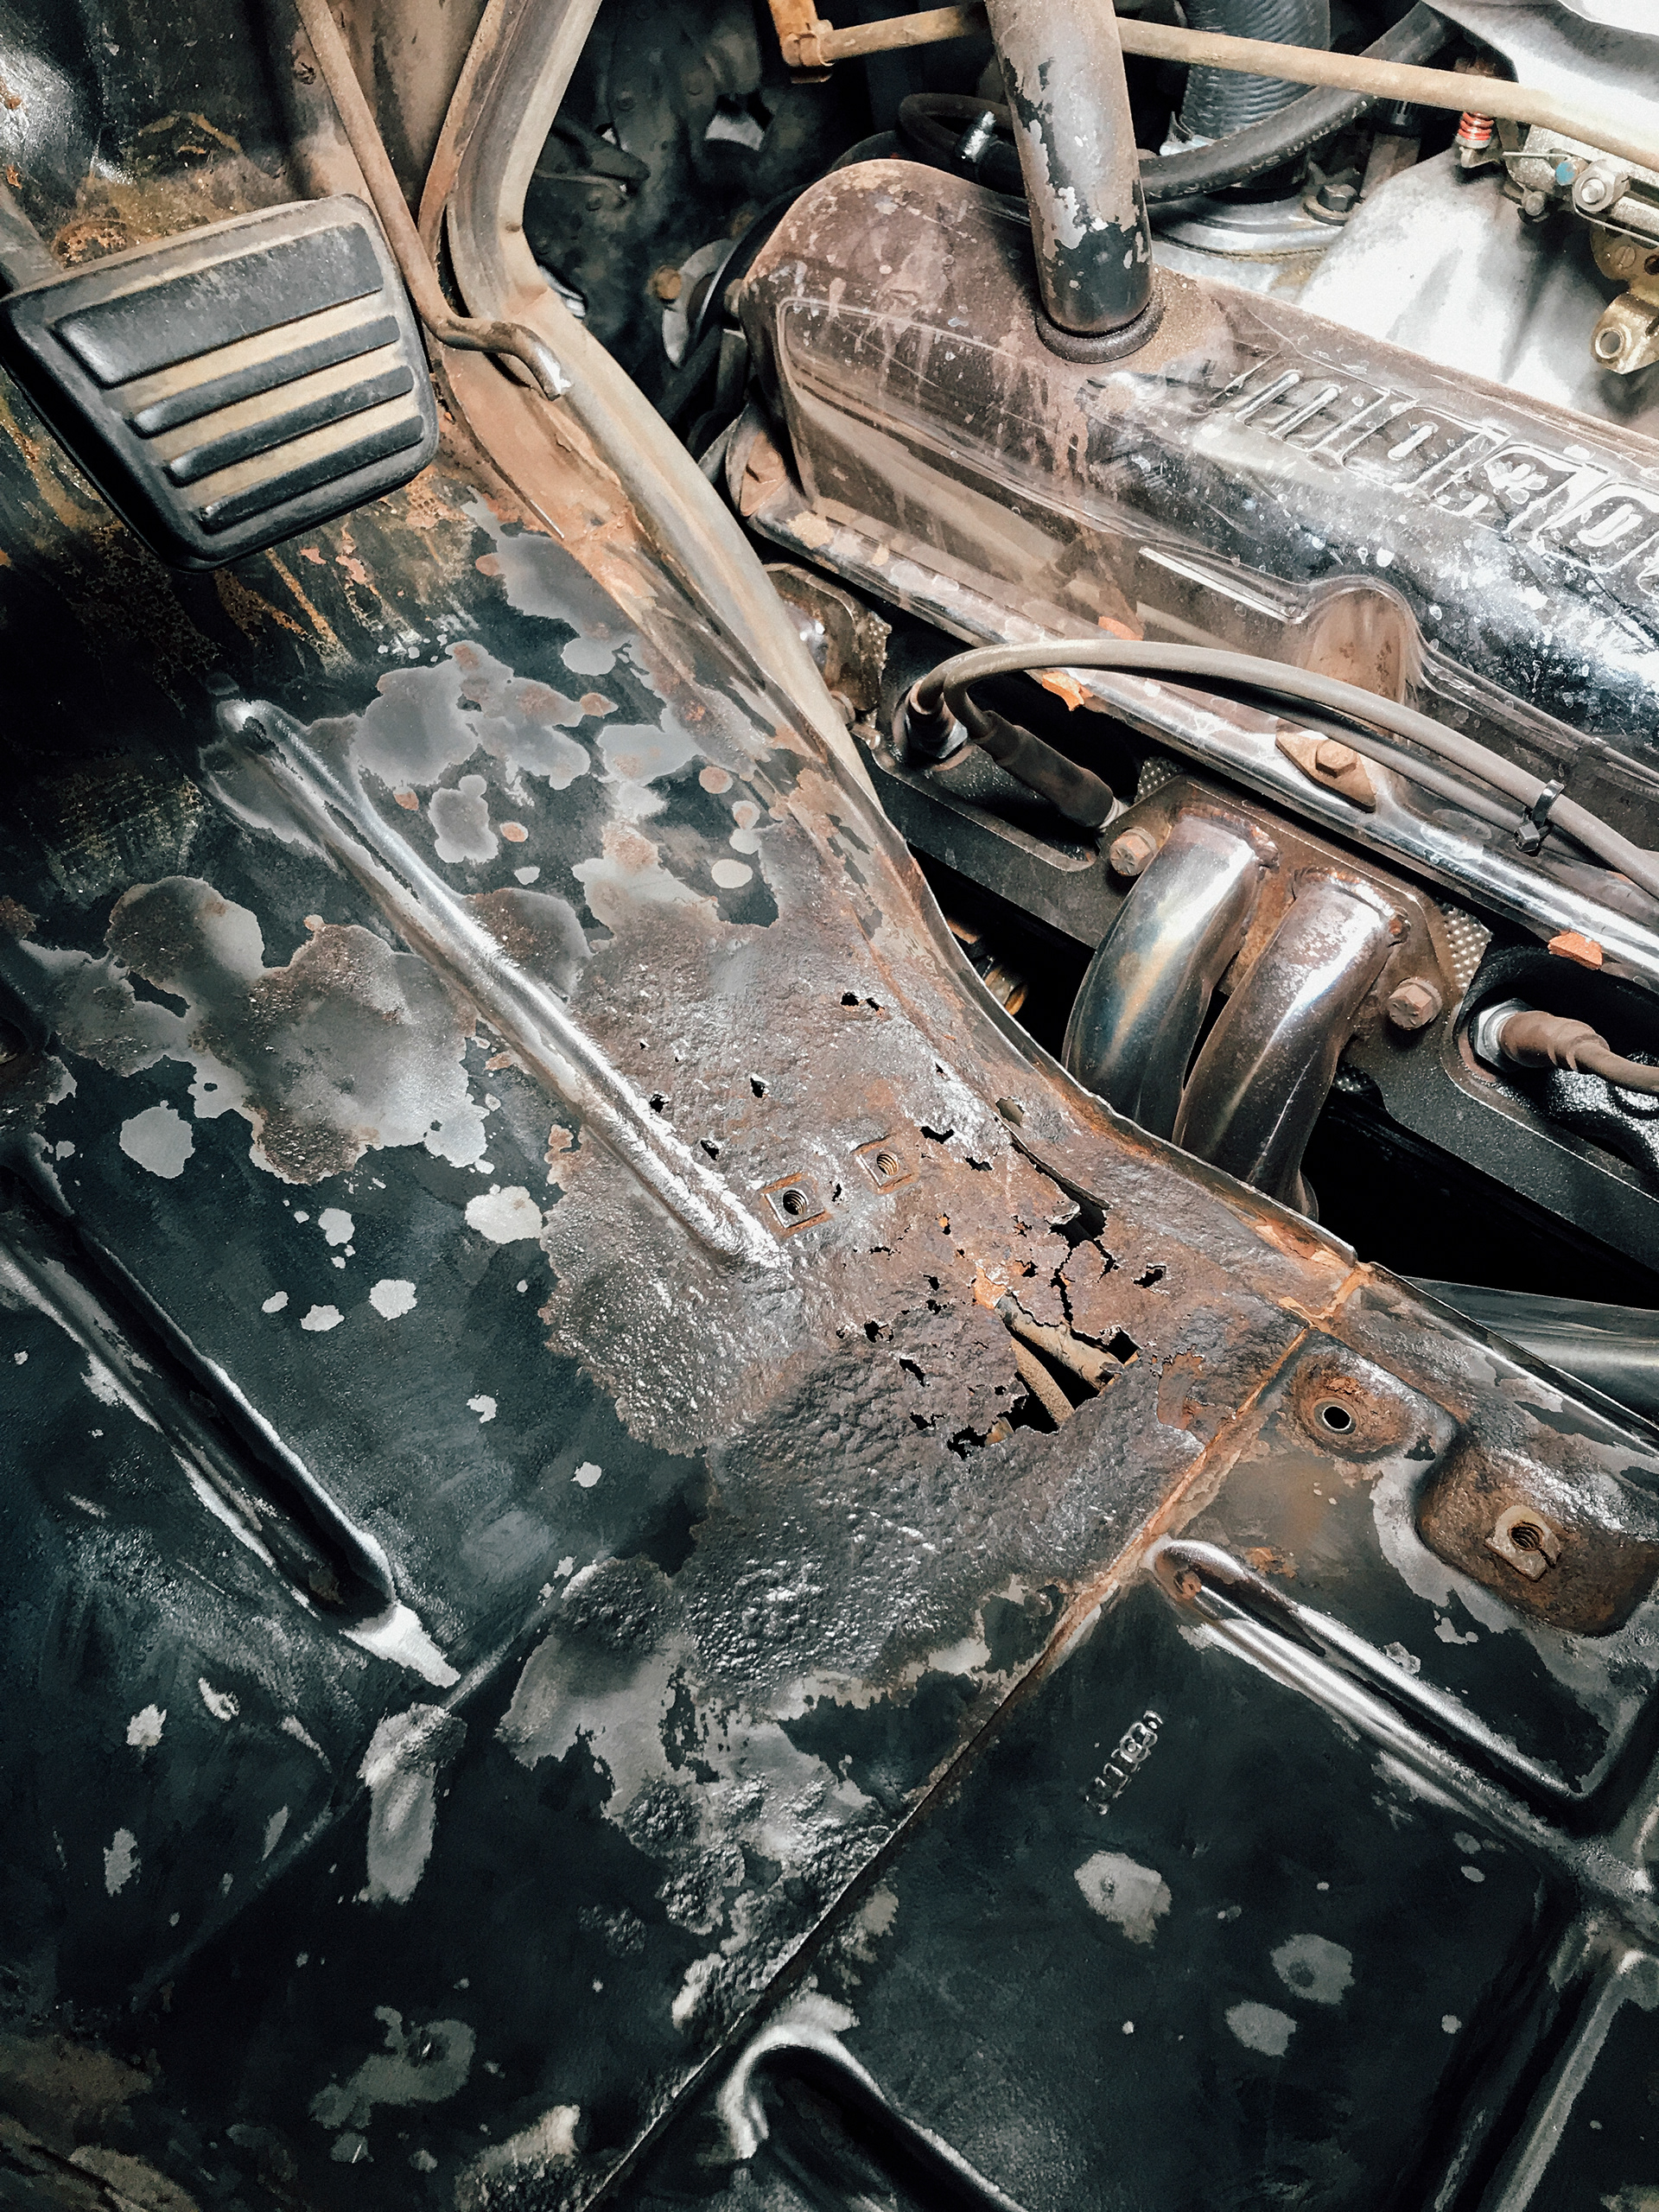
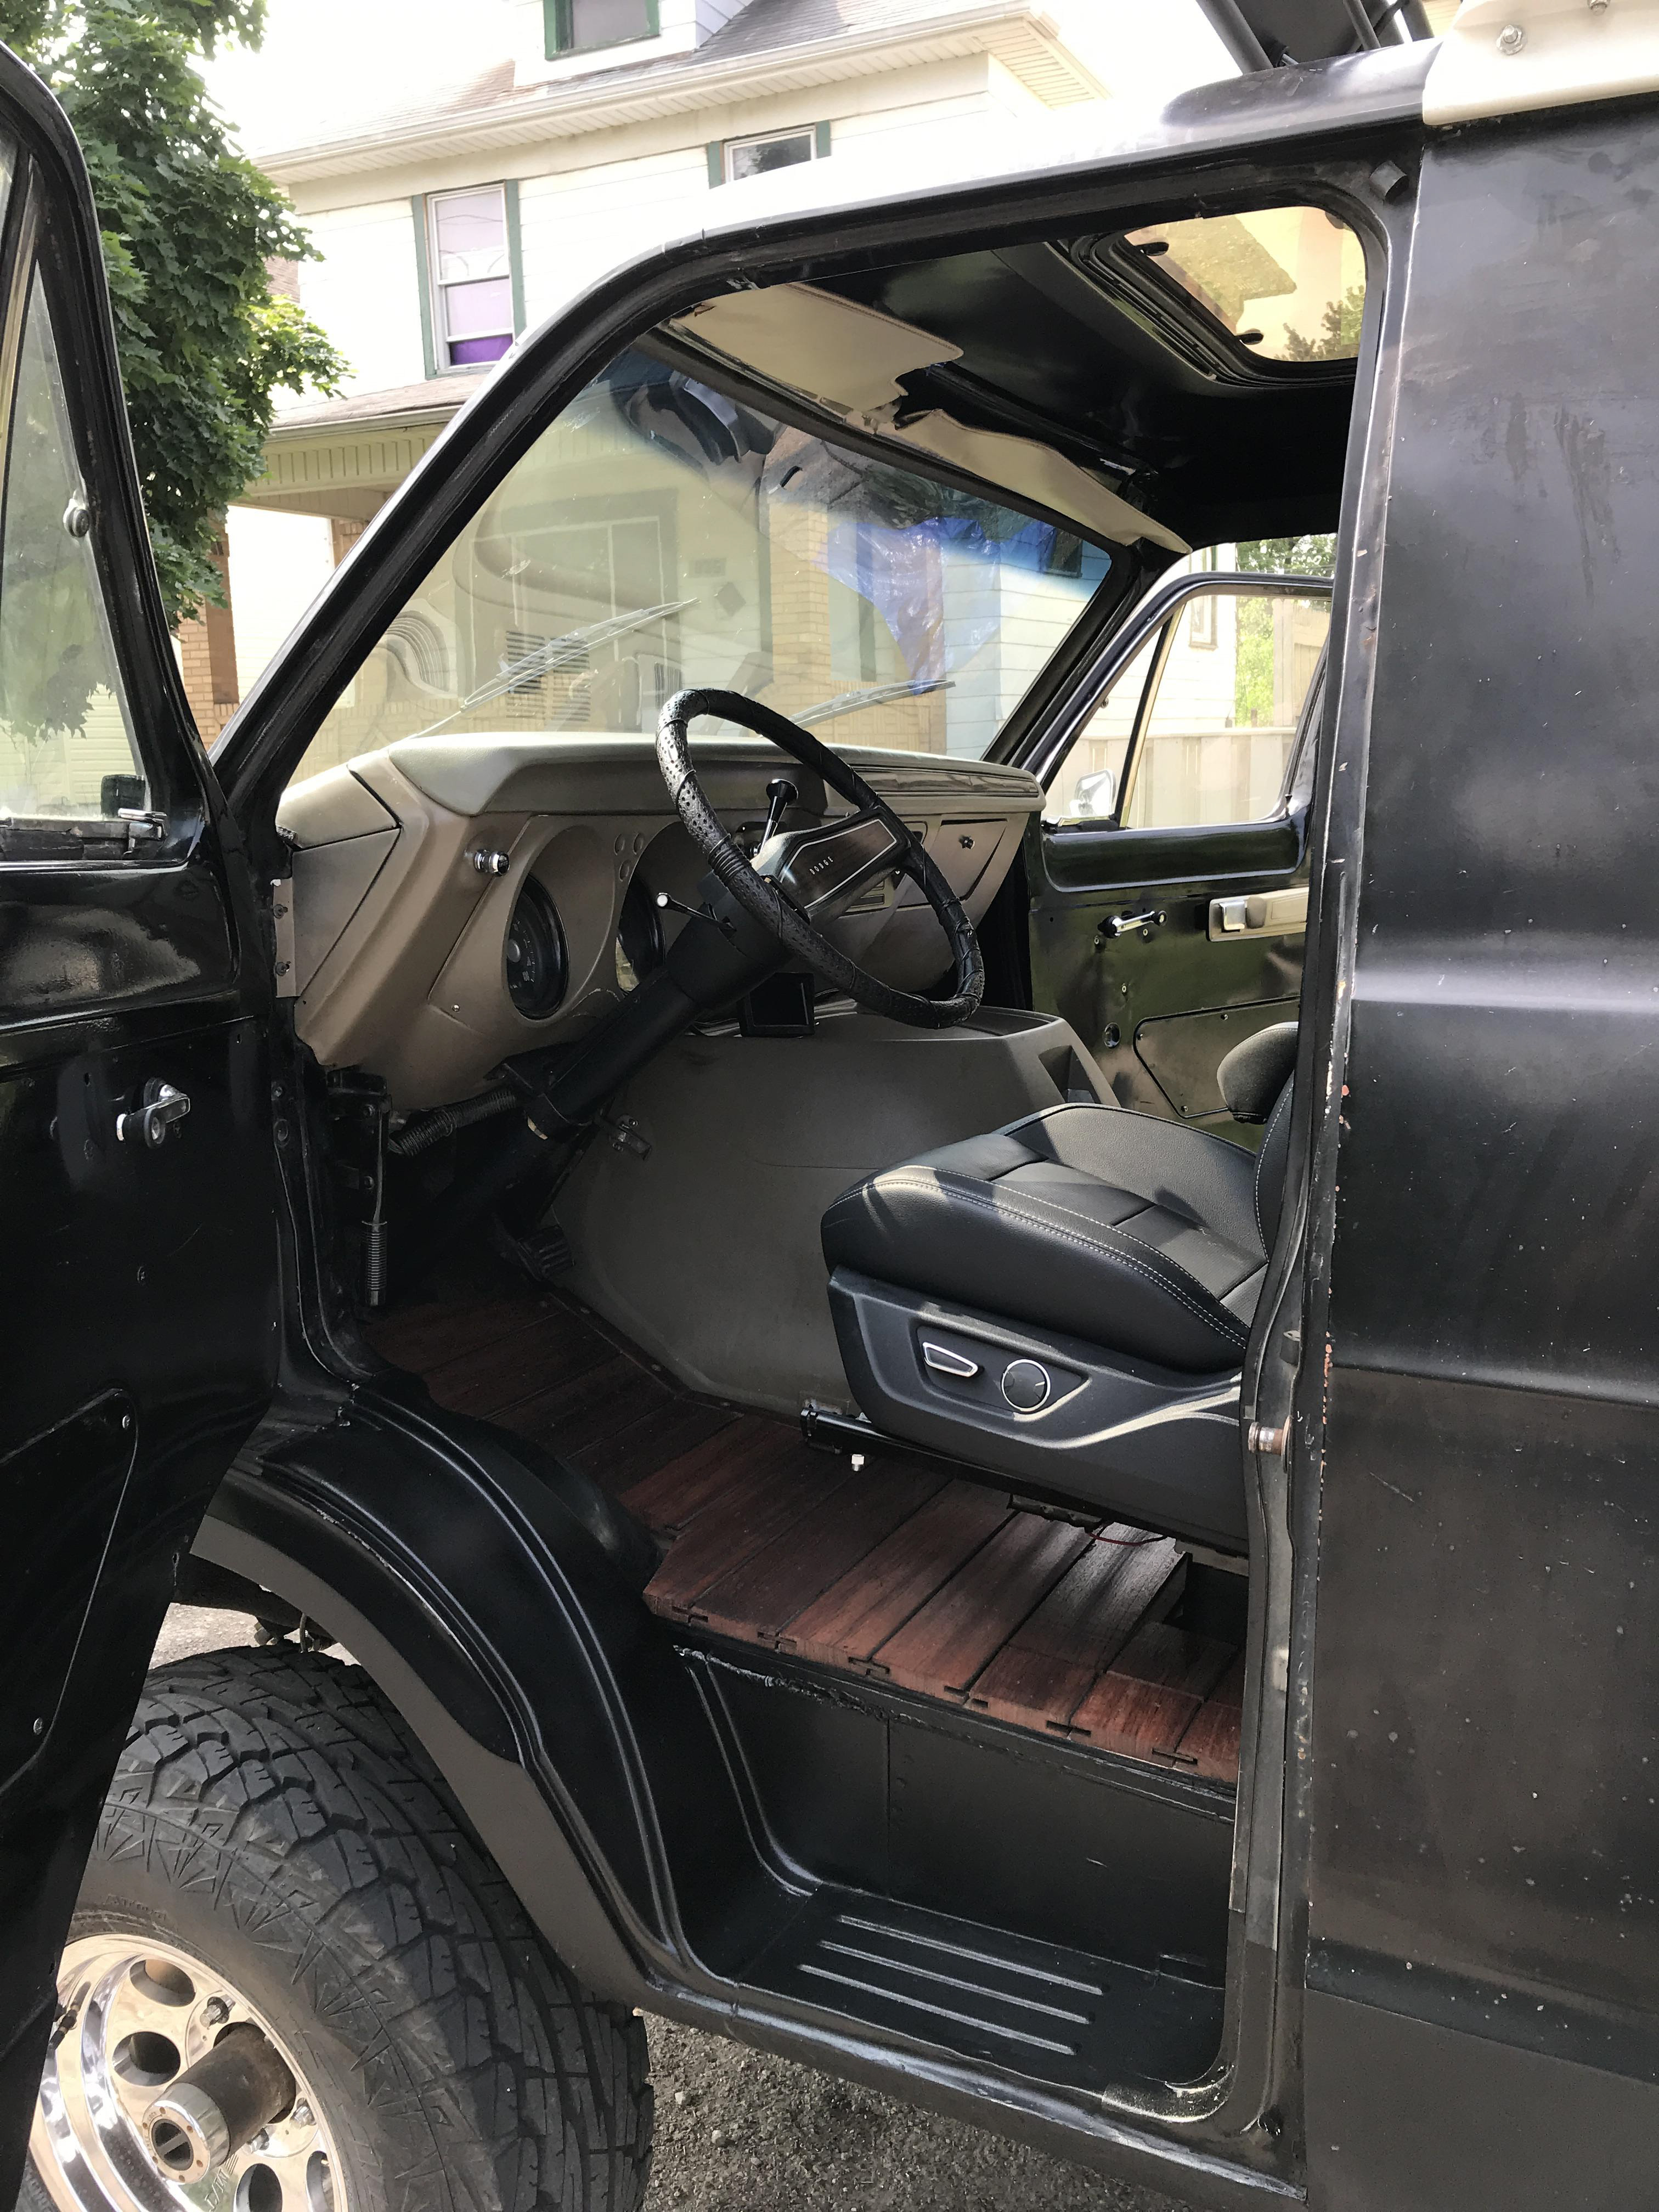
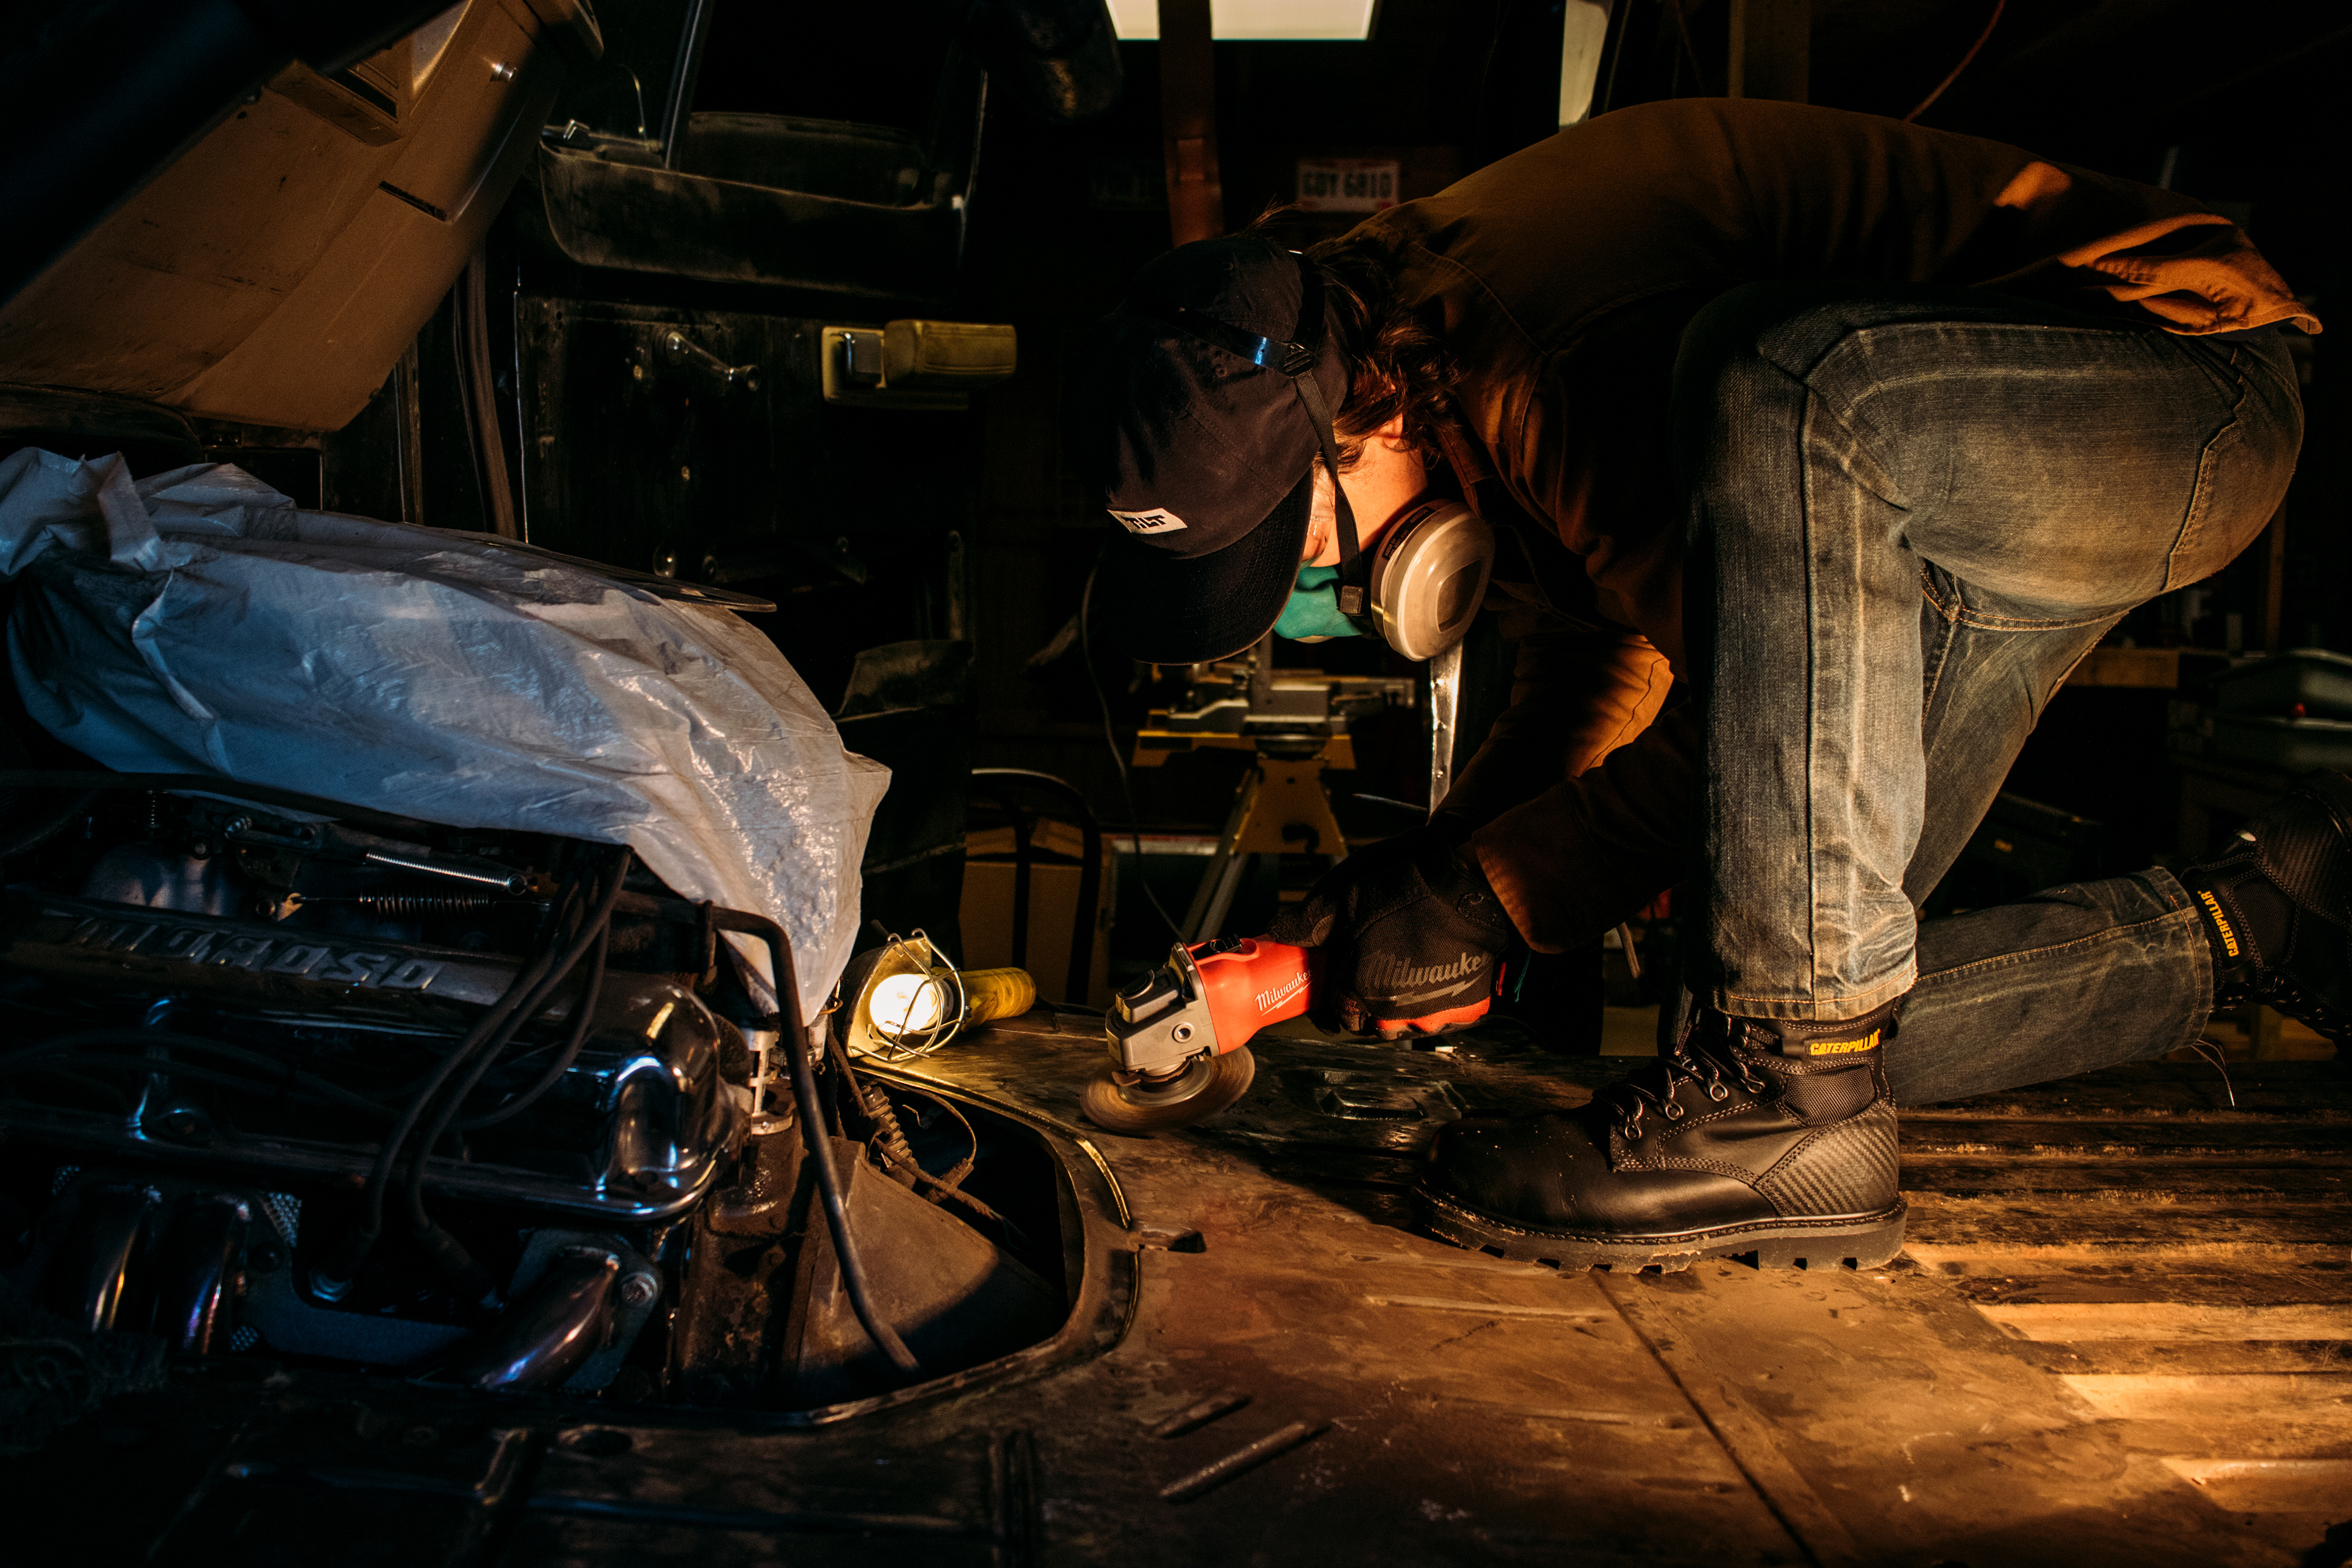
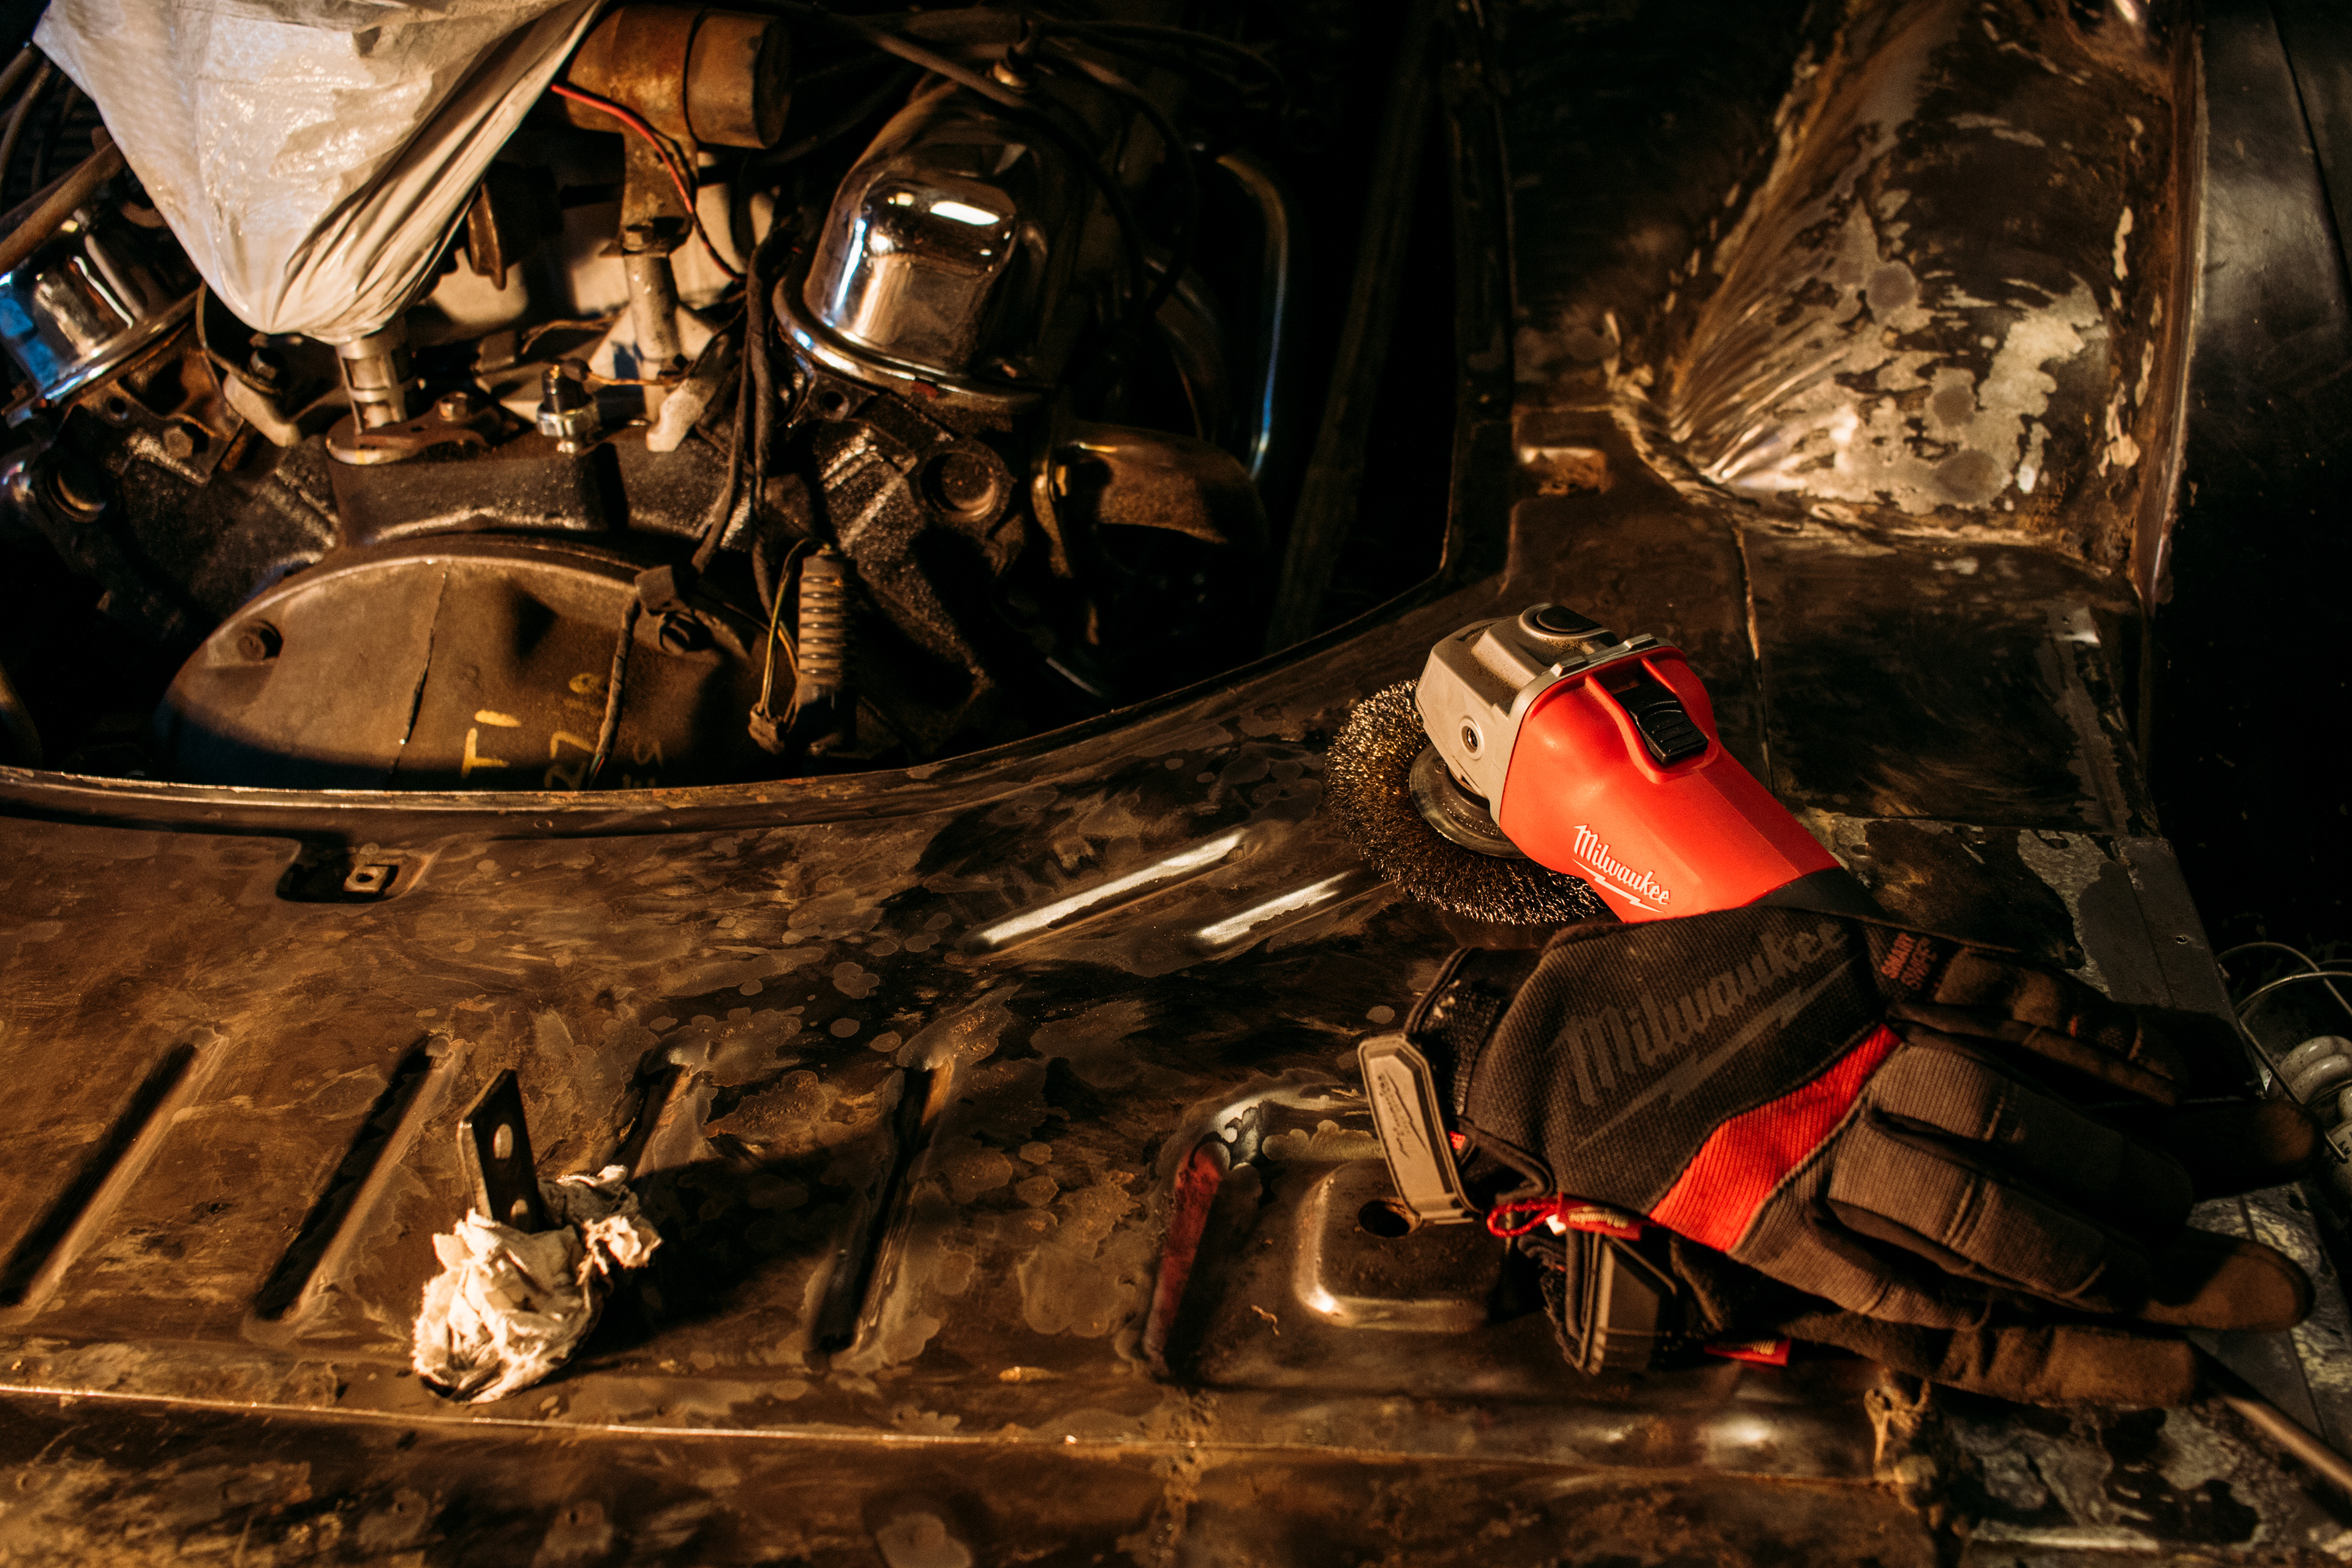
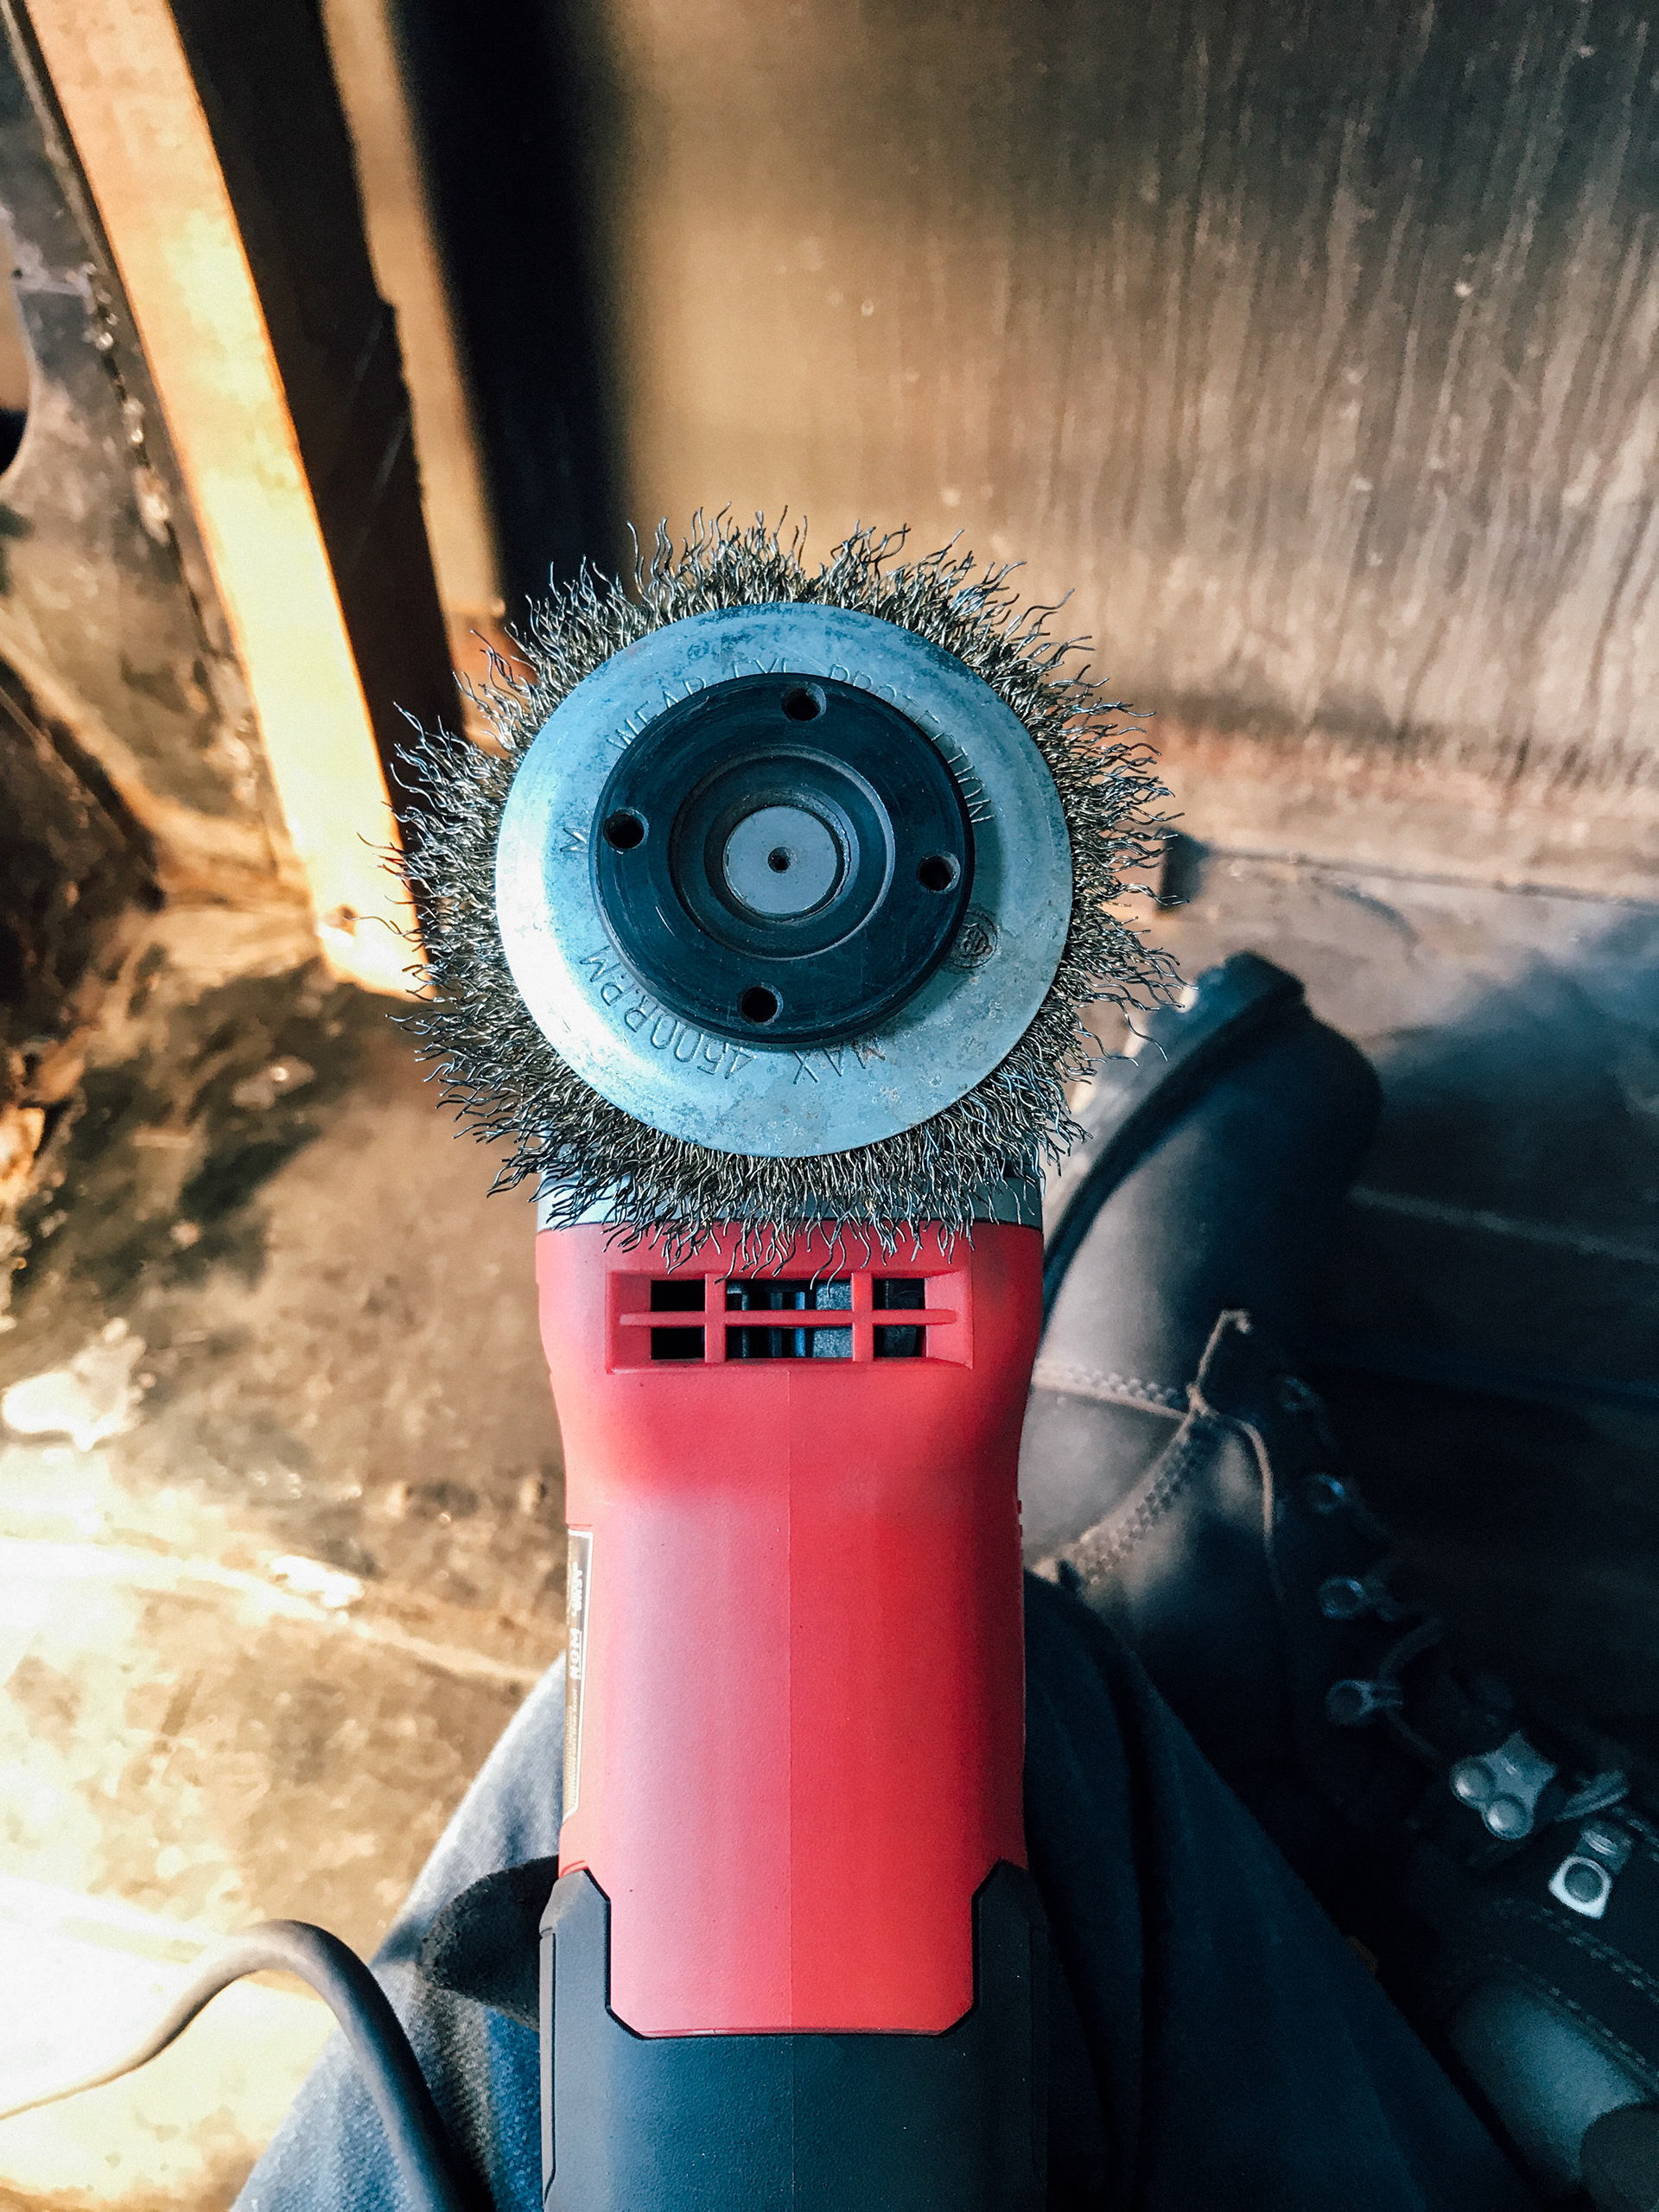
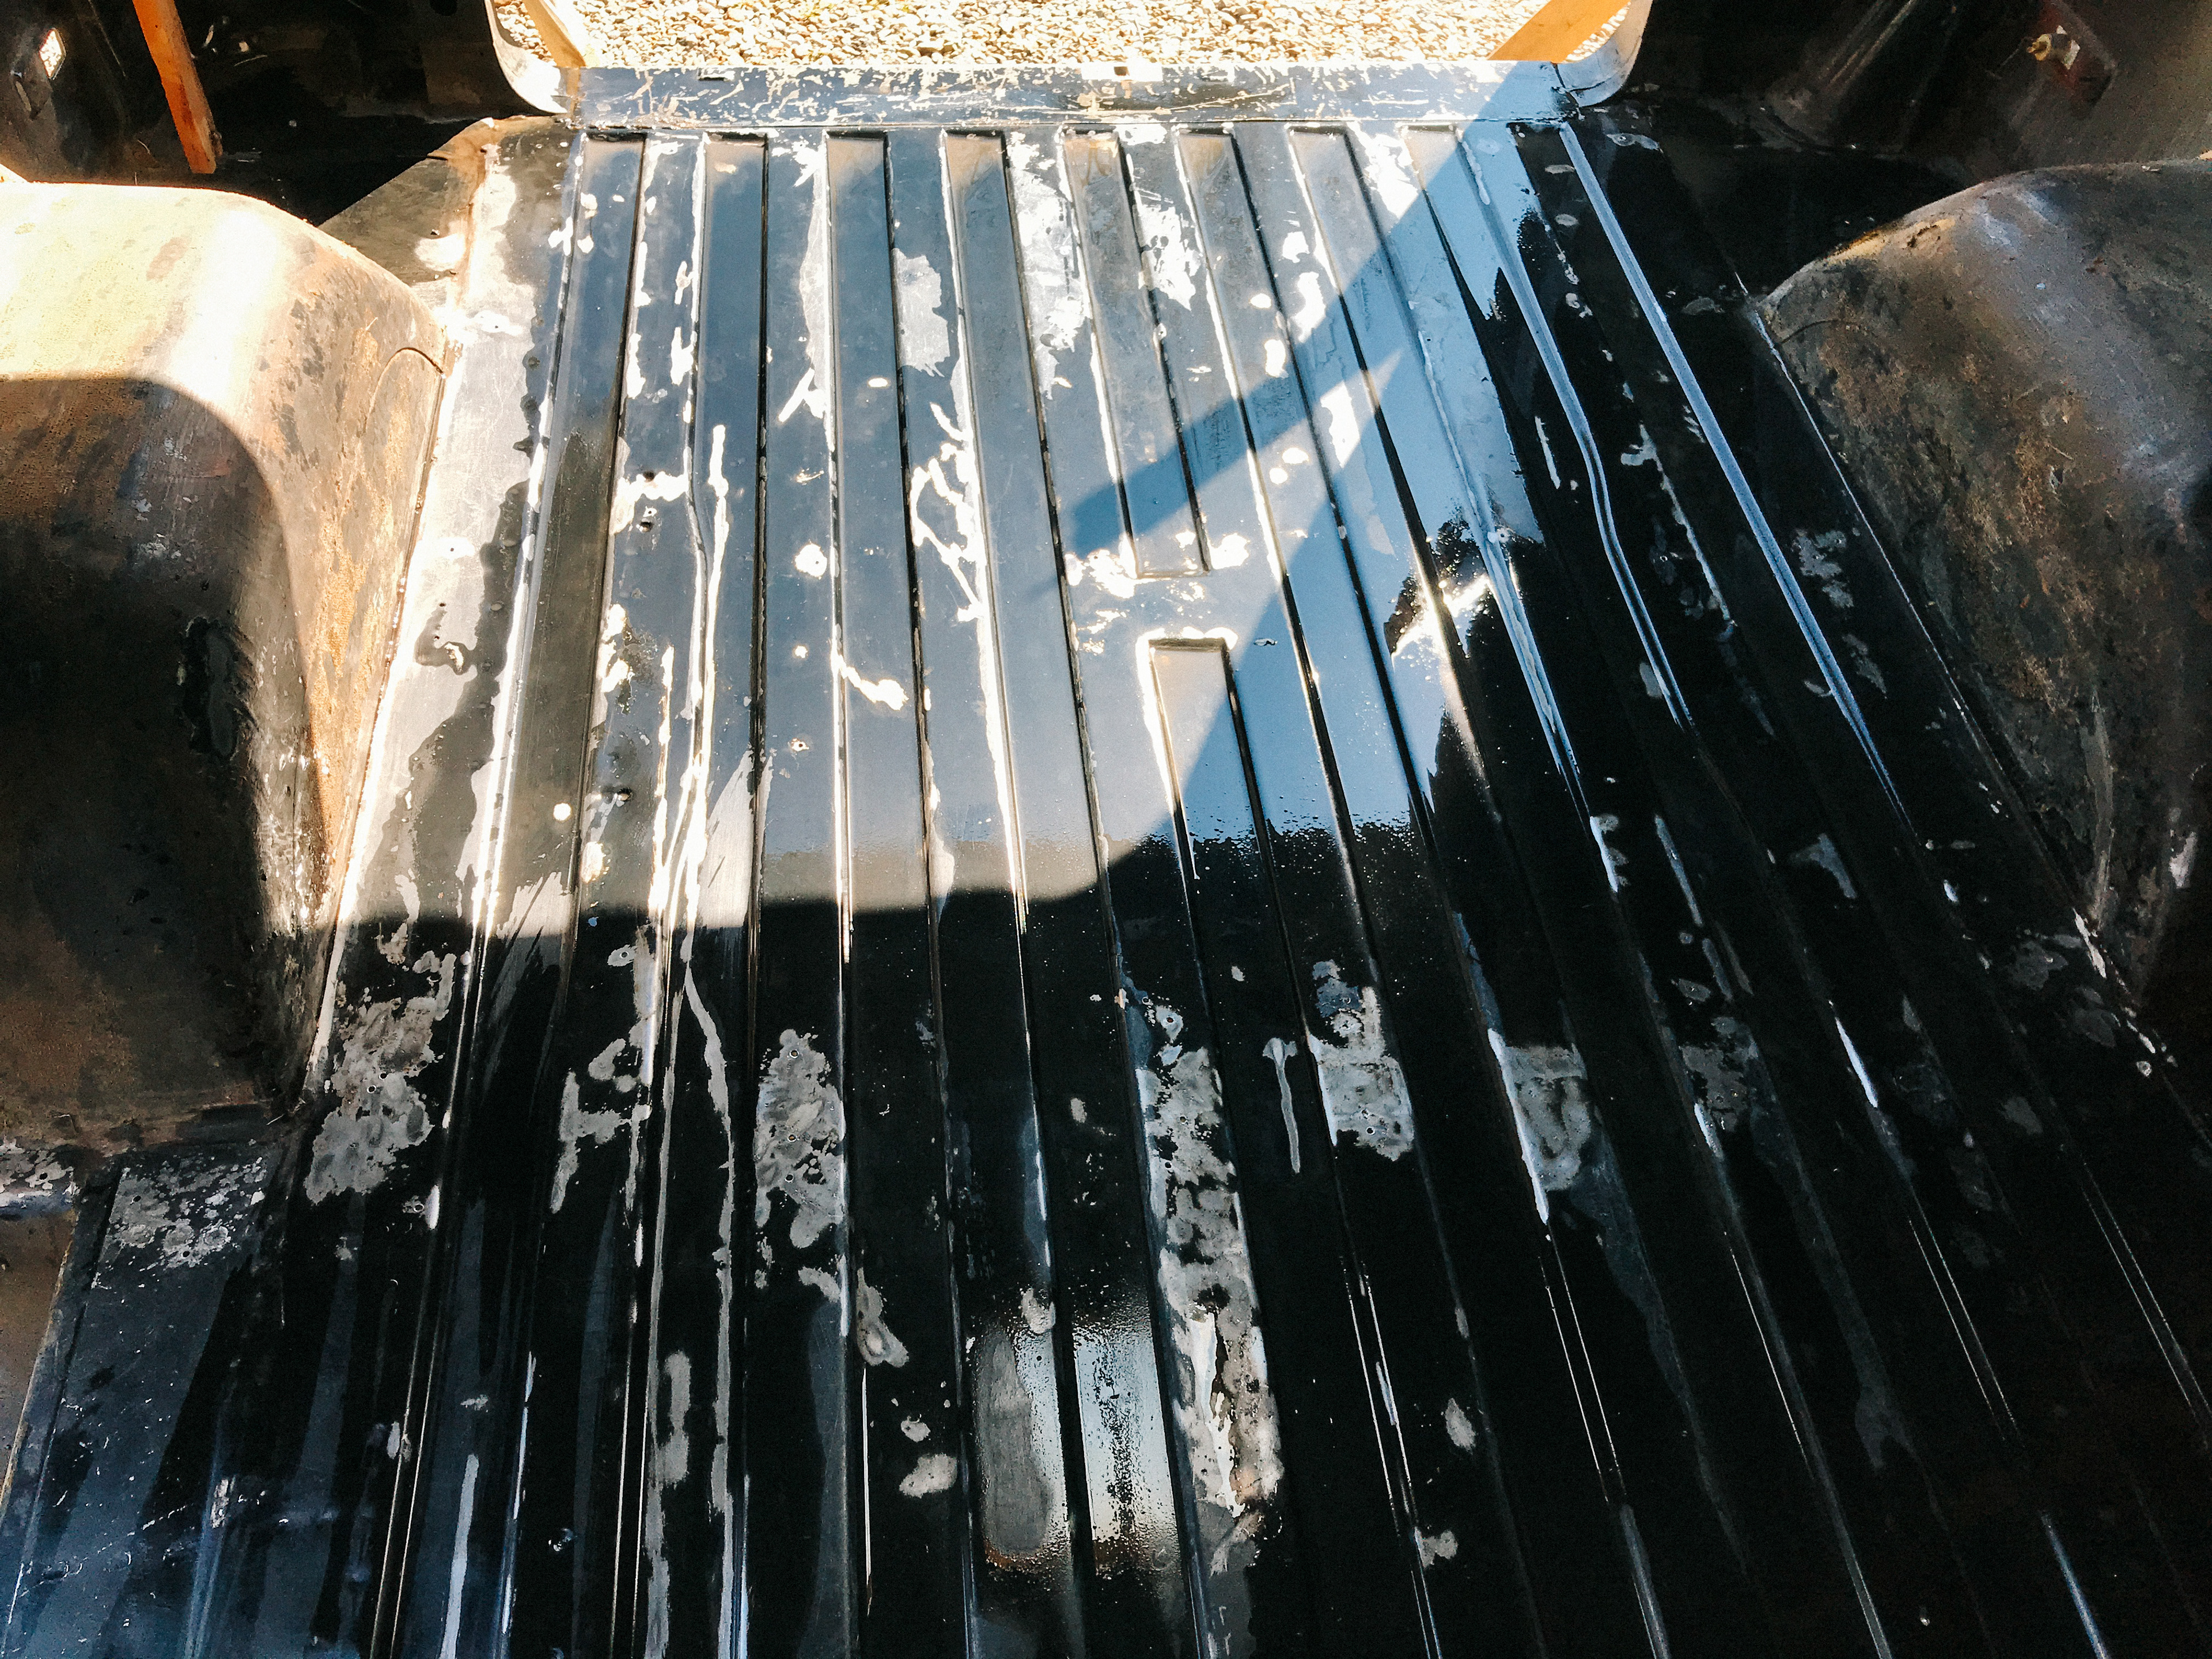
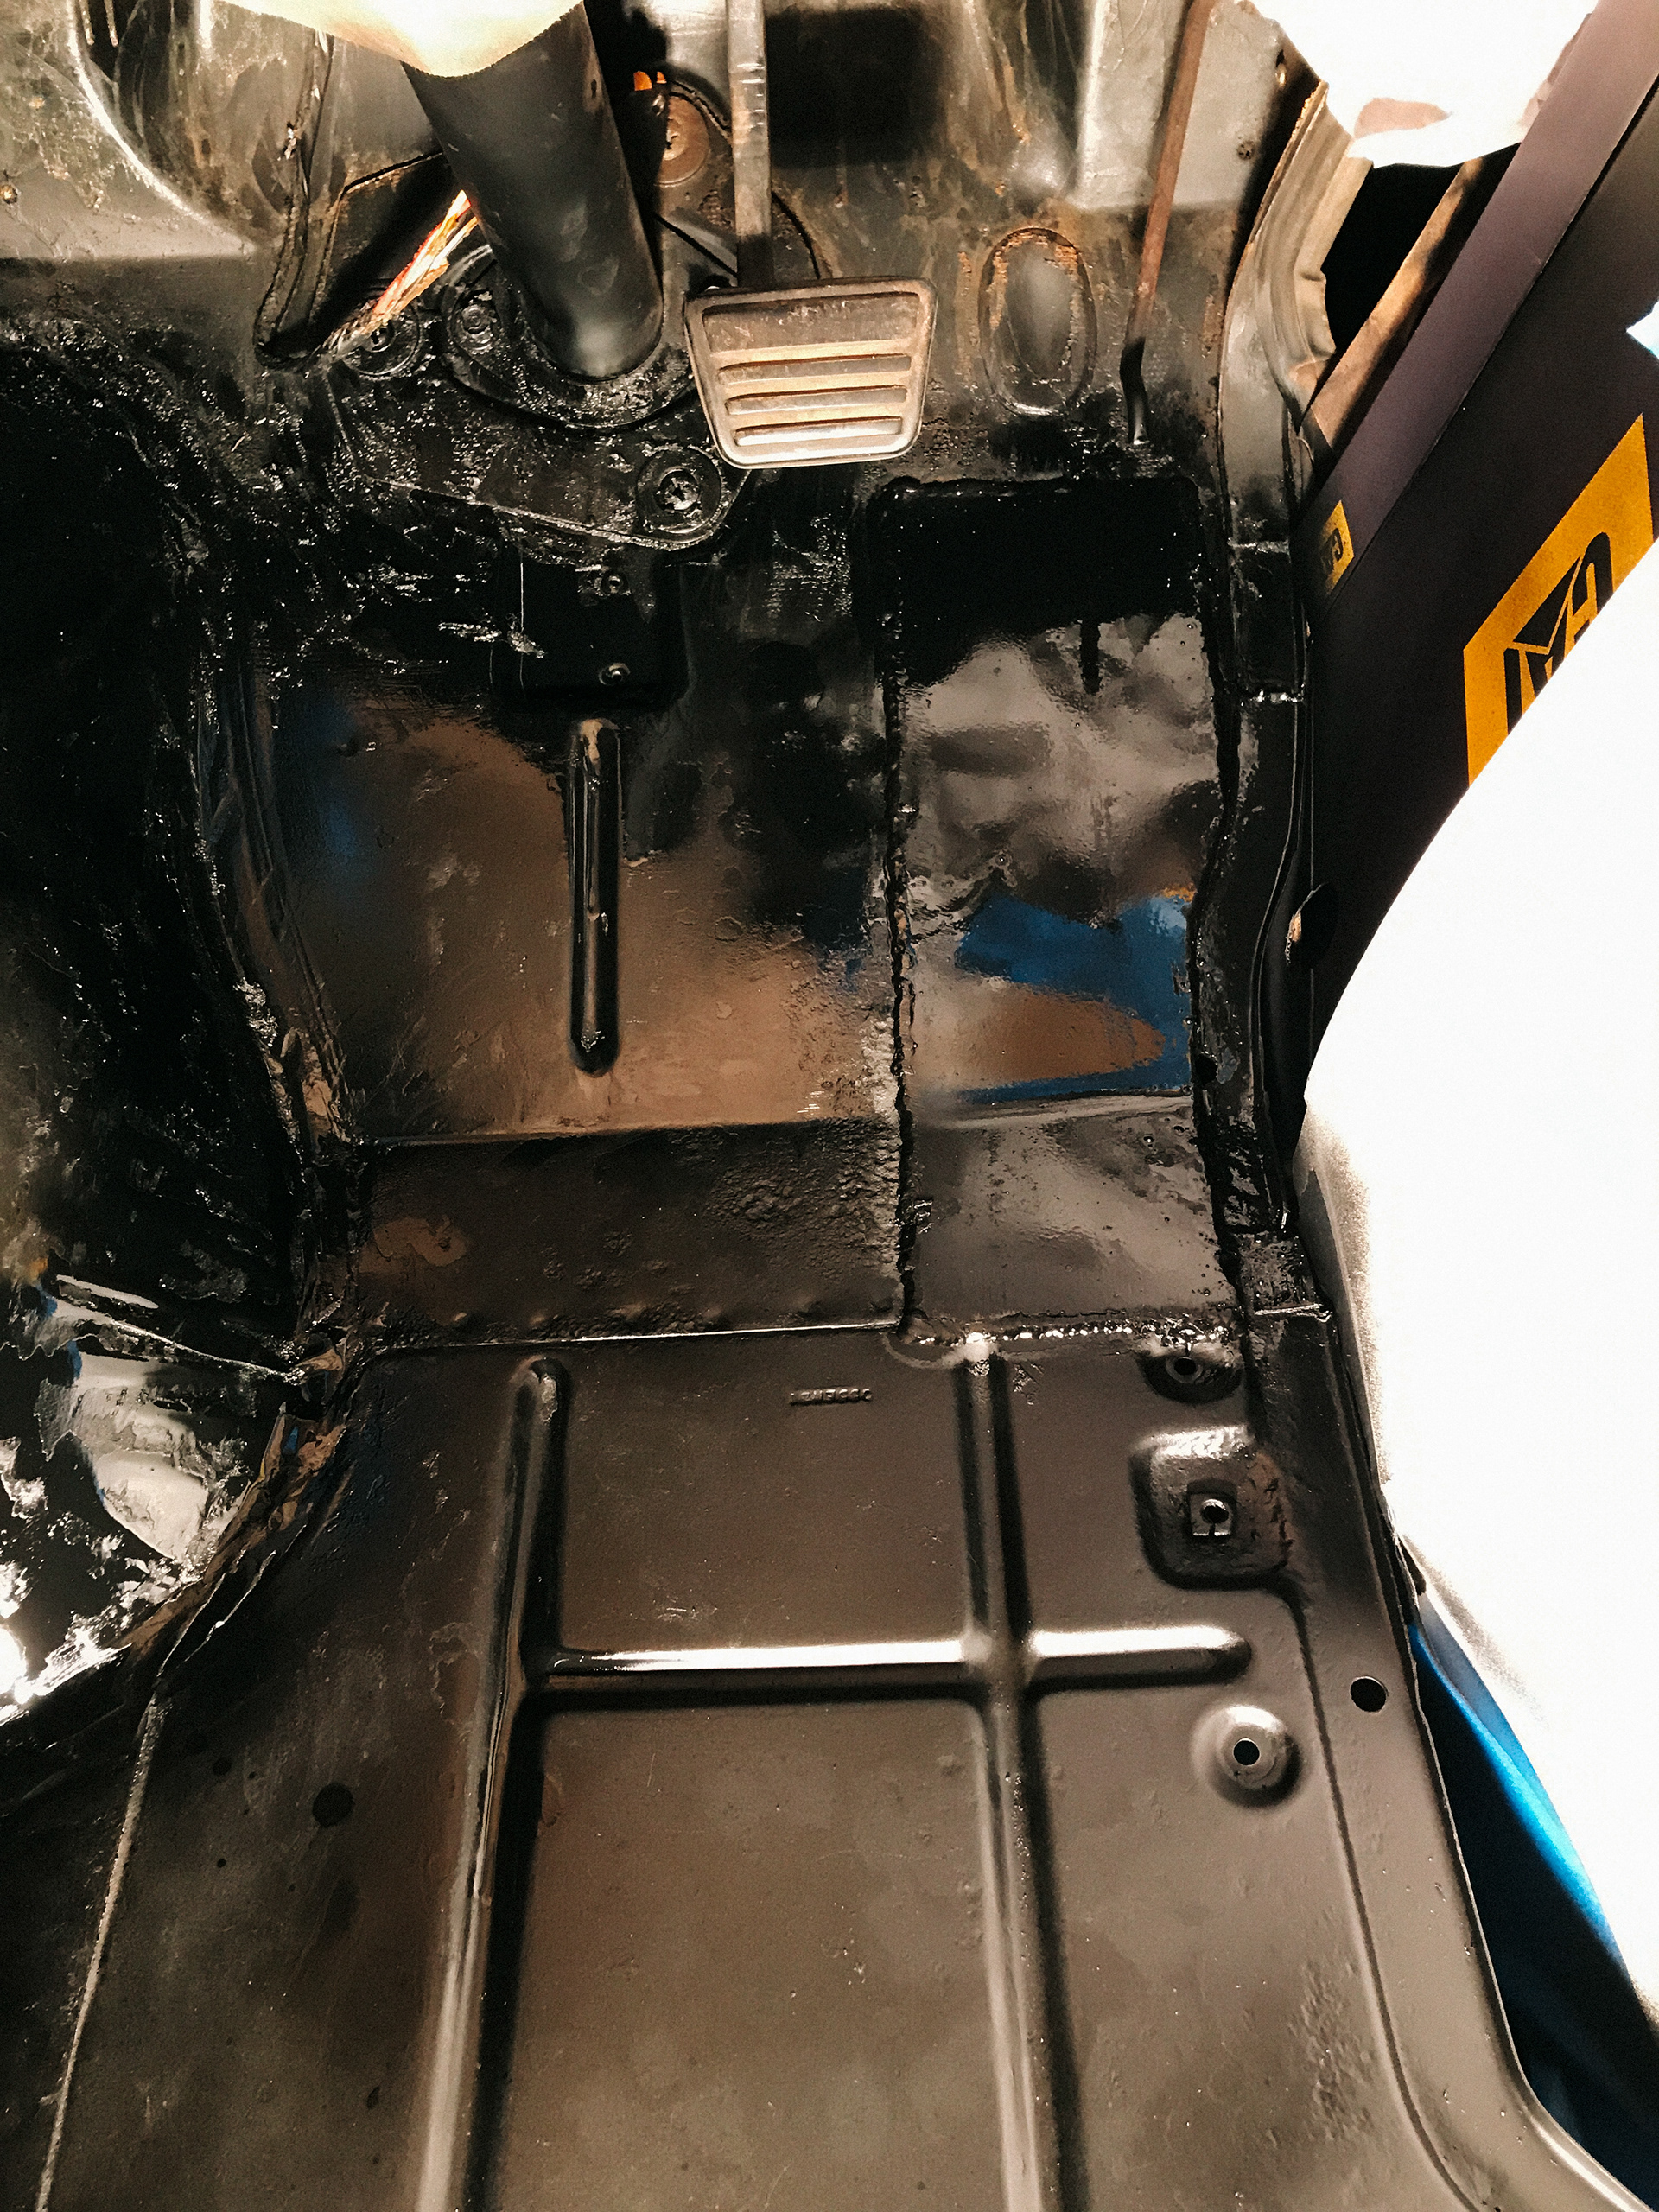
The floor had some nasty blue shag carpet that seemed to have come stock in the vans. Beneath that was a foam like padding that looked like bread. Removing this was a pain and very time consuming. After that, I could see where all the rust was developing and wire brushed it away so I could paint it. This ended up showing a hole in the floor by the drivers gas pedal. I knew it wasn't going to hold much longer so I had to cut it out and weld in a new piece. Luckily the gas lines were directly below this which made for some very strategic angle grinding.


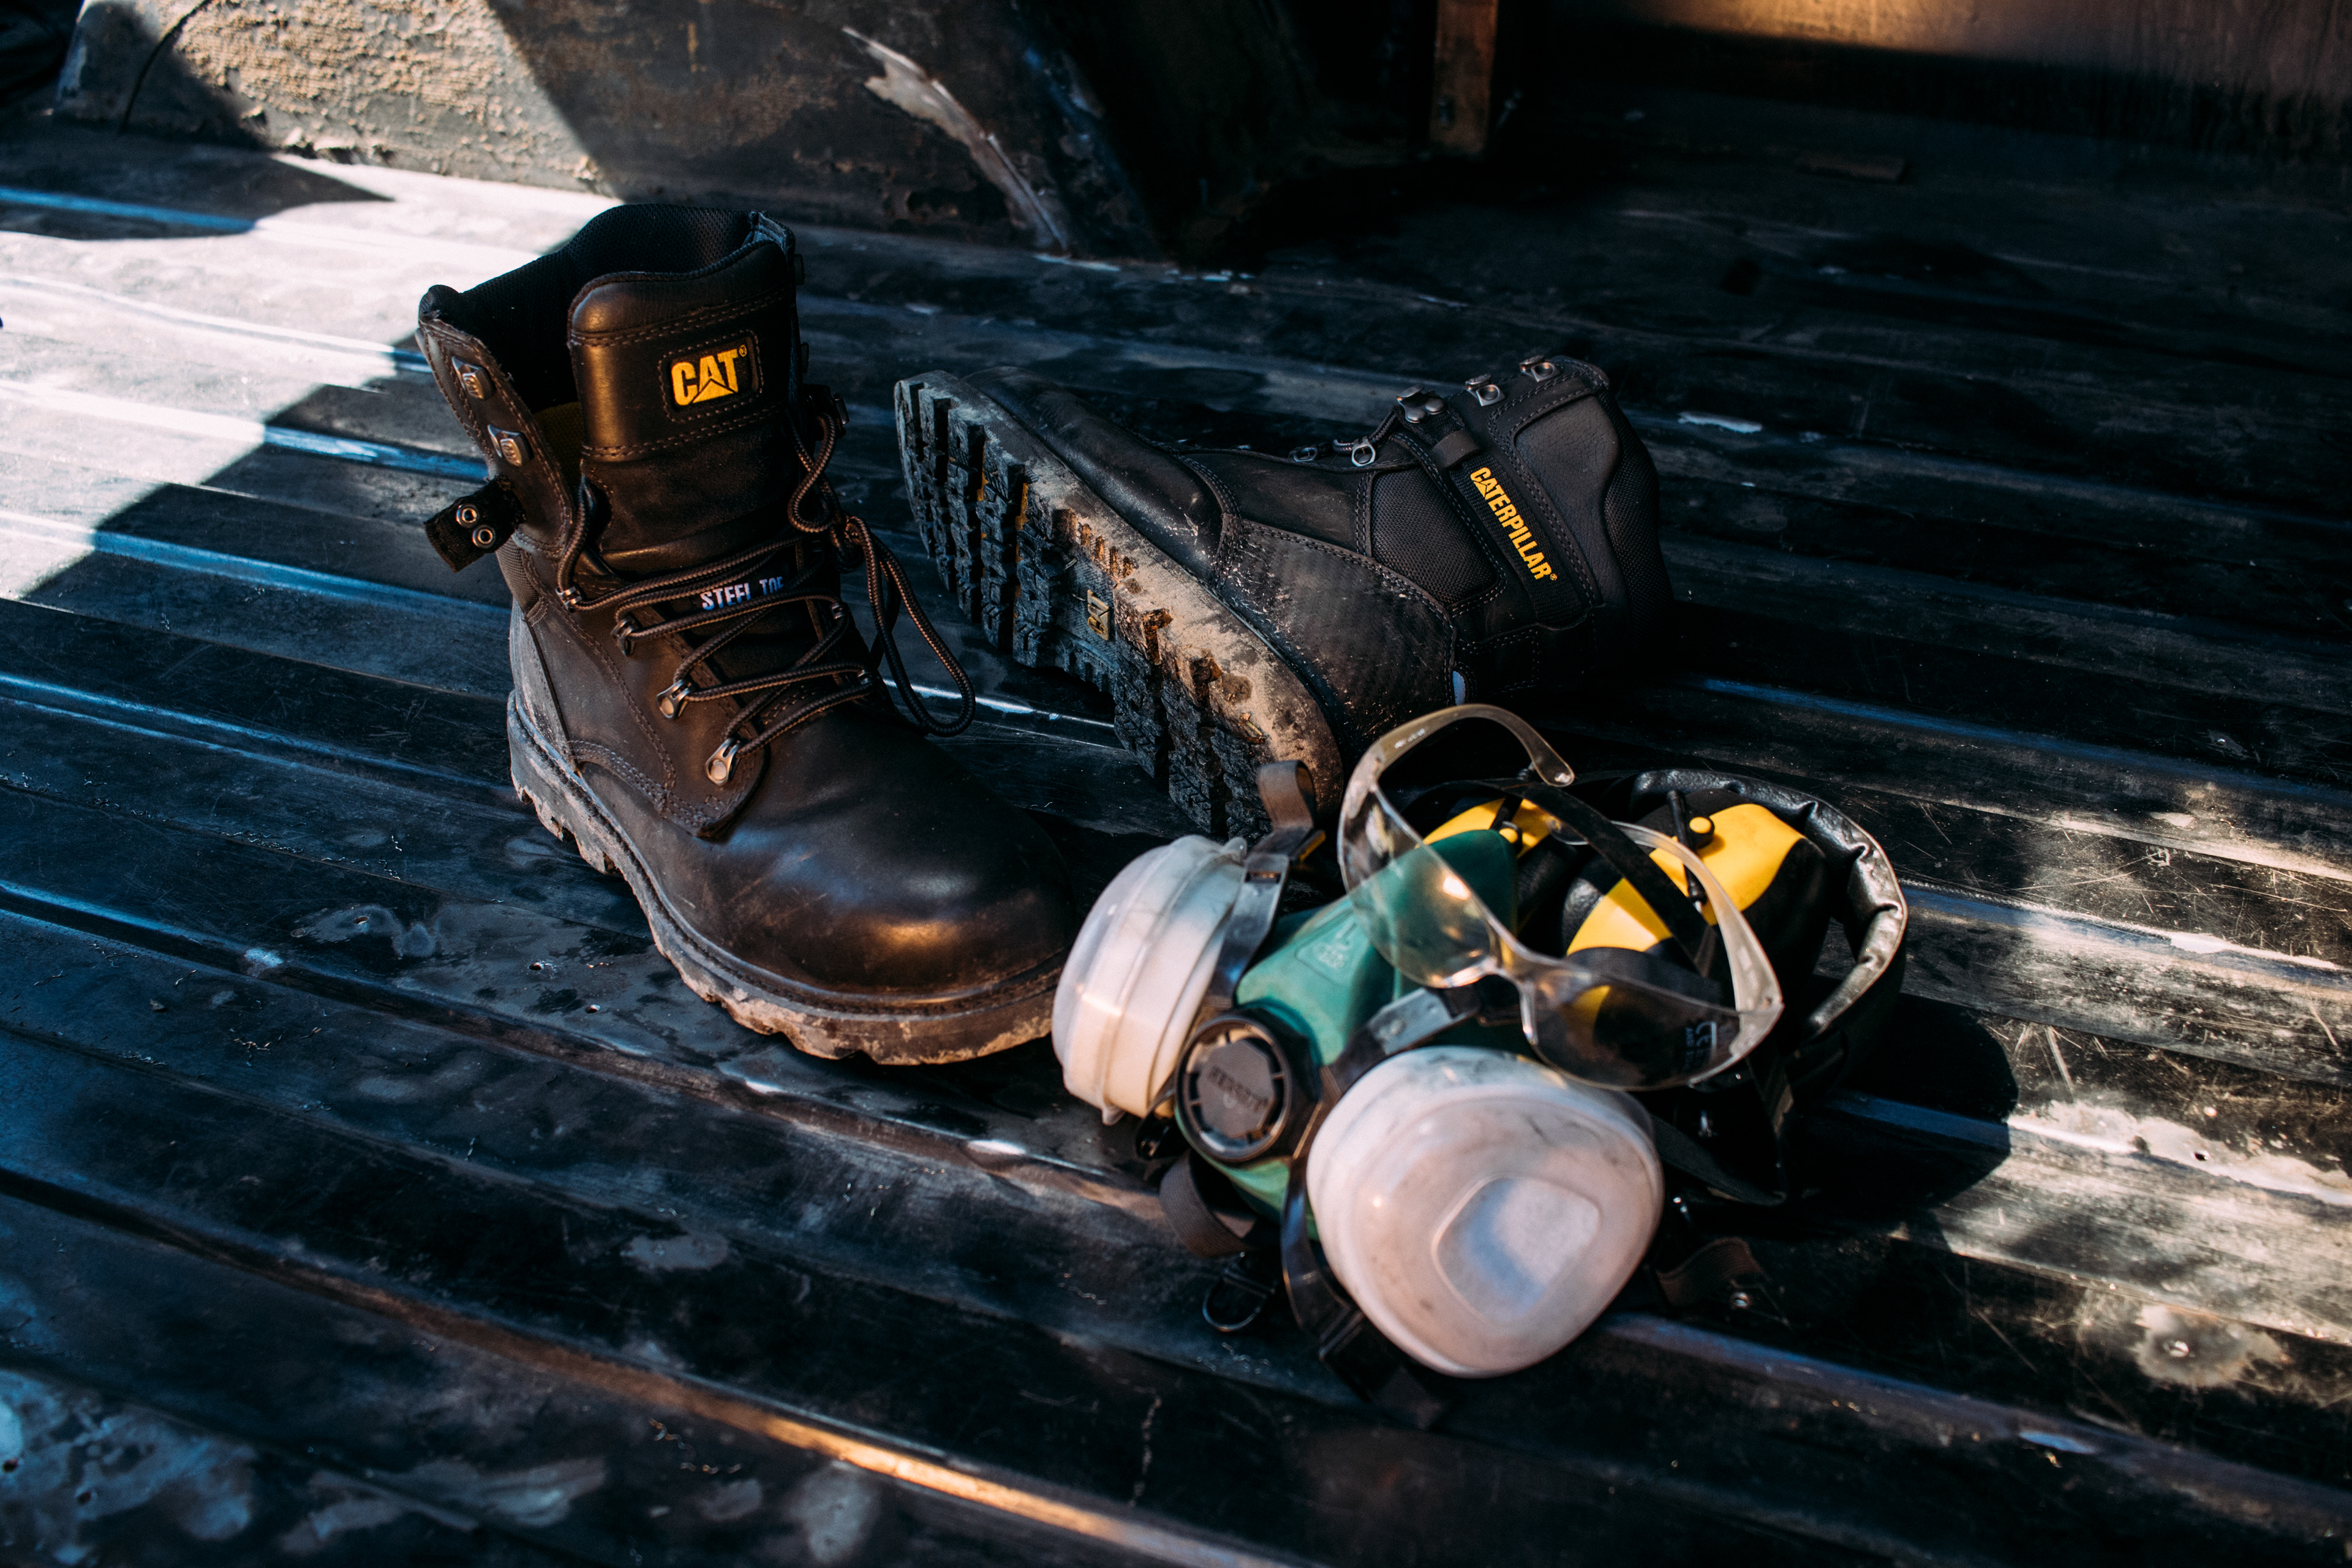
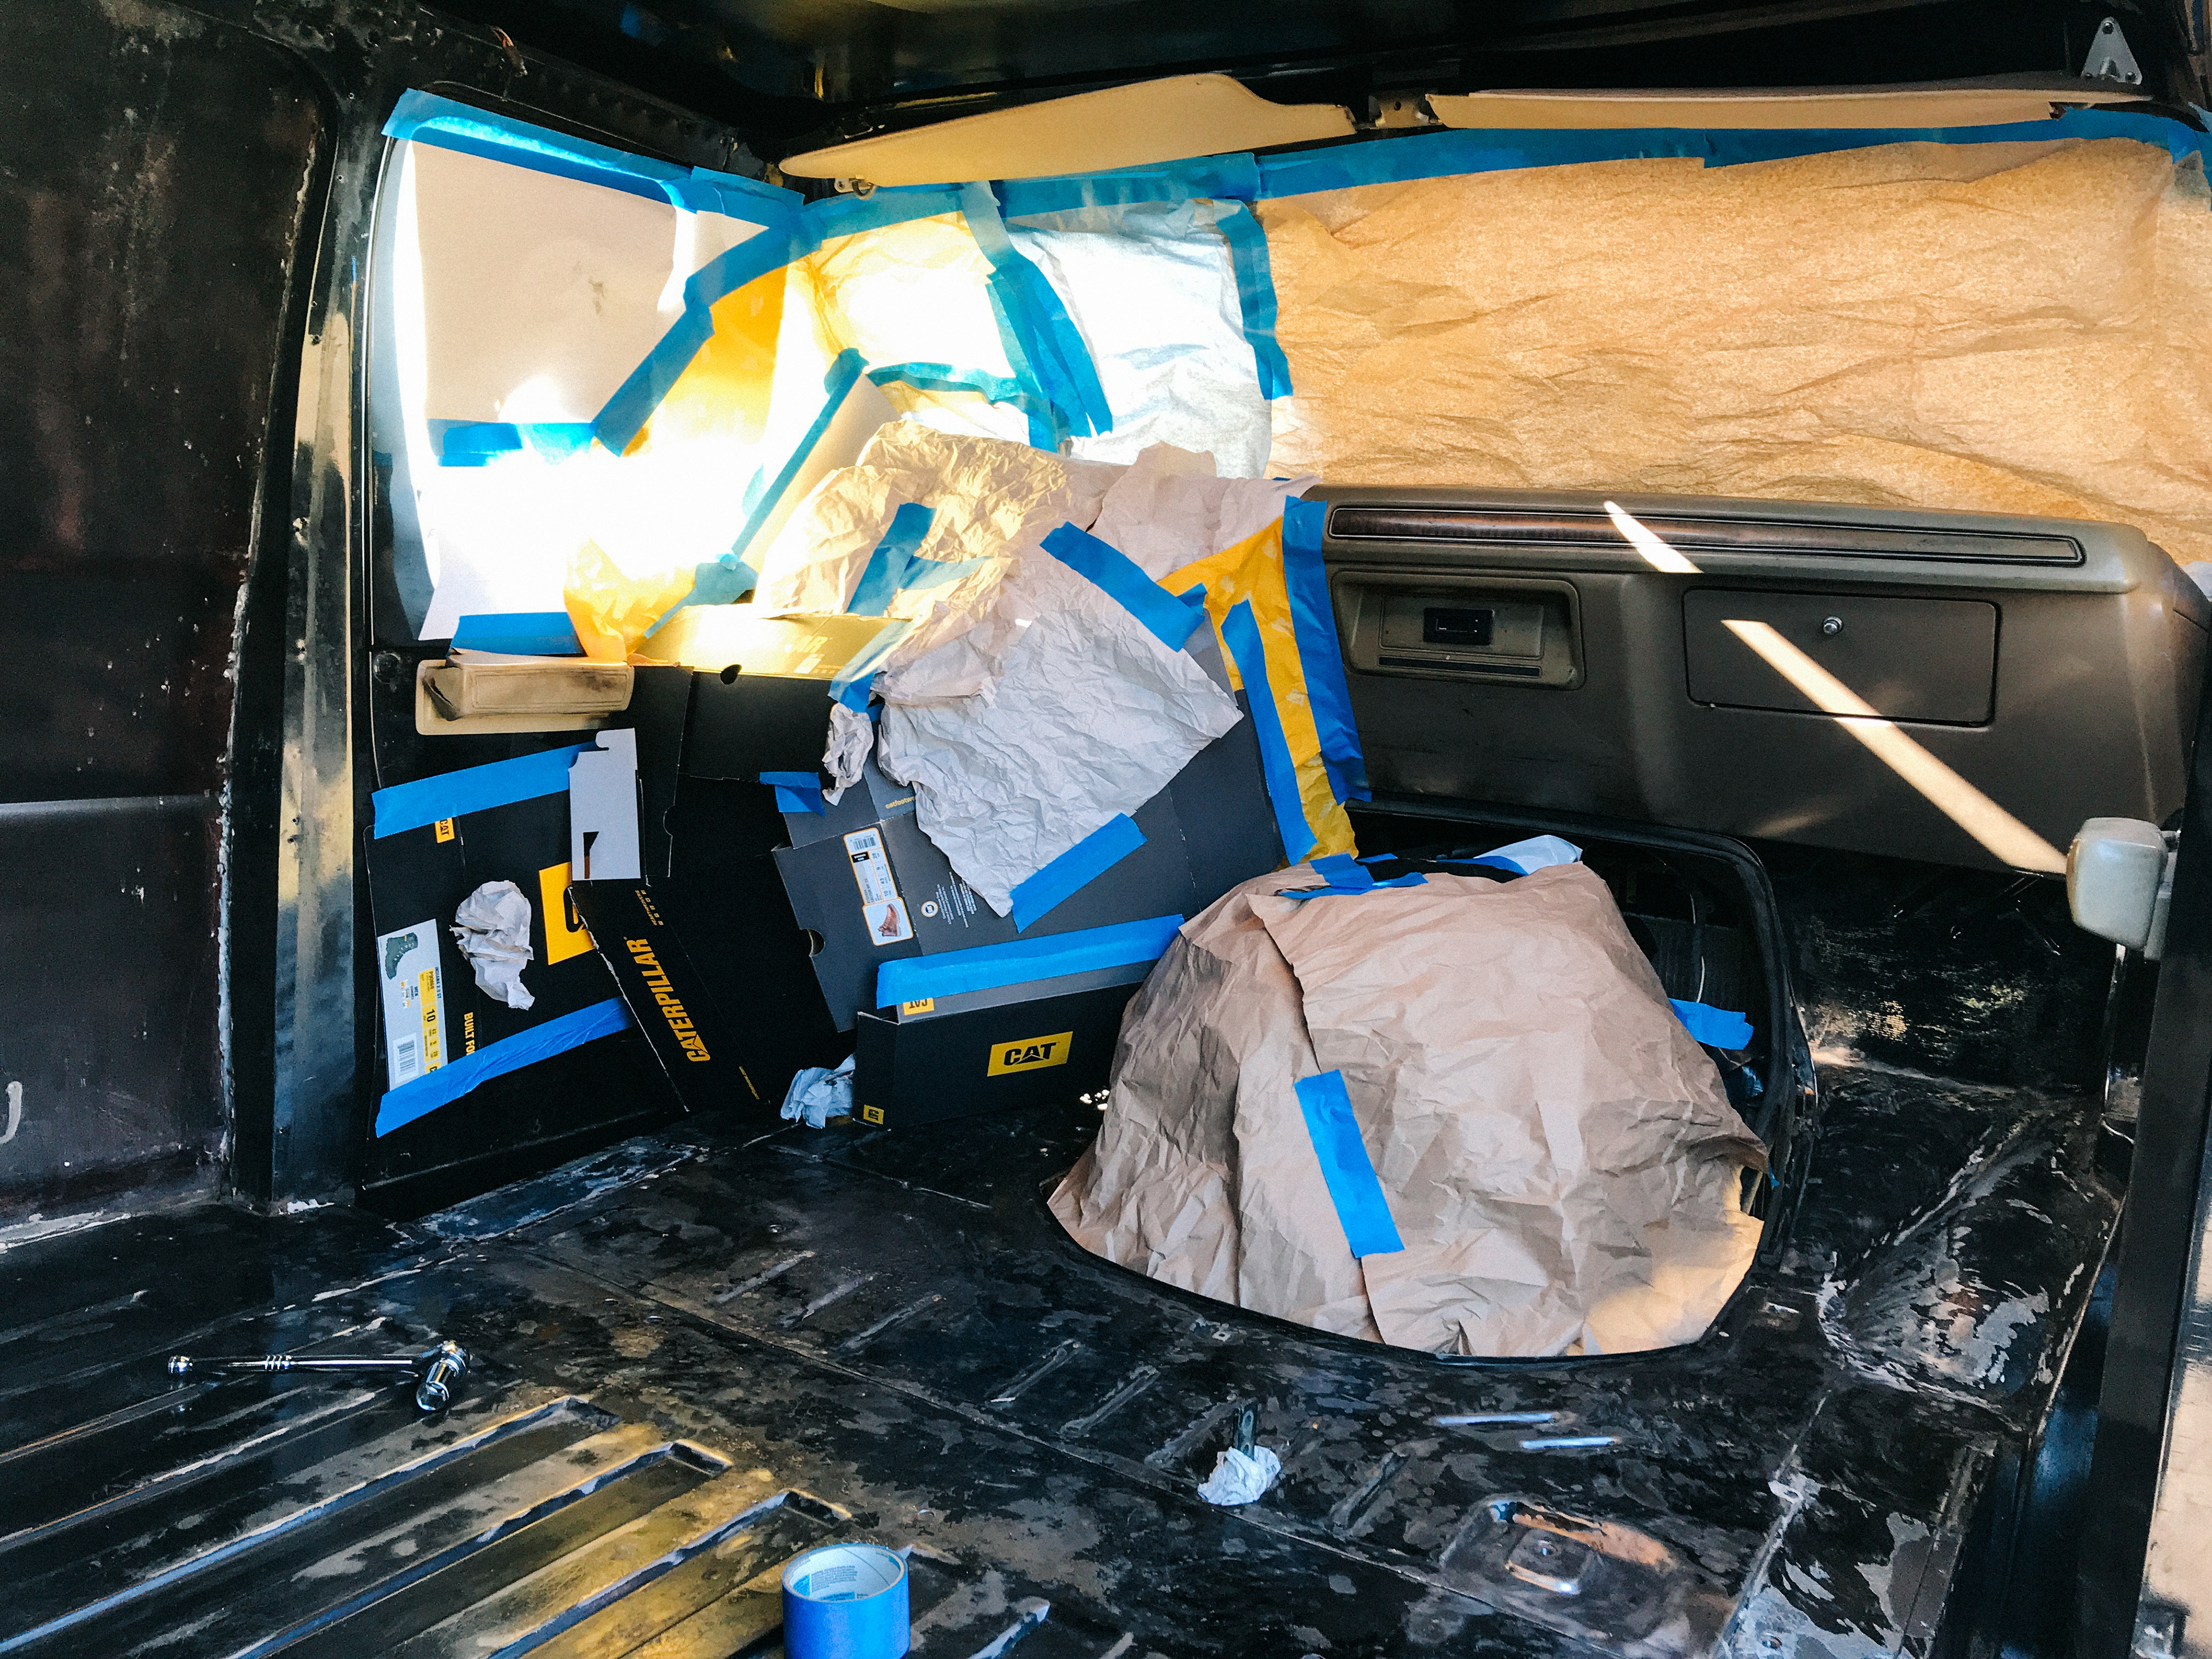
The sponsor CAT Footwear came in clutch with a shipment of fresh shoes, just in time to use the boxes and tissue paper for overspray protection while I was painting the floor and walls.
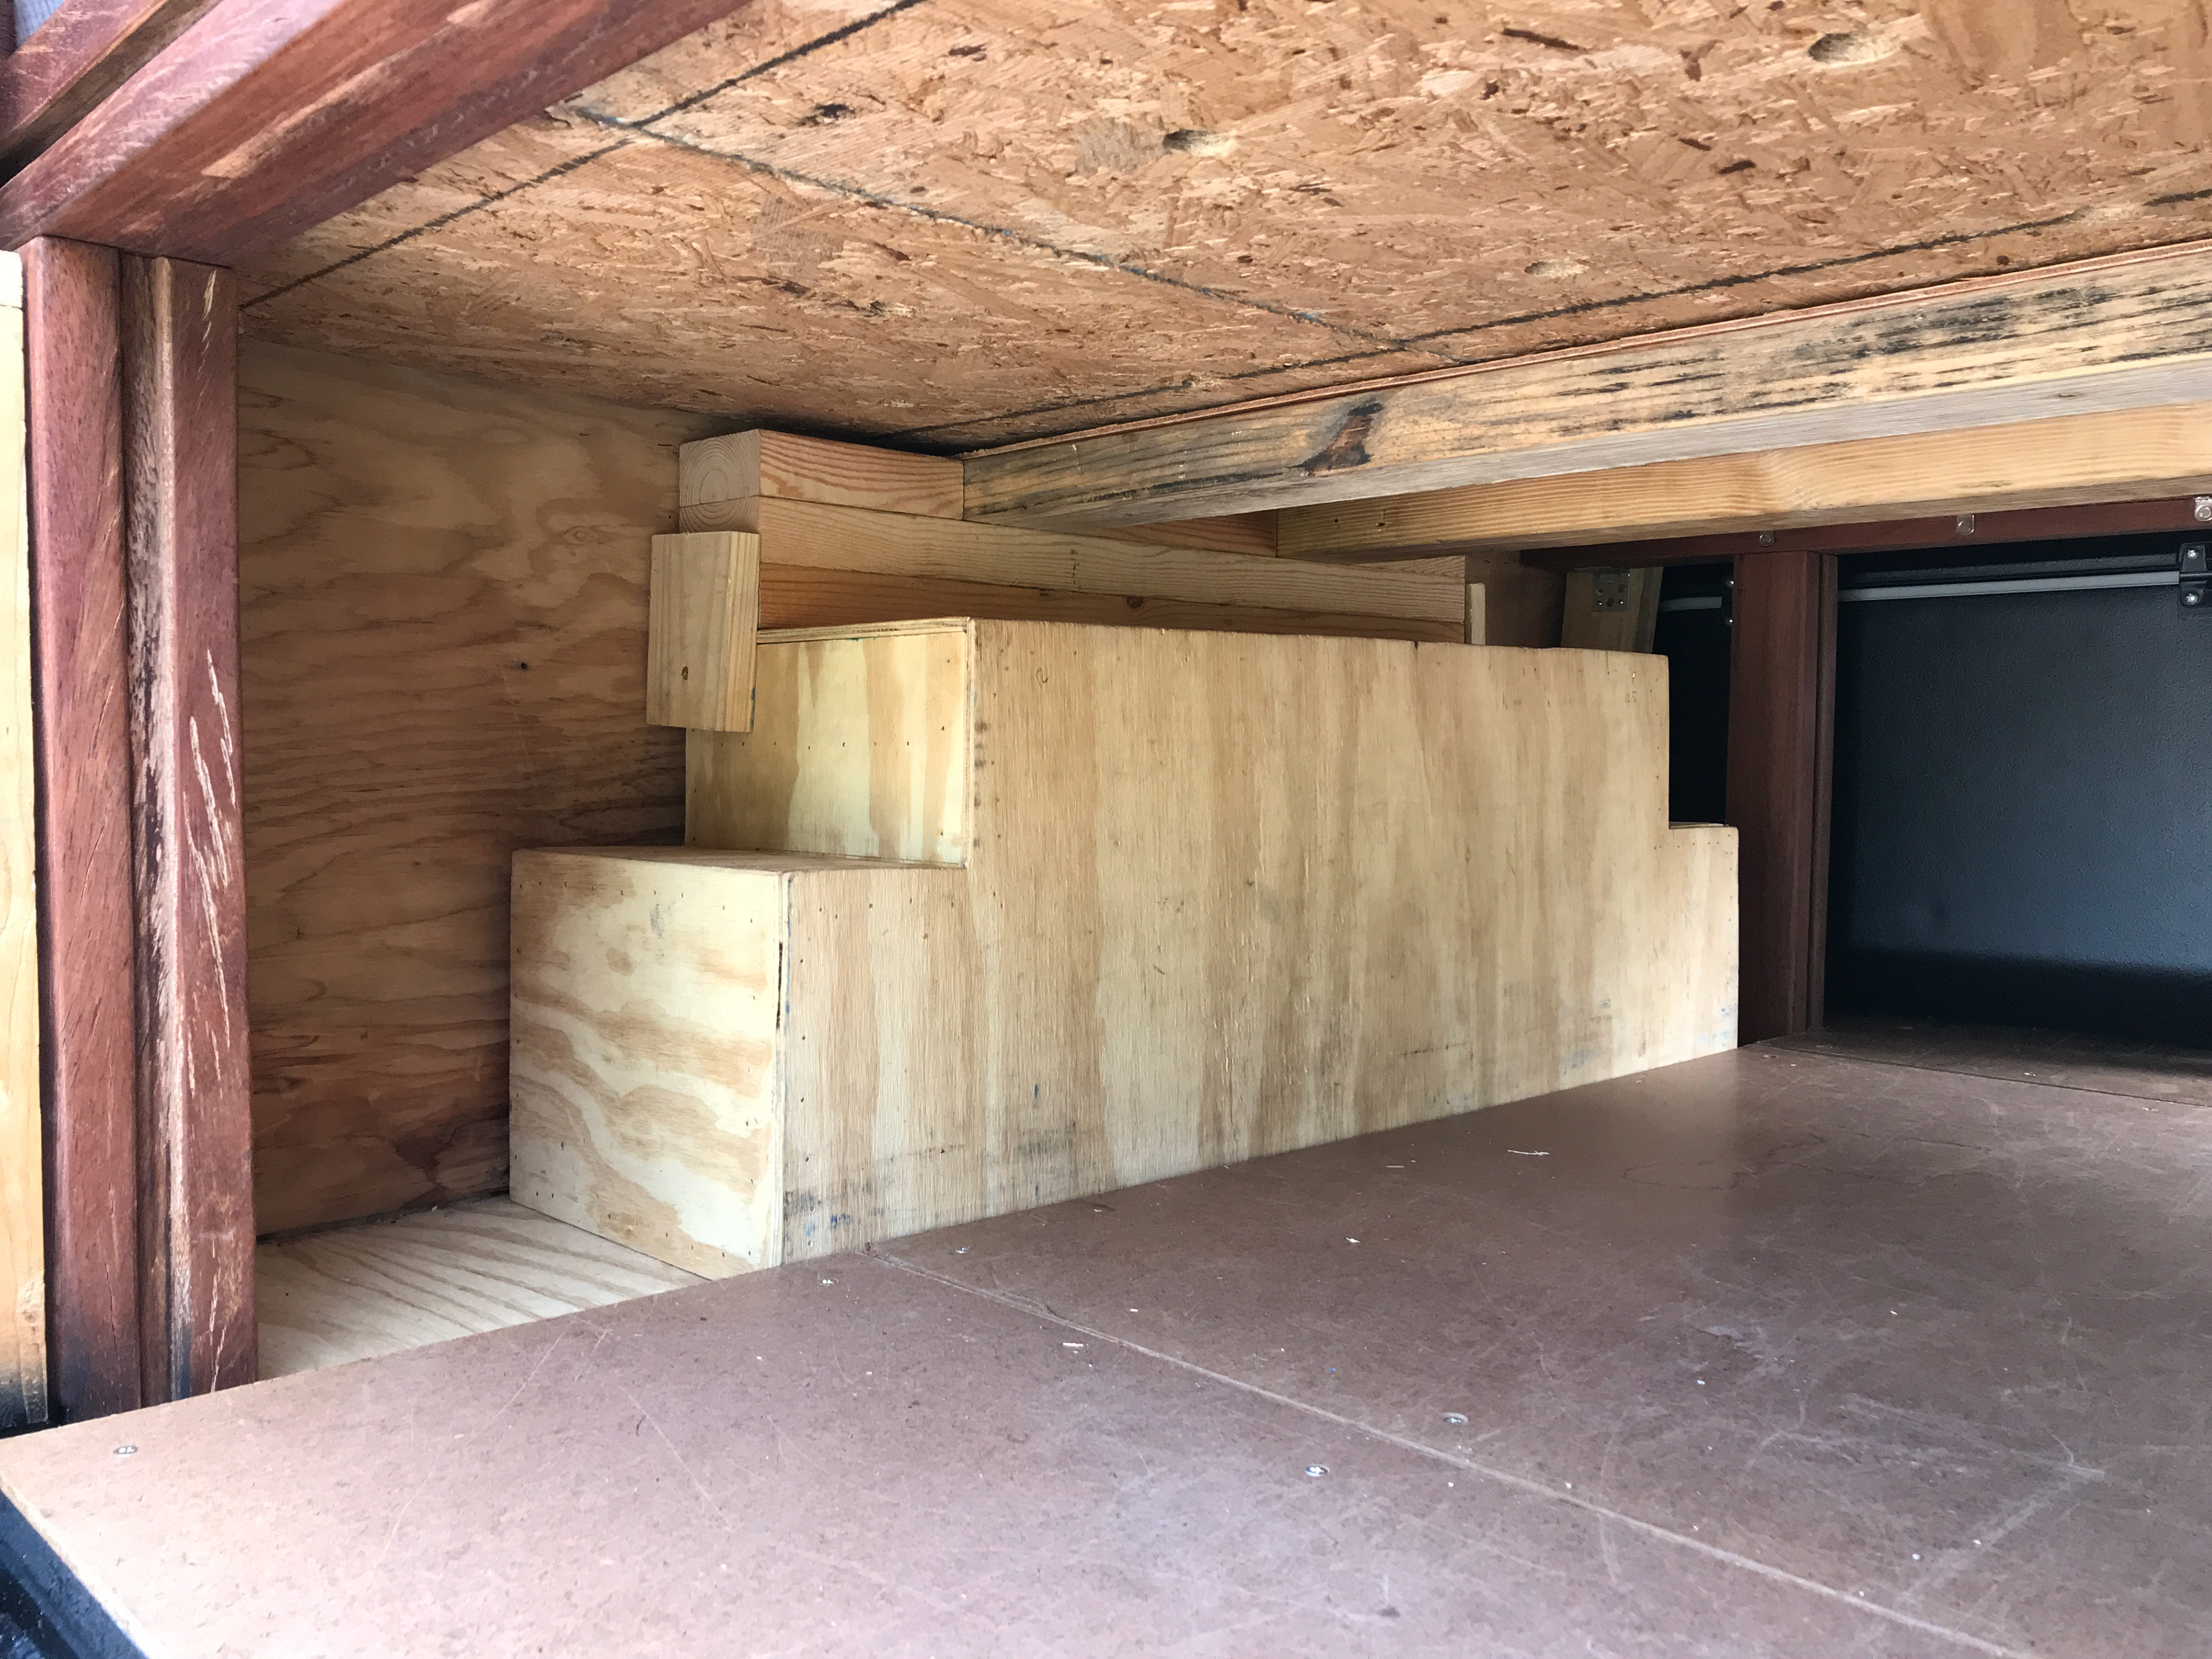
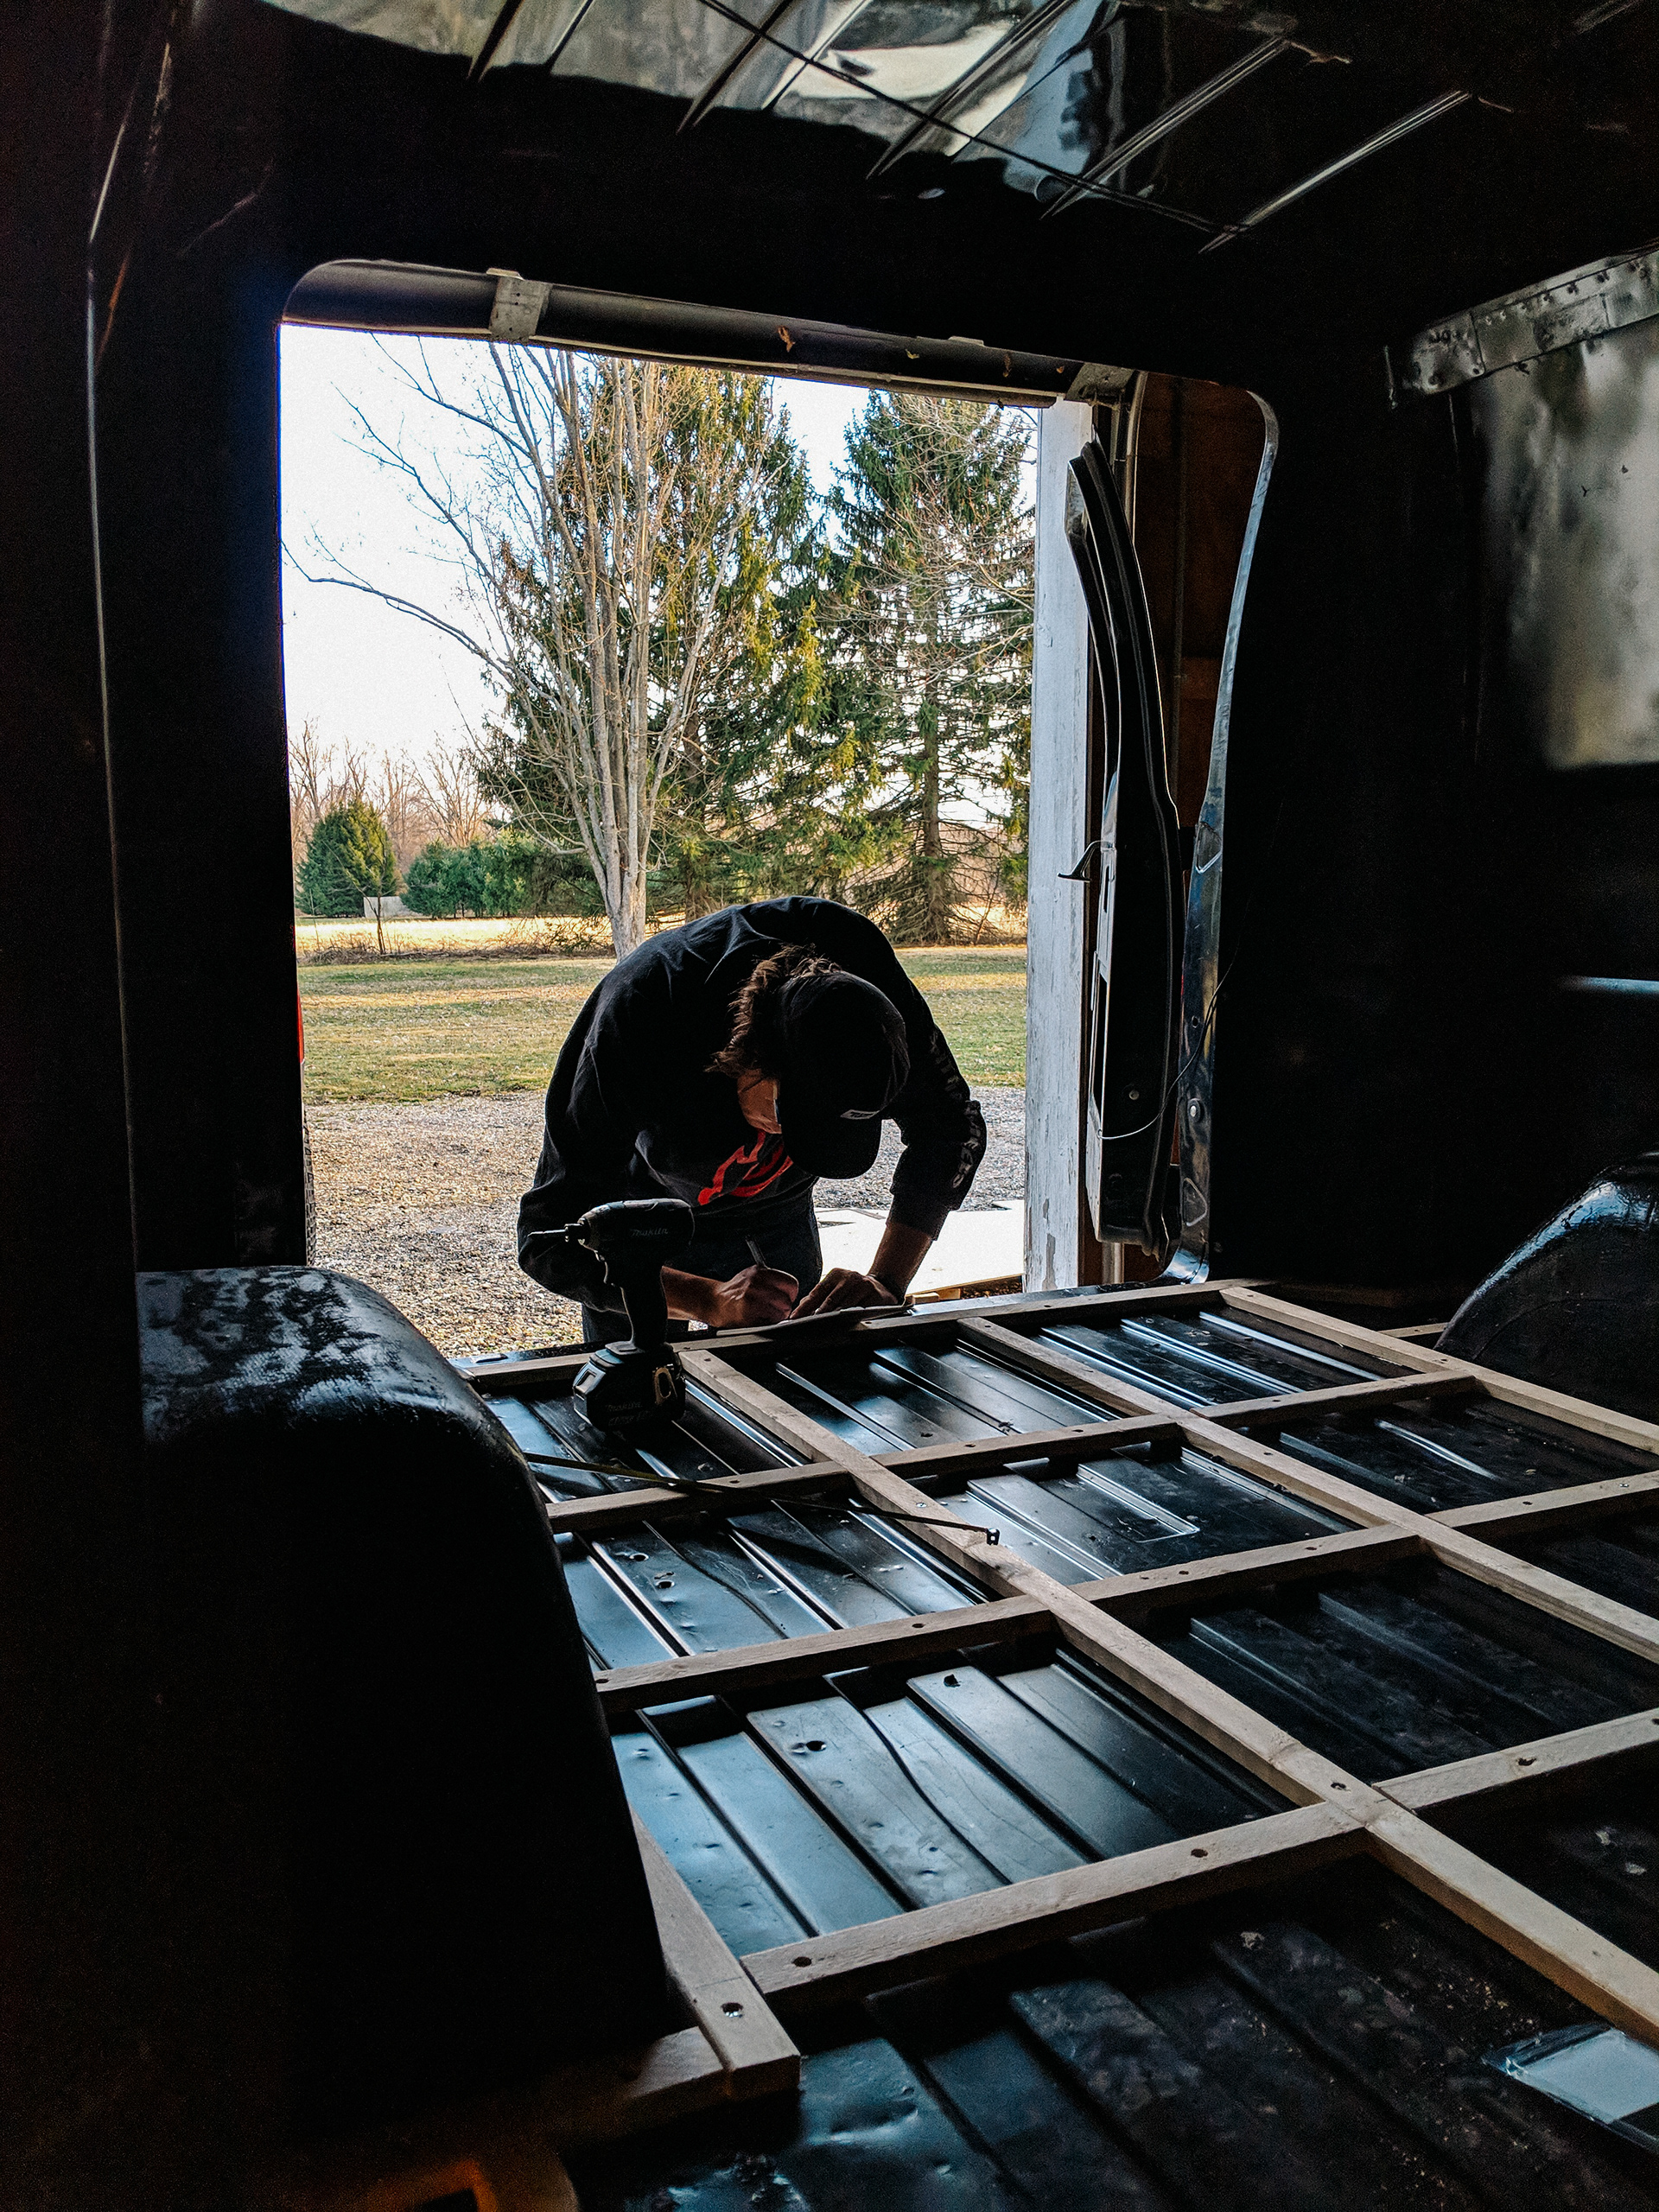
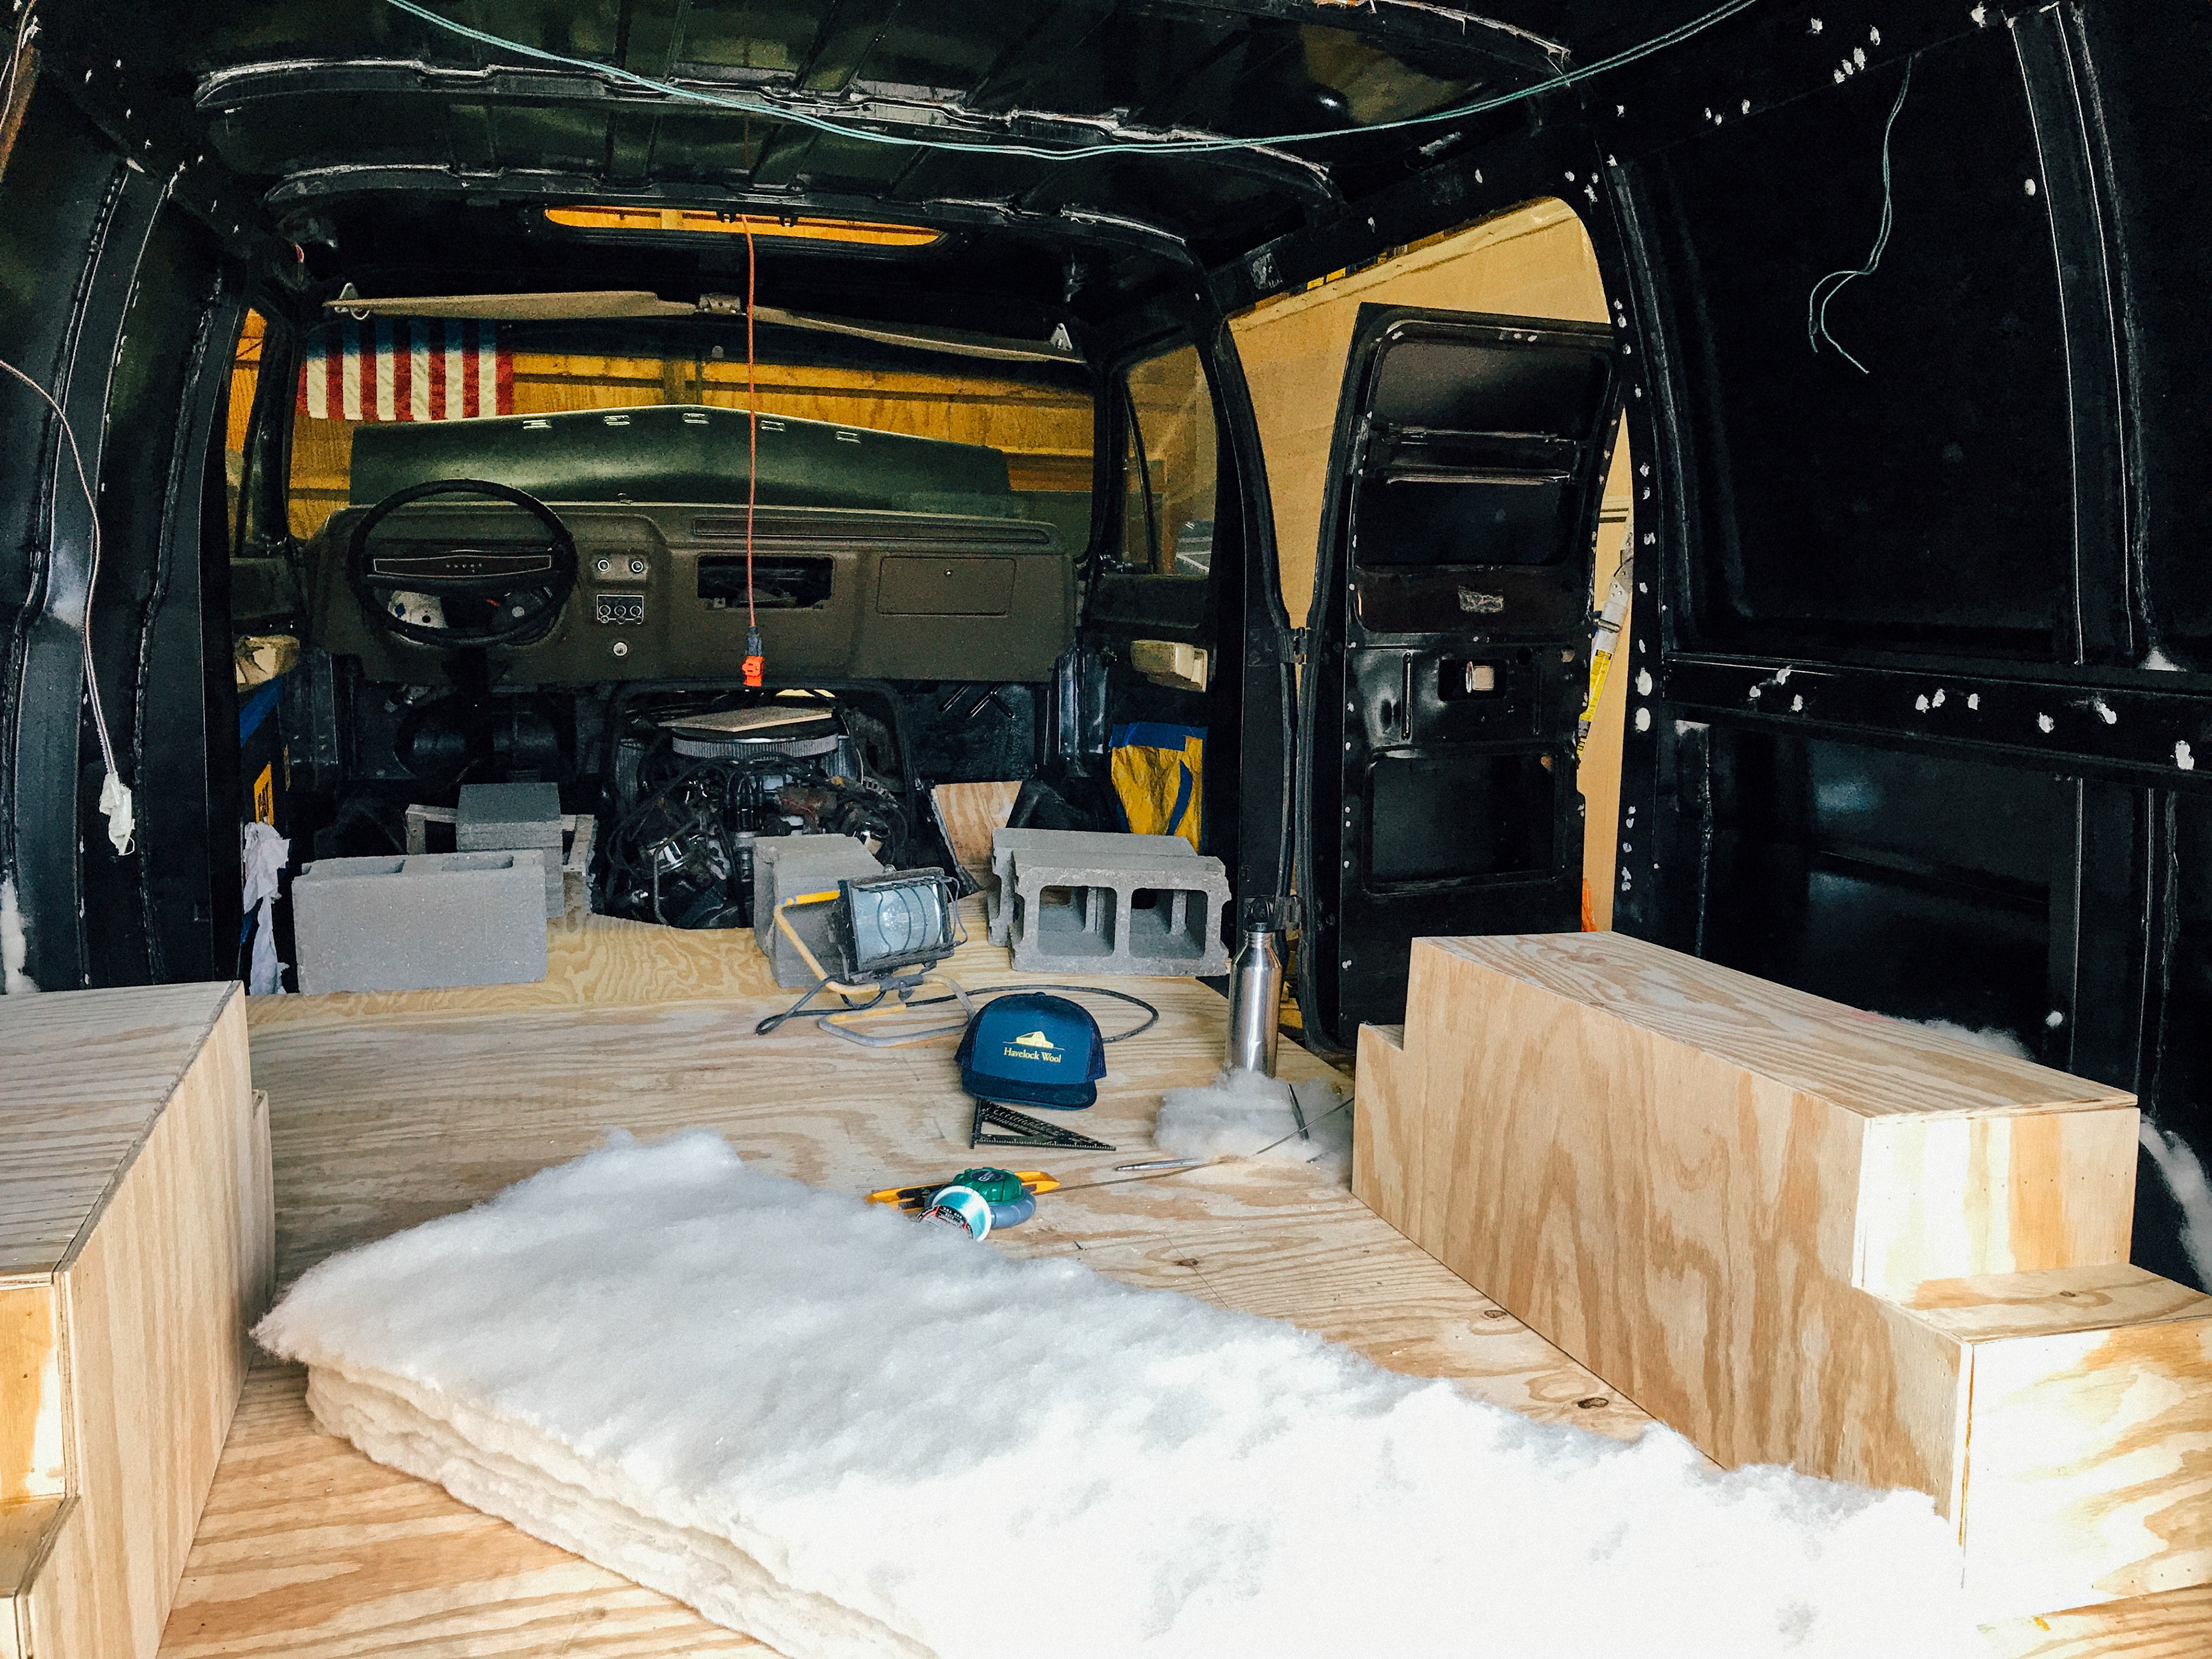
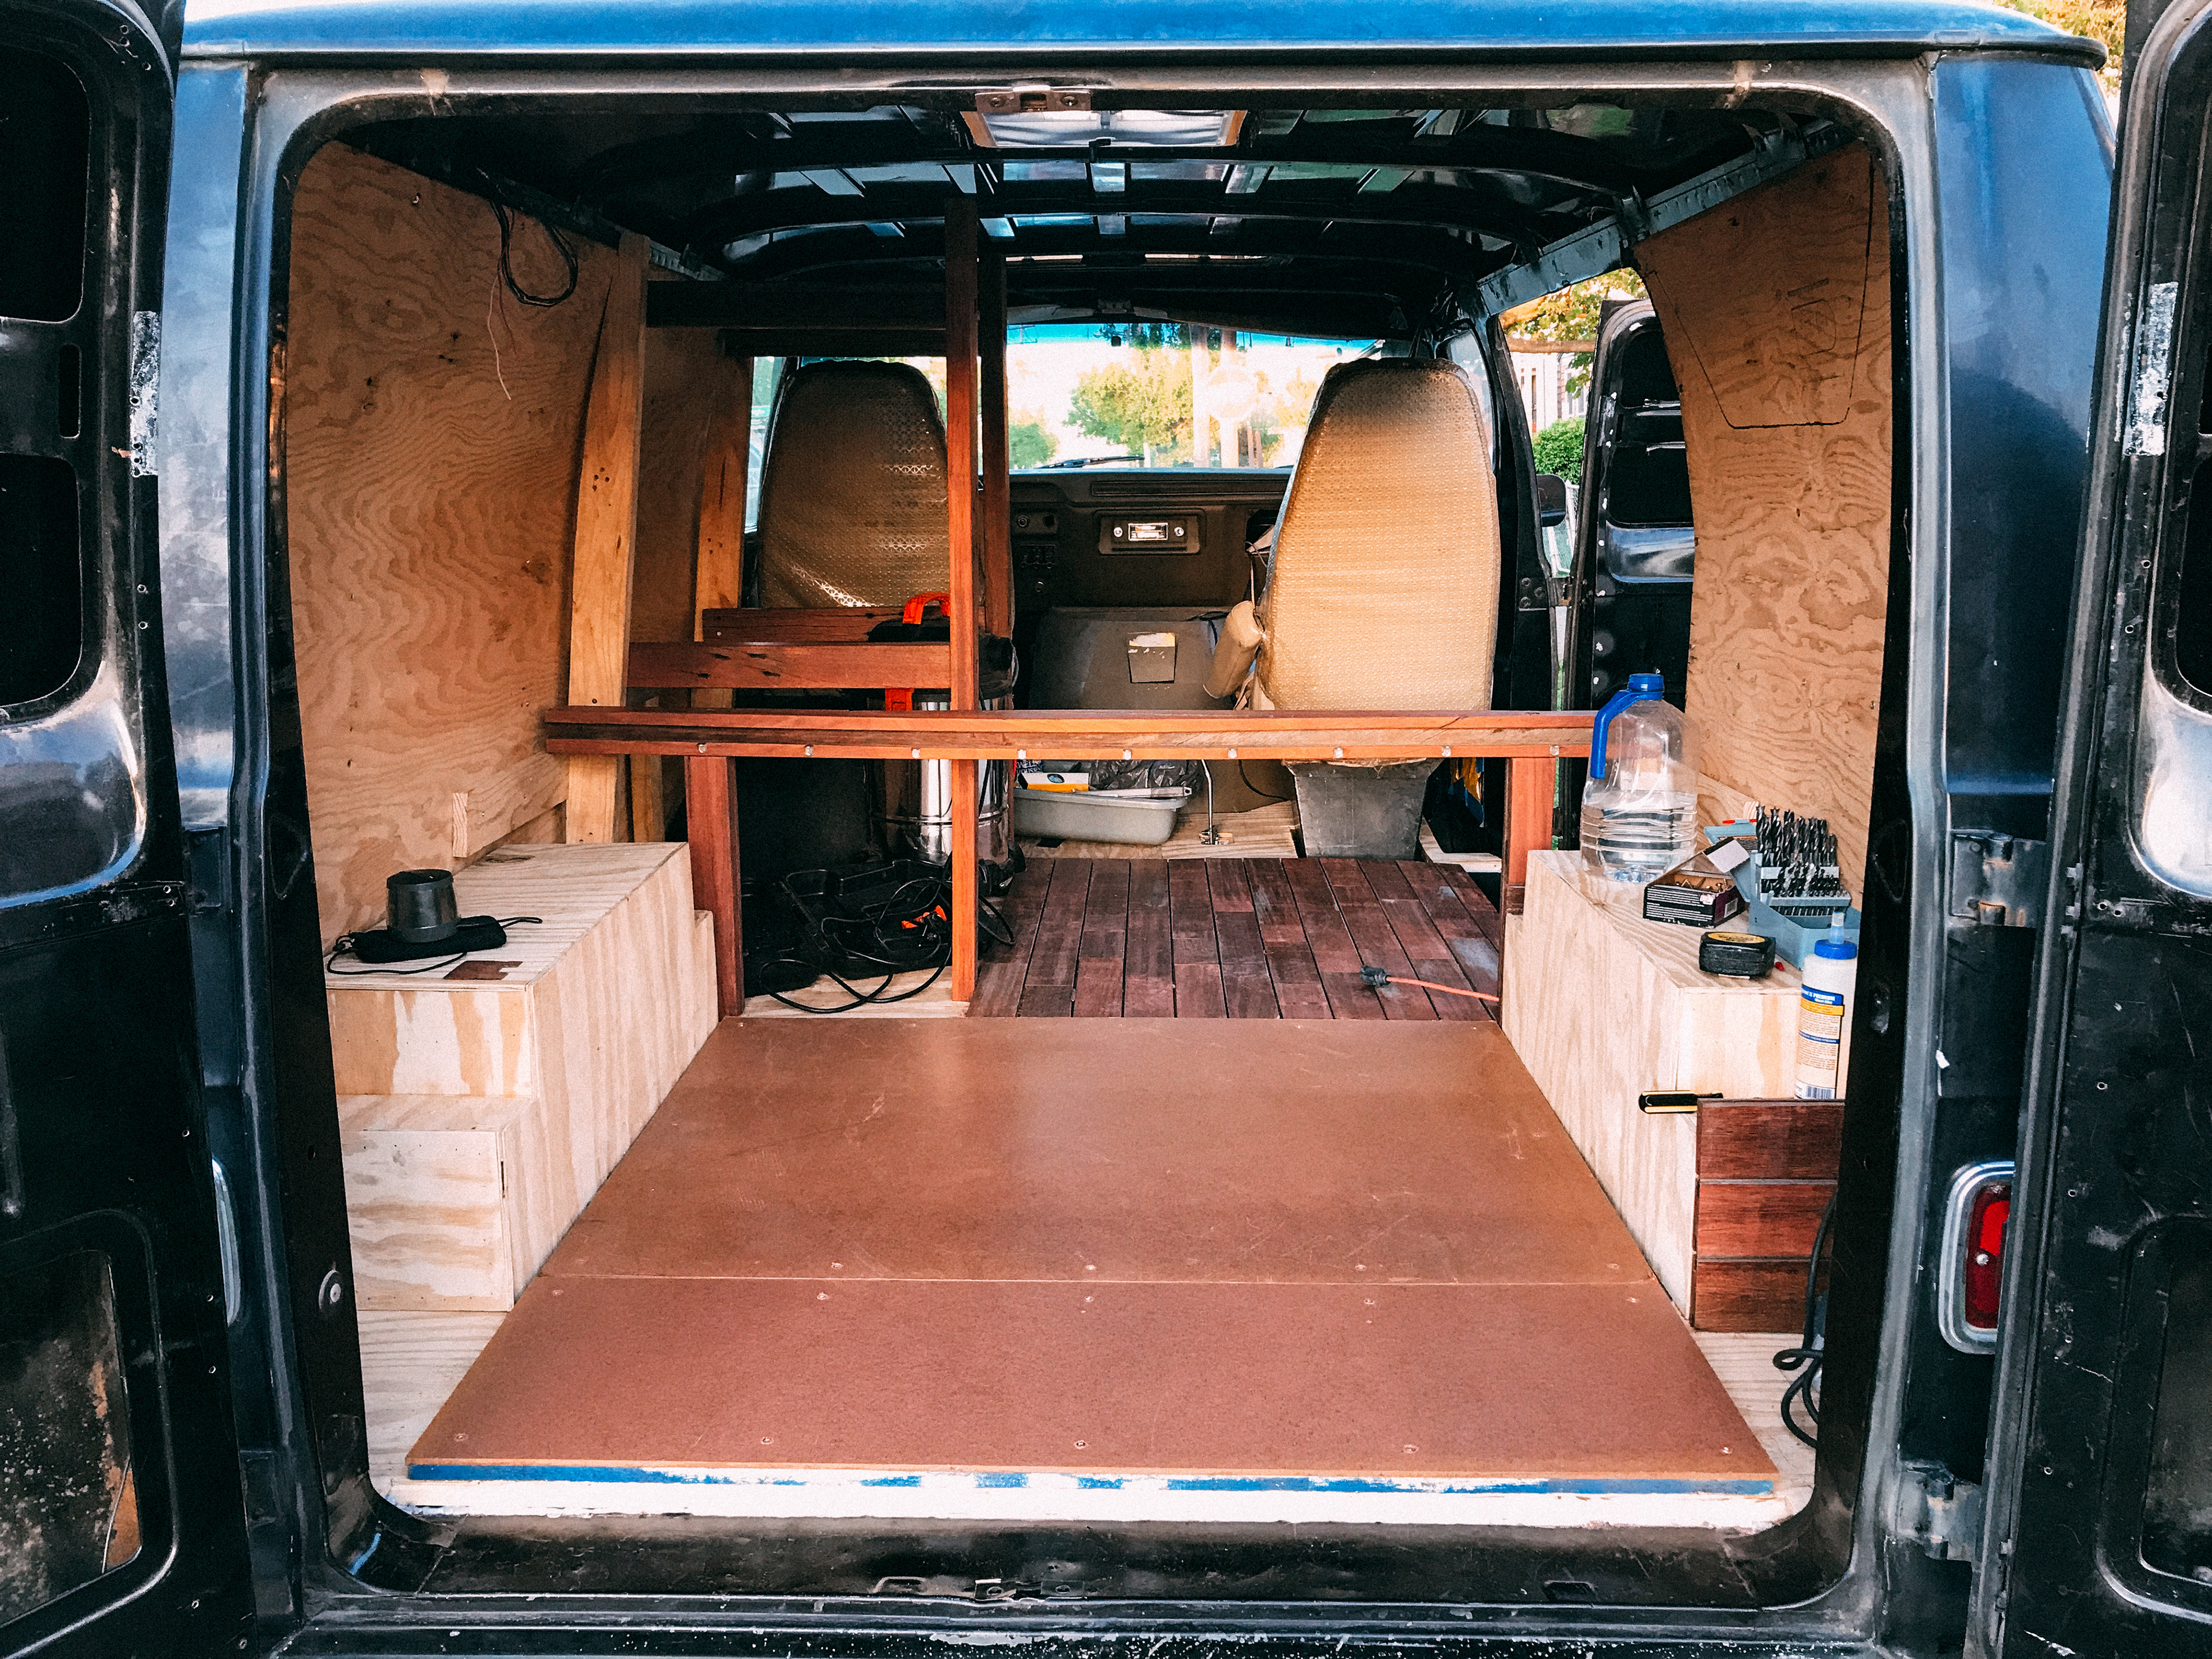
Collin saw how much fun I was having and decided to spontaneously head over to help out for a weekend. While he was there, he figured out why the hell my horn wouldn't work and that the motor draws 2 volts from my battery before it starts. He also helped with some preliminary wiring for my backup camera and radio. On the day he was suppose to head back, we started on my subfloor and as much as he wanted to leave that night, the van wouldn't let him go till most of it was done.
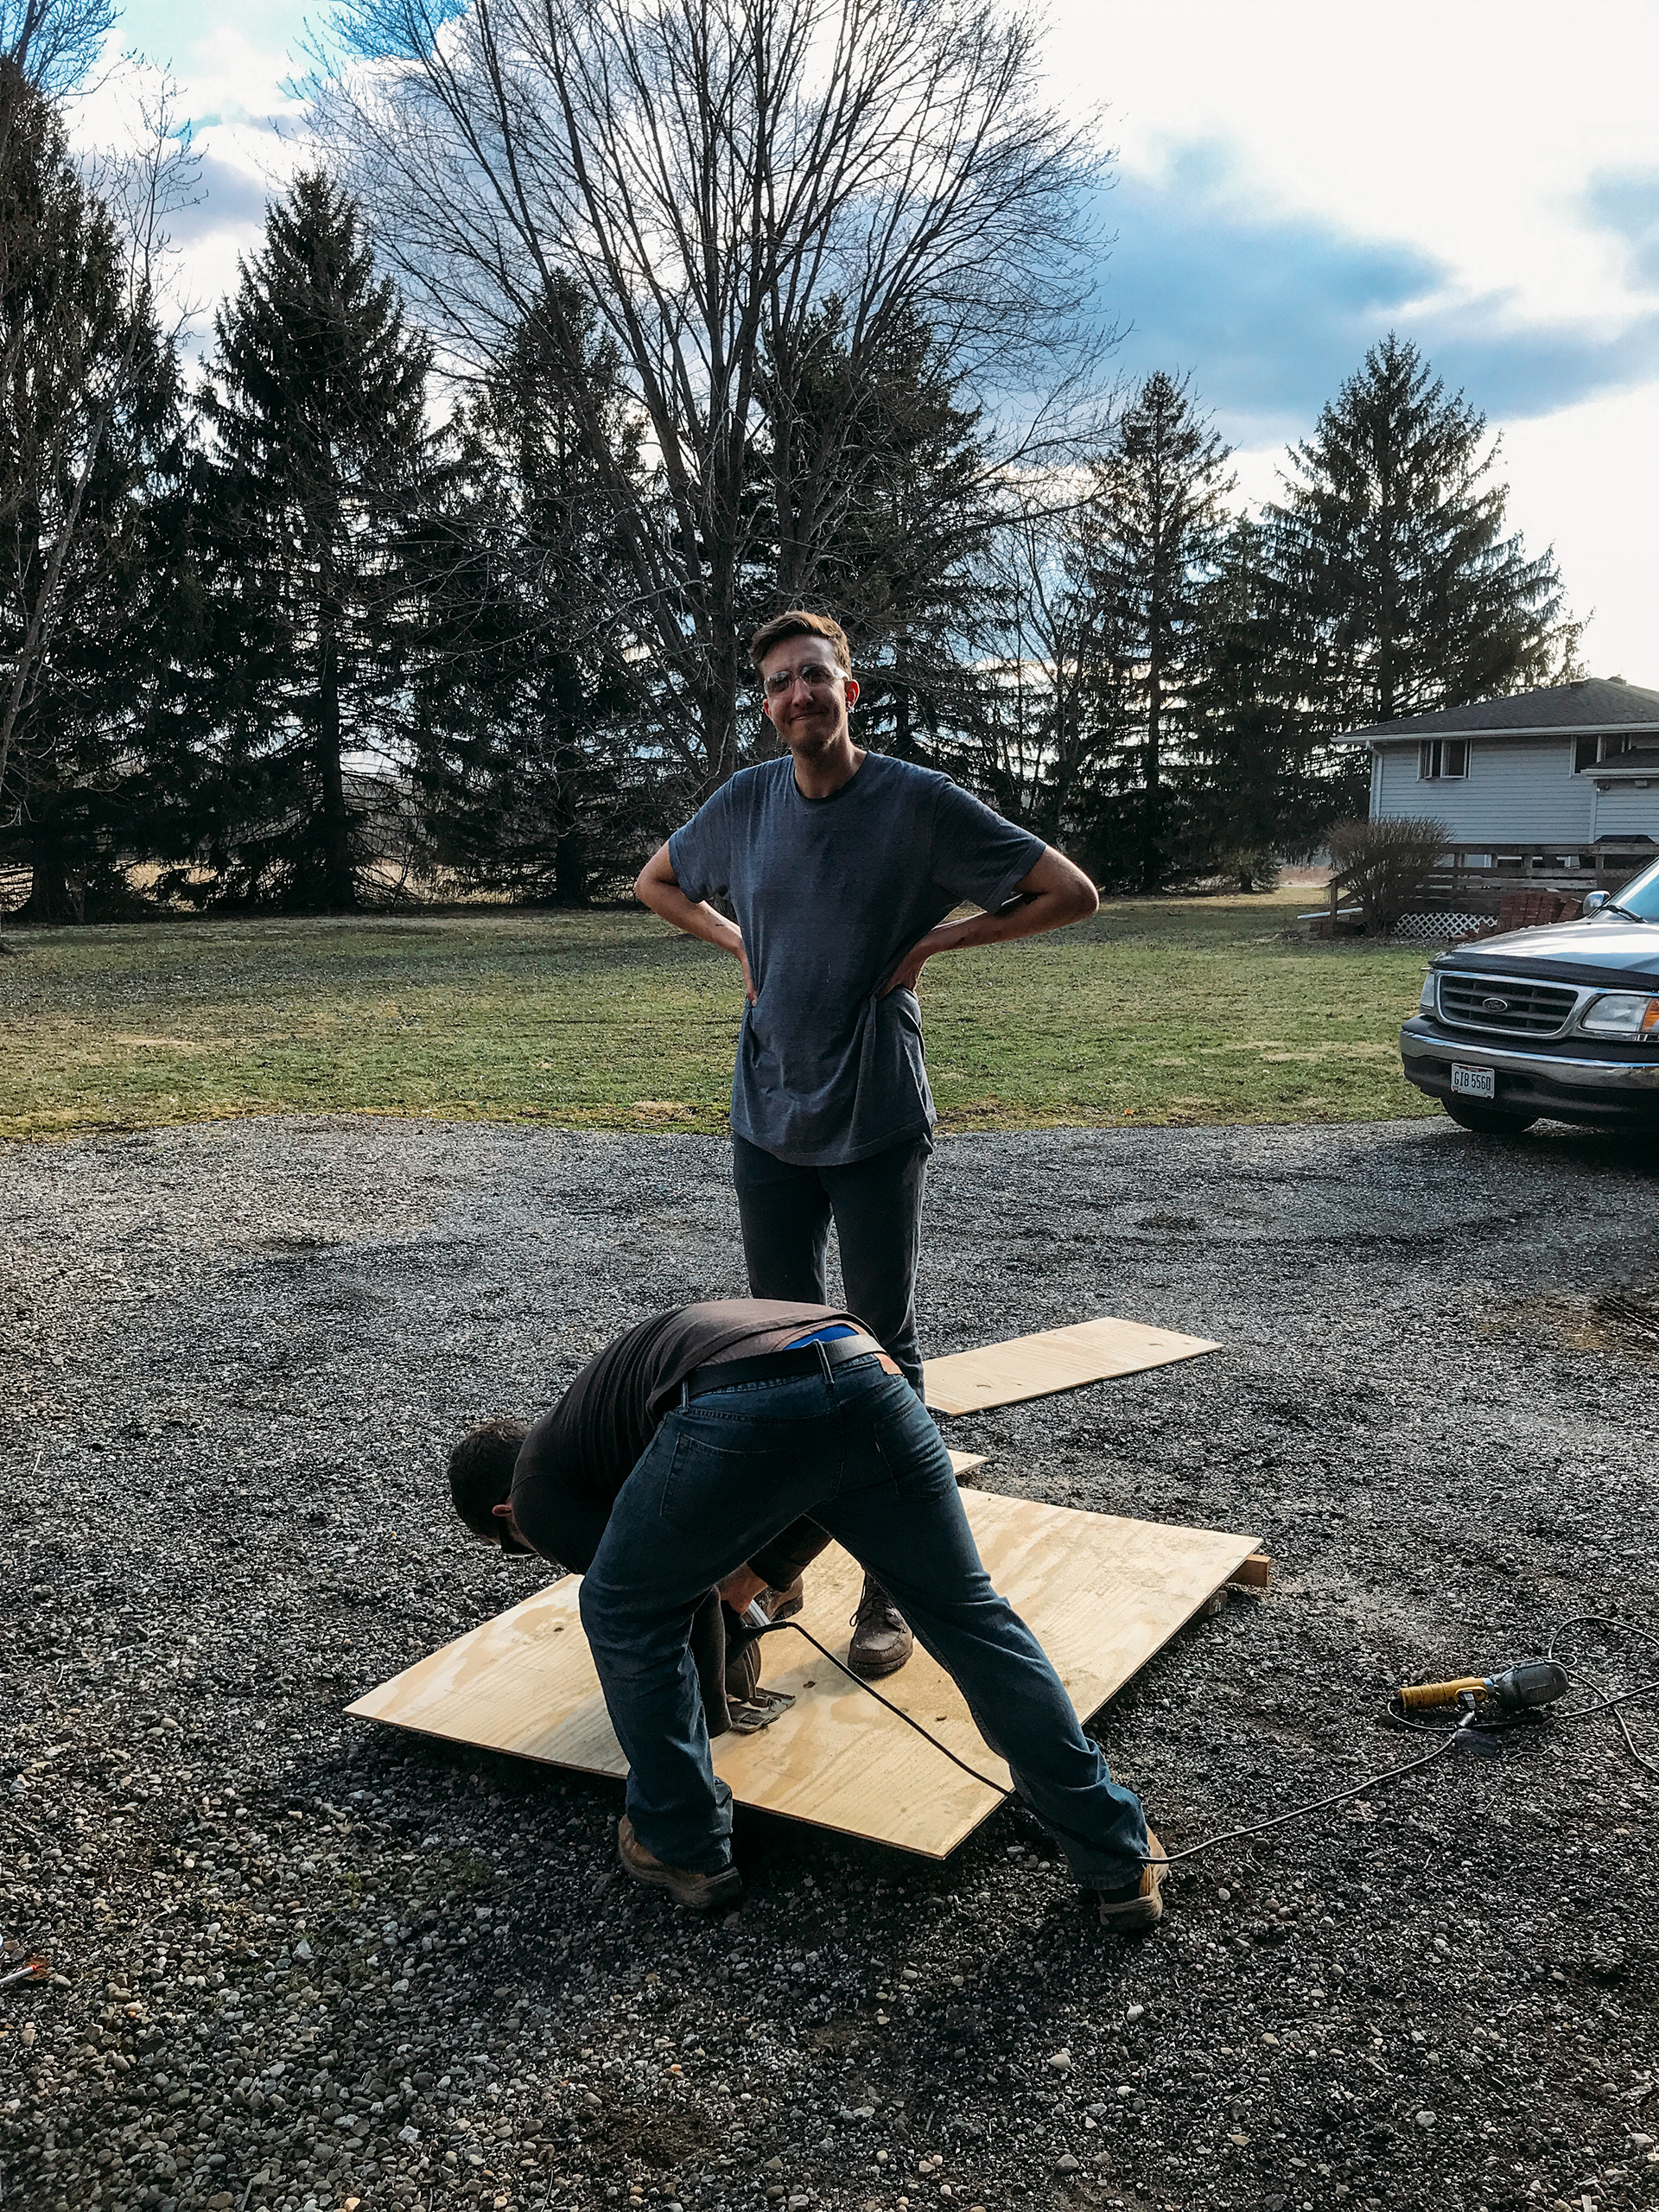
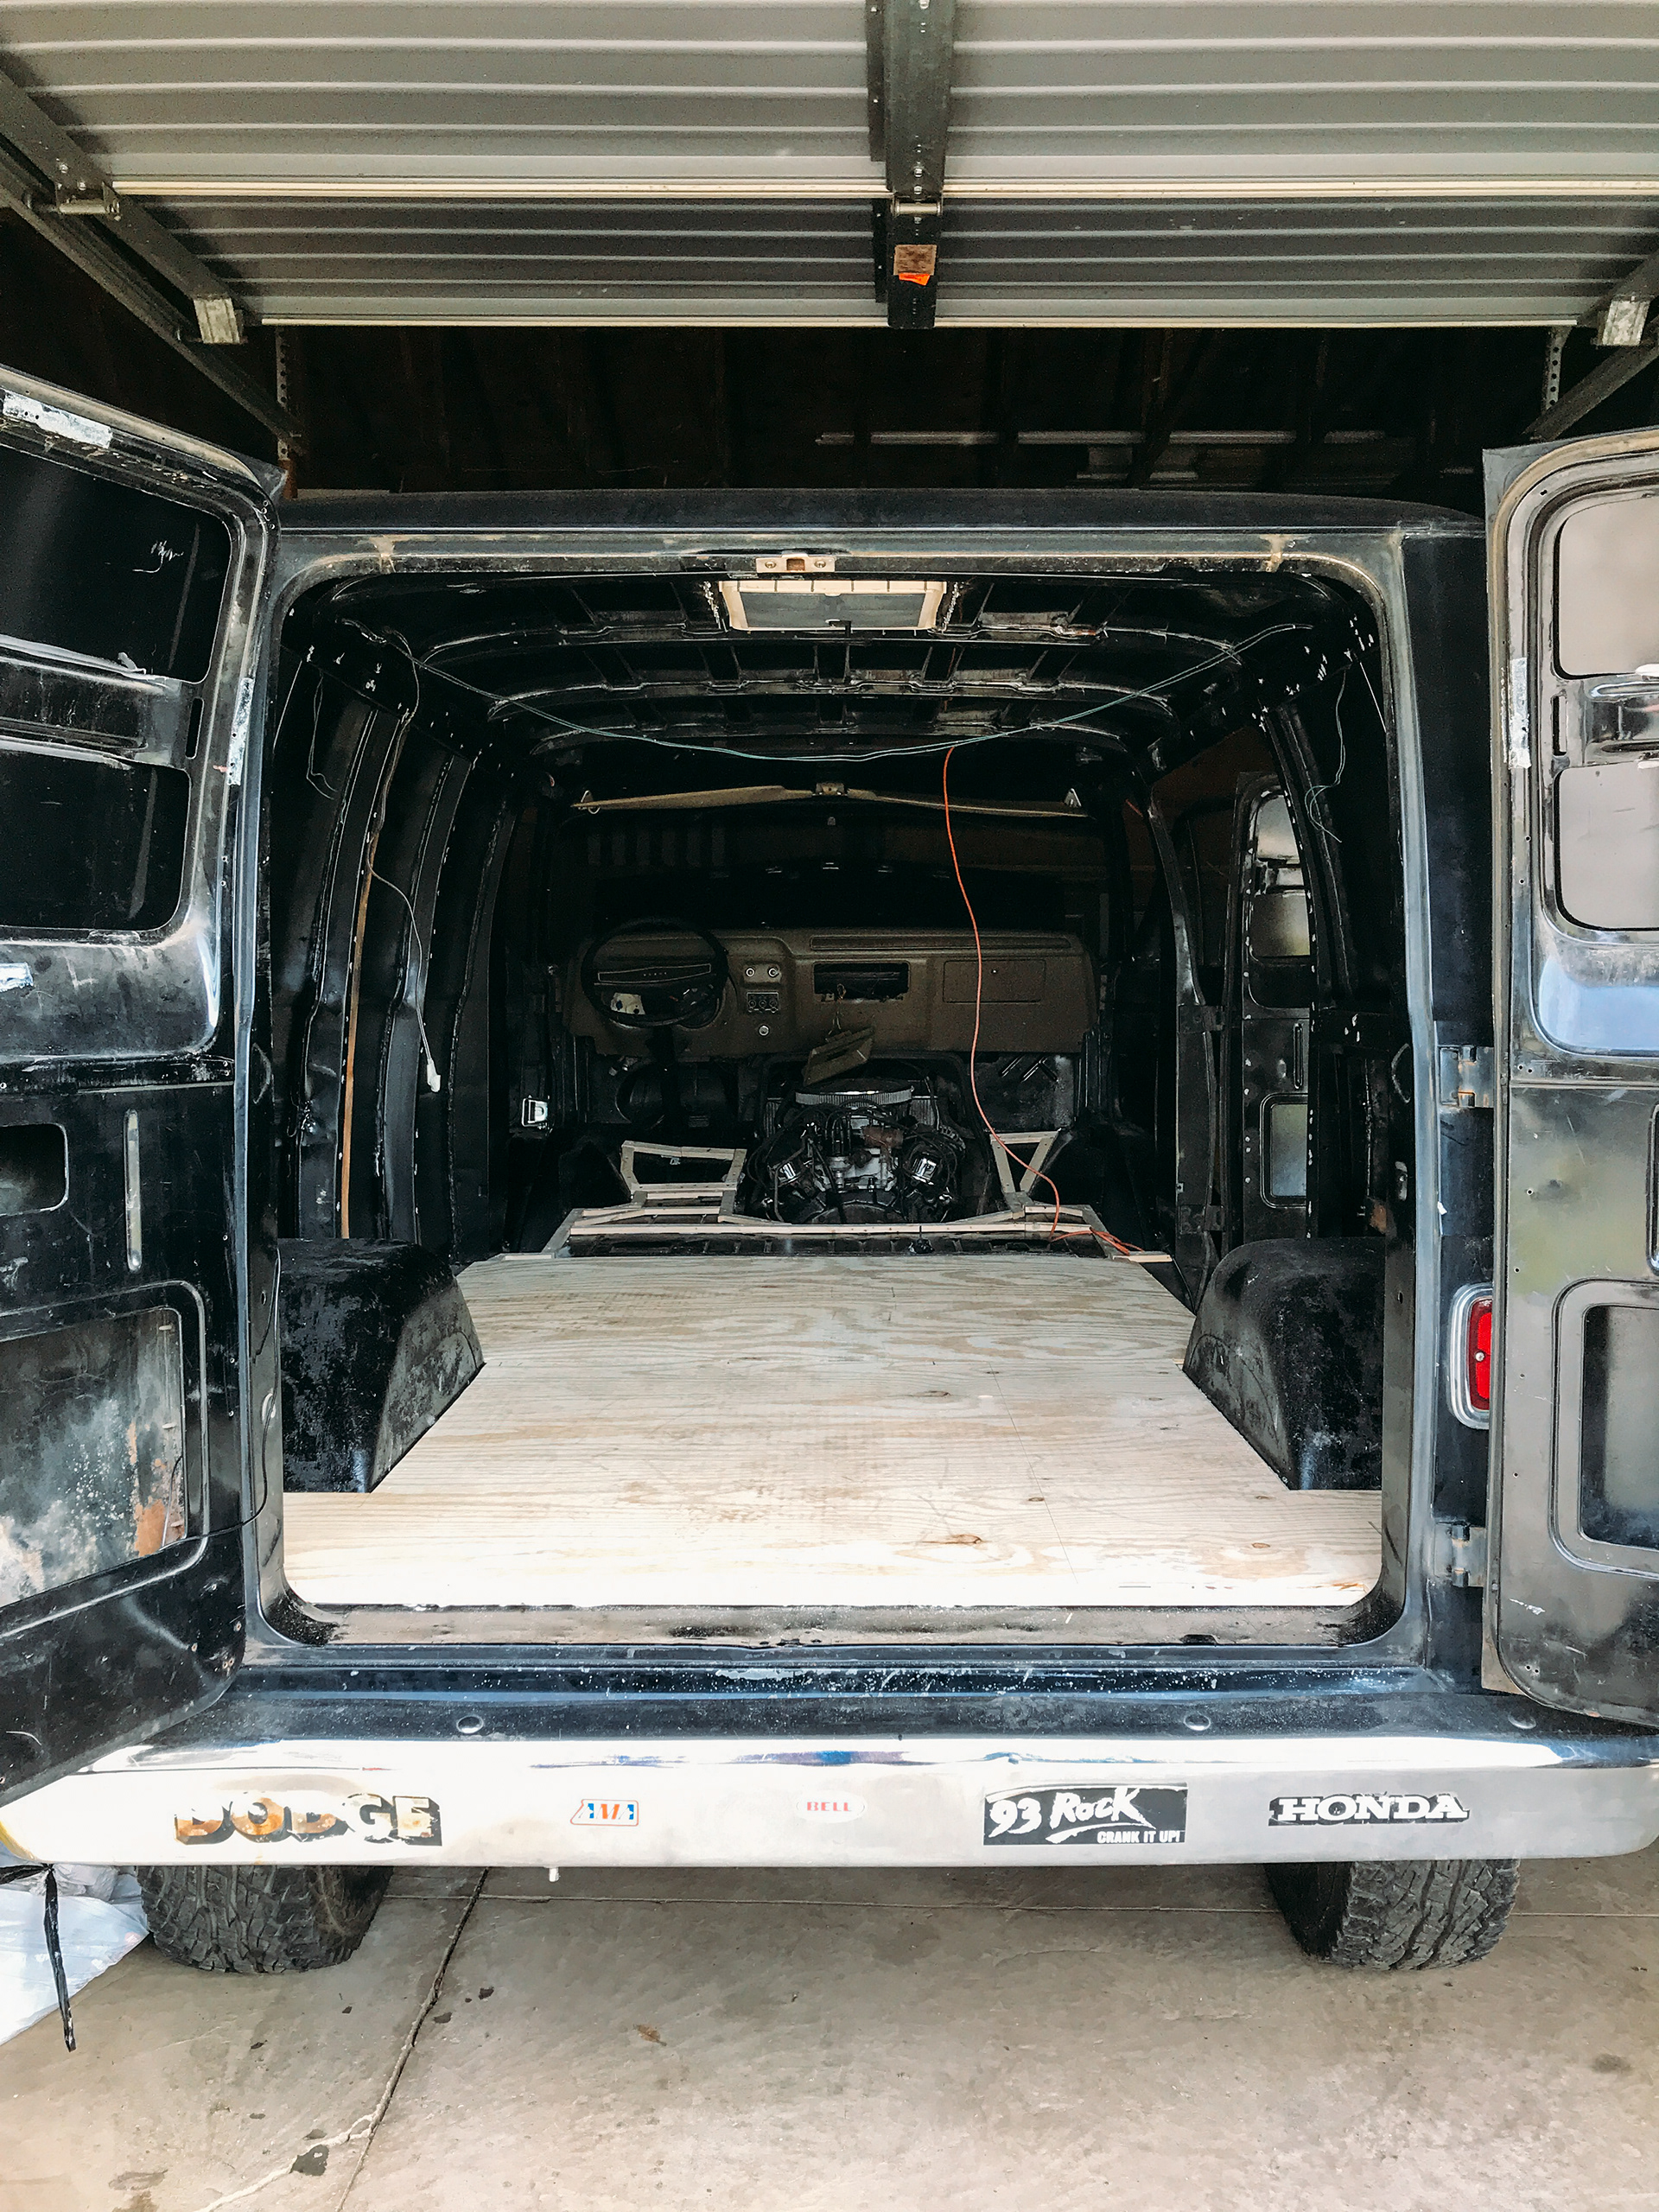
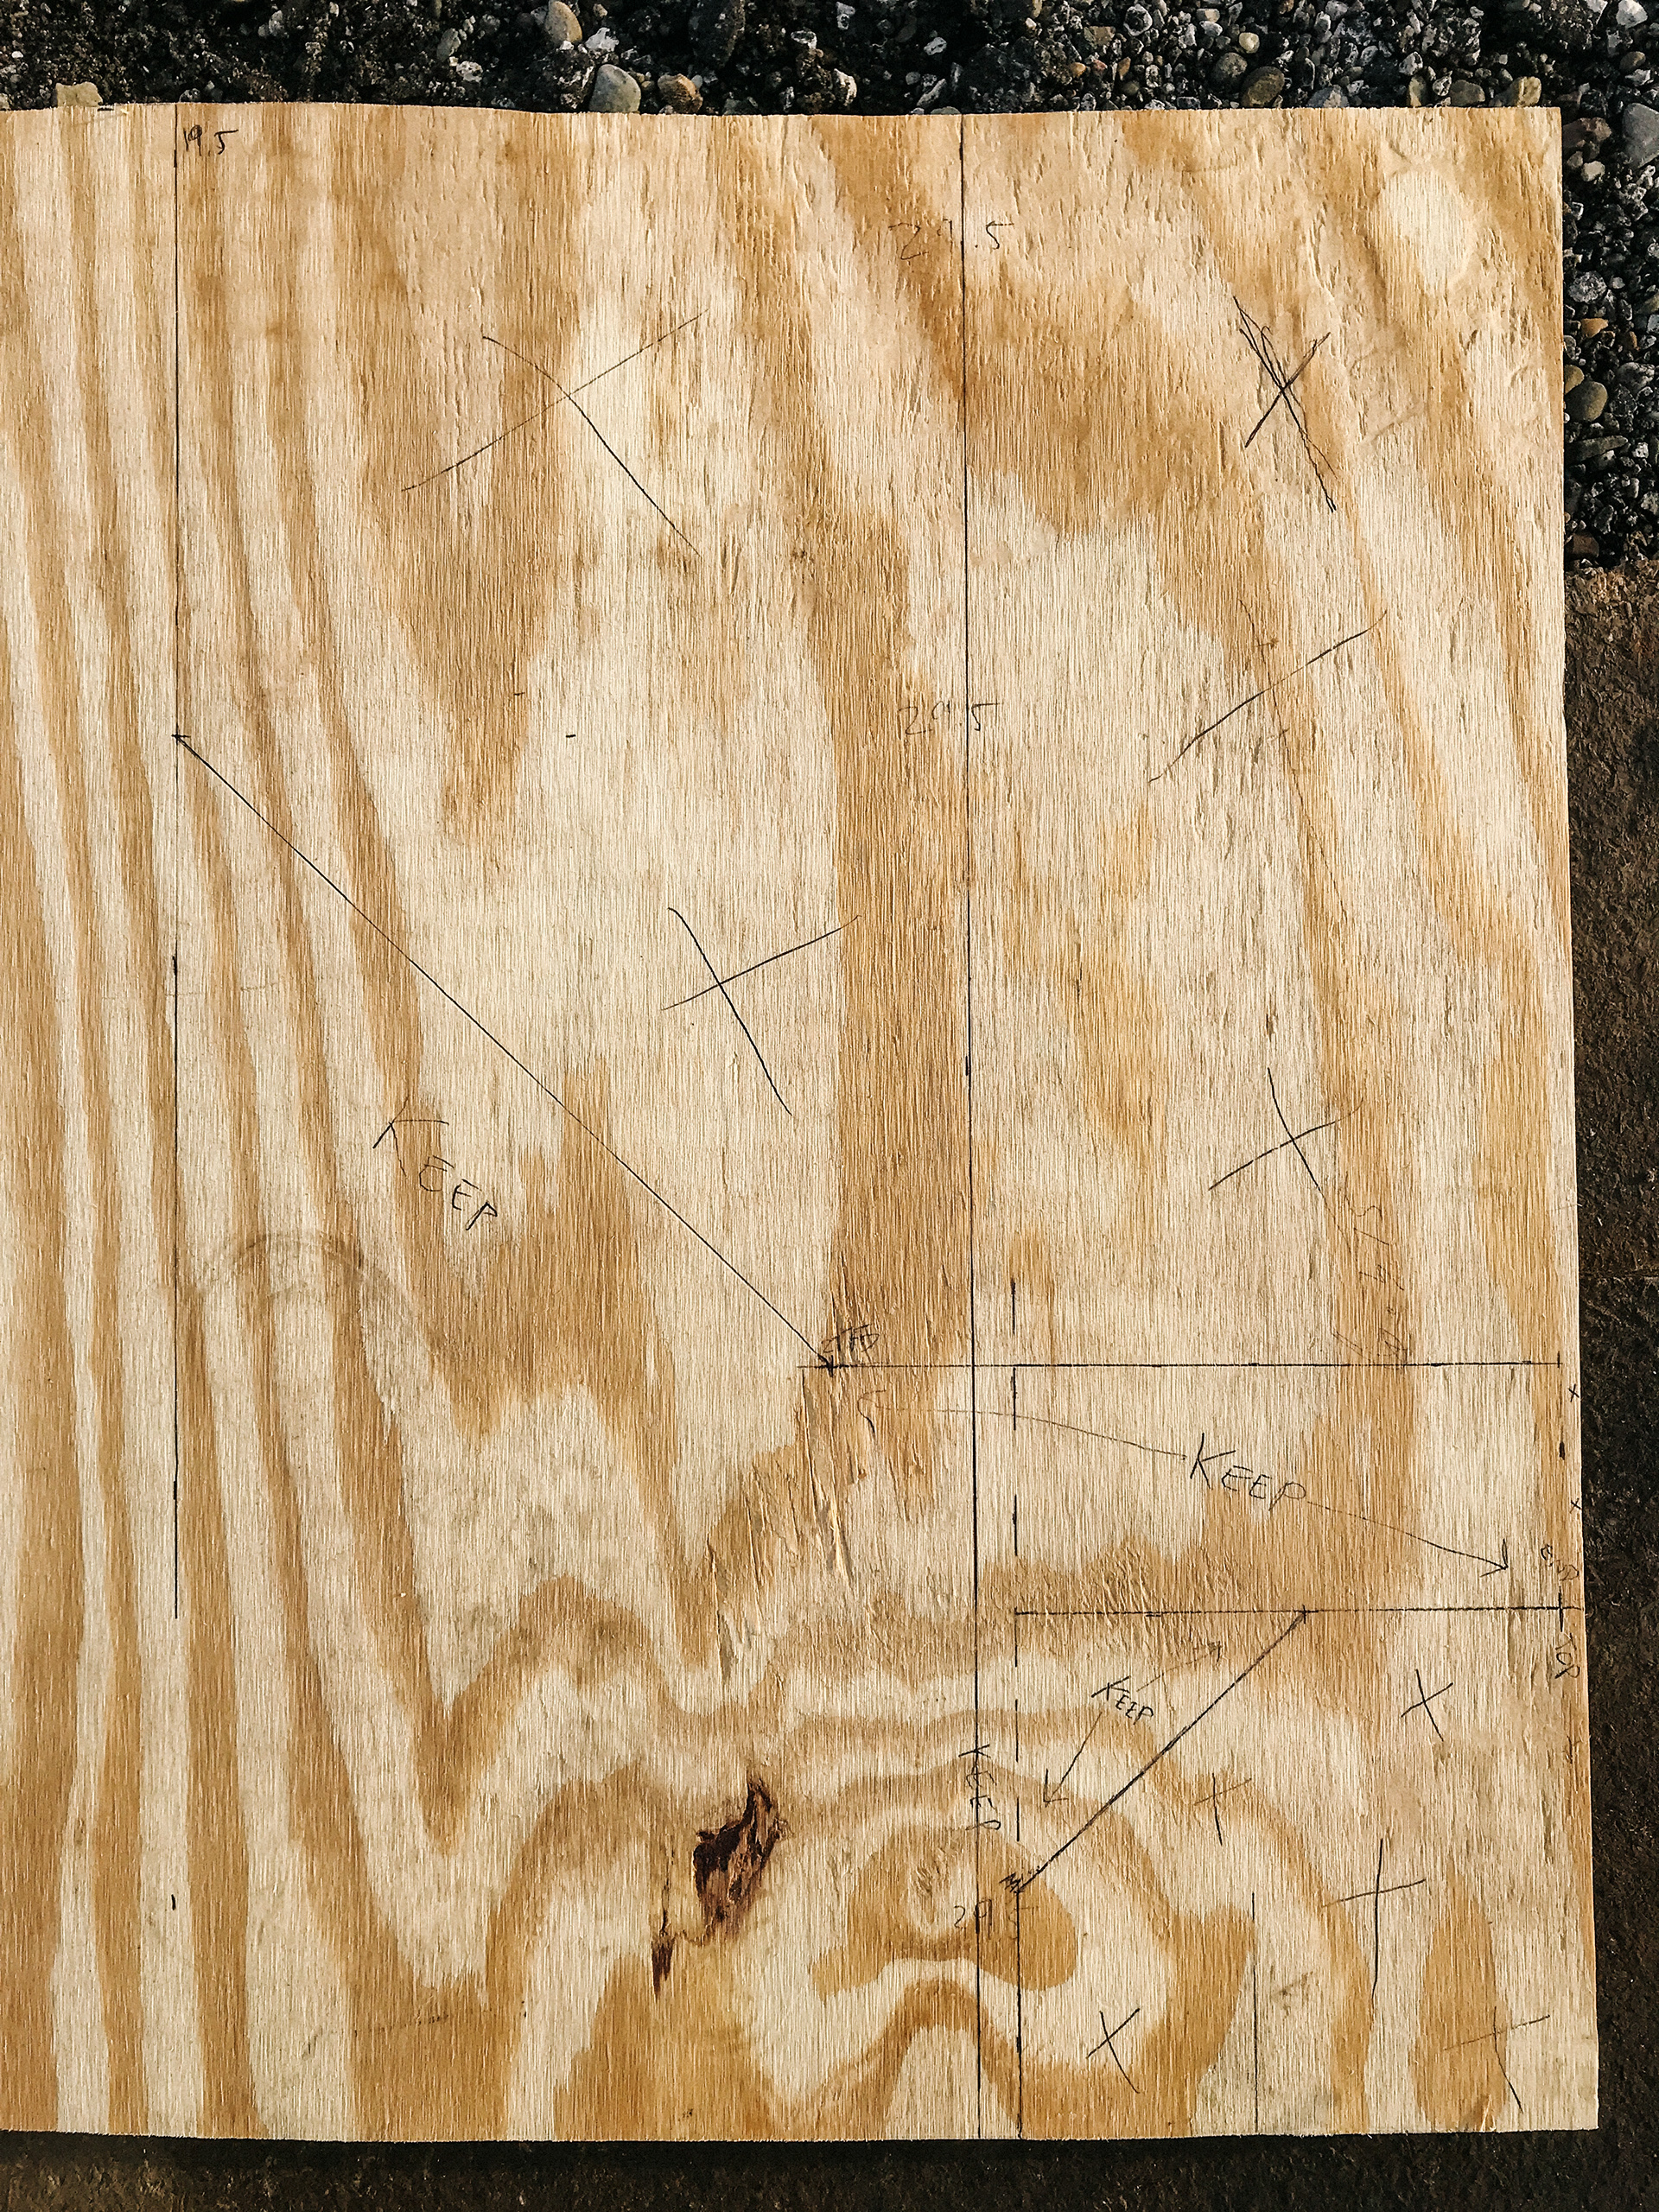
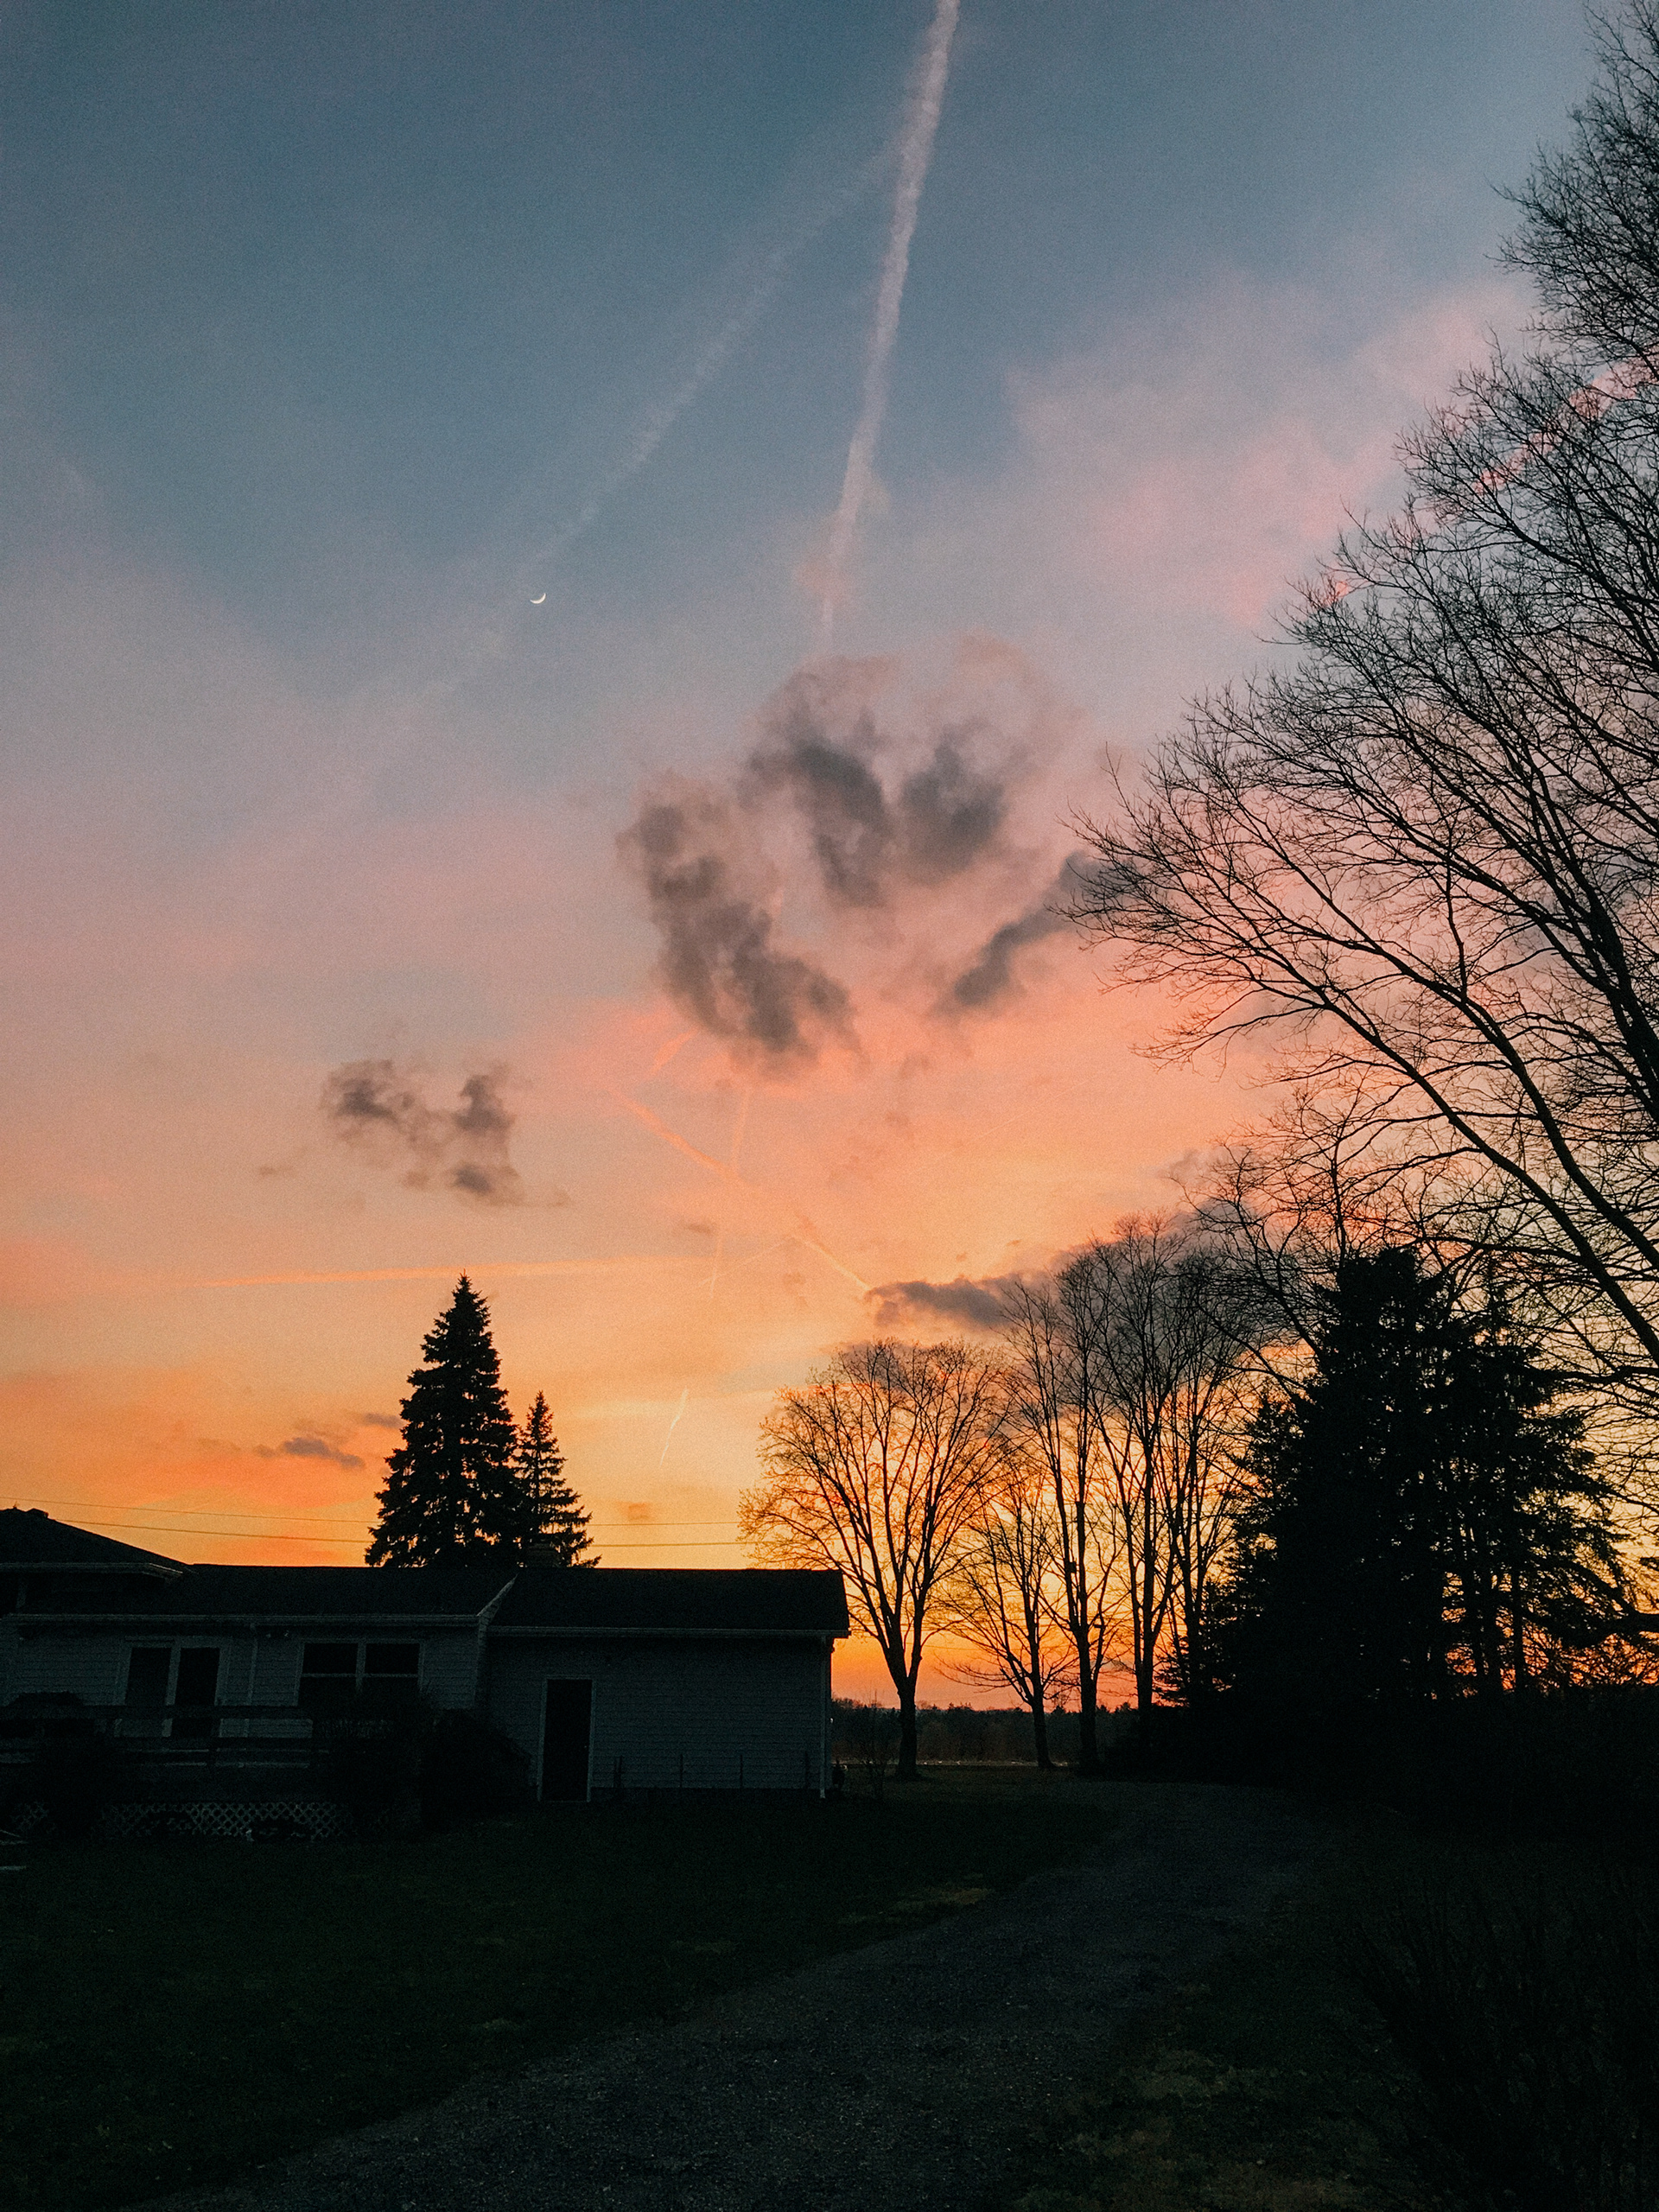
Both Josh and Collin did a great job cutting out the plywood to fit the wheel wells and random corners. I couldn't appreciate their work till I was stuck cutting out the plywood for the front of the van. Thank goodness for geometry class and playing way too much pool. Surprisingly I didn't really fuck it up. To top it all off, I got stellar sunsets every night.

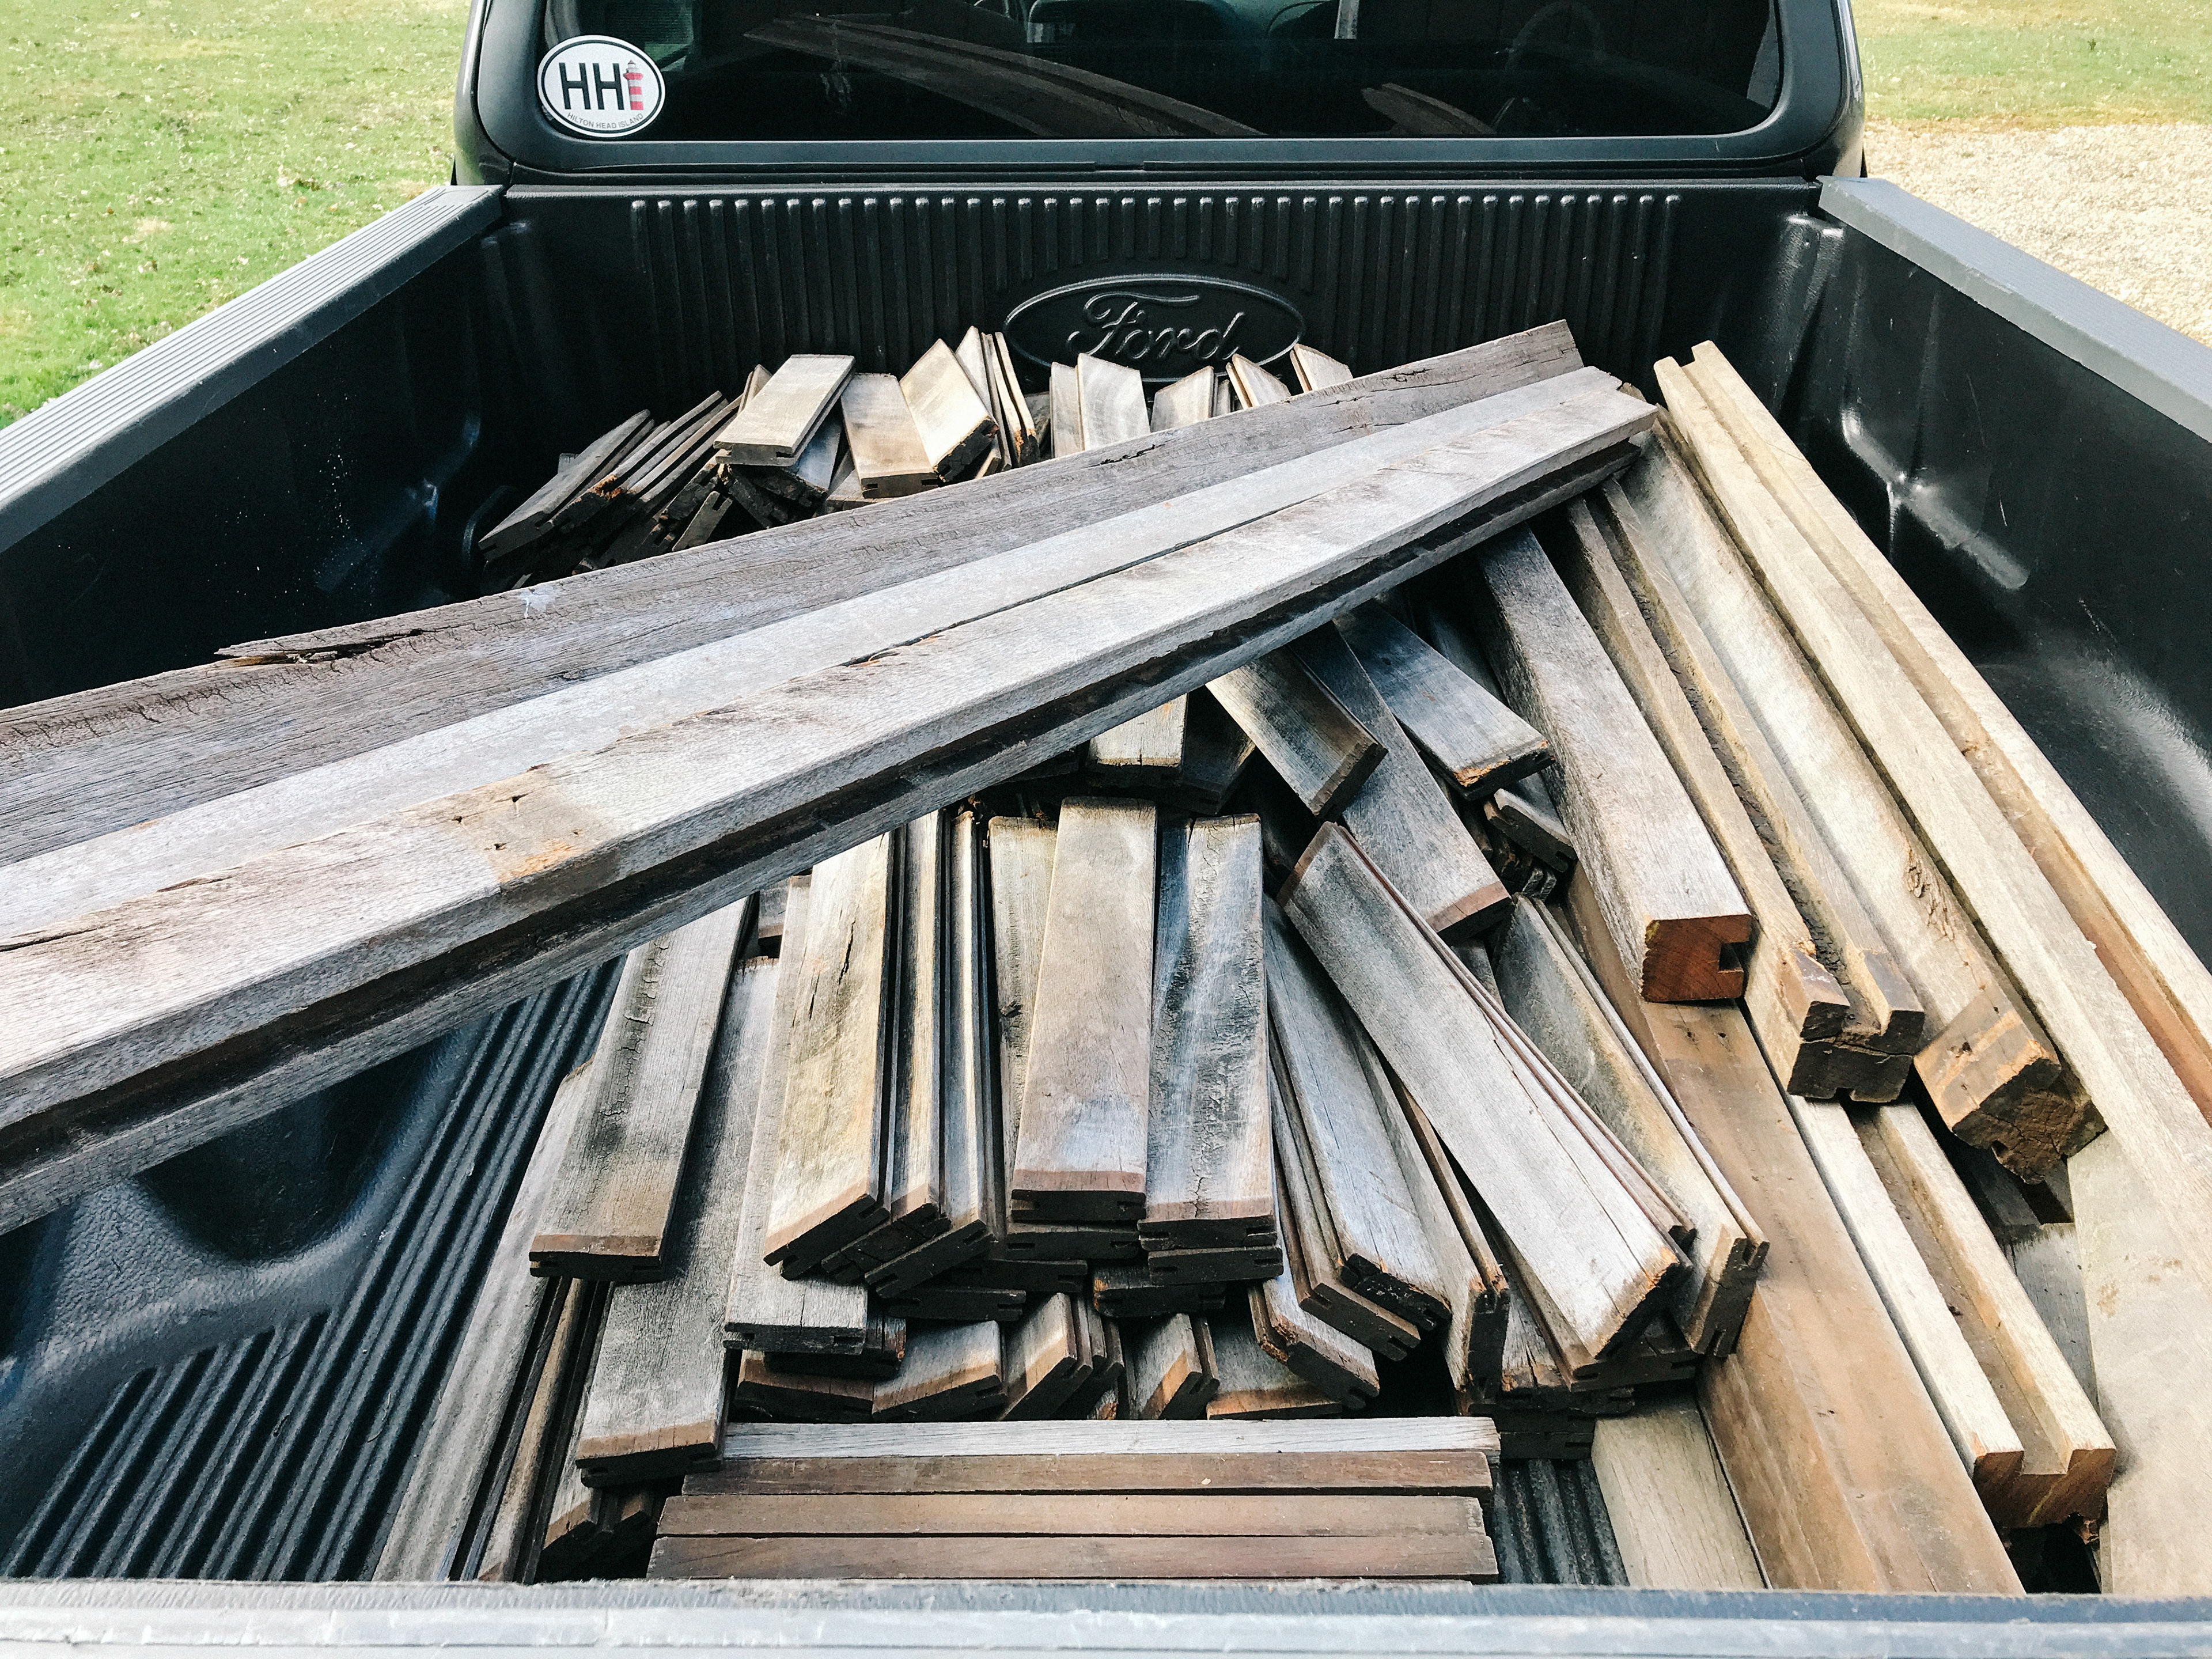
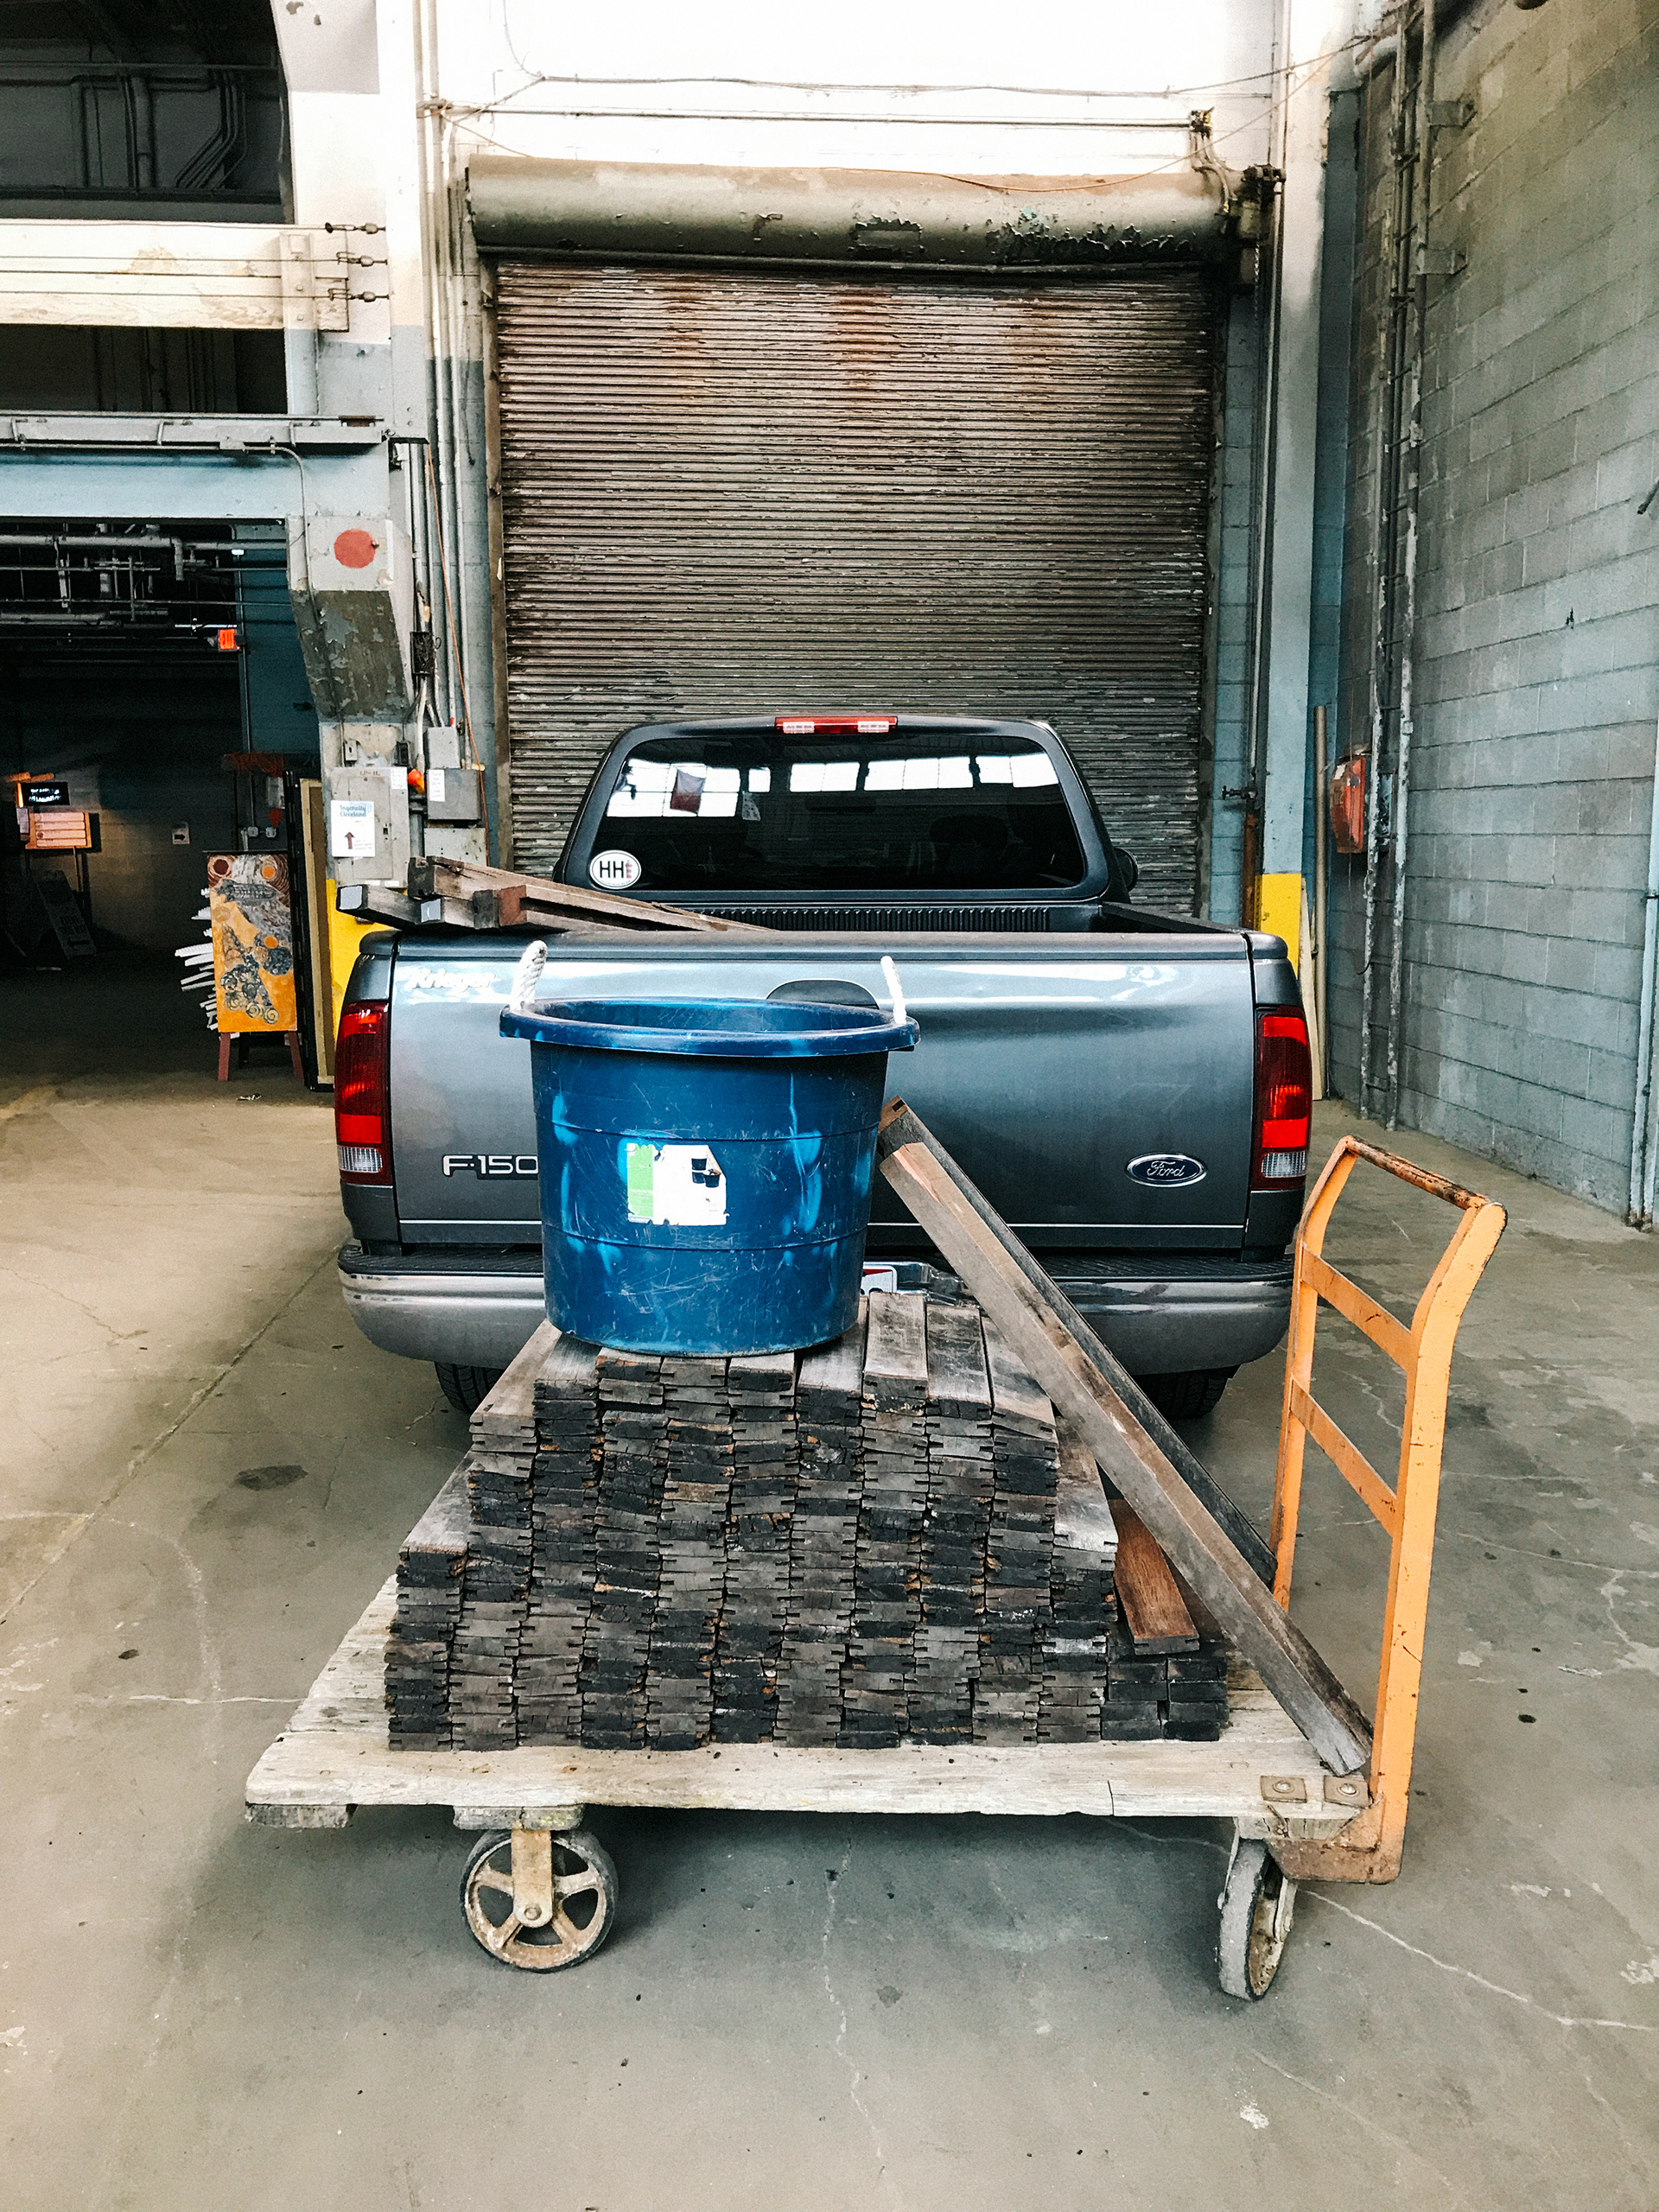
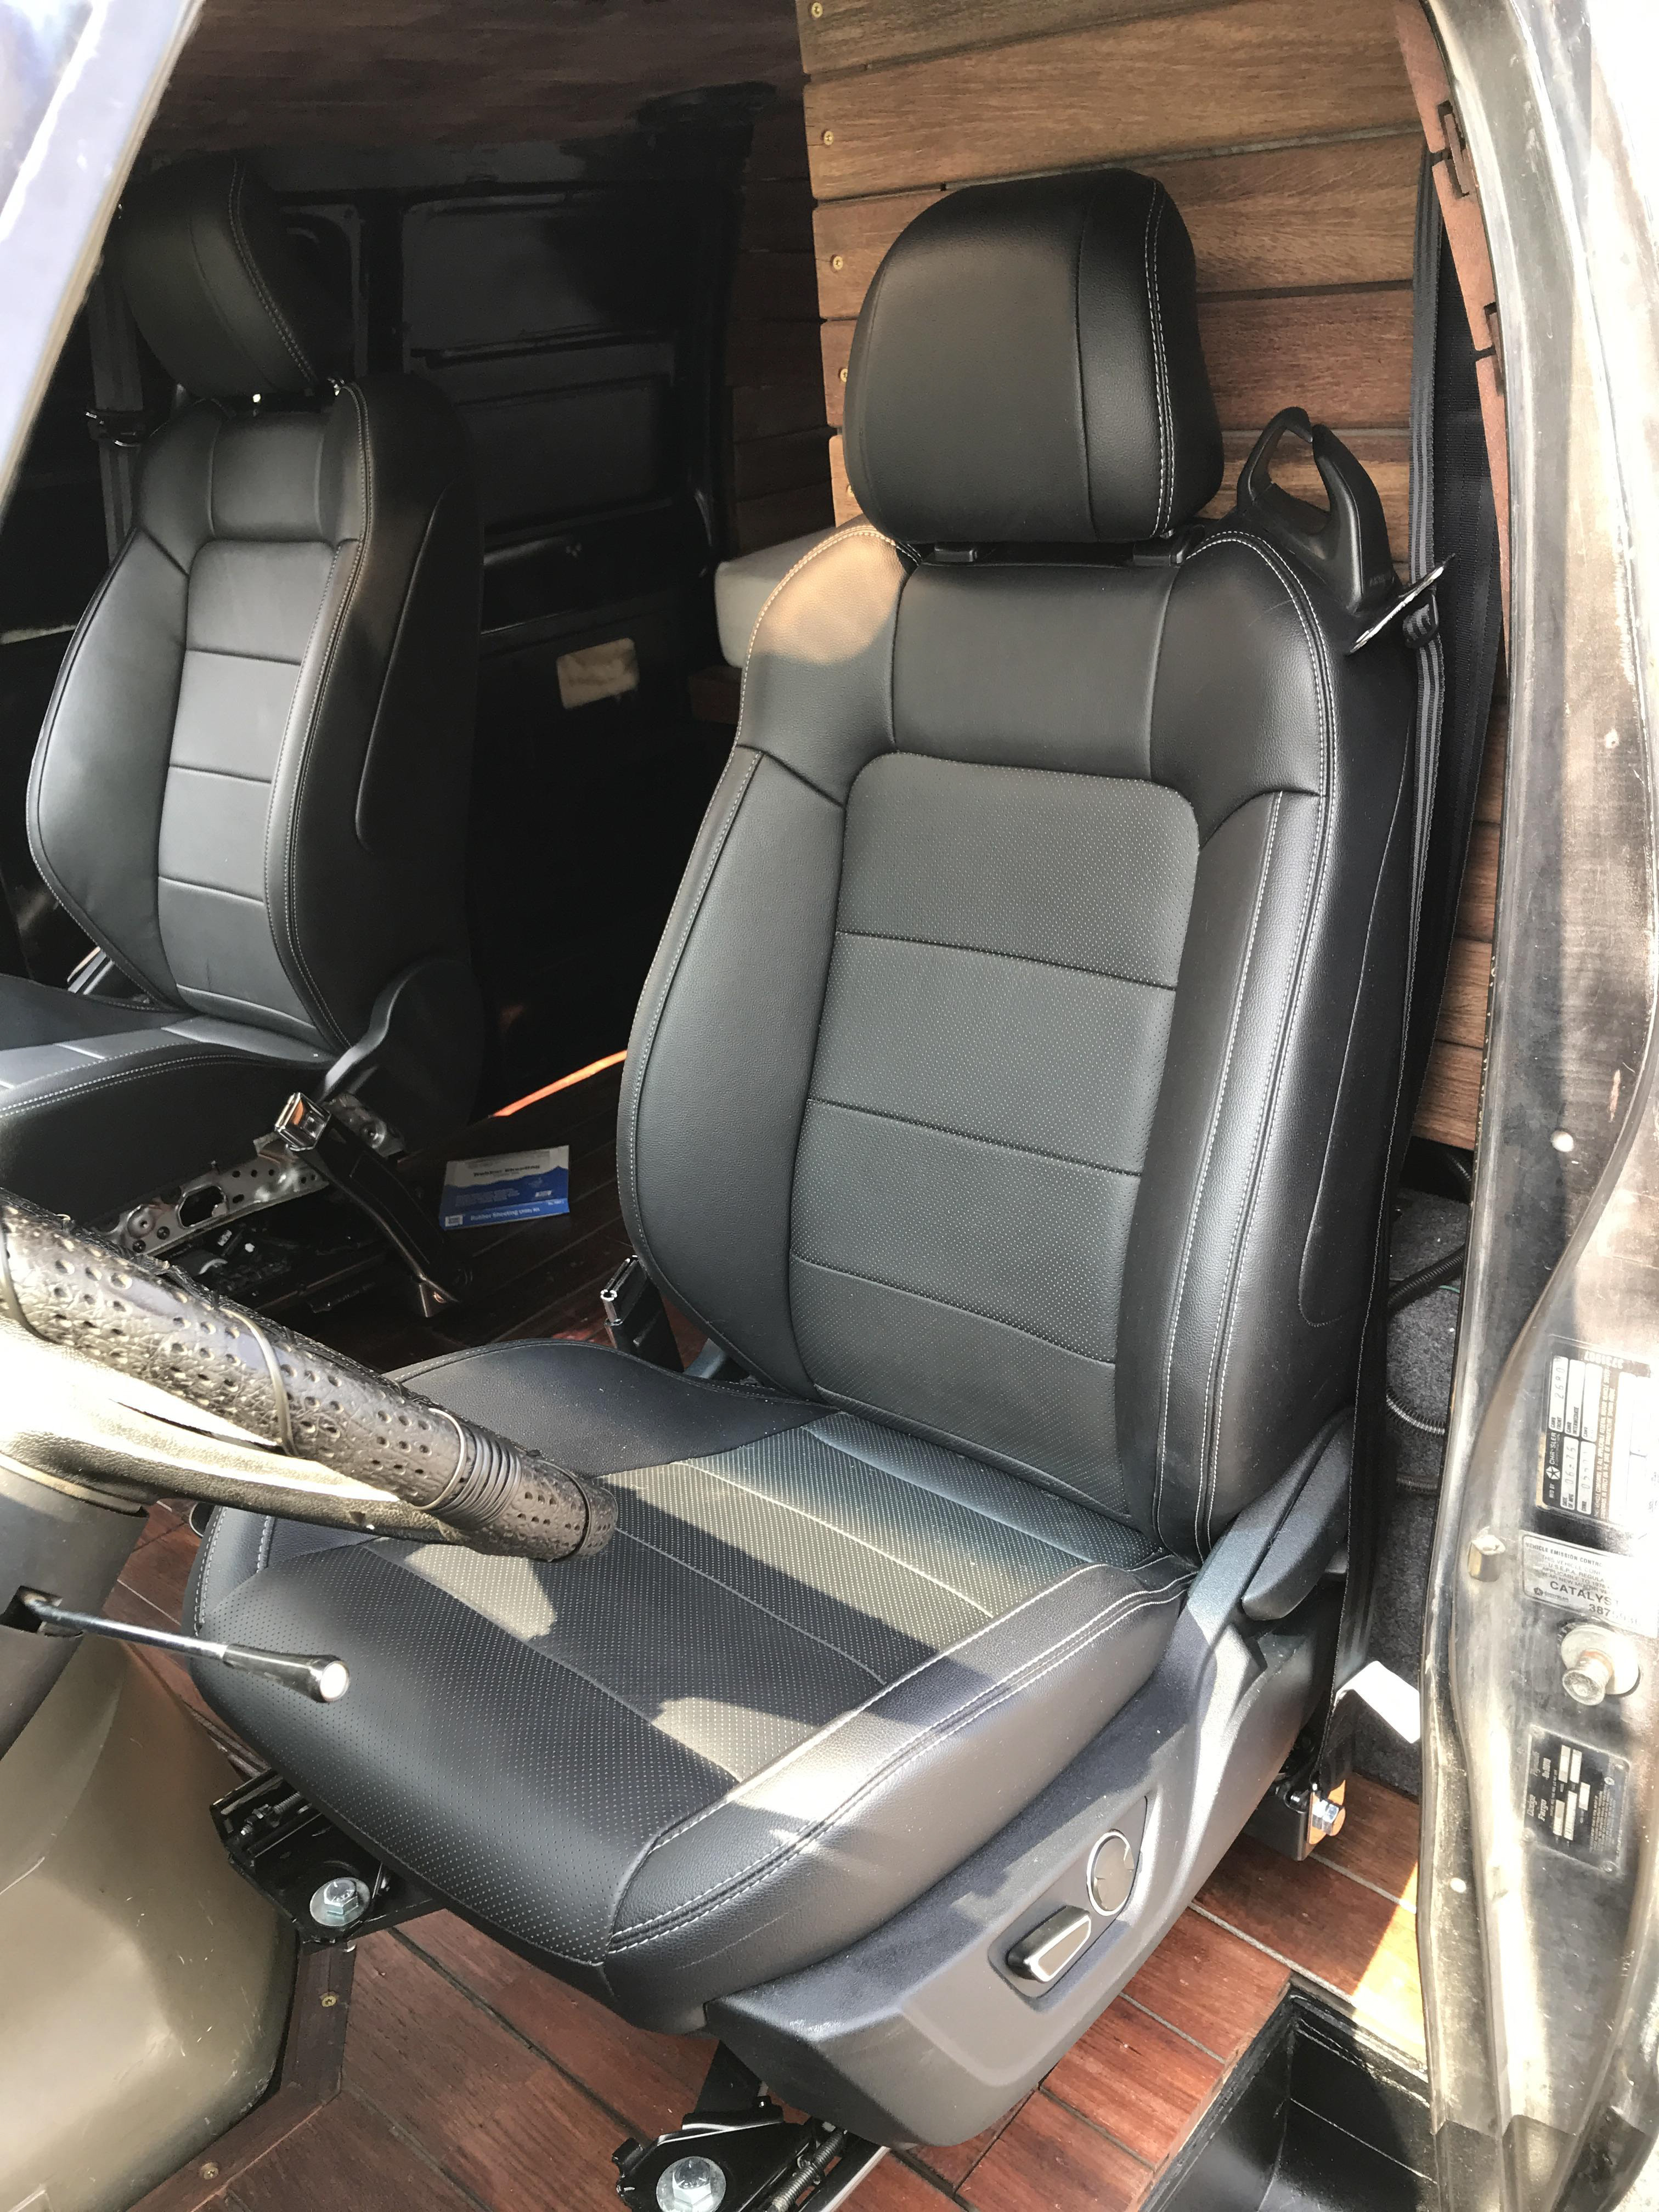
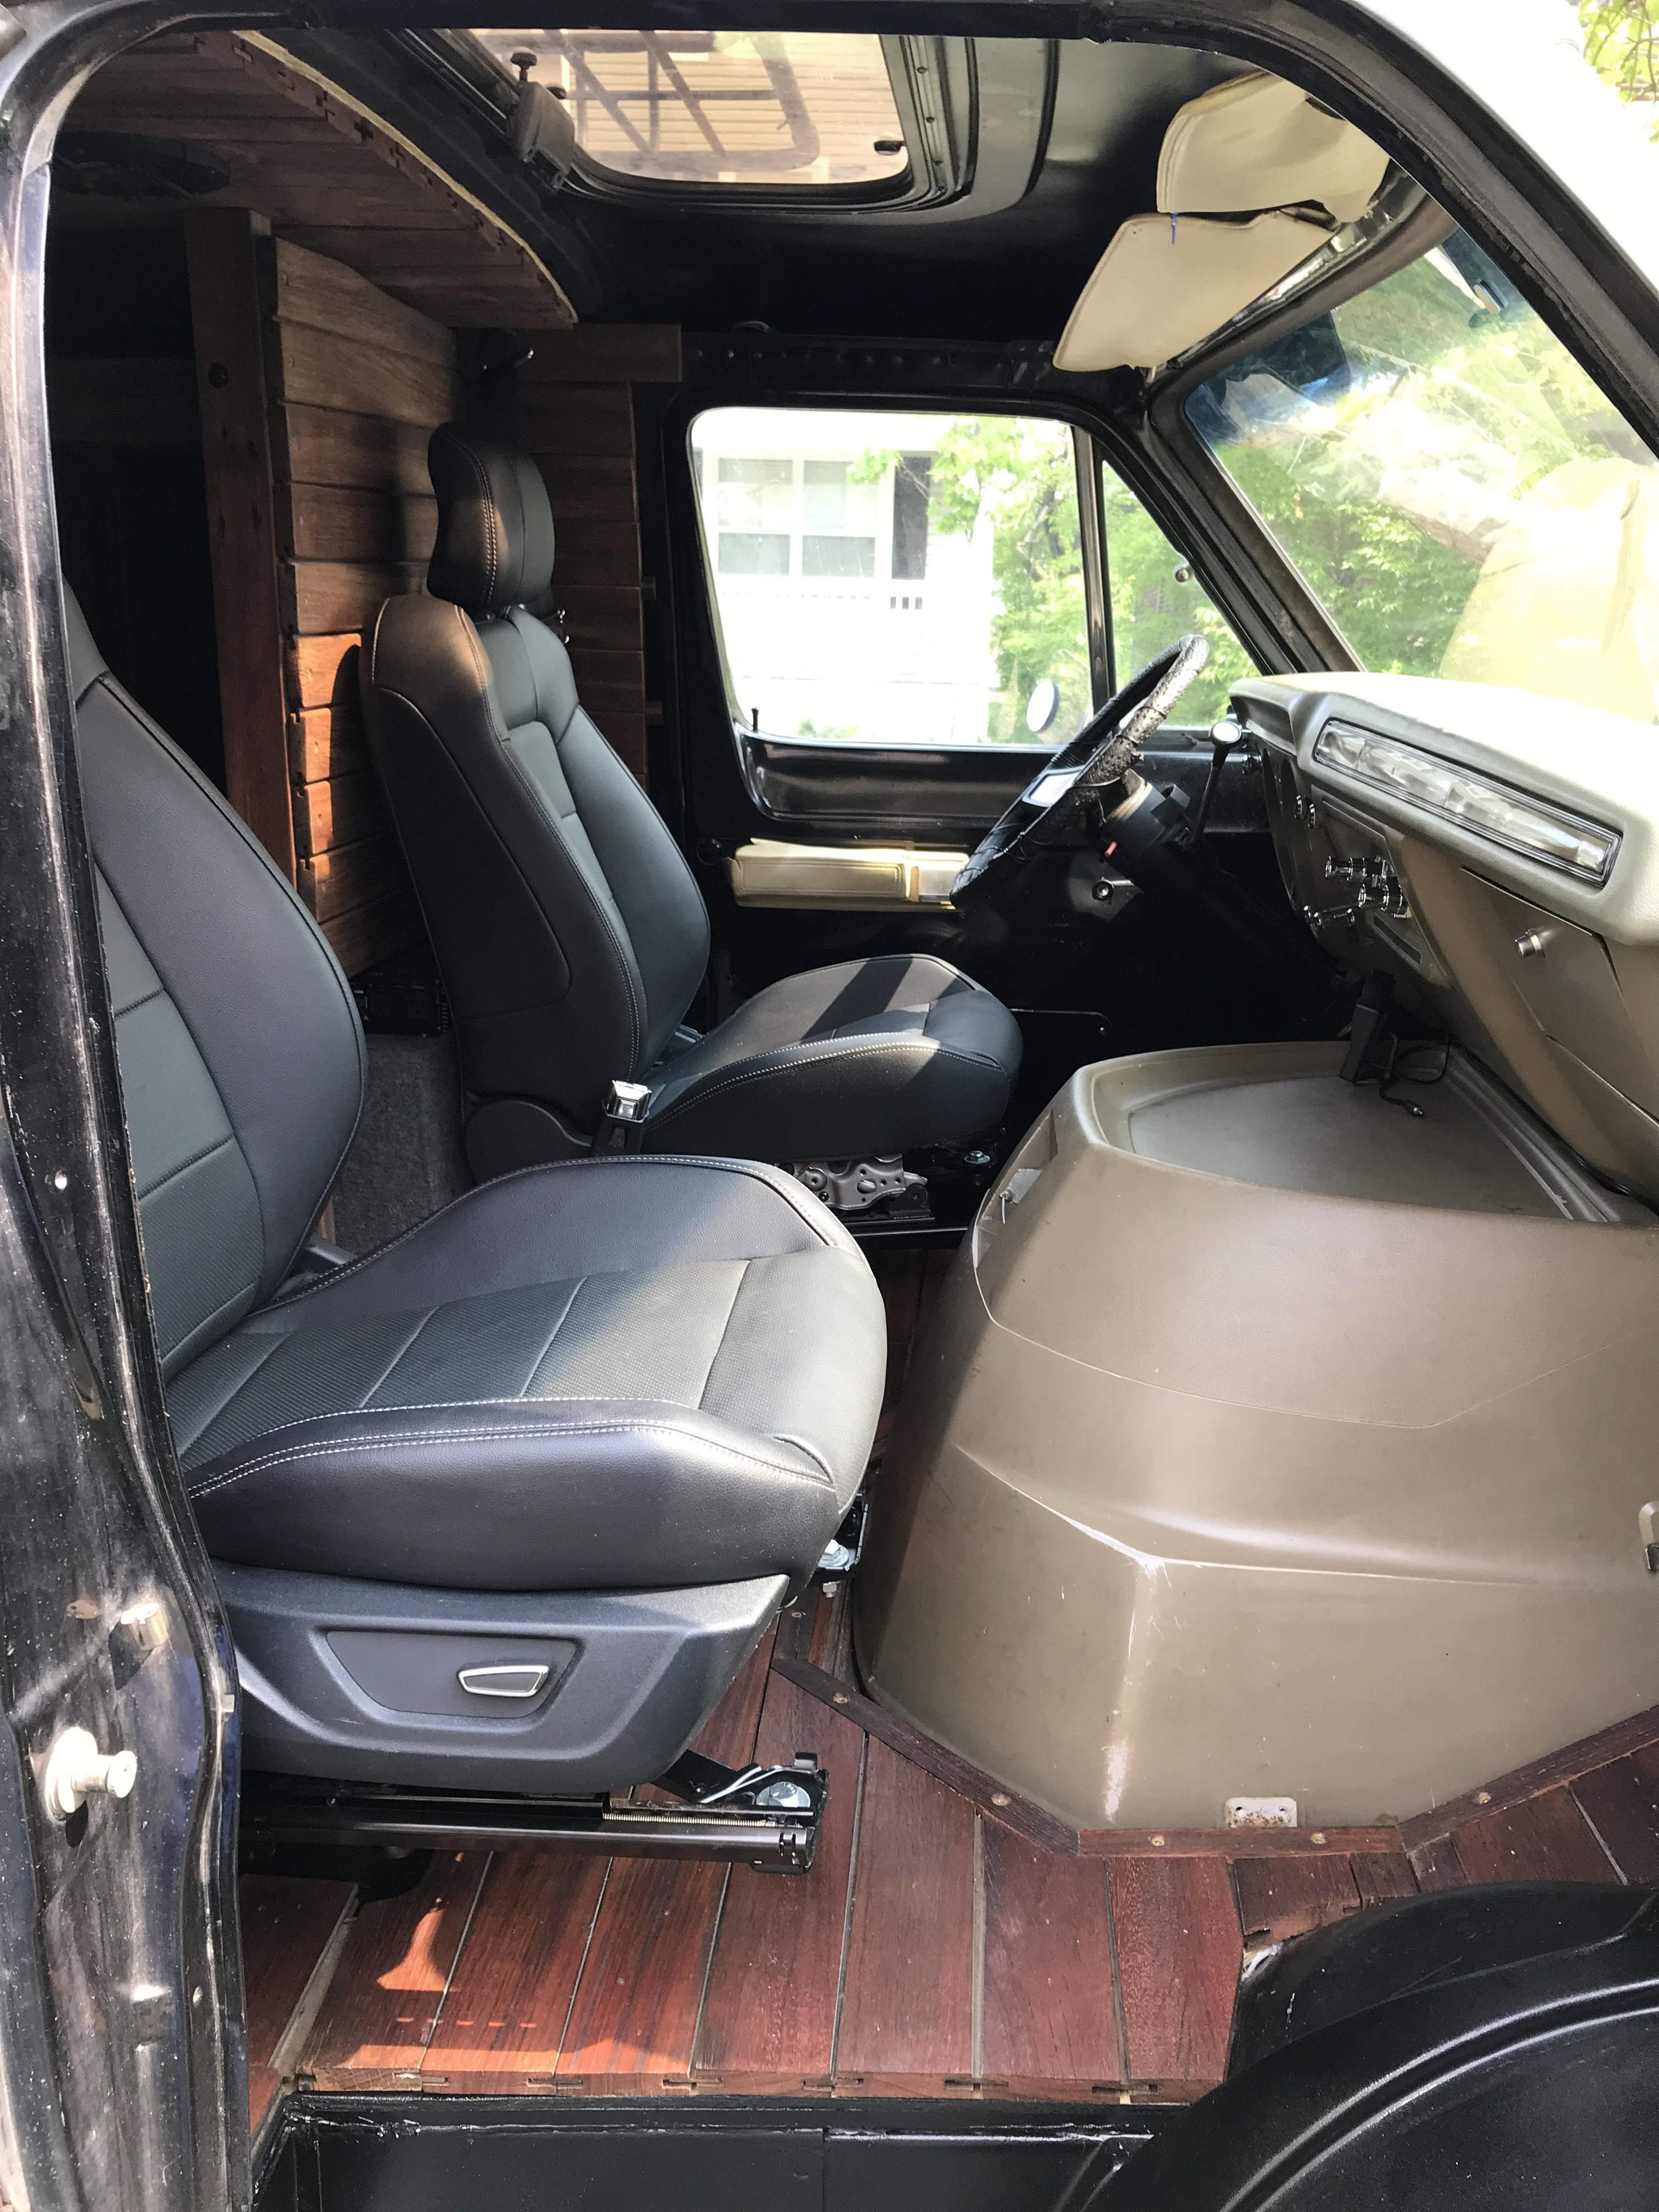
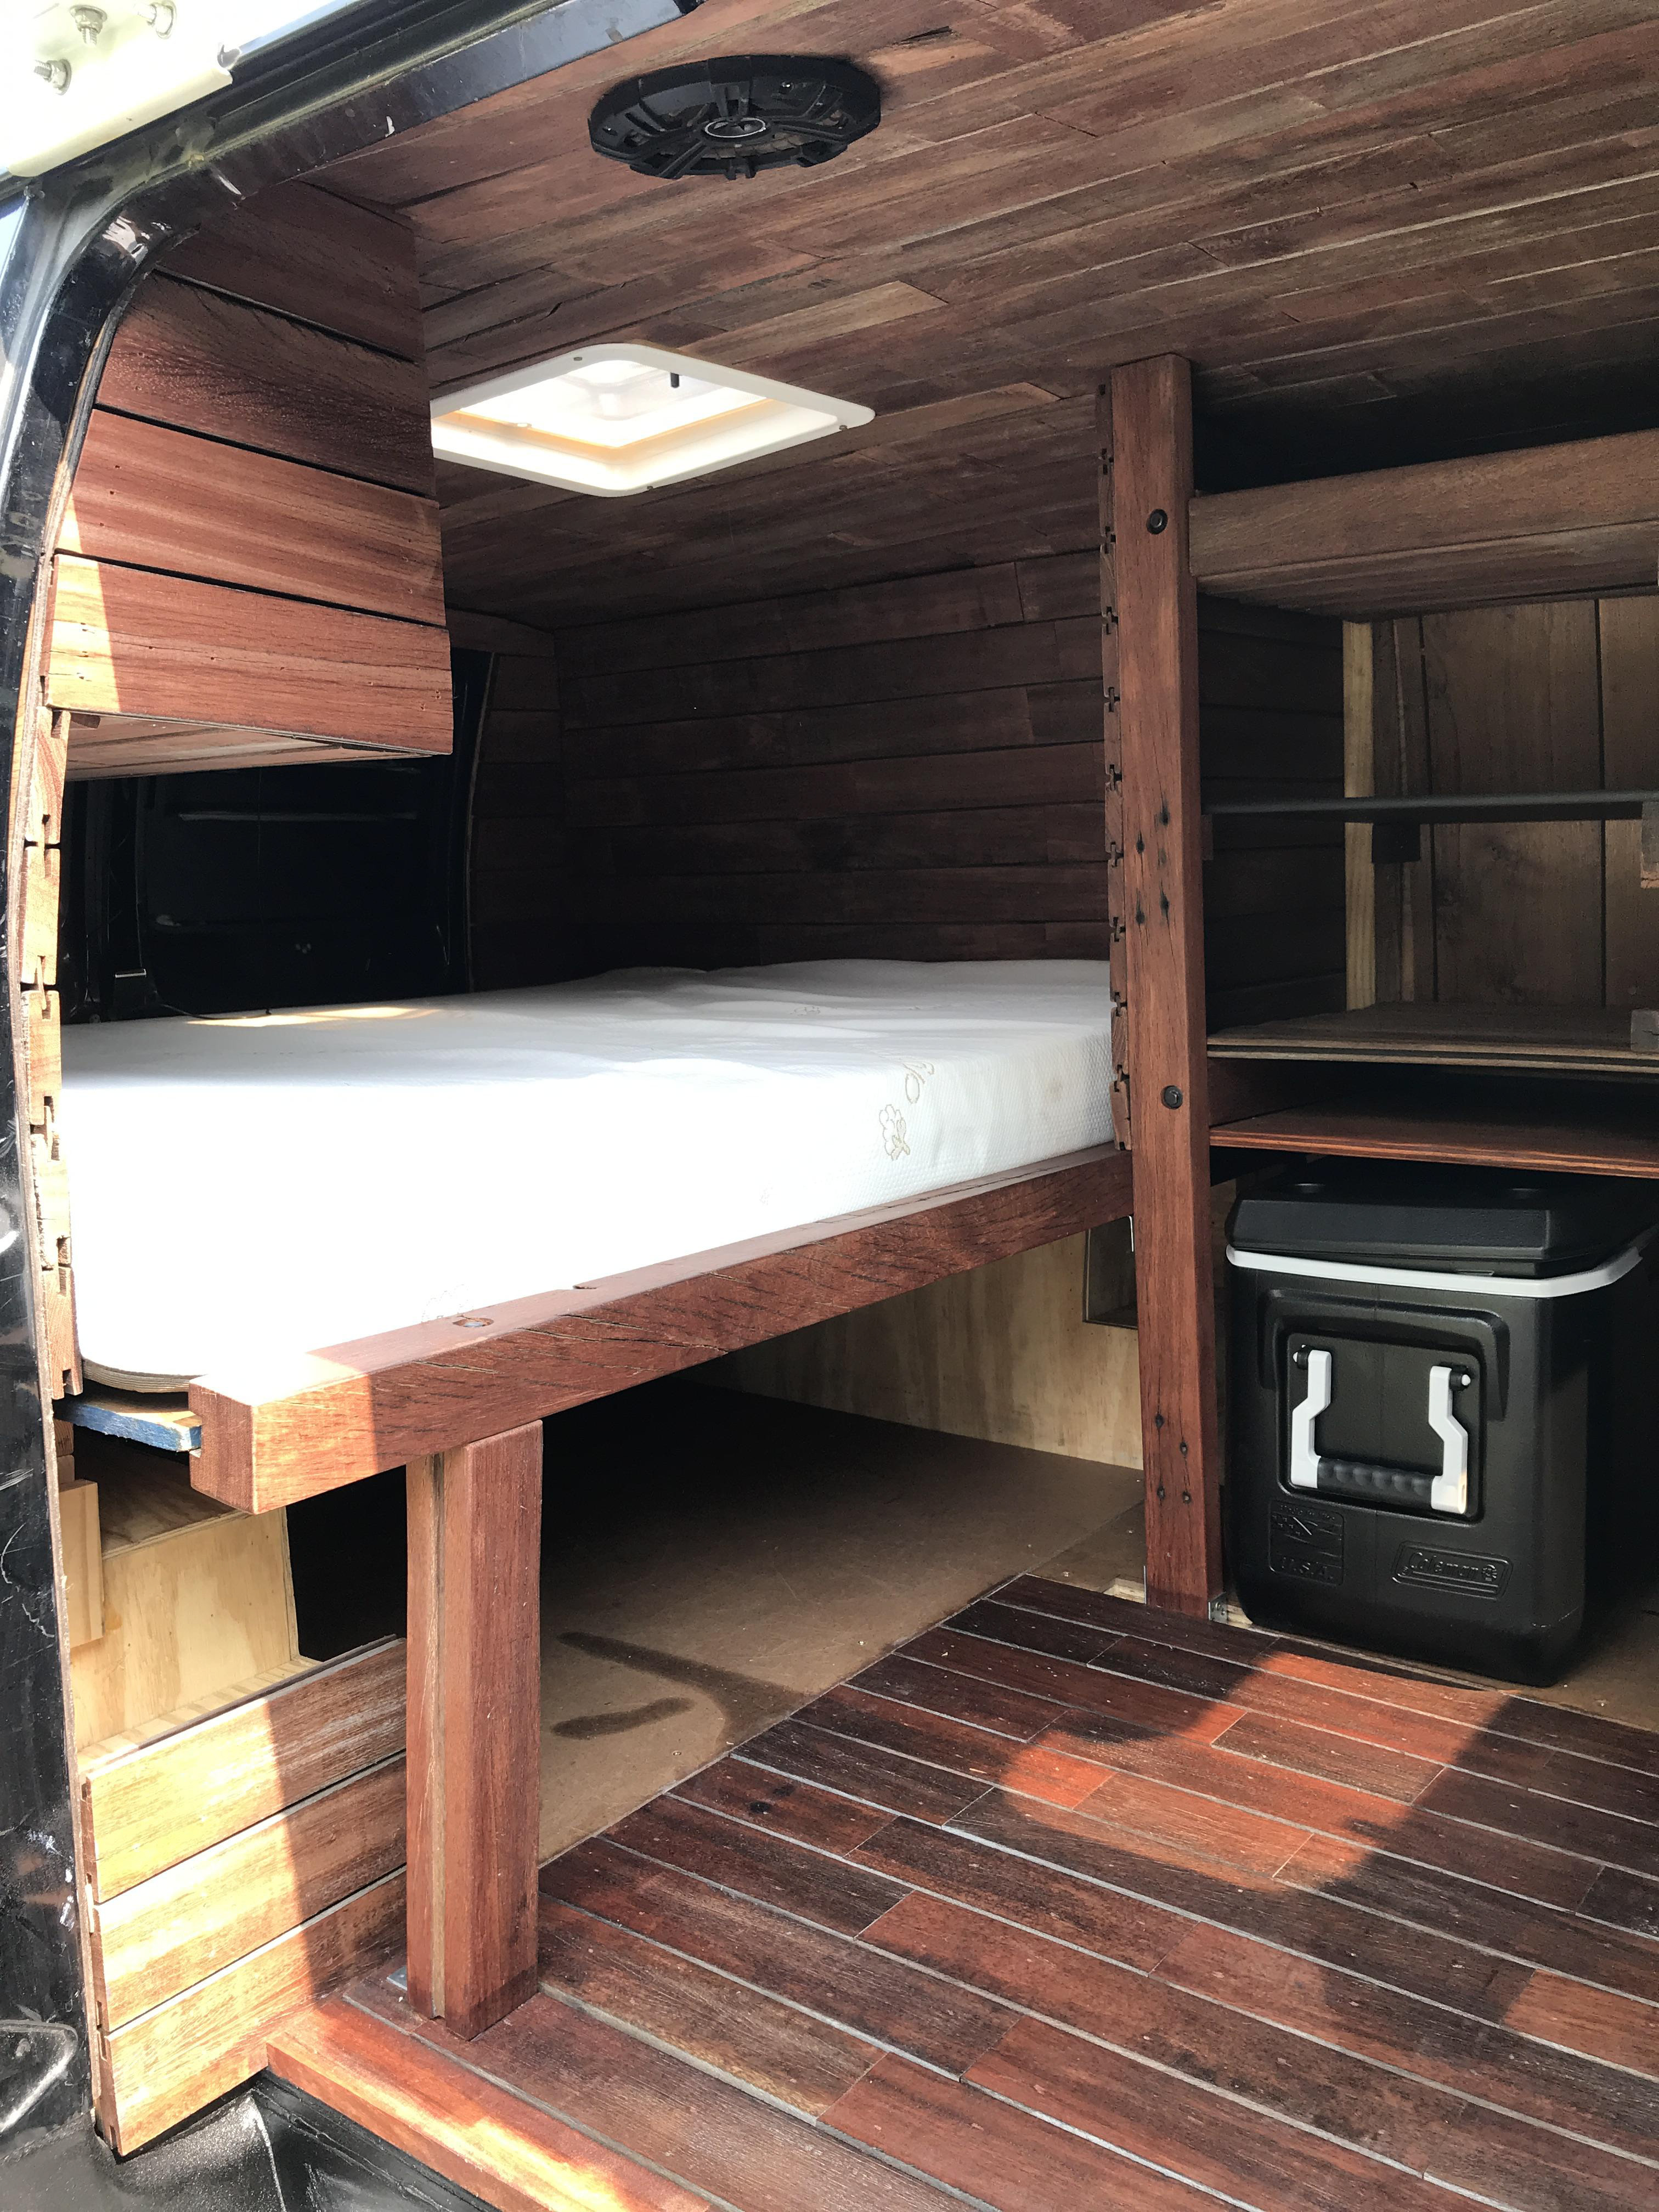
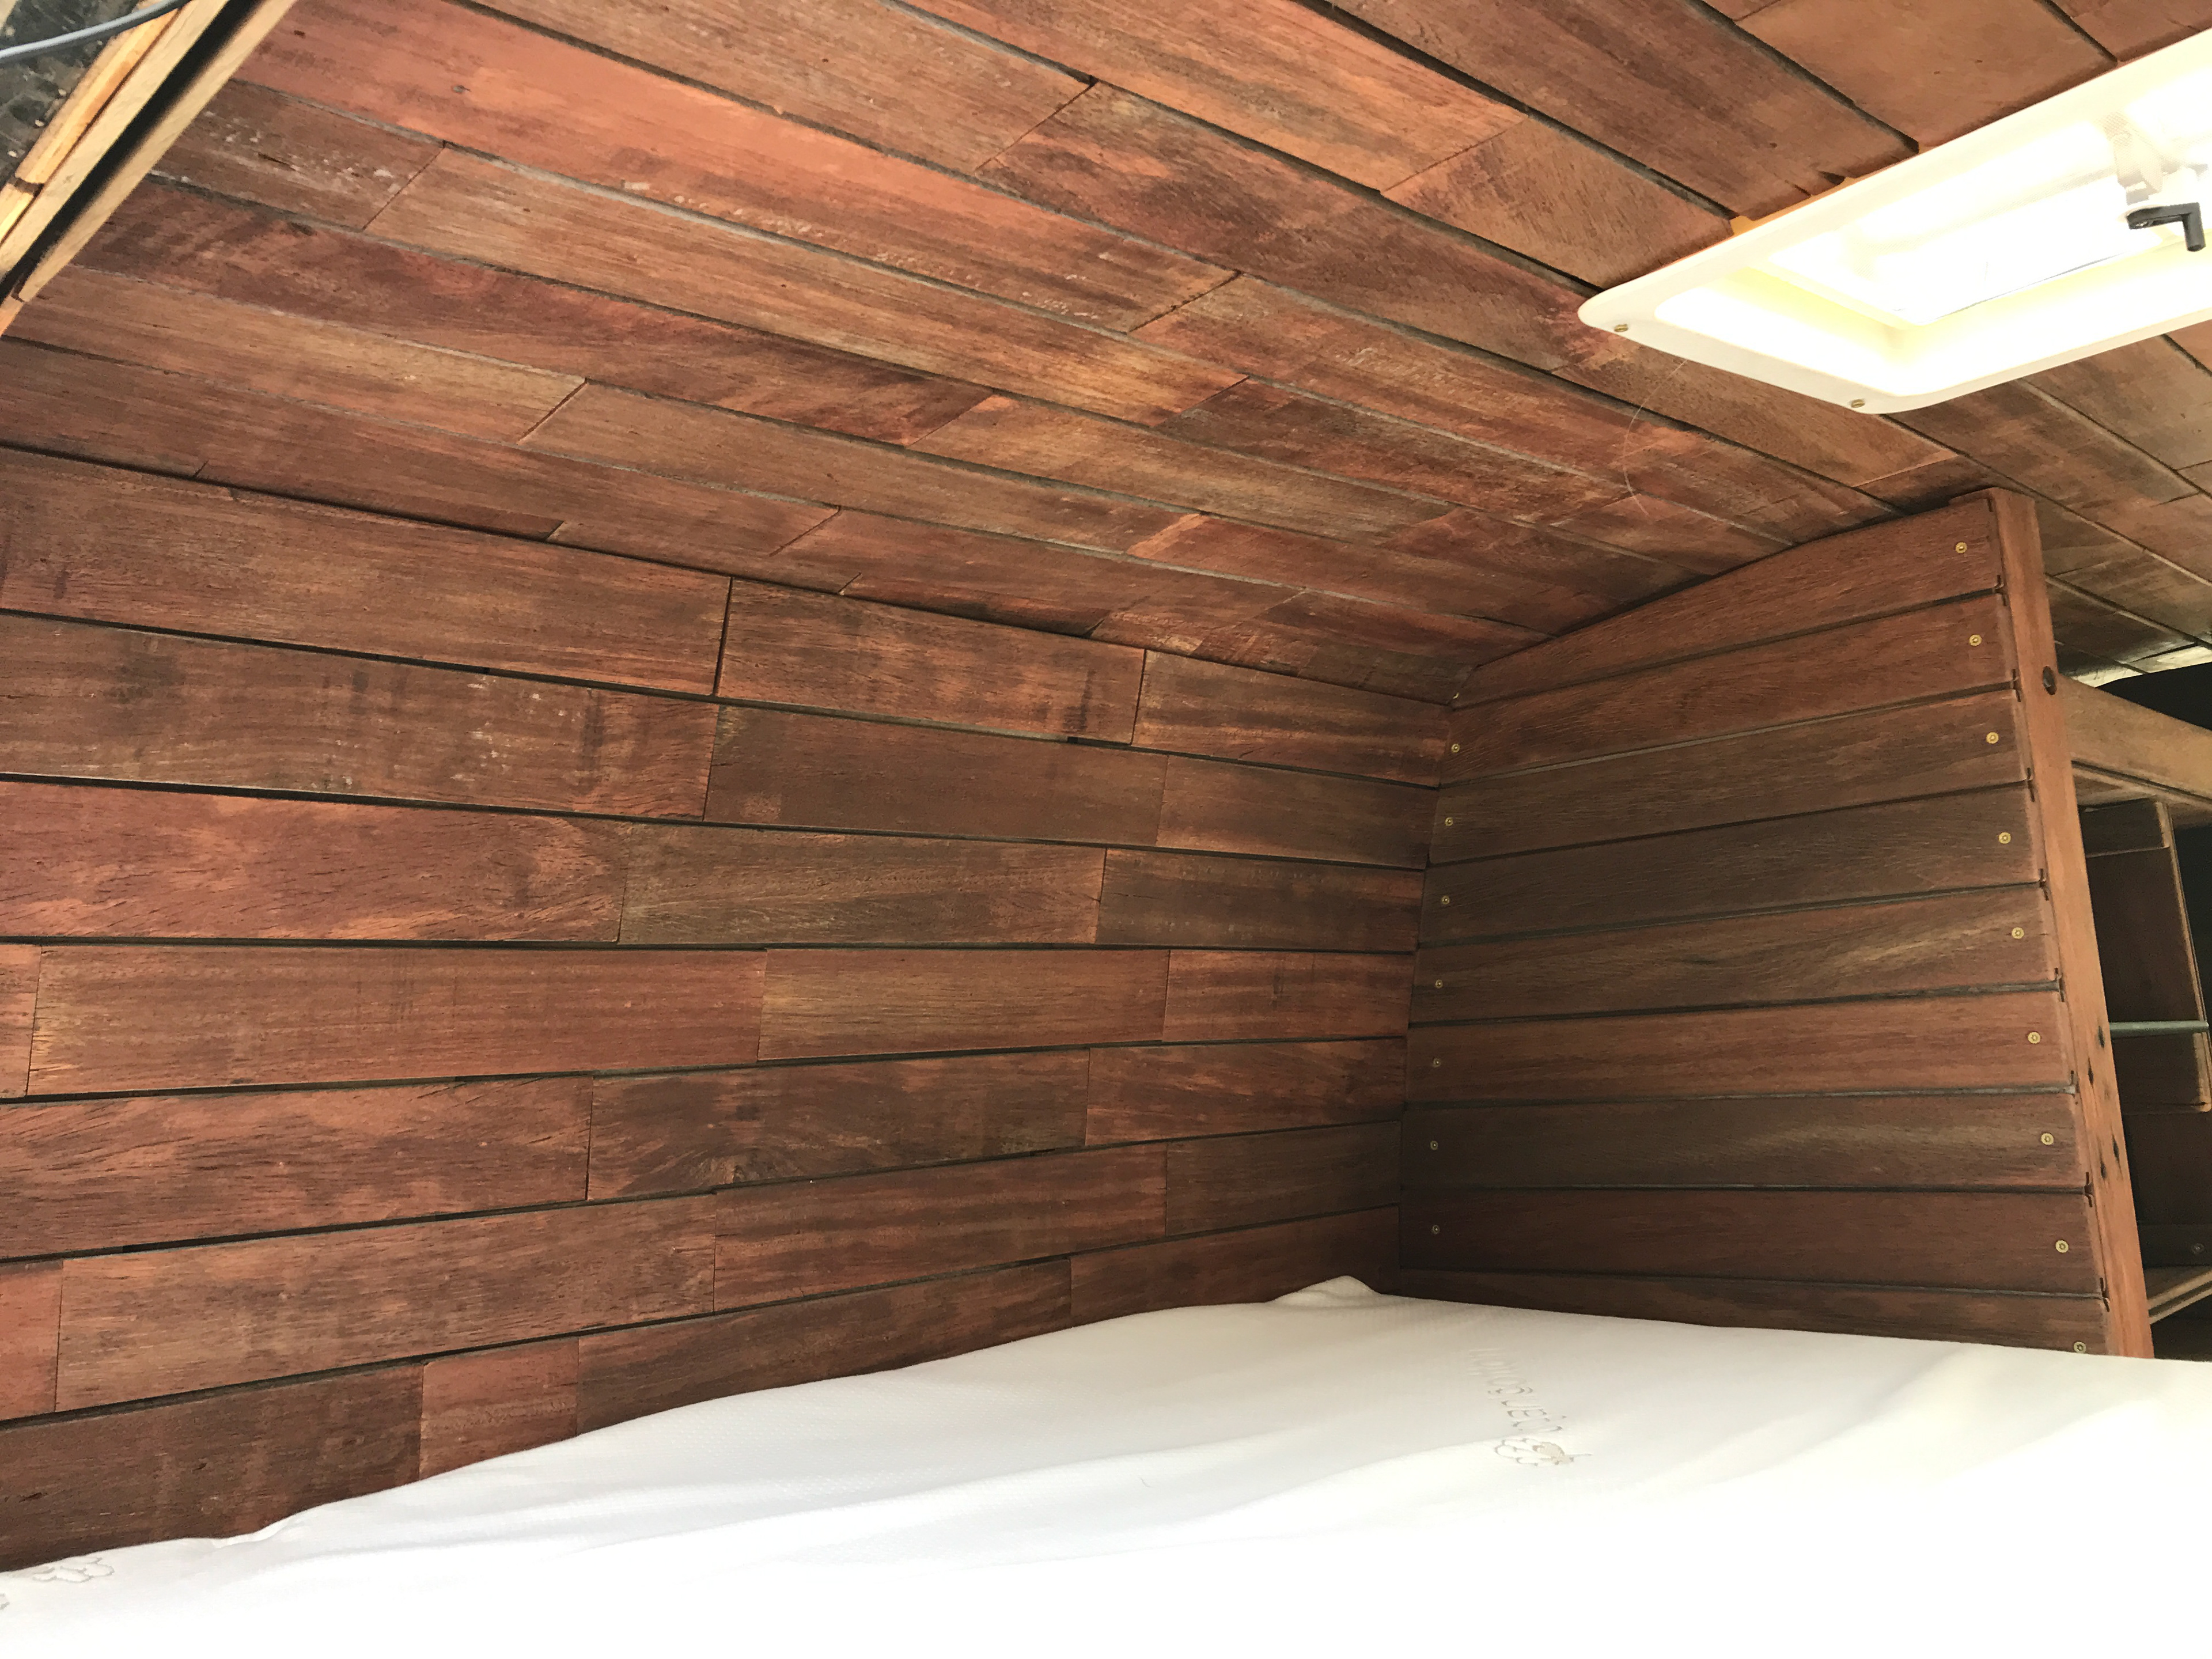
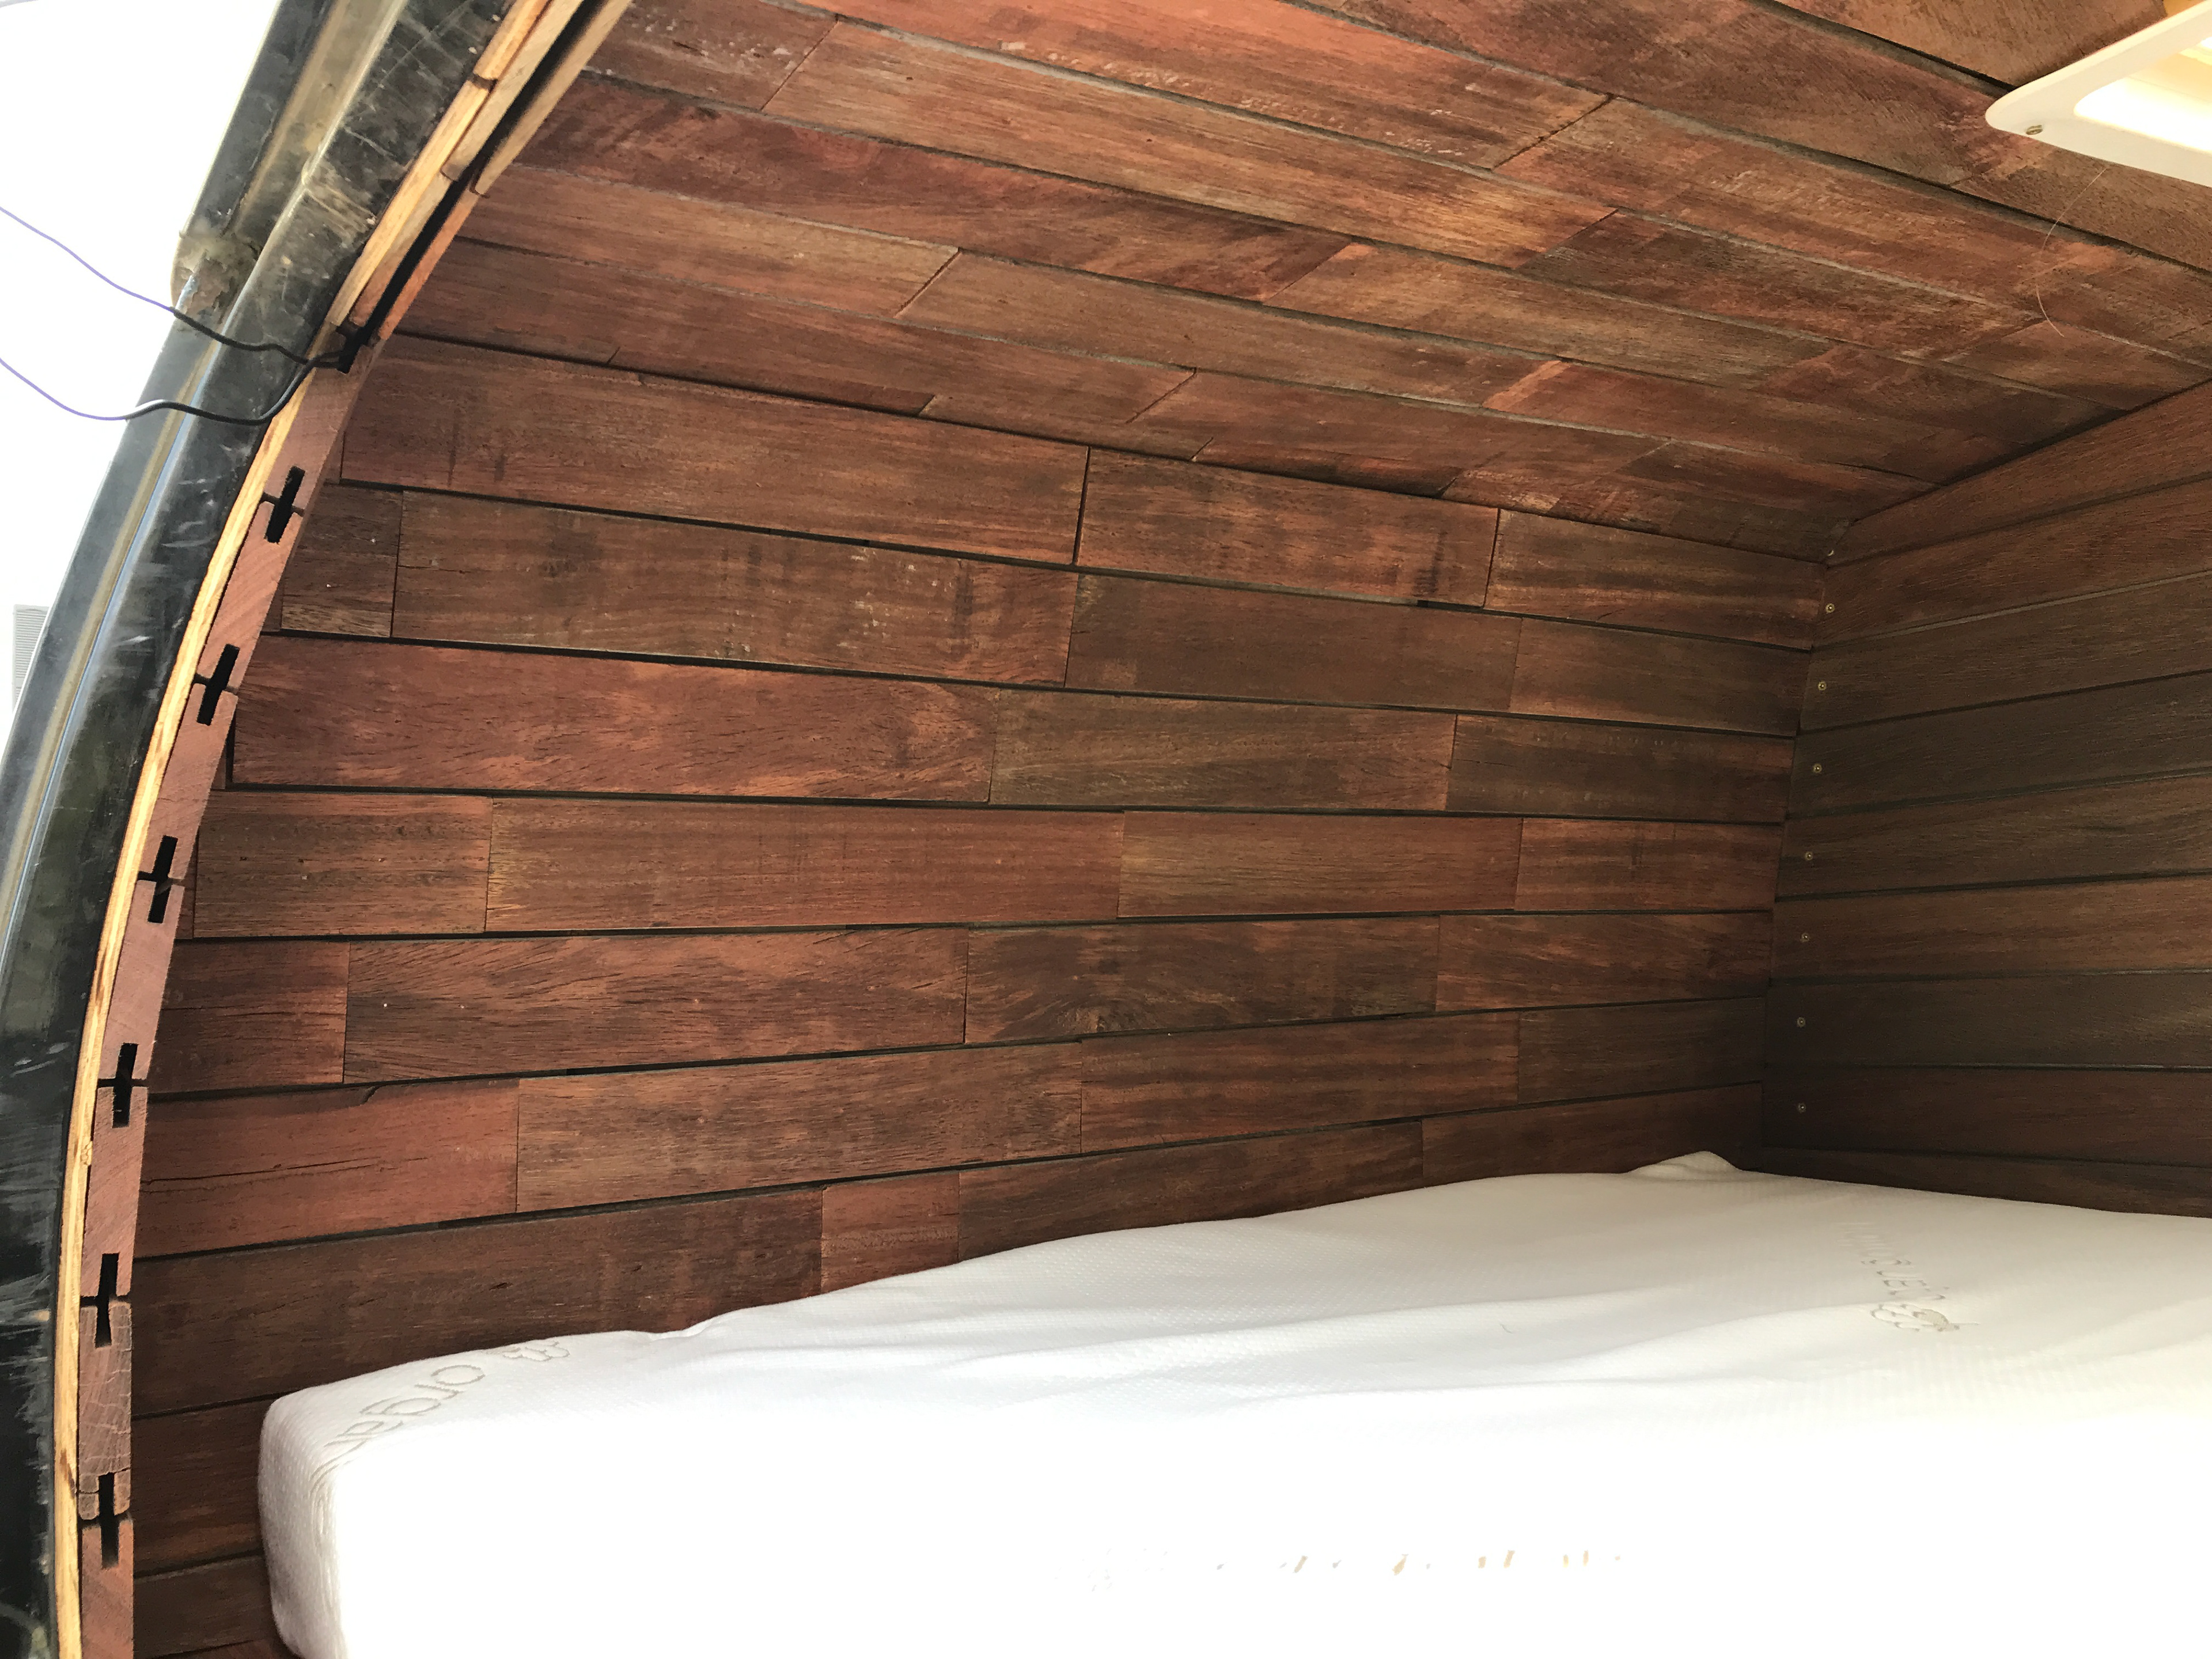
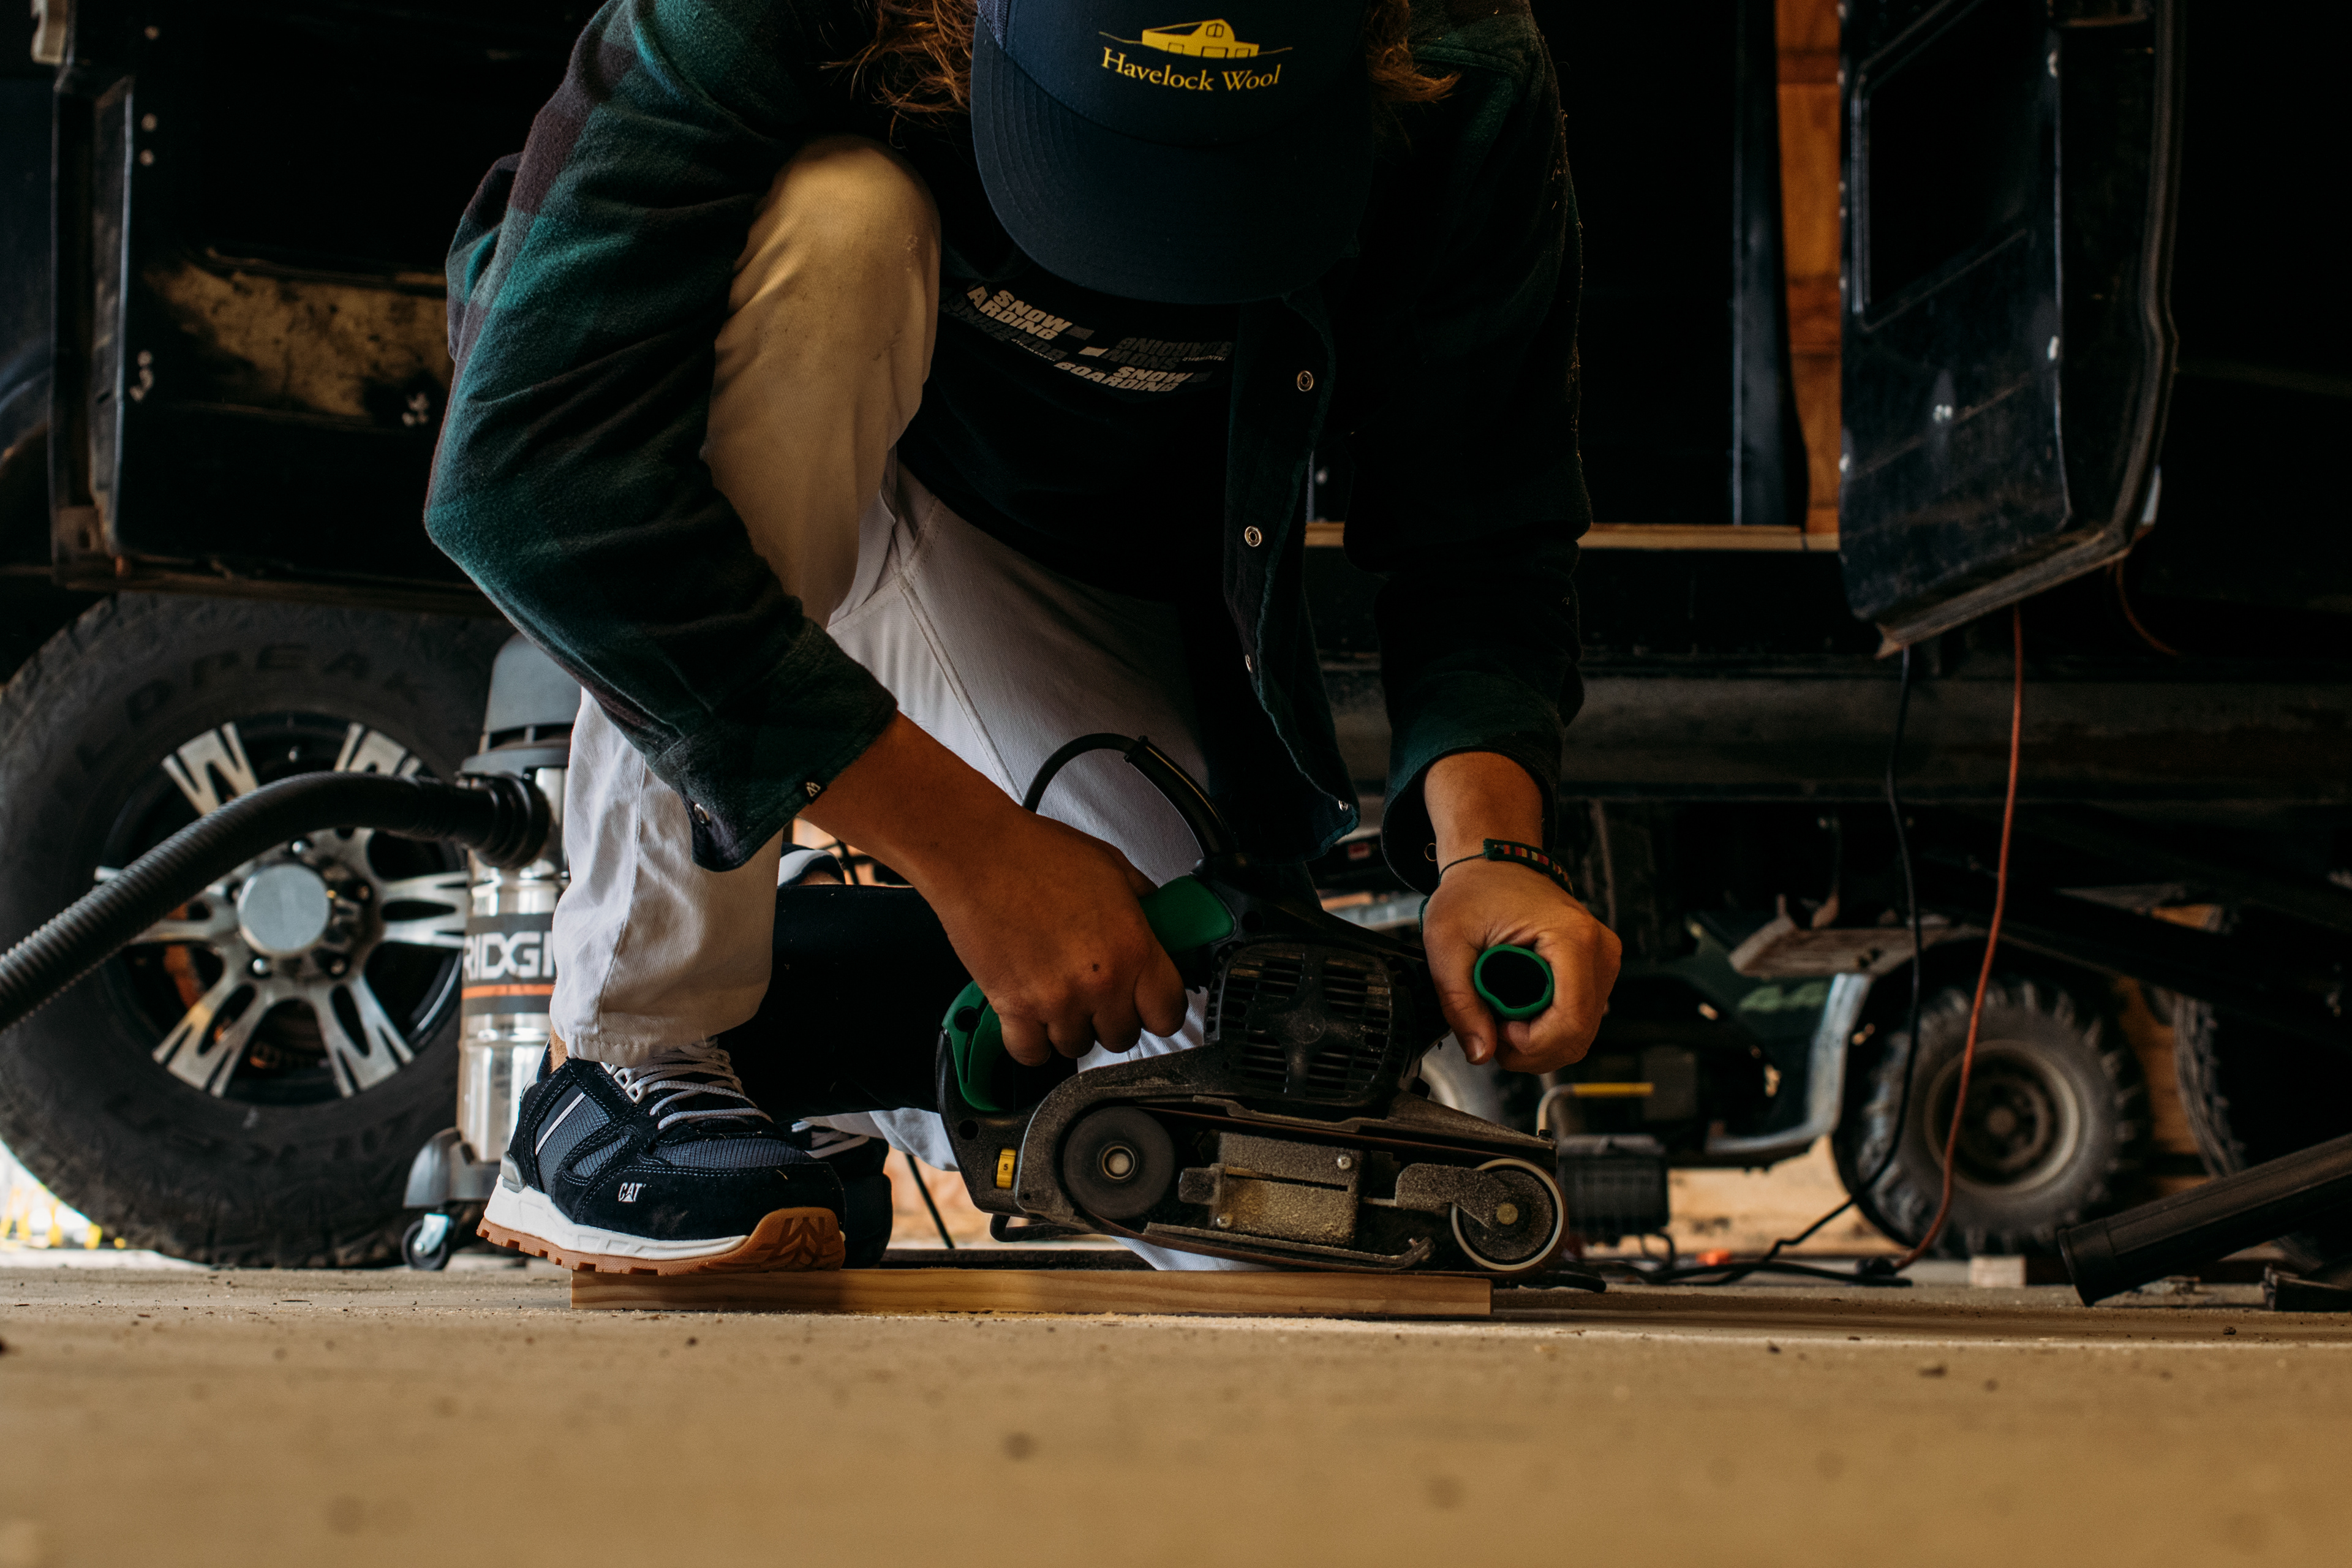
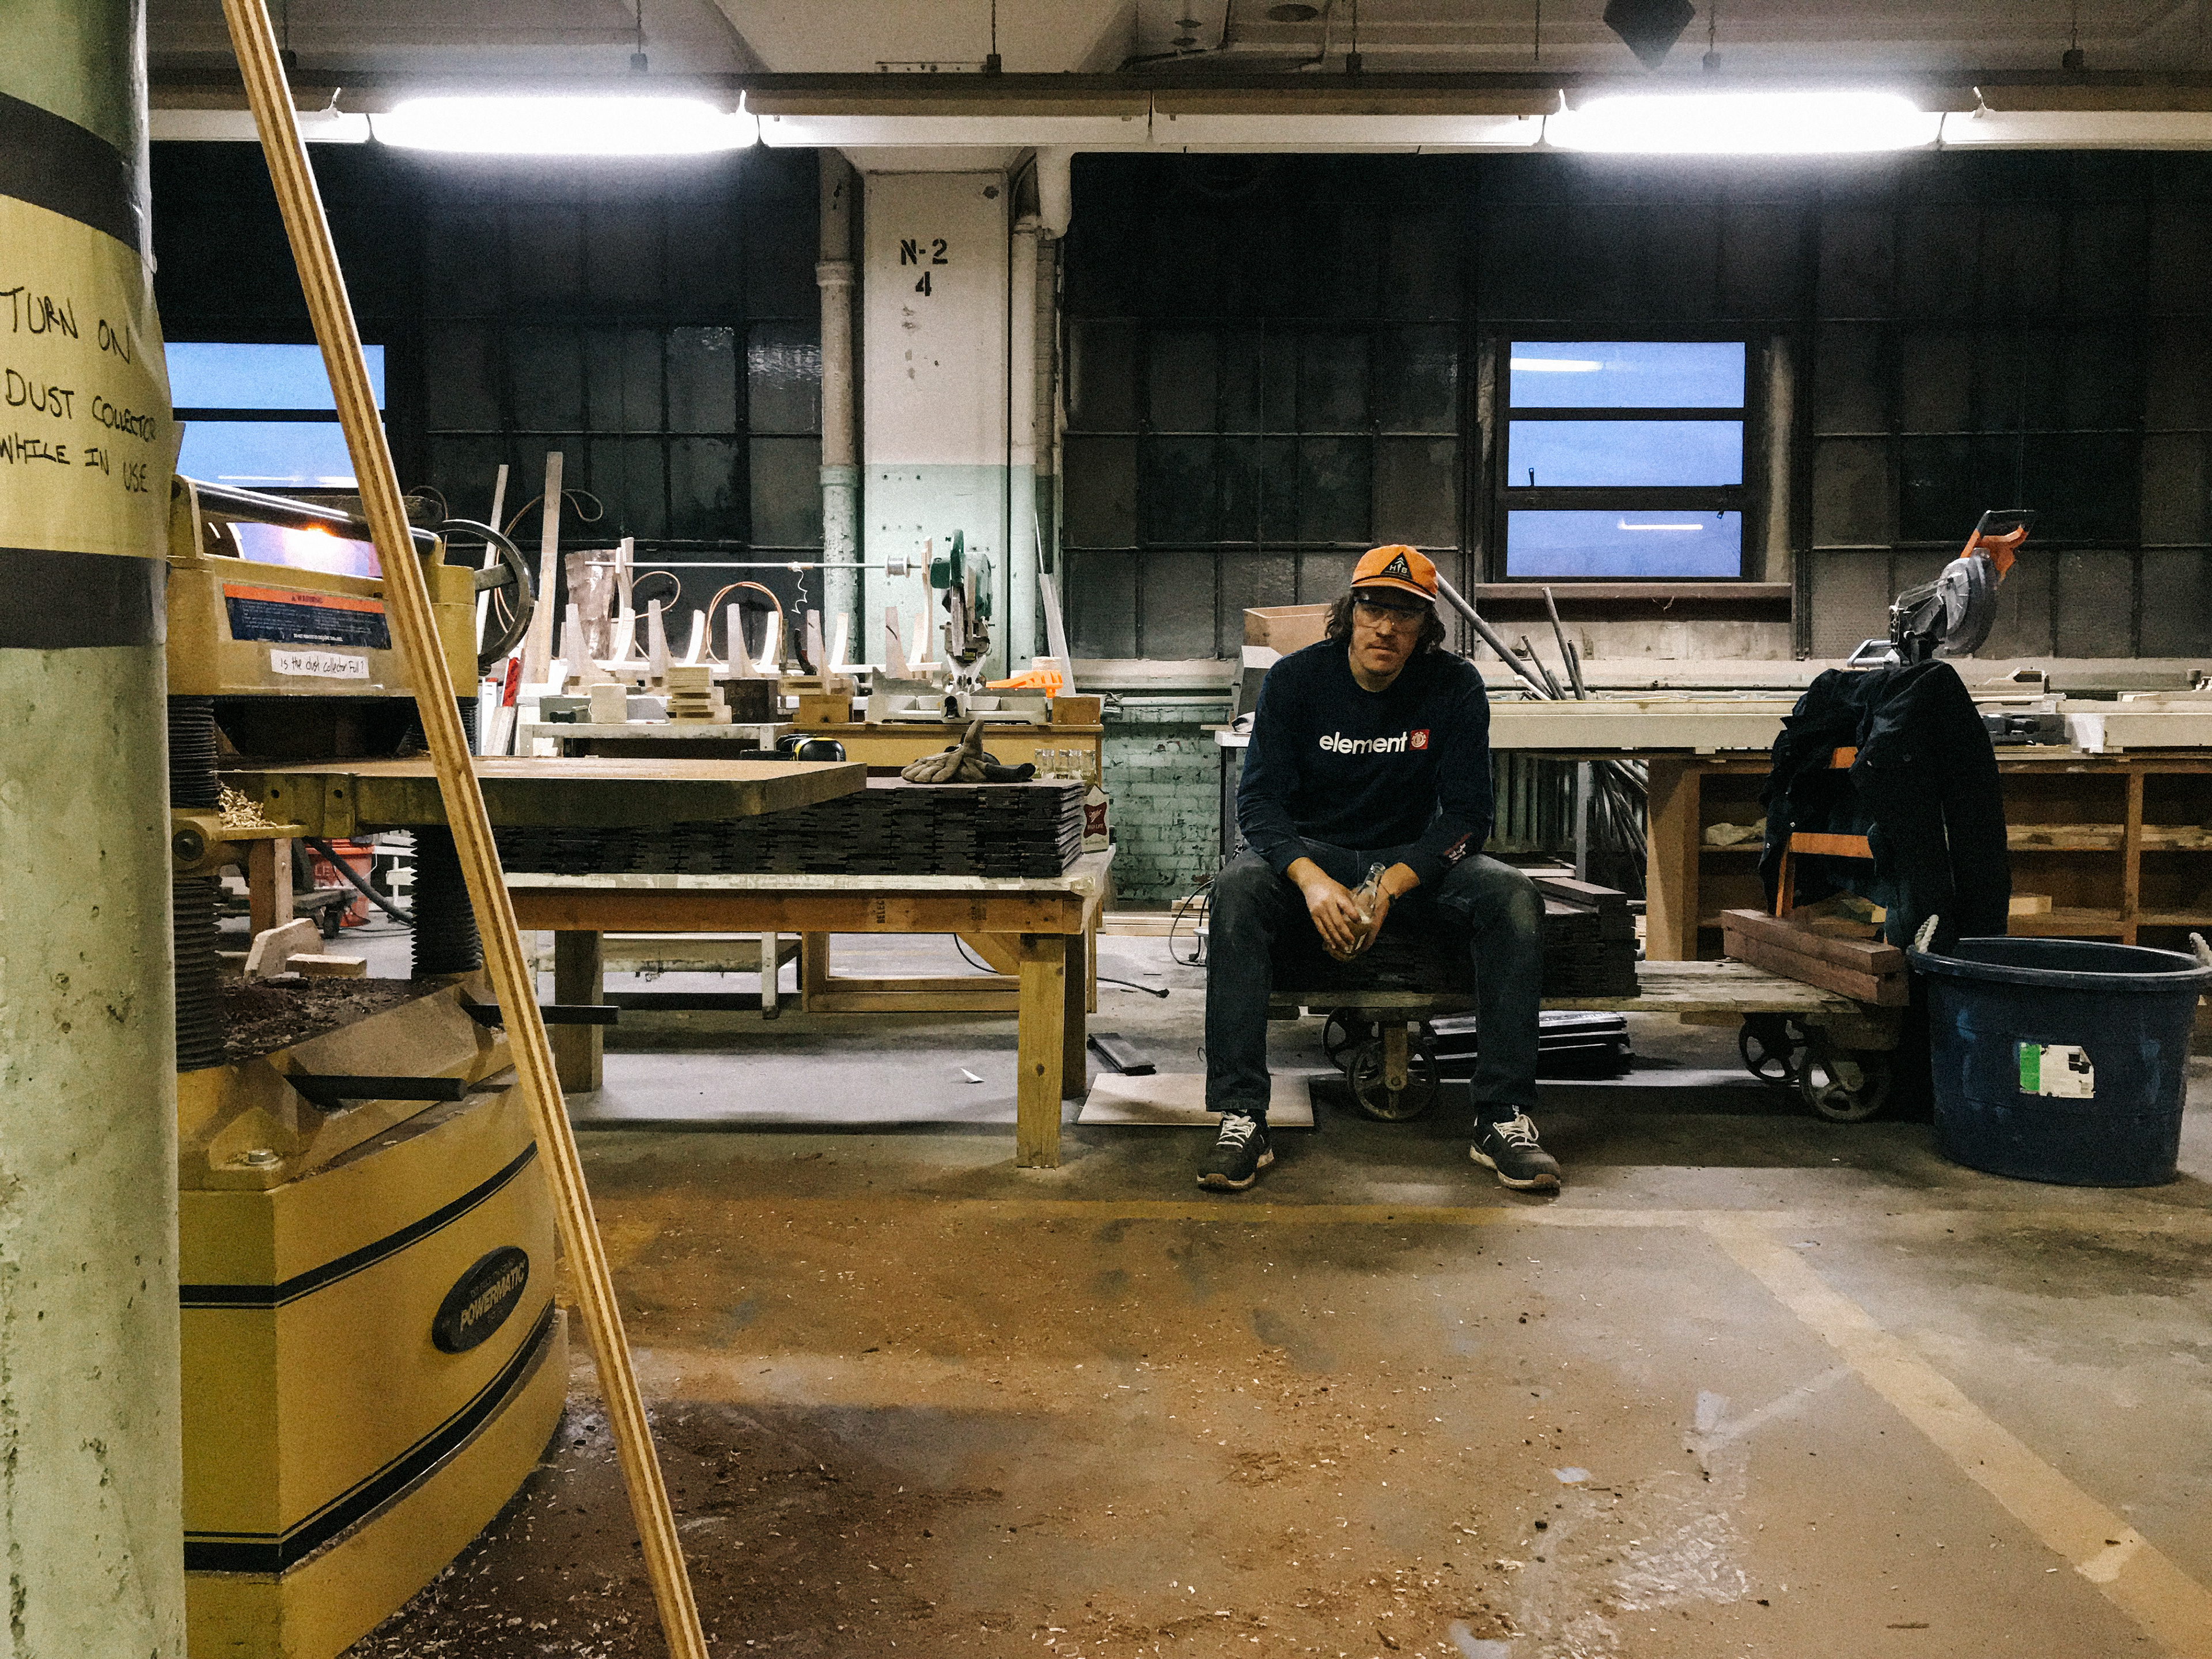
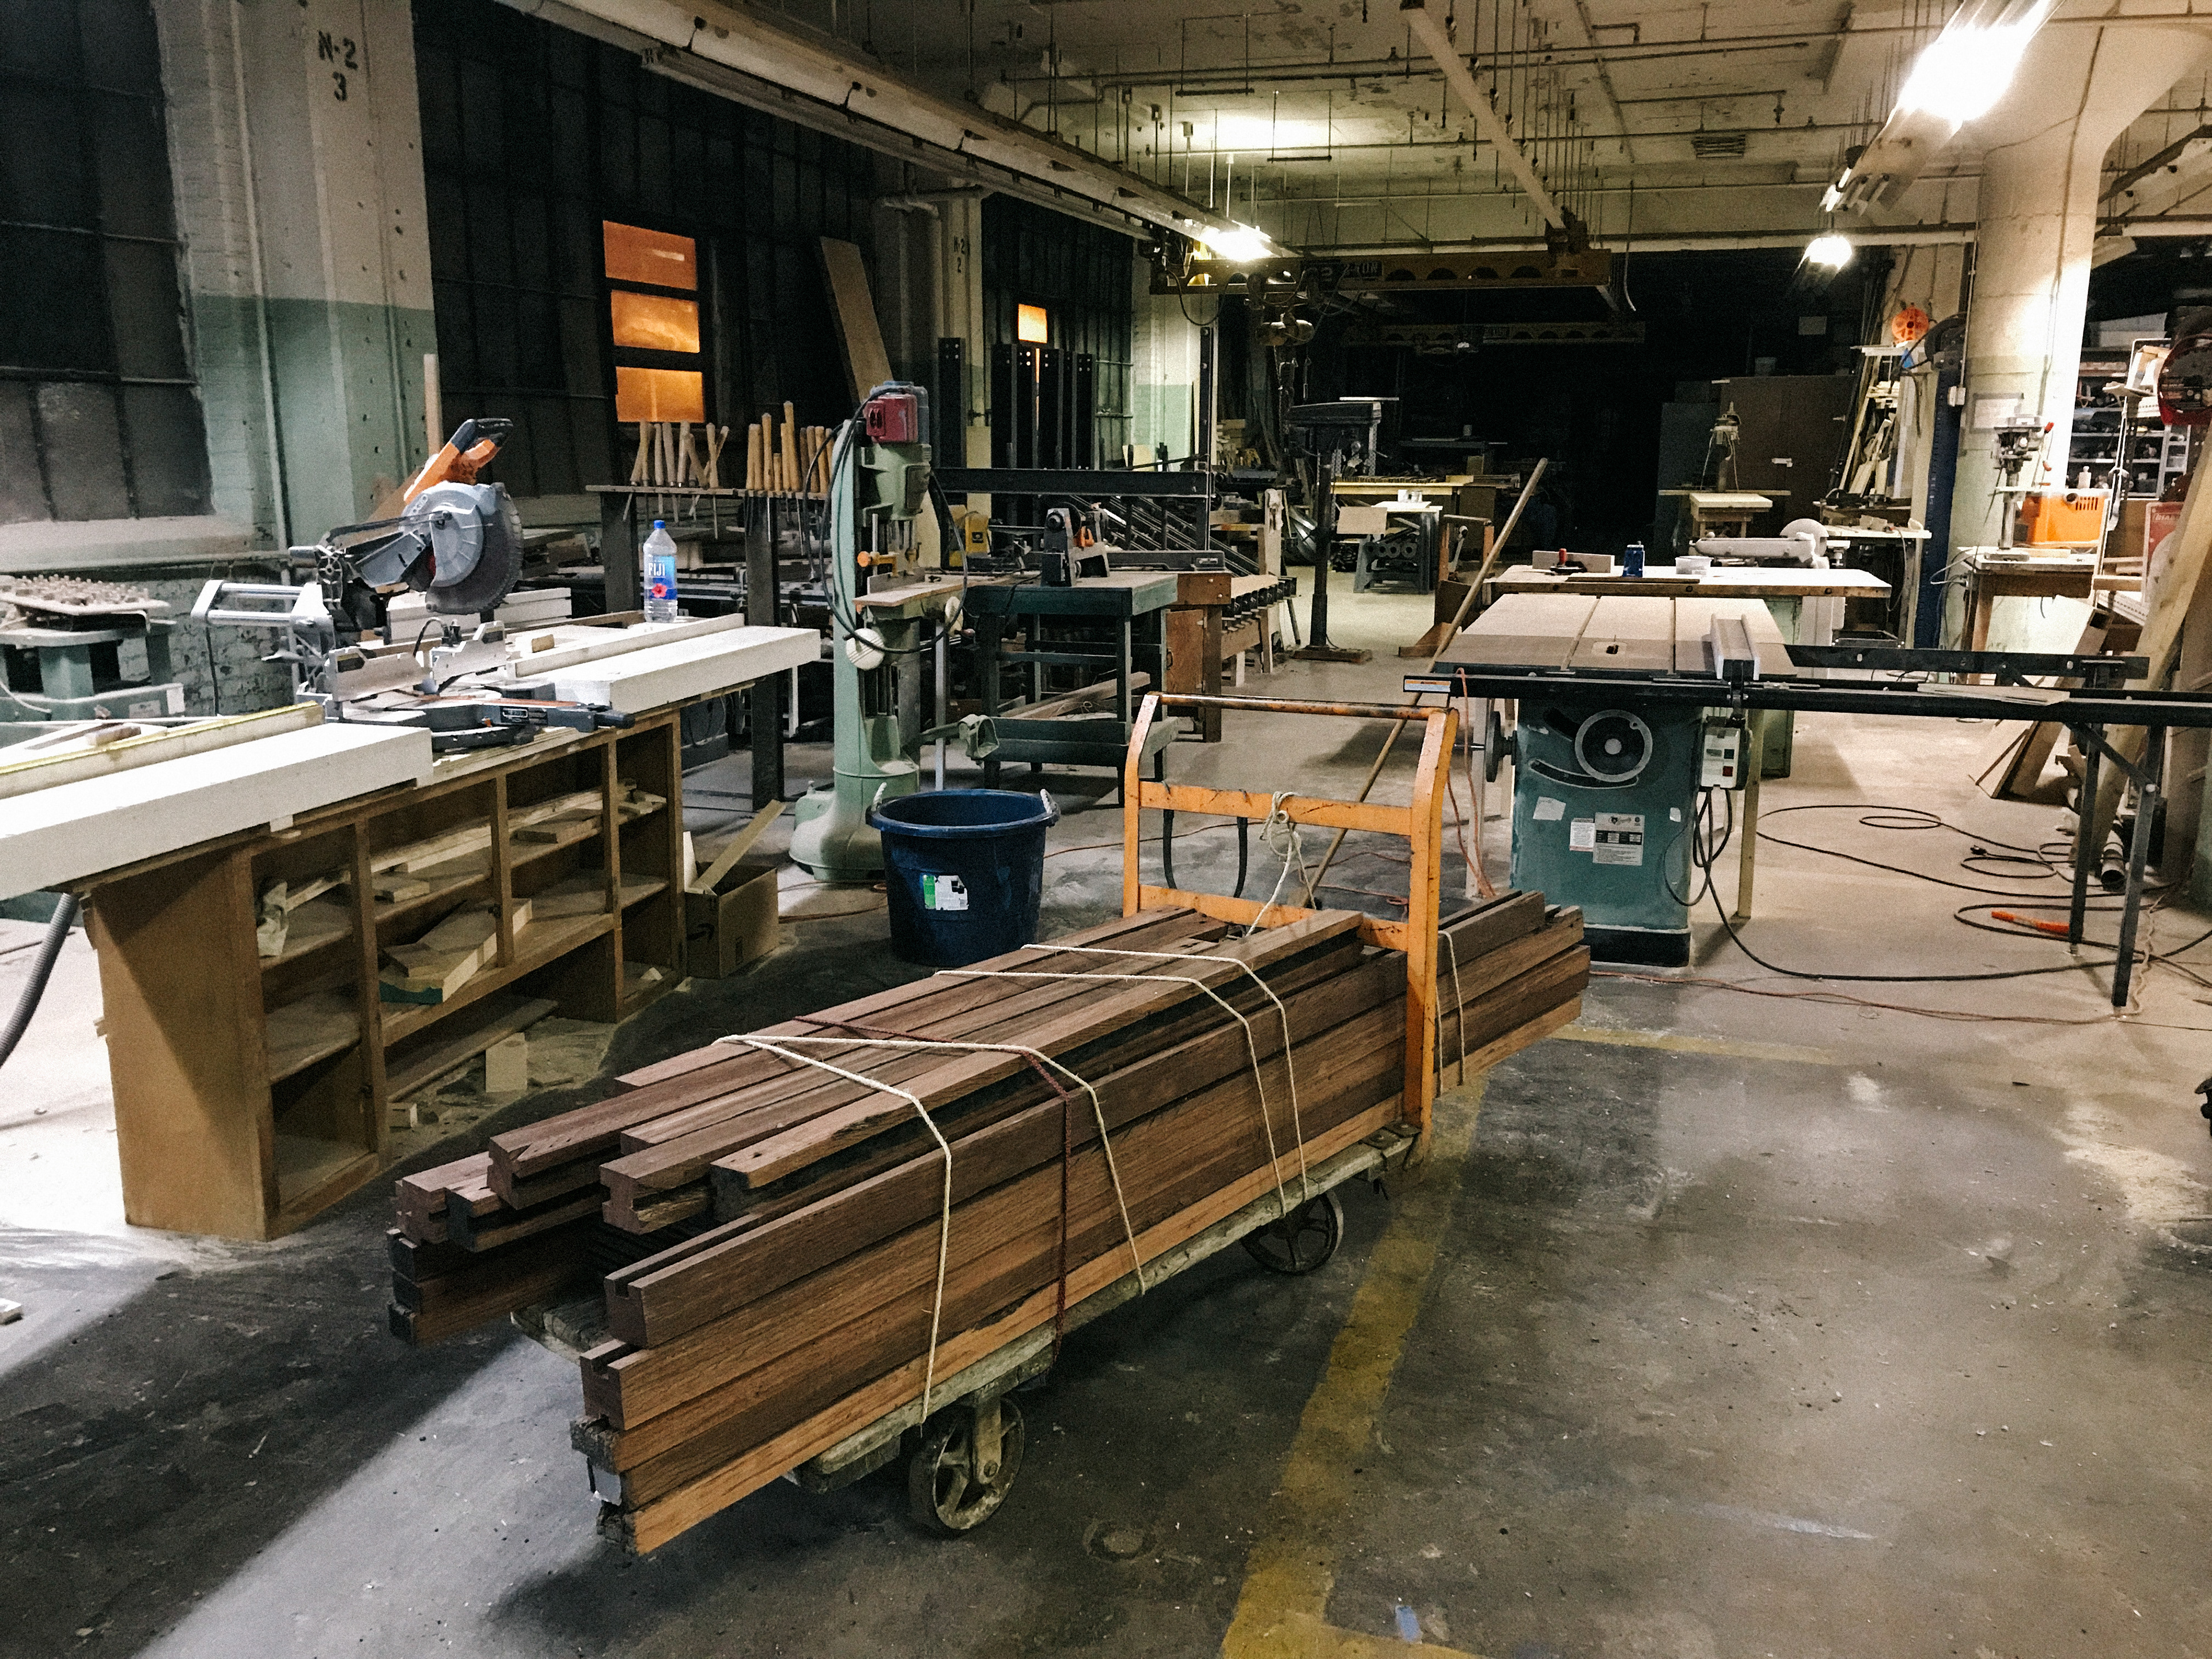
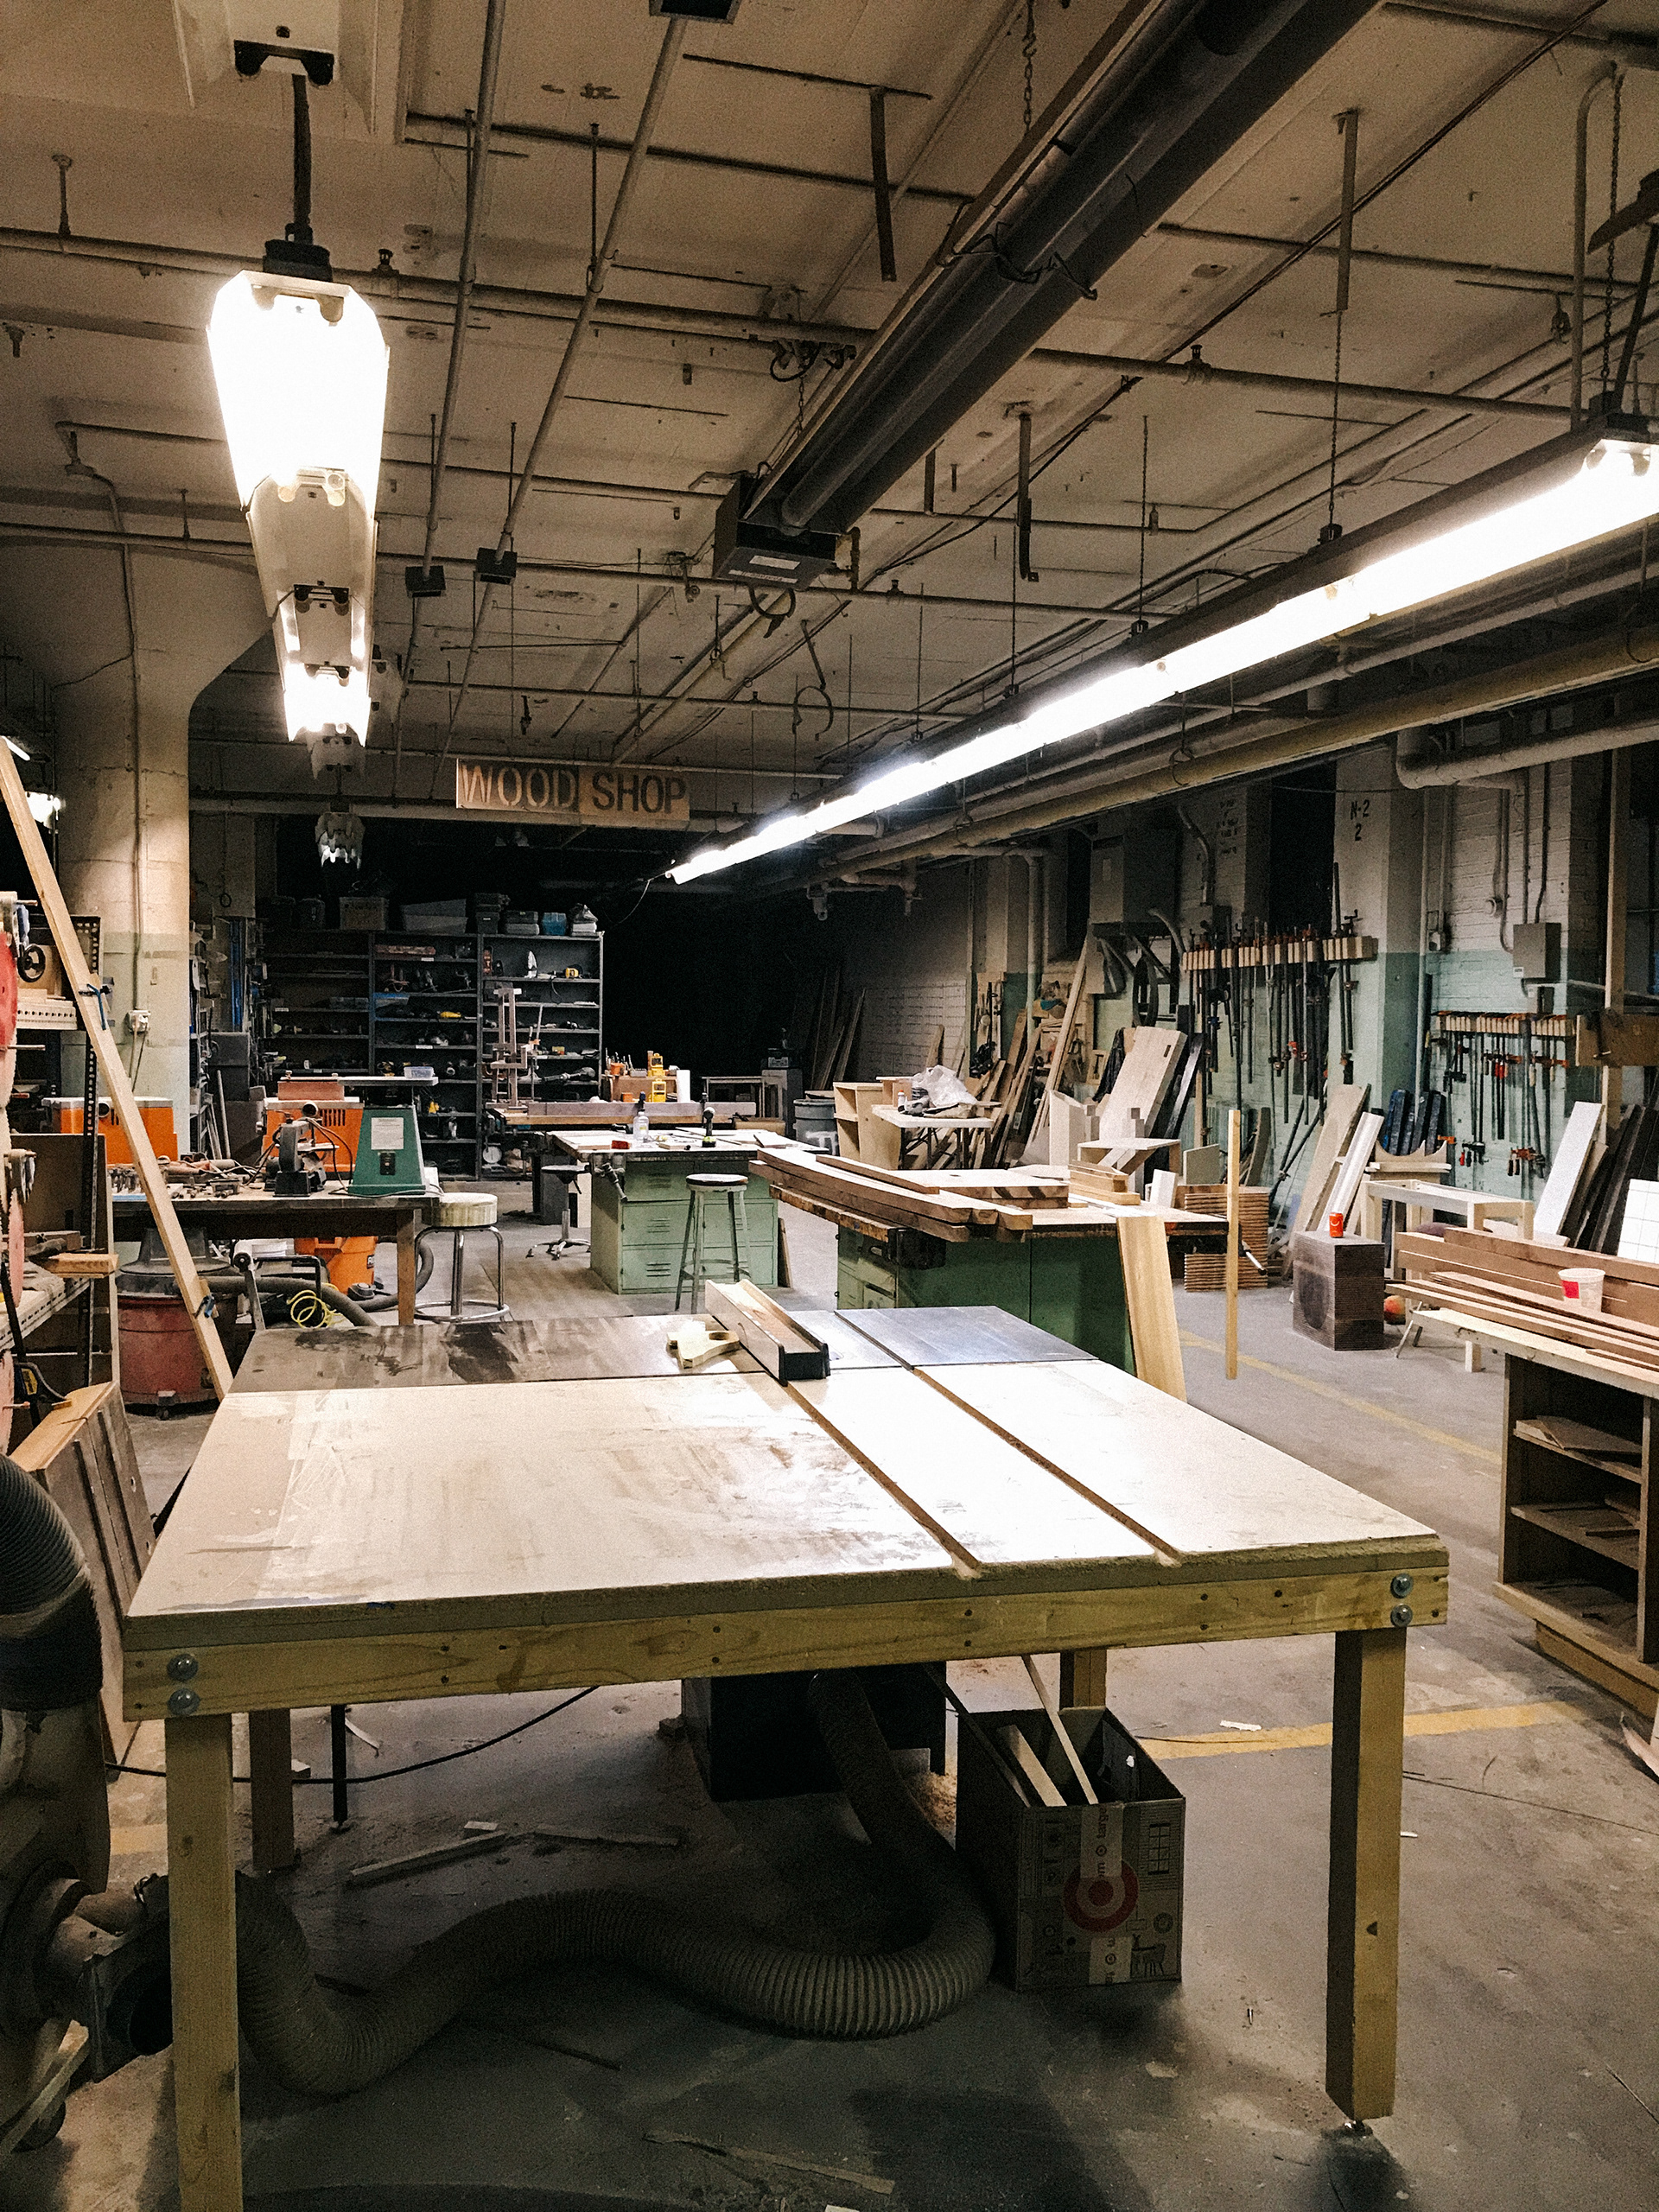
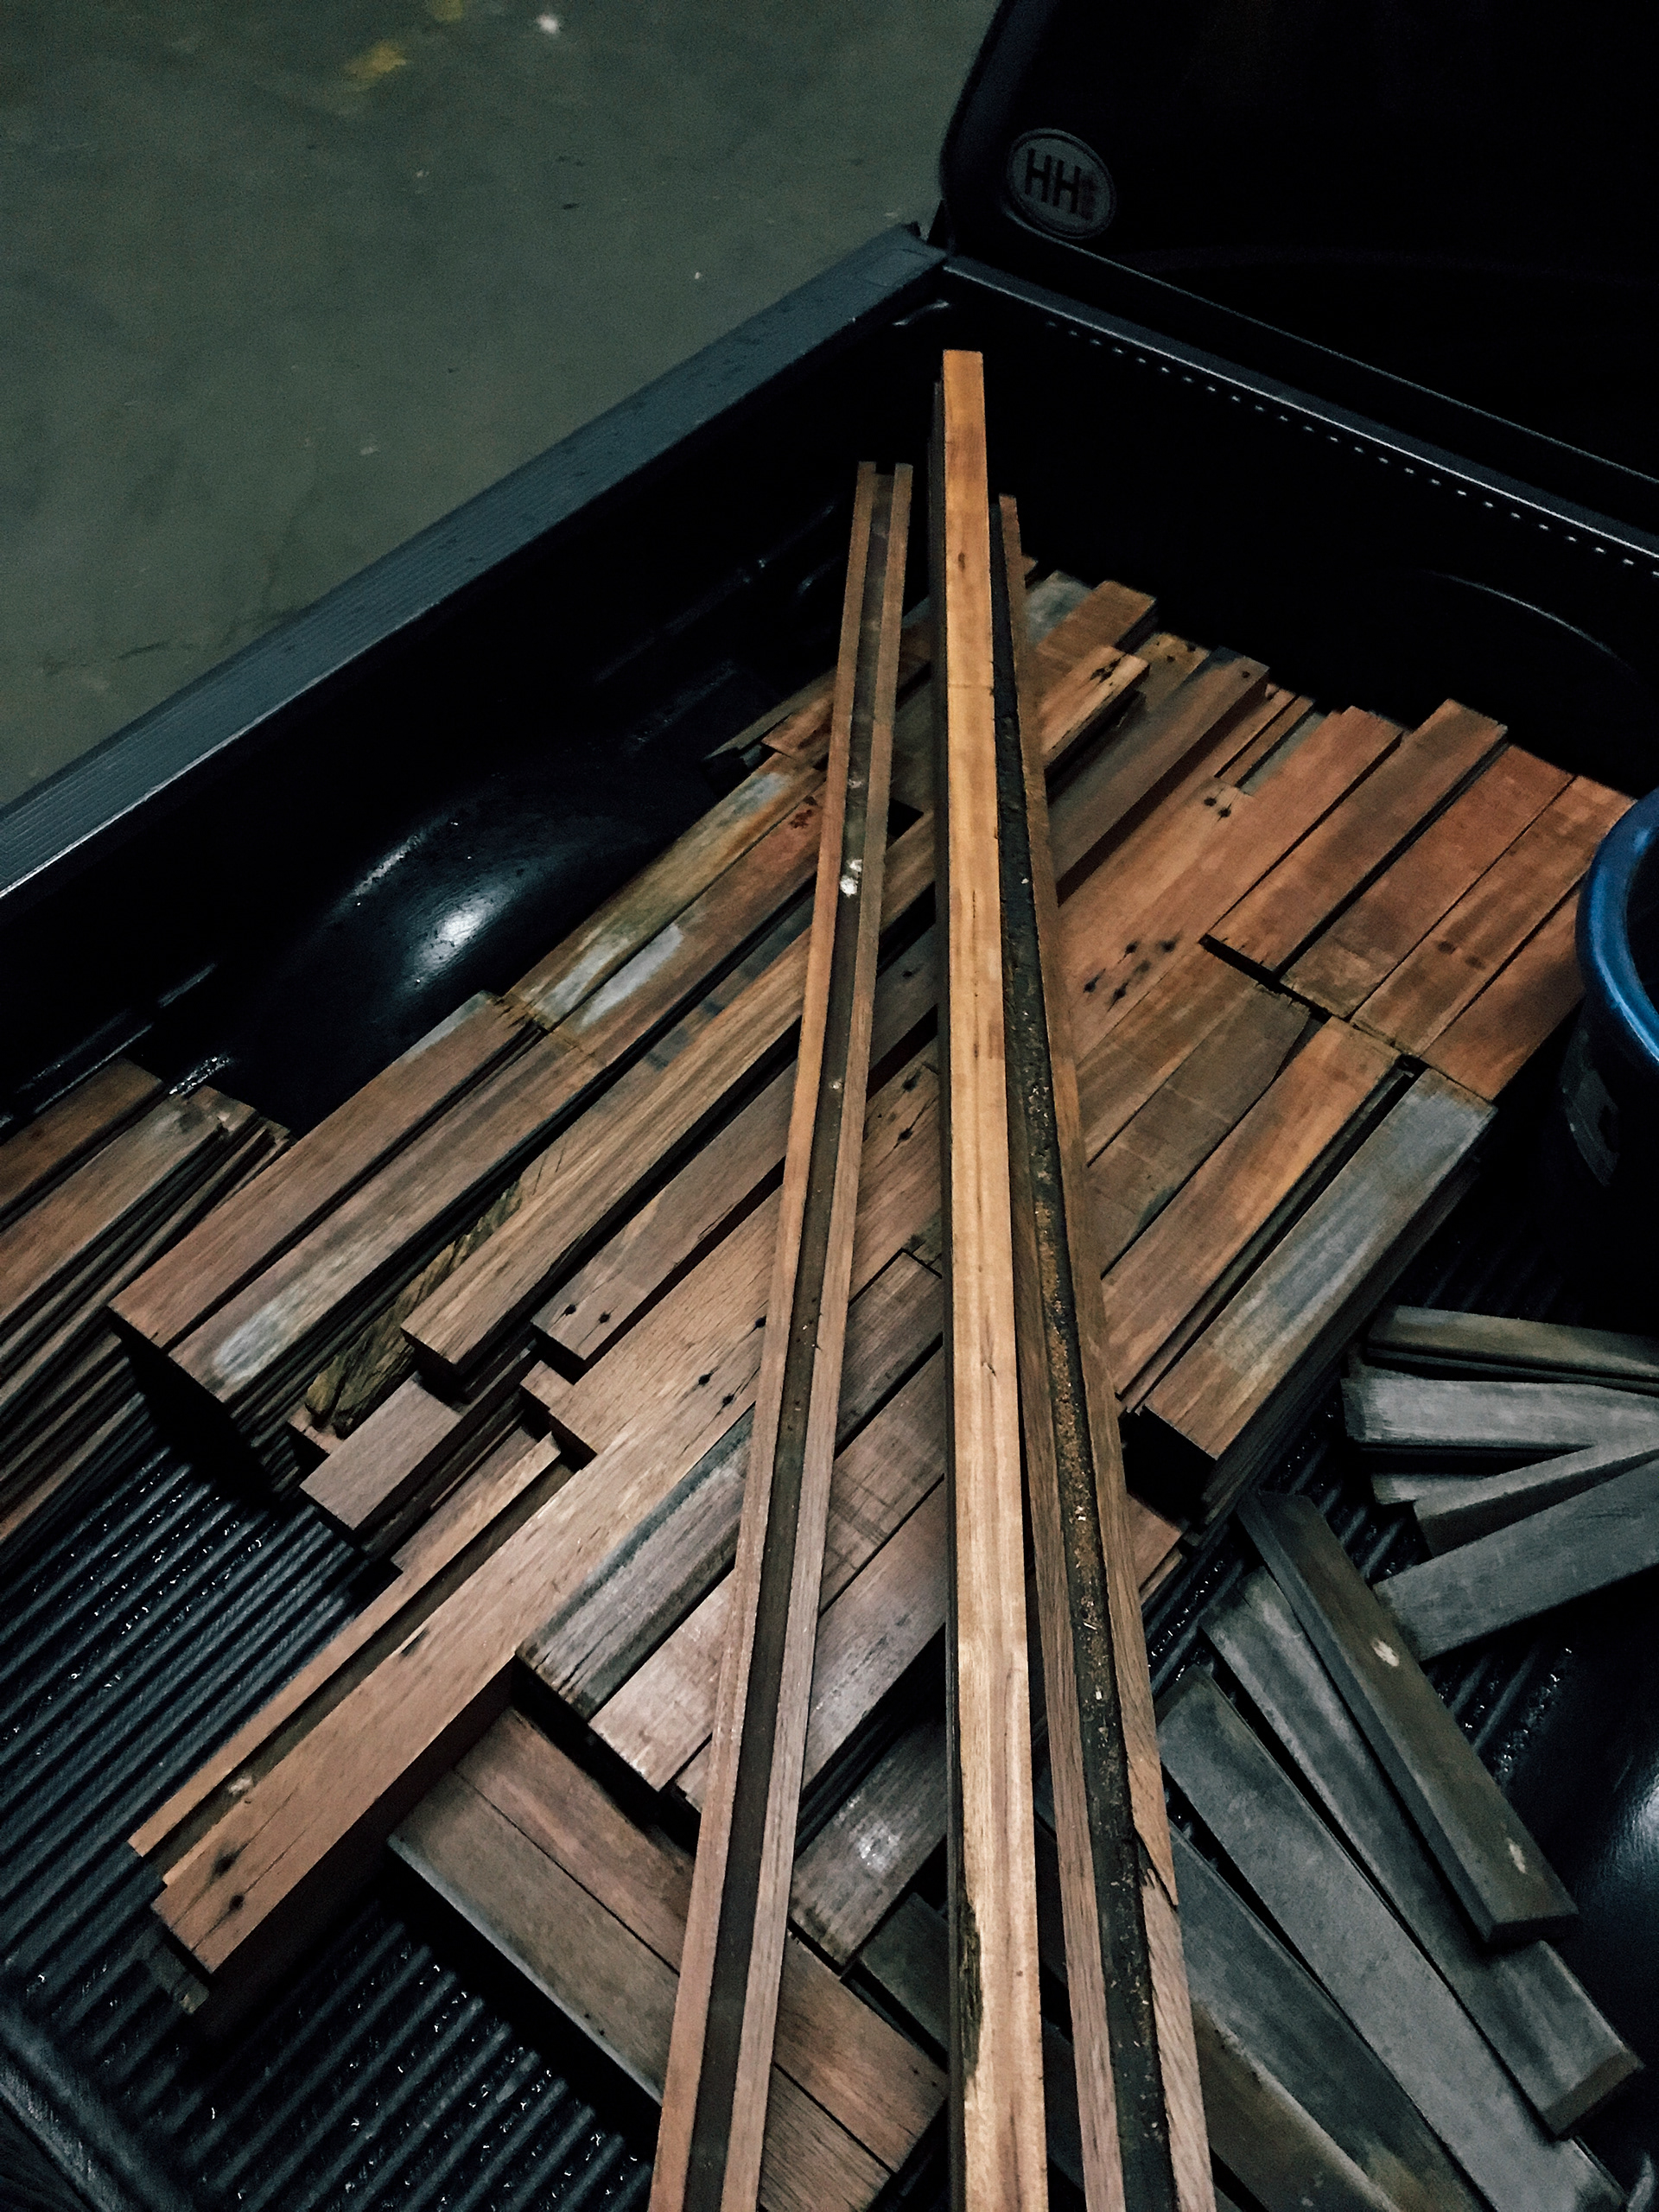
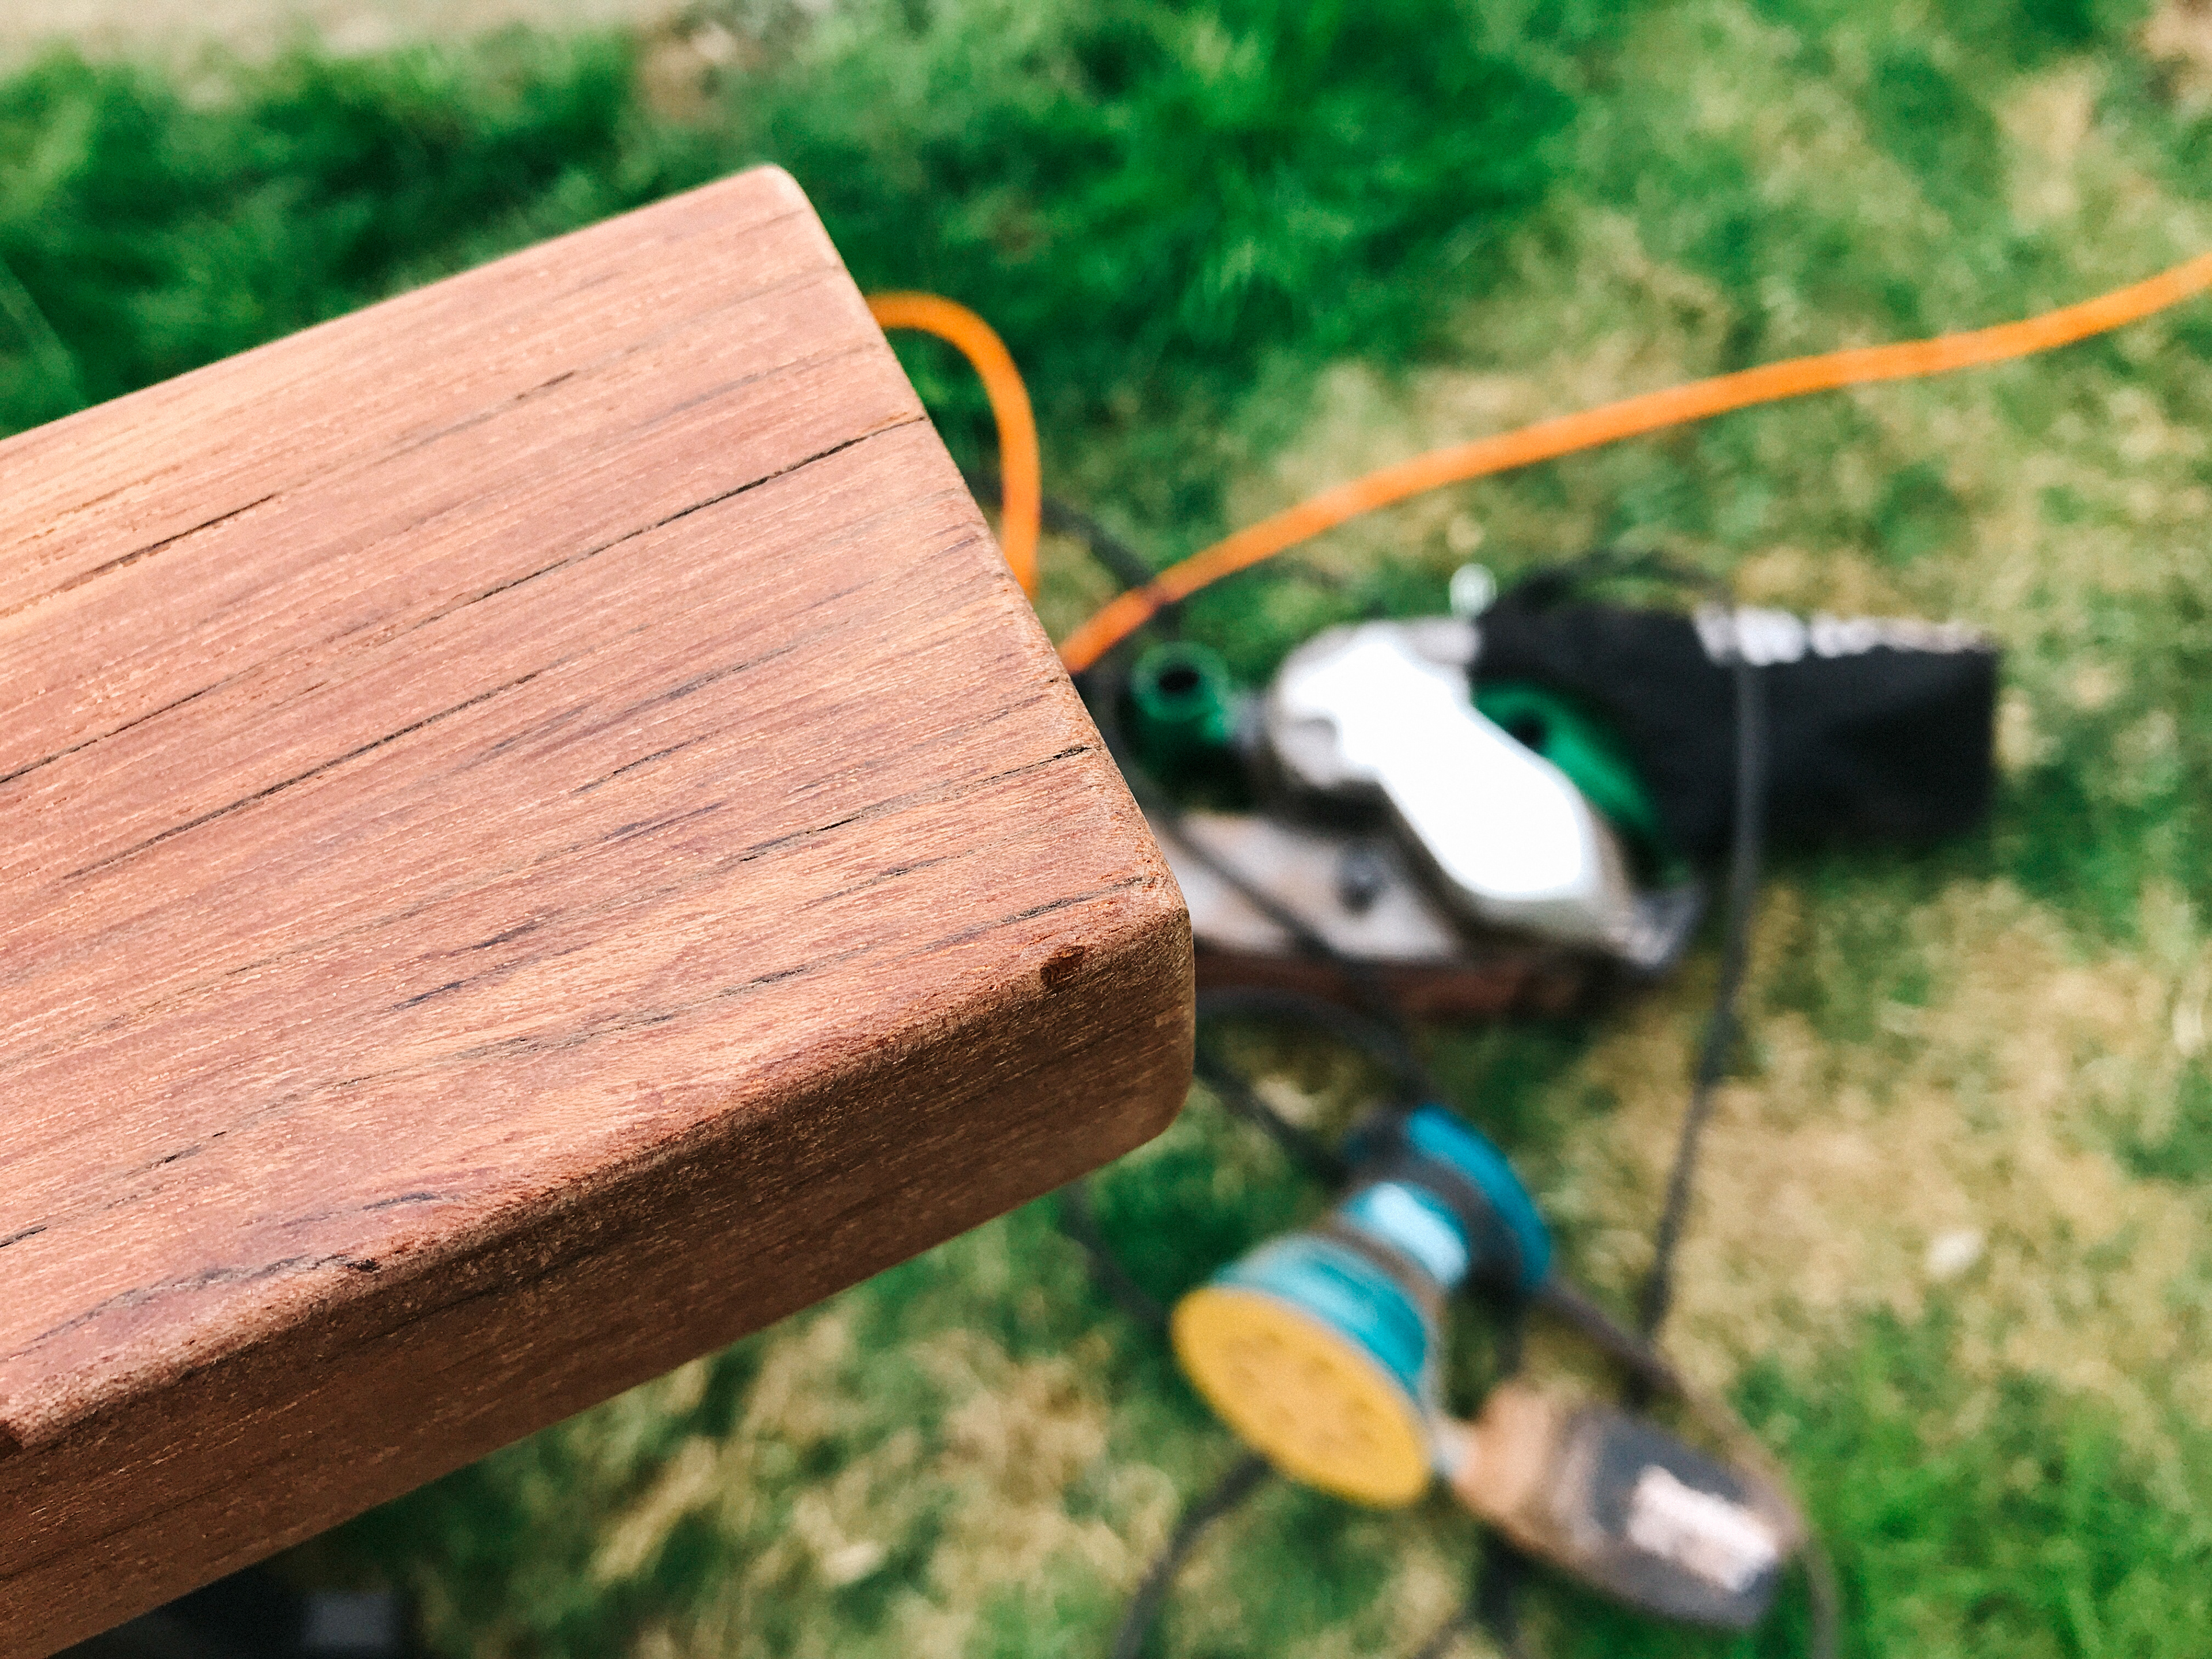
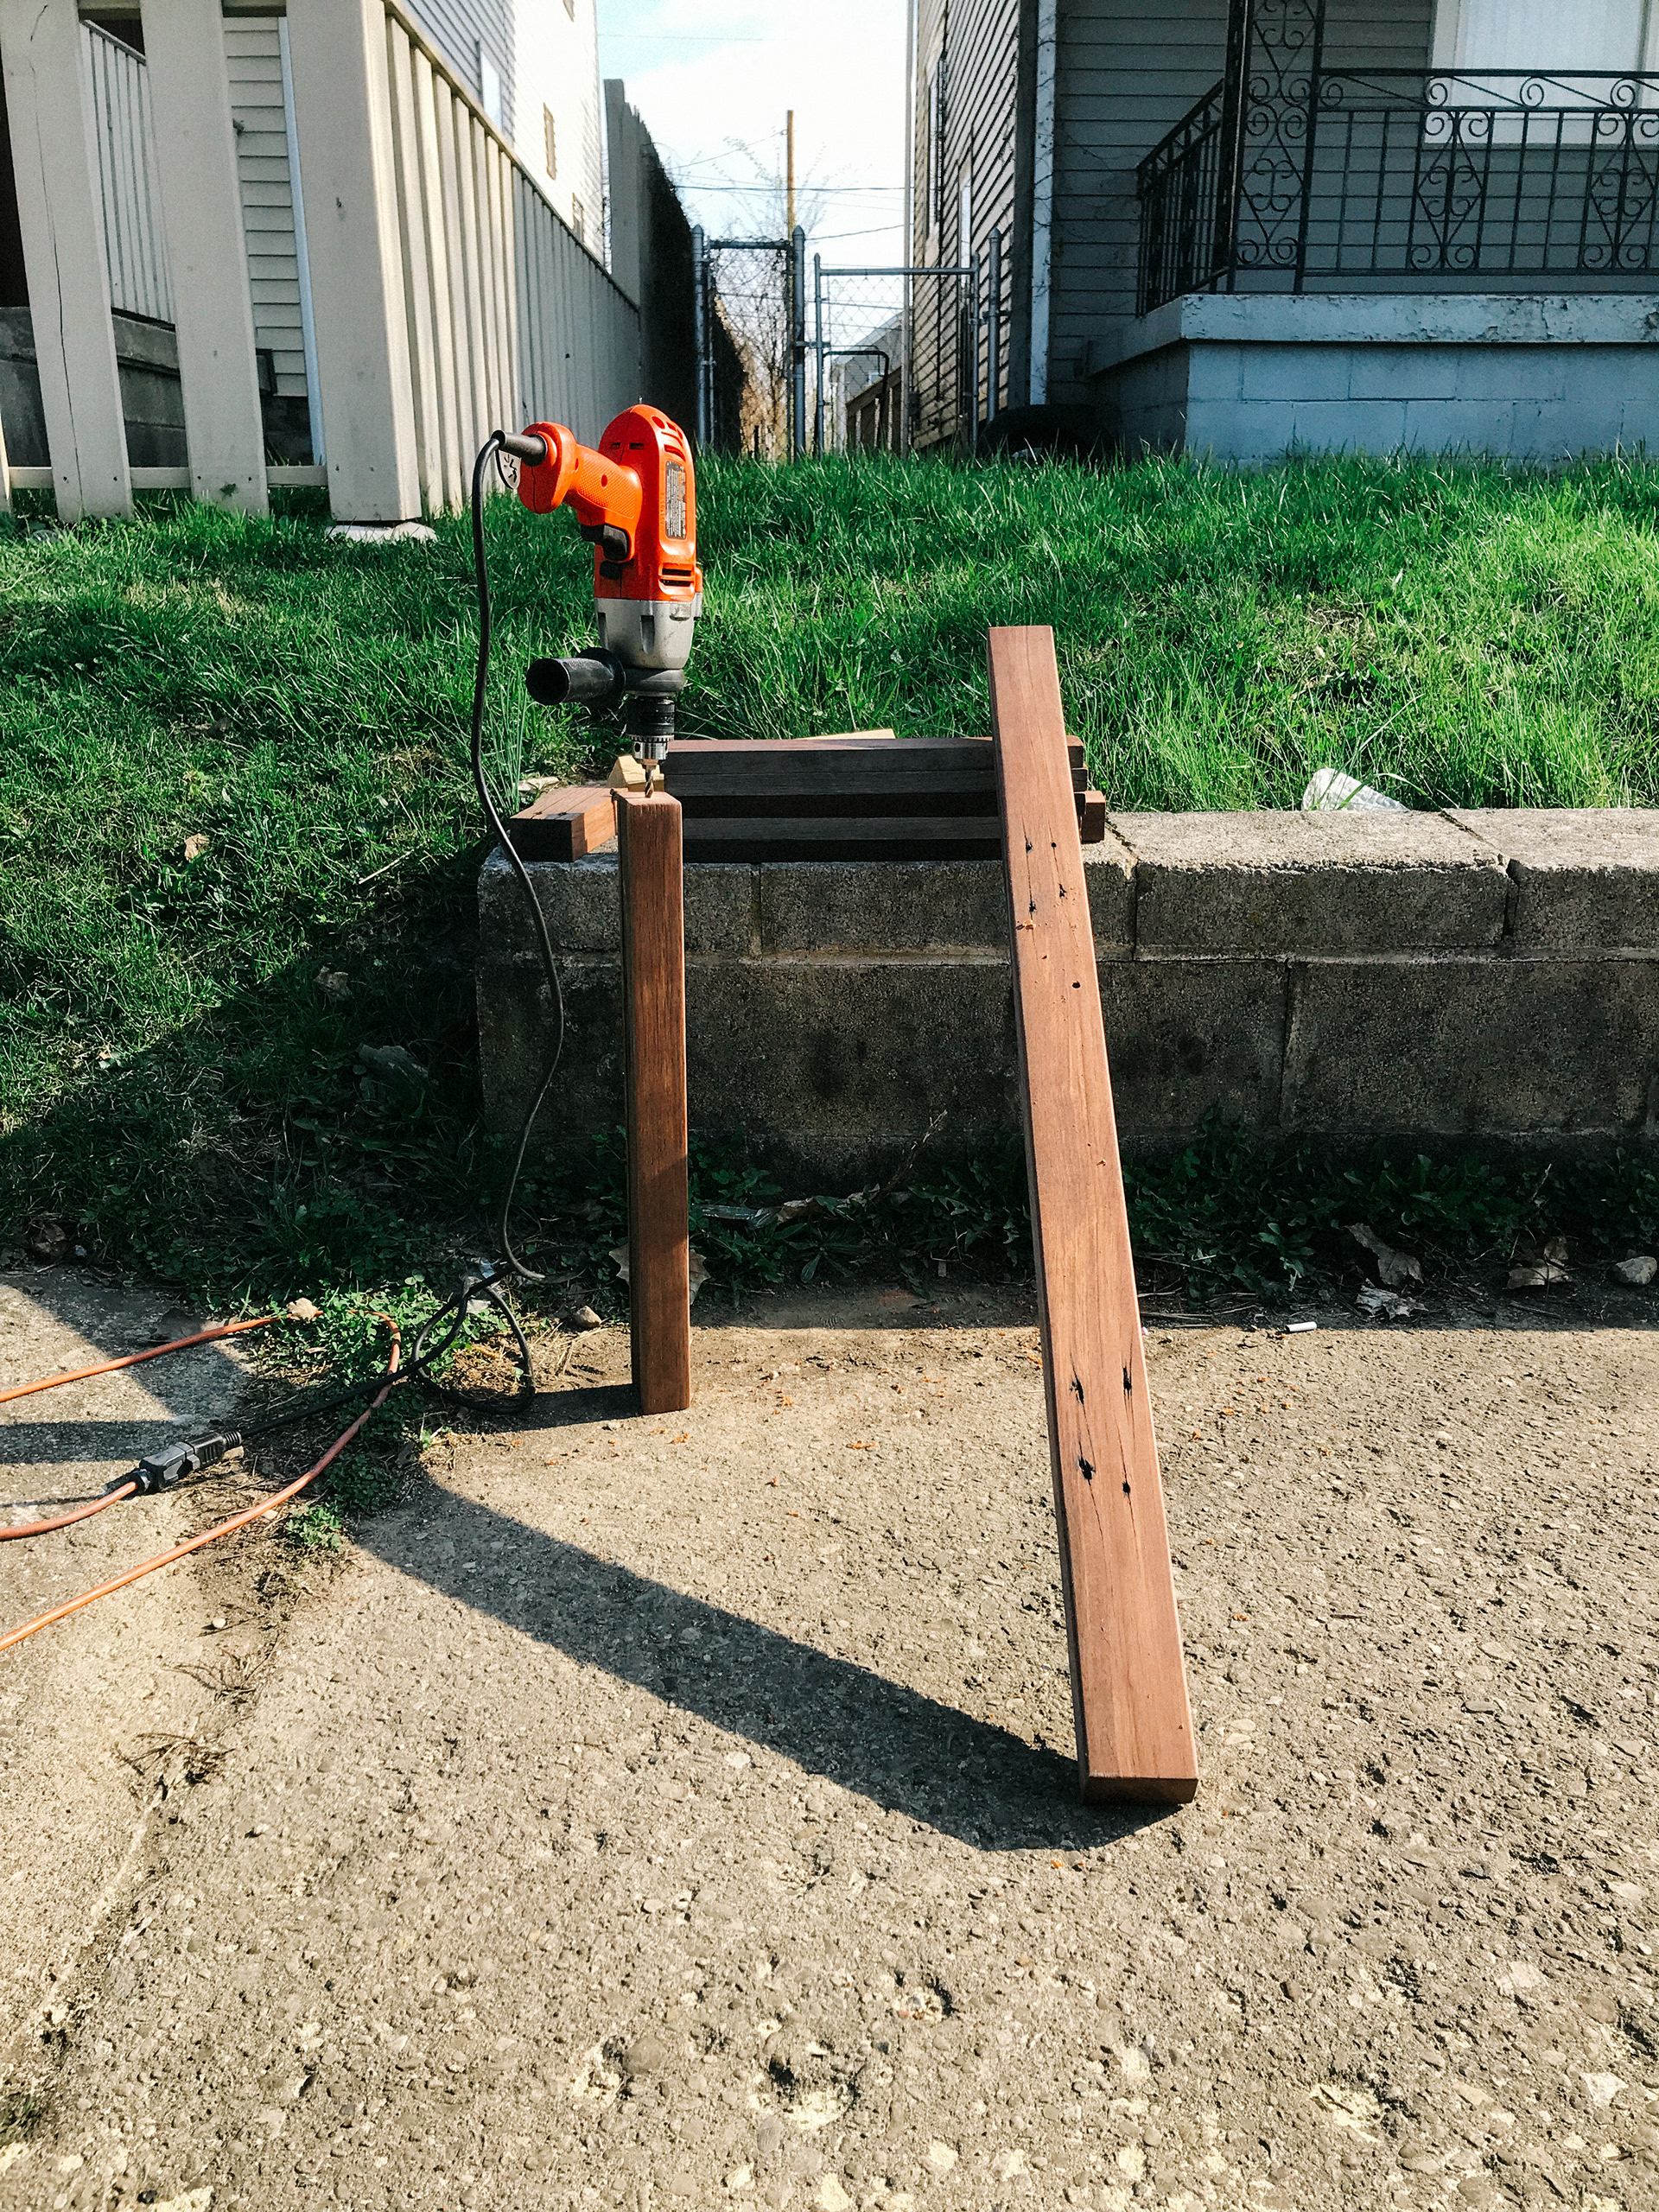
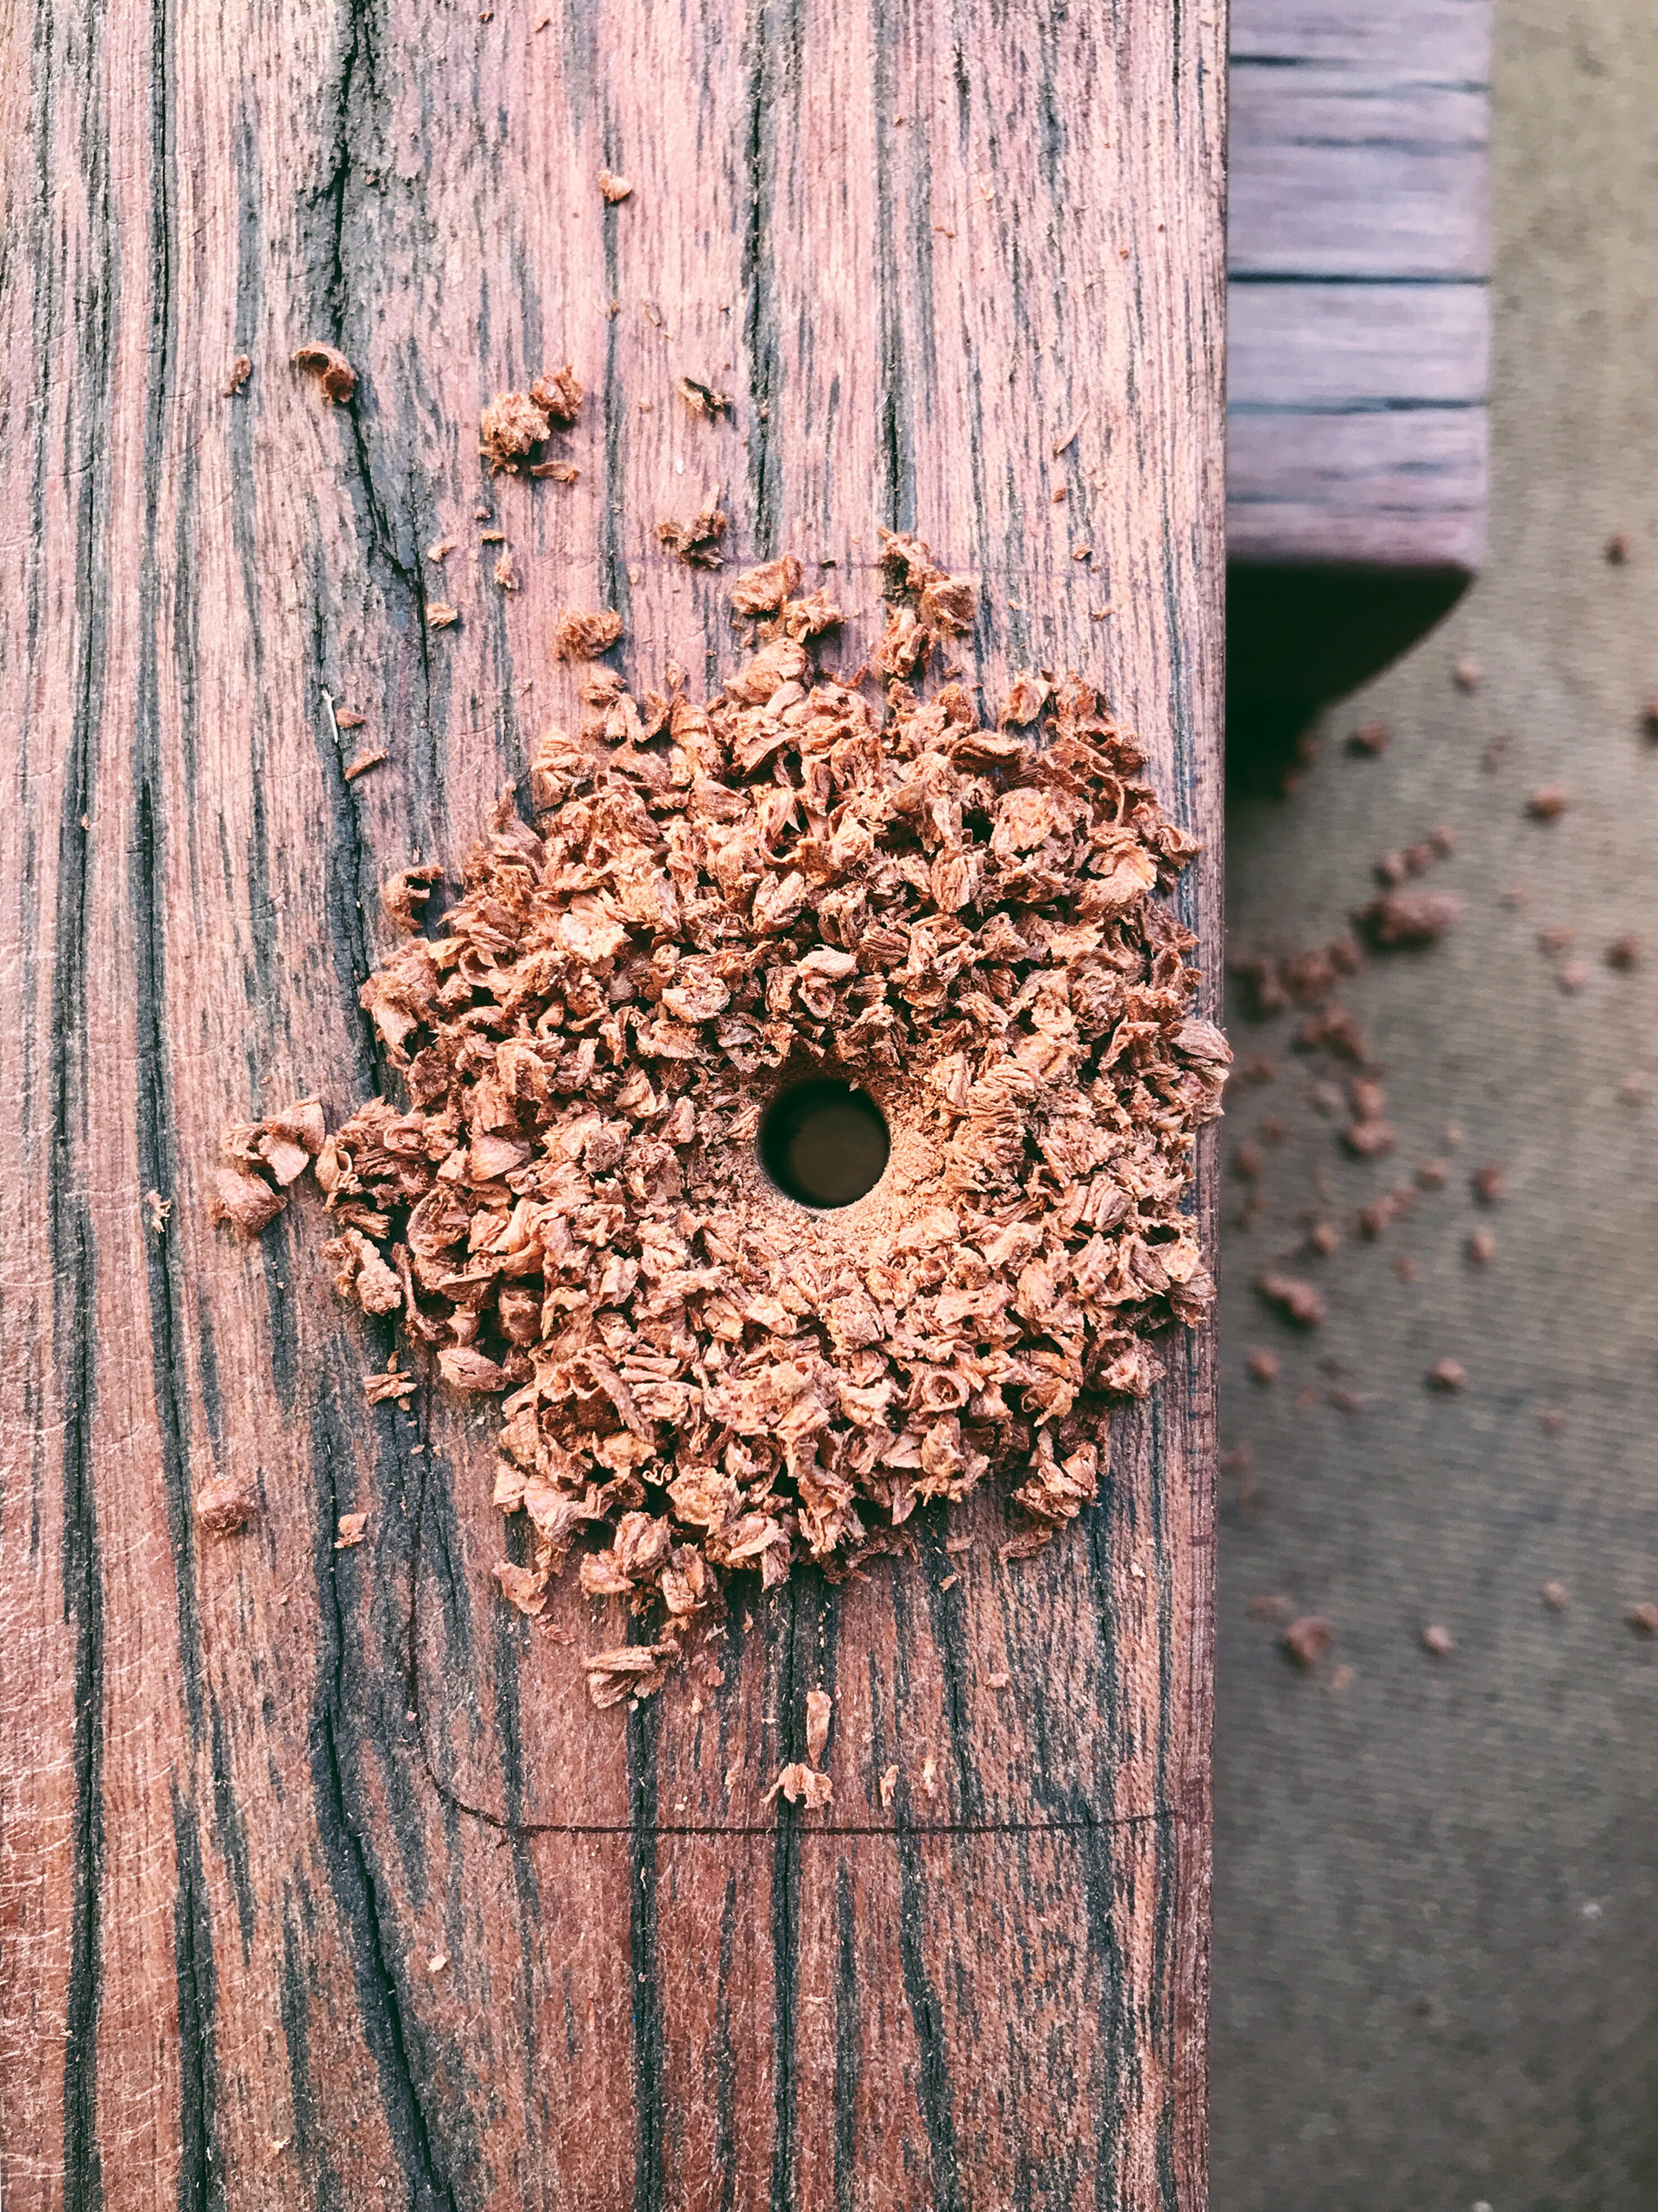
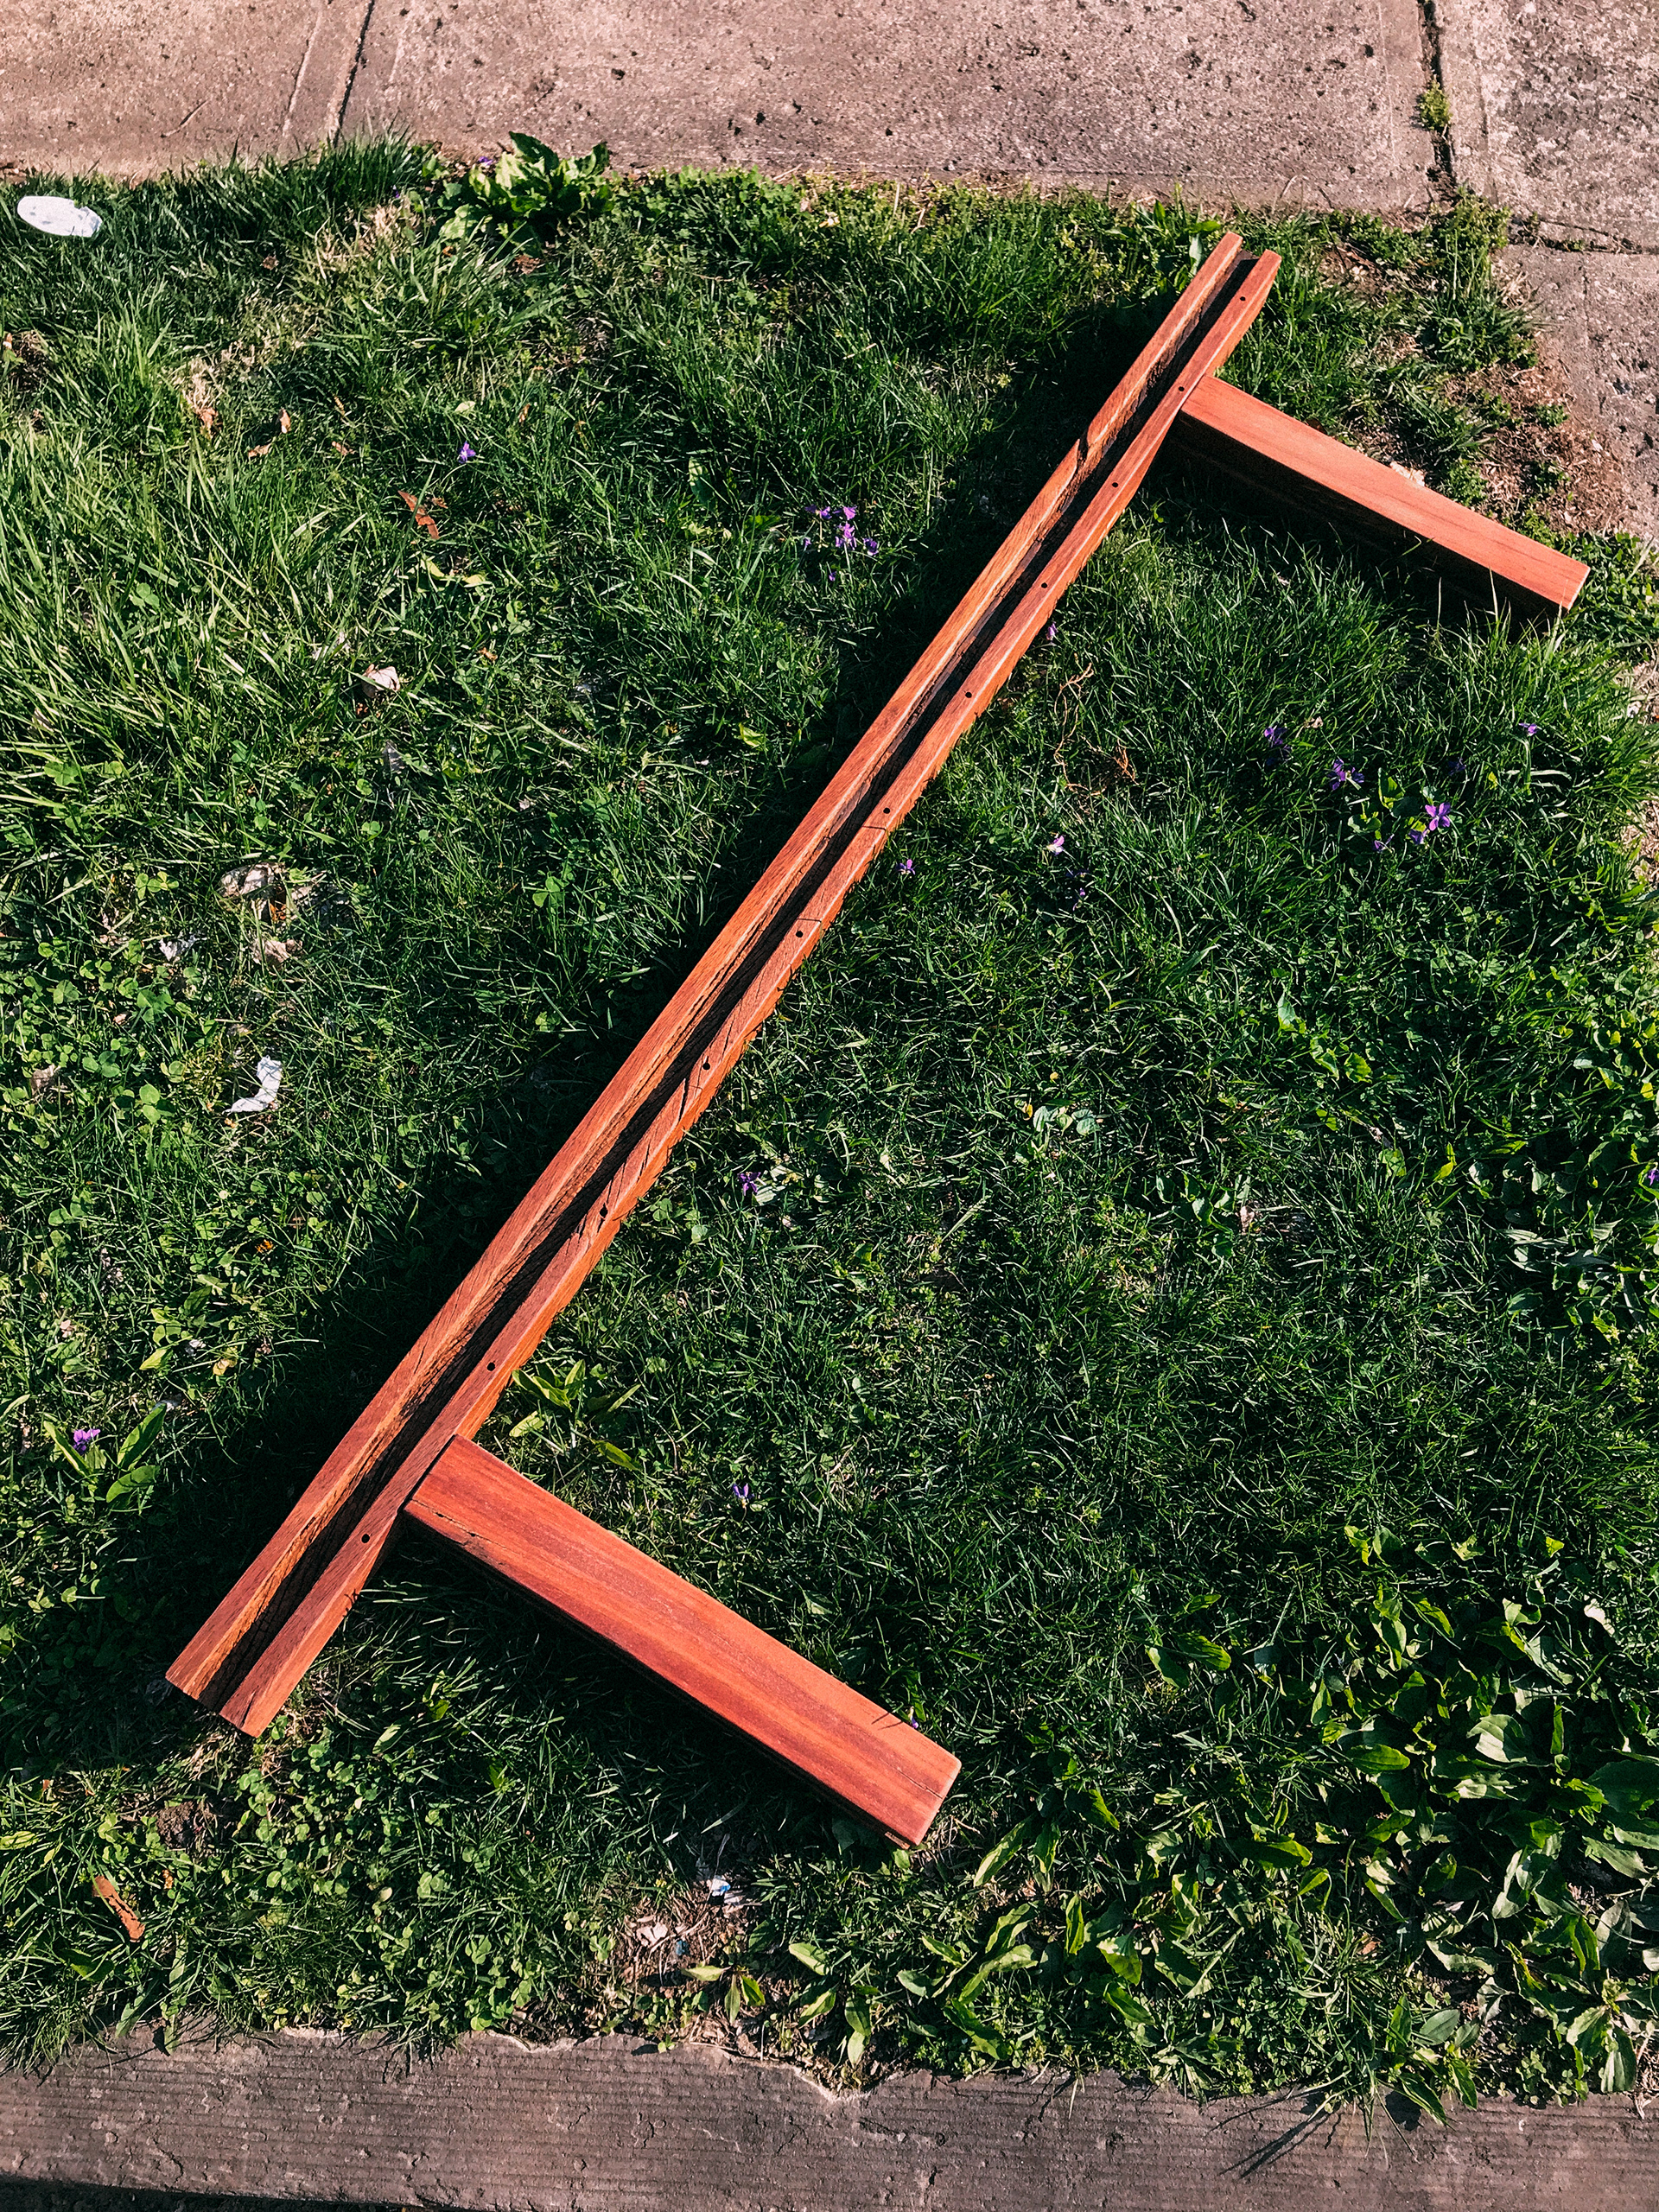
I got a bunch of 35 year old Brazilian Mahogany that was getting torn down right by my house. It was the last wooden sound barrier in the city. I guess living in the hood has its perks. I ended up kiln drying it in my basement with 2 dehumidifiers running around the clock. After hauling it up to Chagrin Falls and trying to sand it with a belt sander, I knew there was no way in hell that I was going to do all 300+ slats let alone the massive beams. Josh found a woodworking shop in Cleveland called Soulcraft Woodshop that had a planer I could use. The shop was massive and had everything a carpenter could want except for a sturdy cart. Seriously, hauling a shit ton of wood from a truck to an elevator with a cart built from 1980s is not ideal. One of the wheels had some missing rubber so every half turn of the wheel, it would dip down and shift sideways and knock loose all your wood. They for sure would of benefited from some TILT wheels.
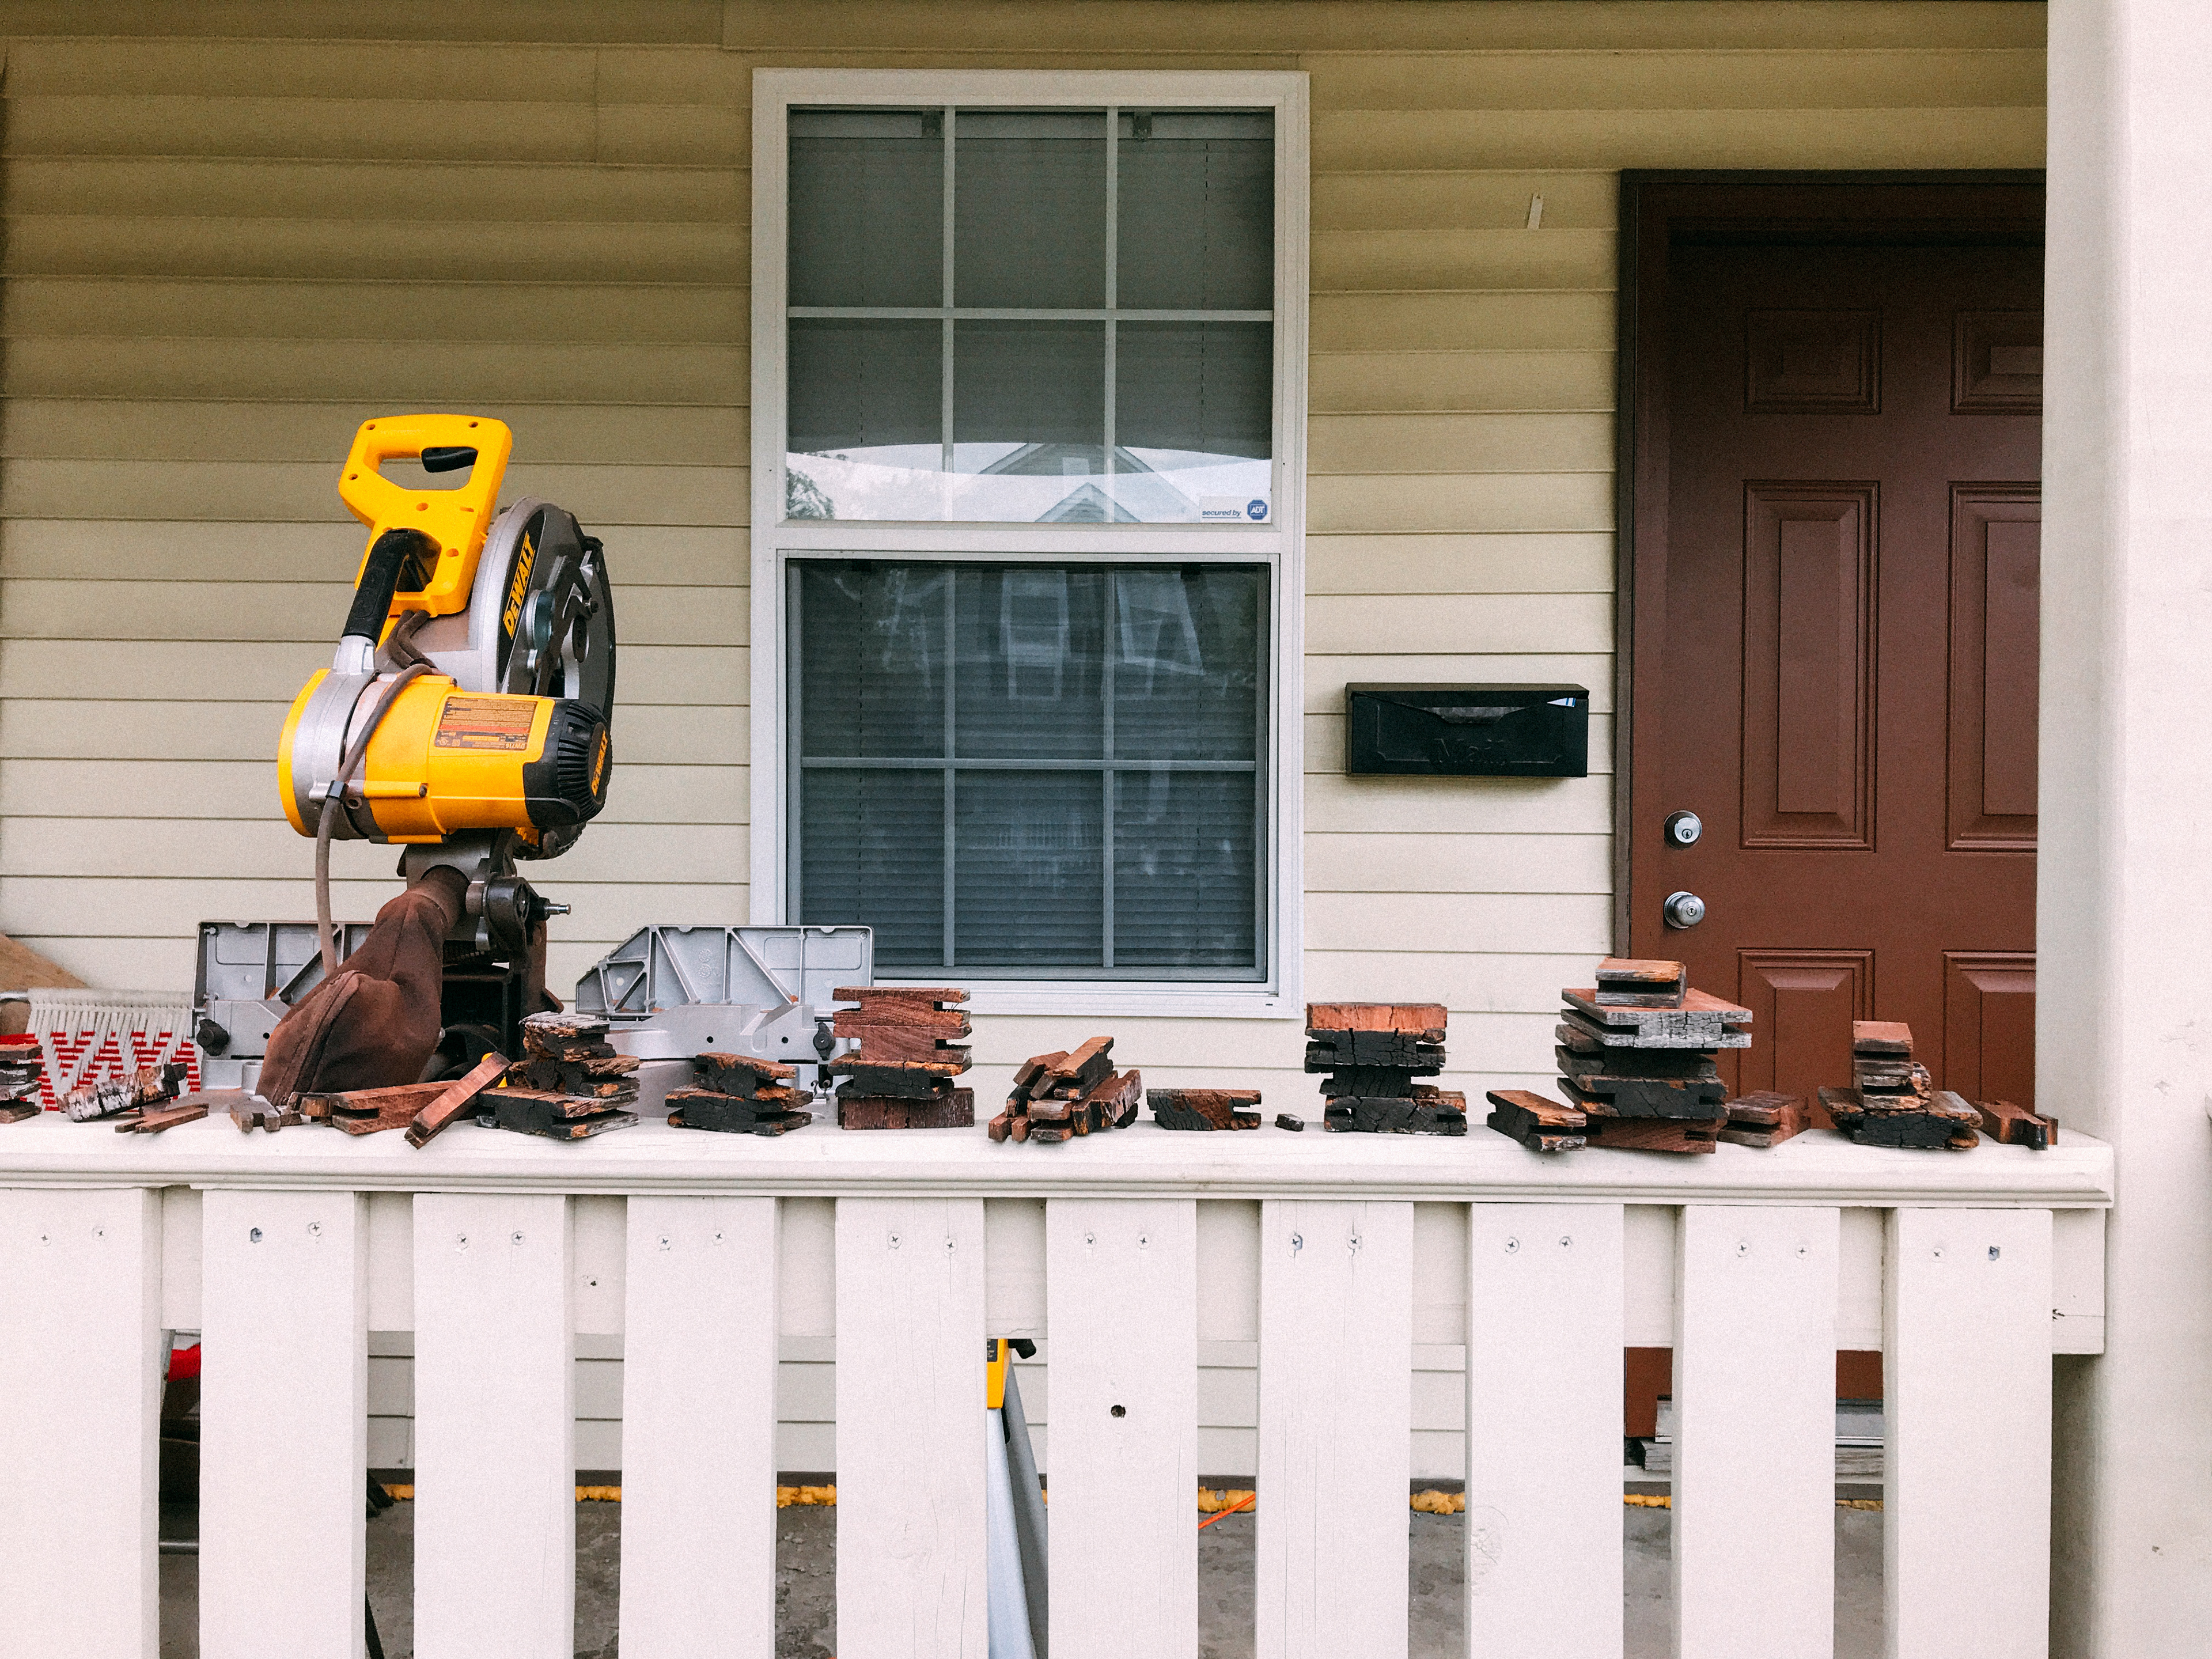
I ended up planing wood for 14 hours, partly because half the slats were warped which took a more gentler approach. The other reason was because the planer was feeling it after 8 hours or so and I ended up having to stop twice to wipe down the rollers and table with mineral spirits and make some minor adjustments to some bolts. I ended up filling an entire 70 gallon bag up with saw dust. I hit the warped slats 4 times on each side and the more flat slats and bigger pieces of wood only 2-3 times. The best part about all this is they didn't charge me and asked for some of the wood at some point.
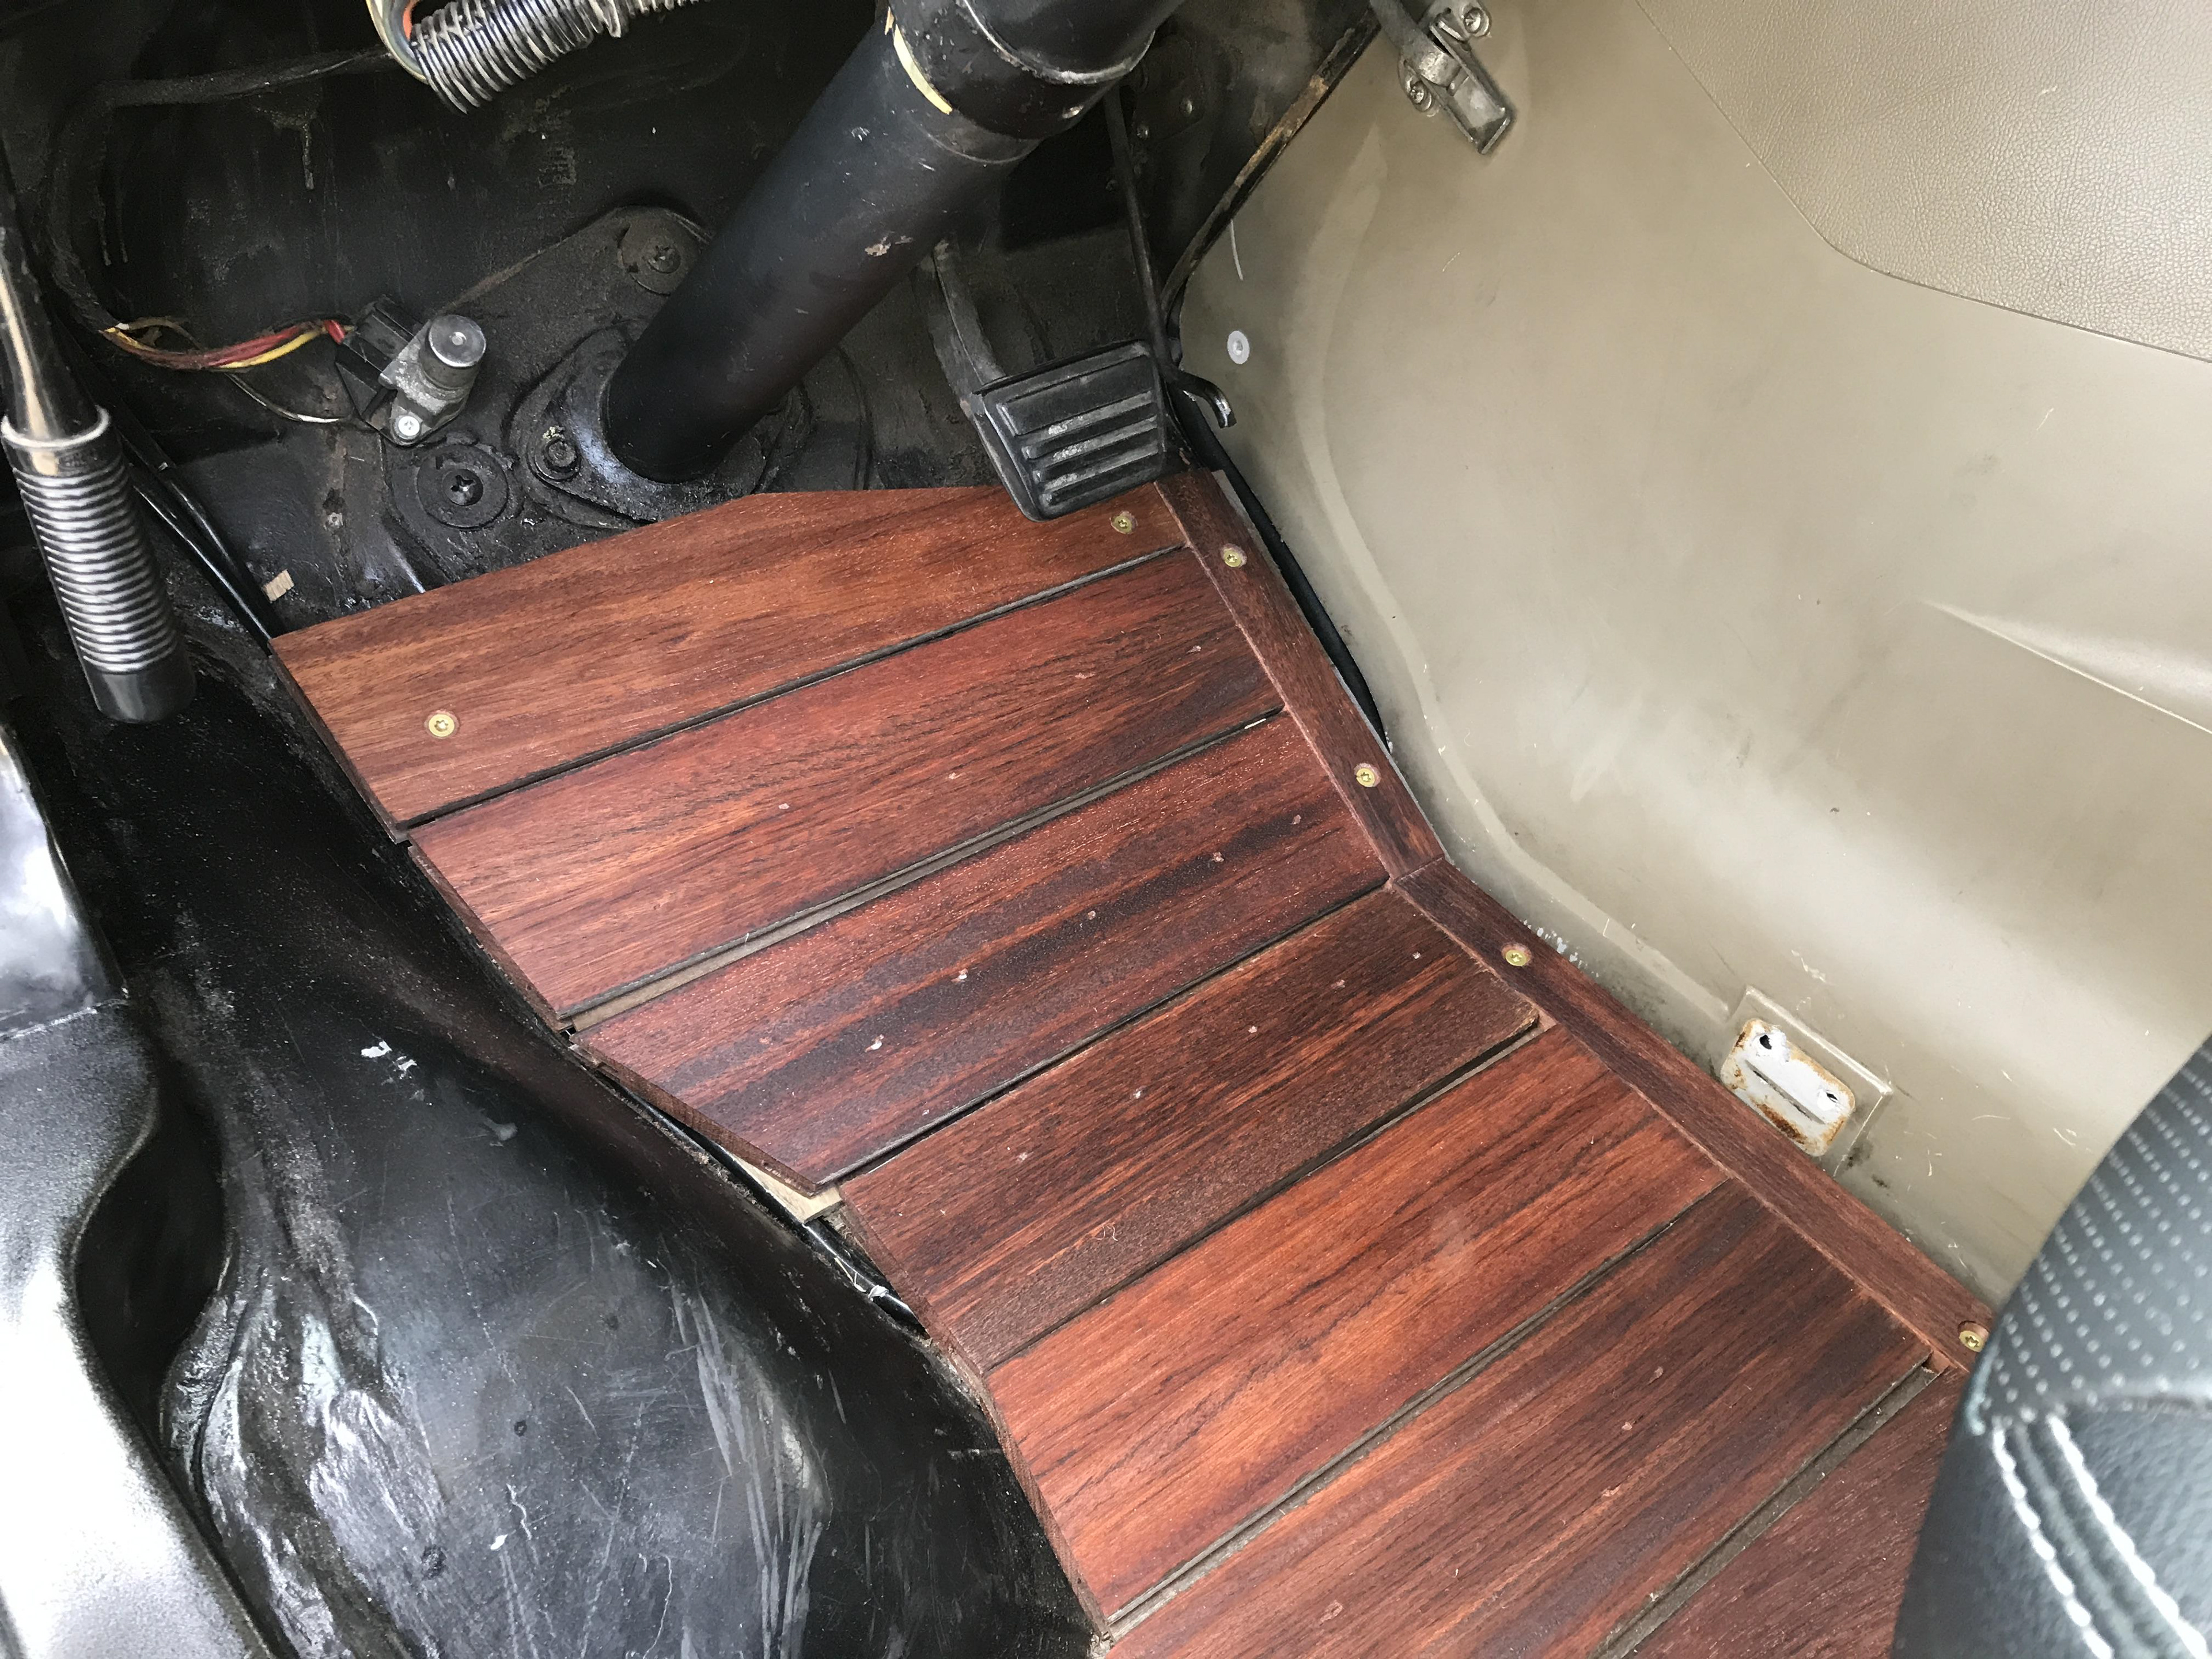
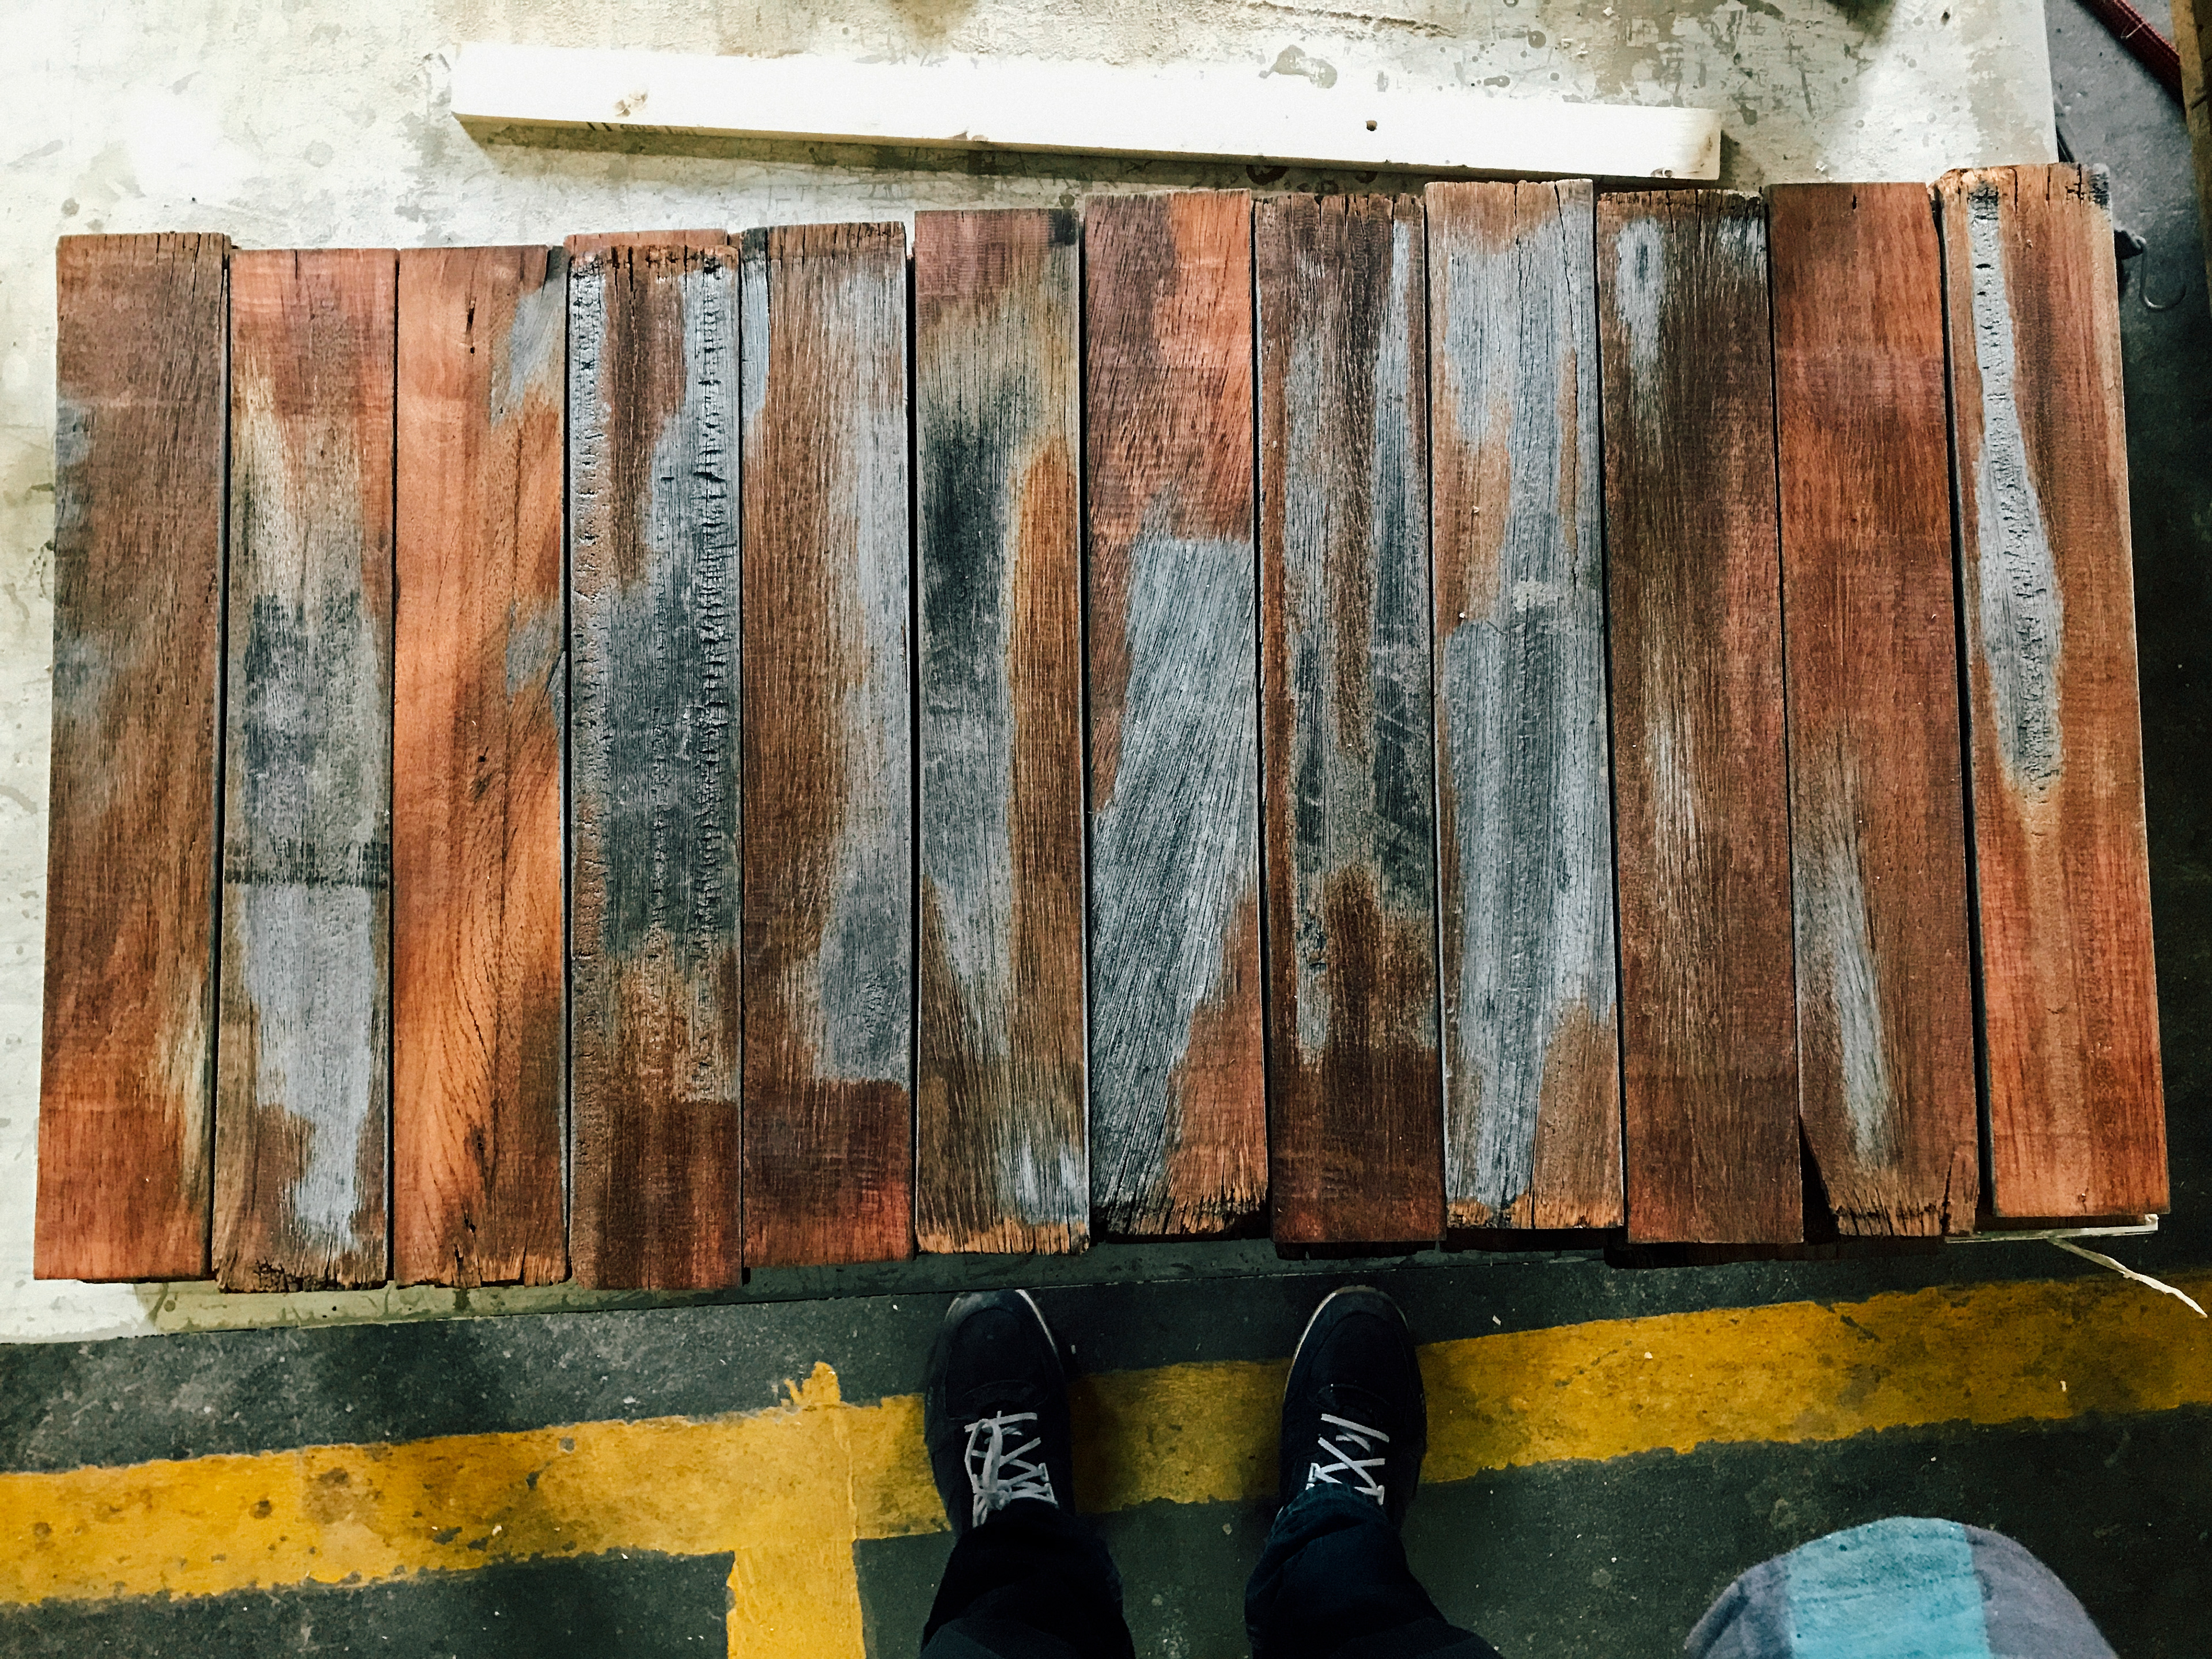
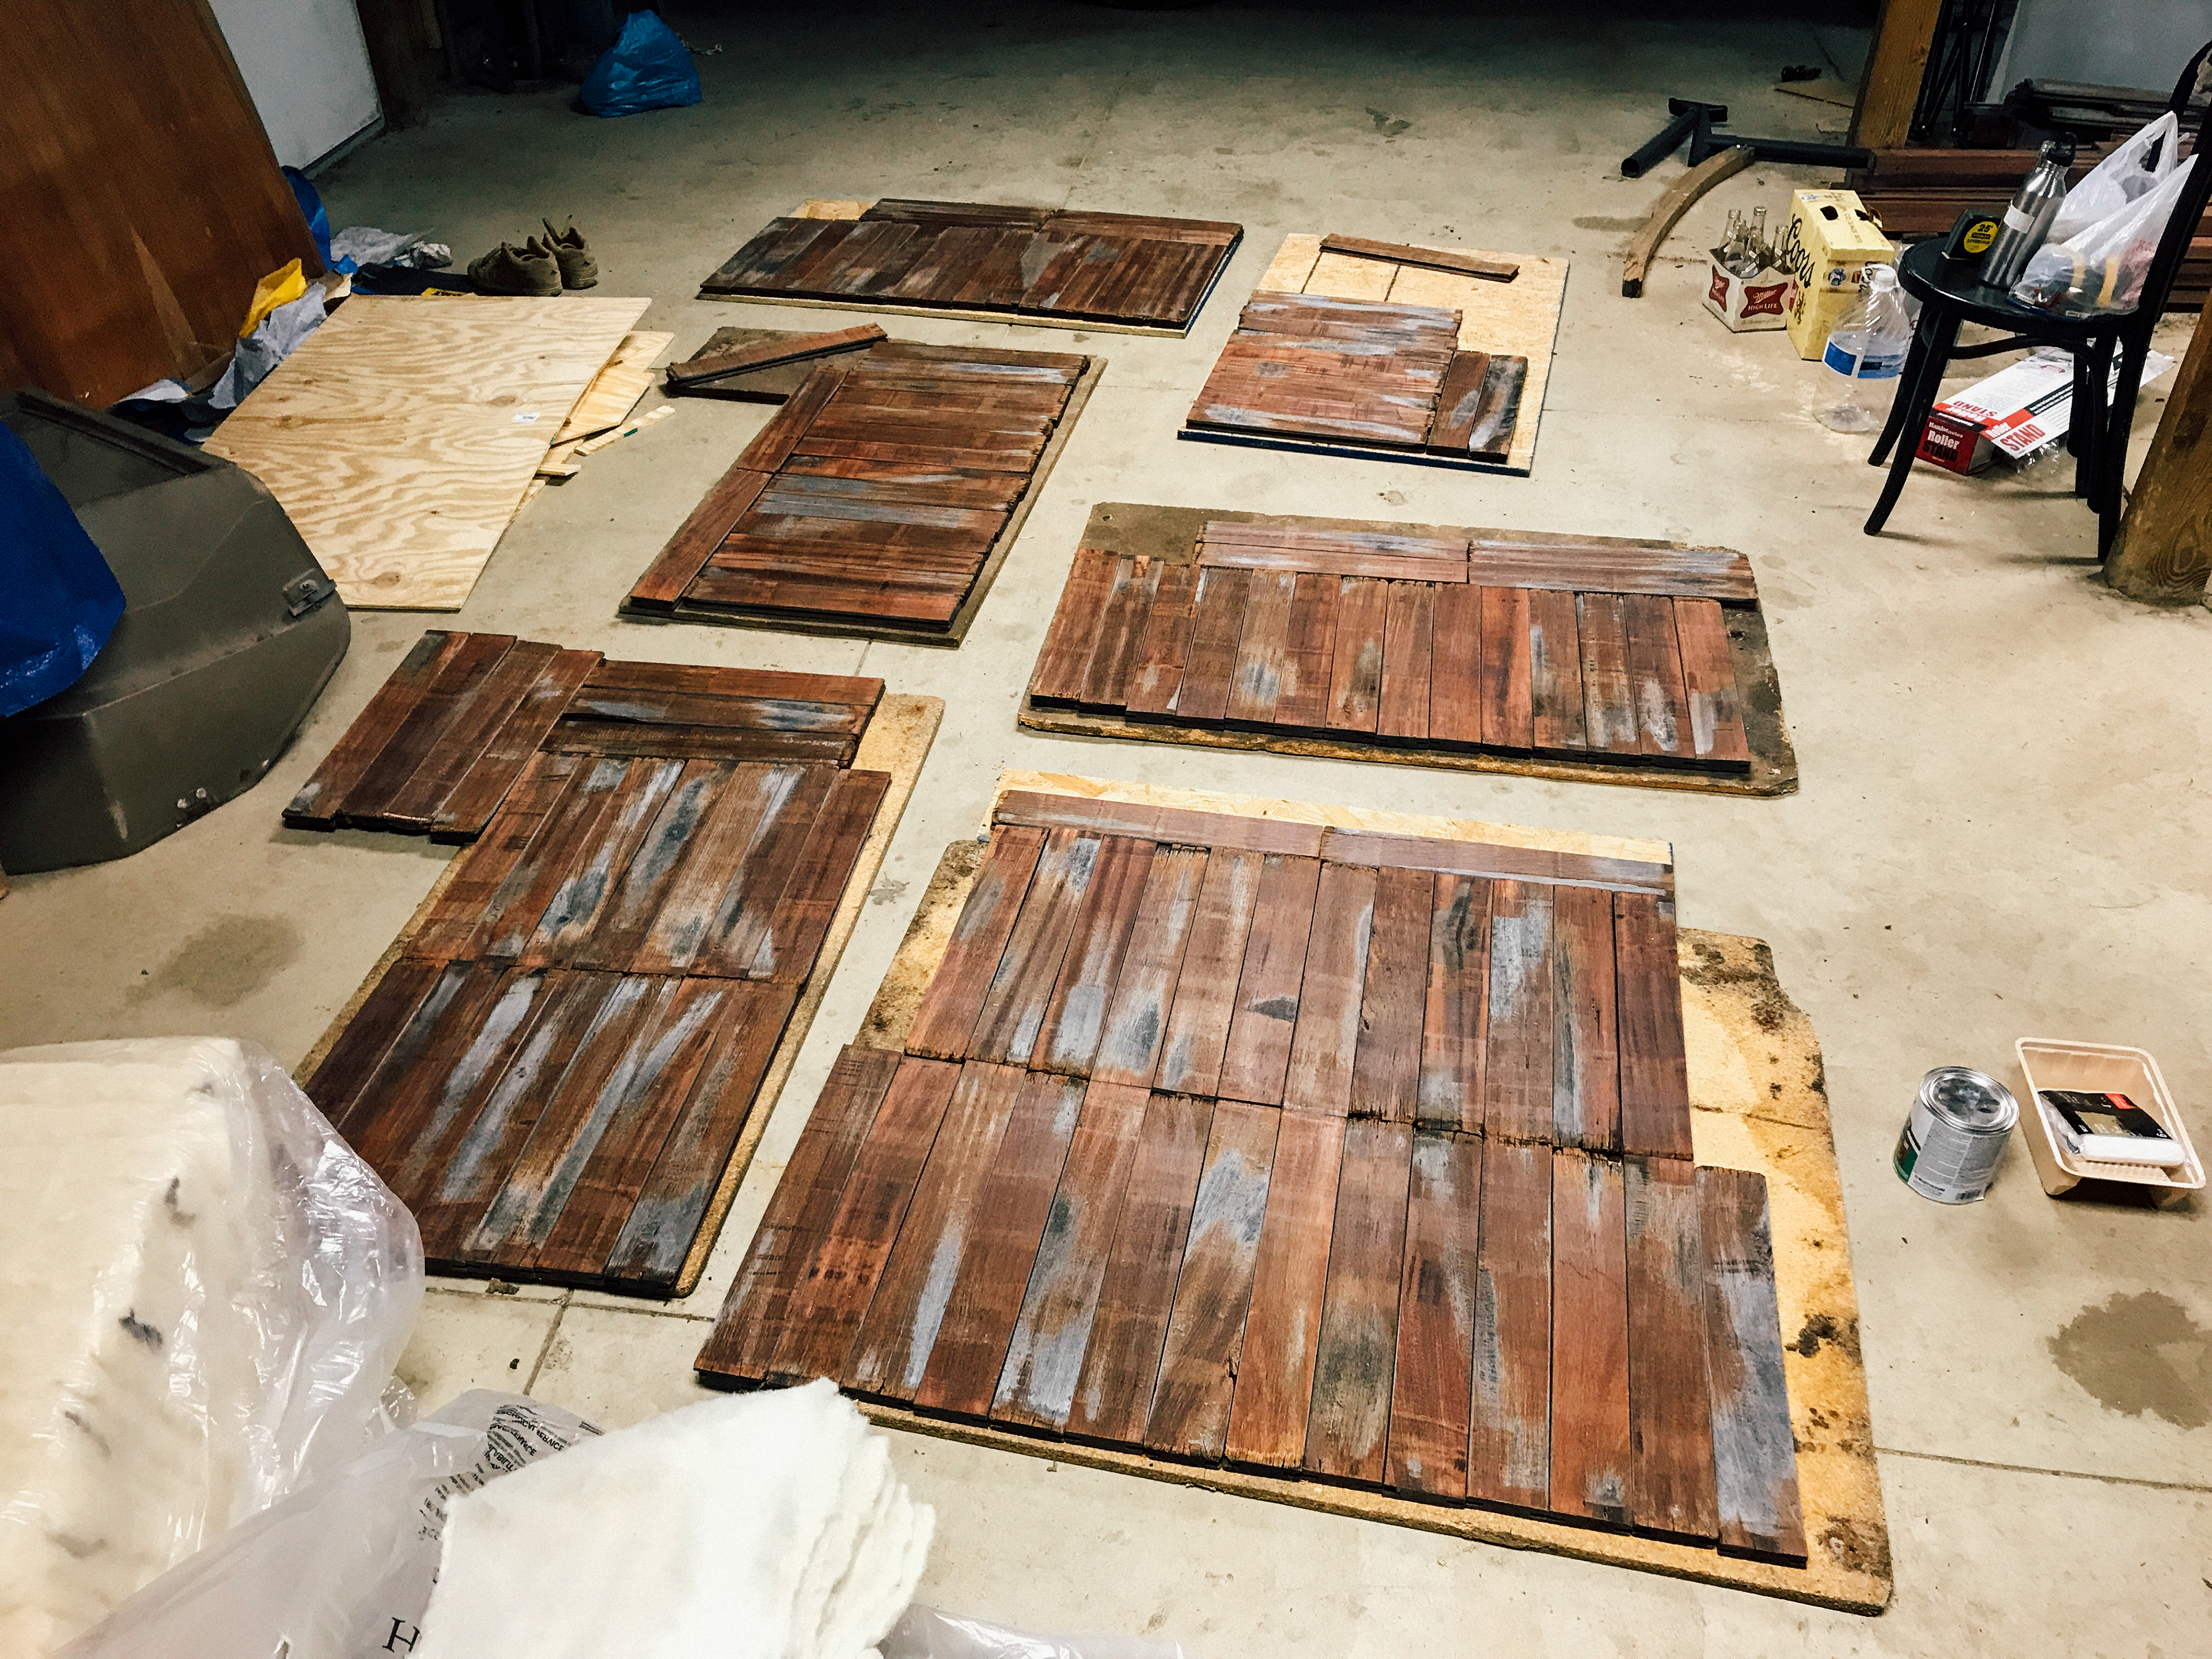
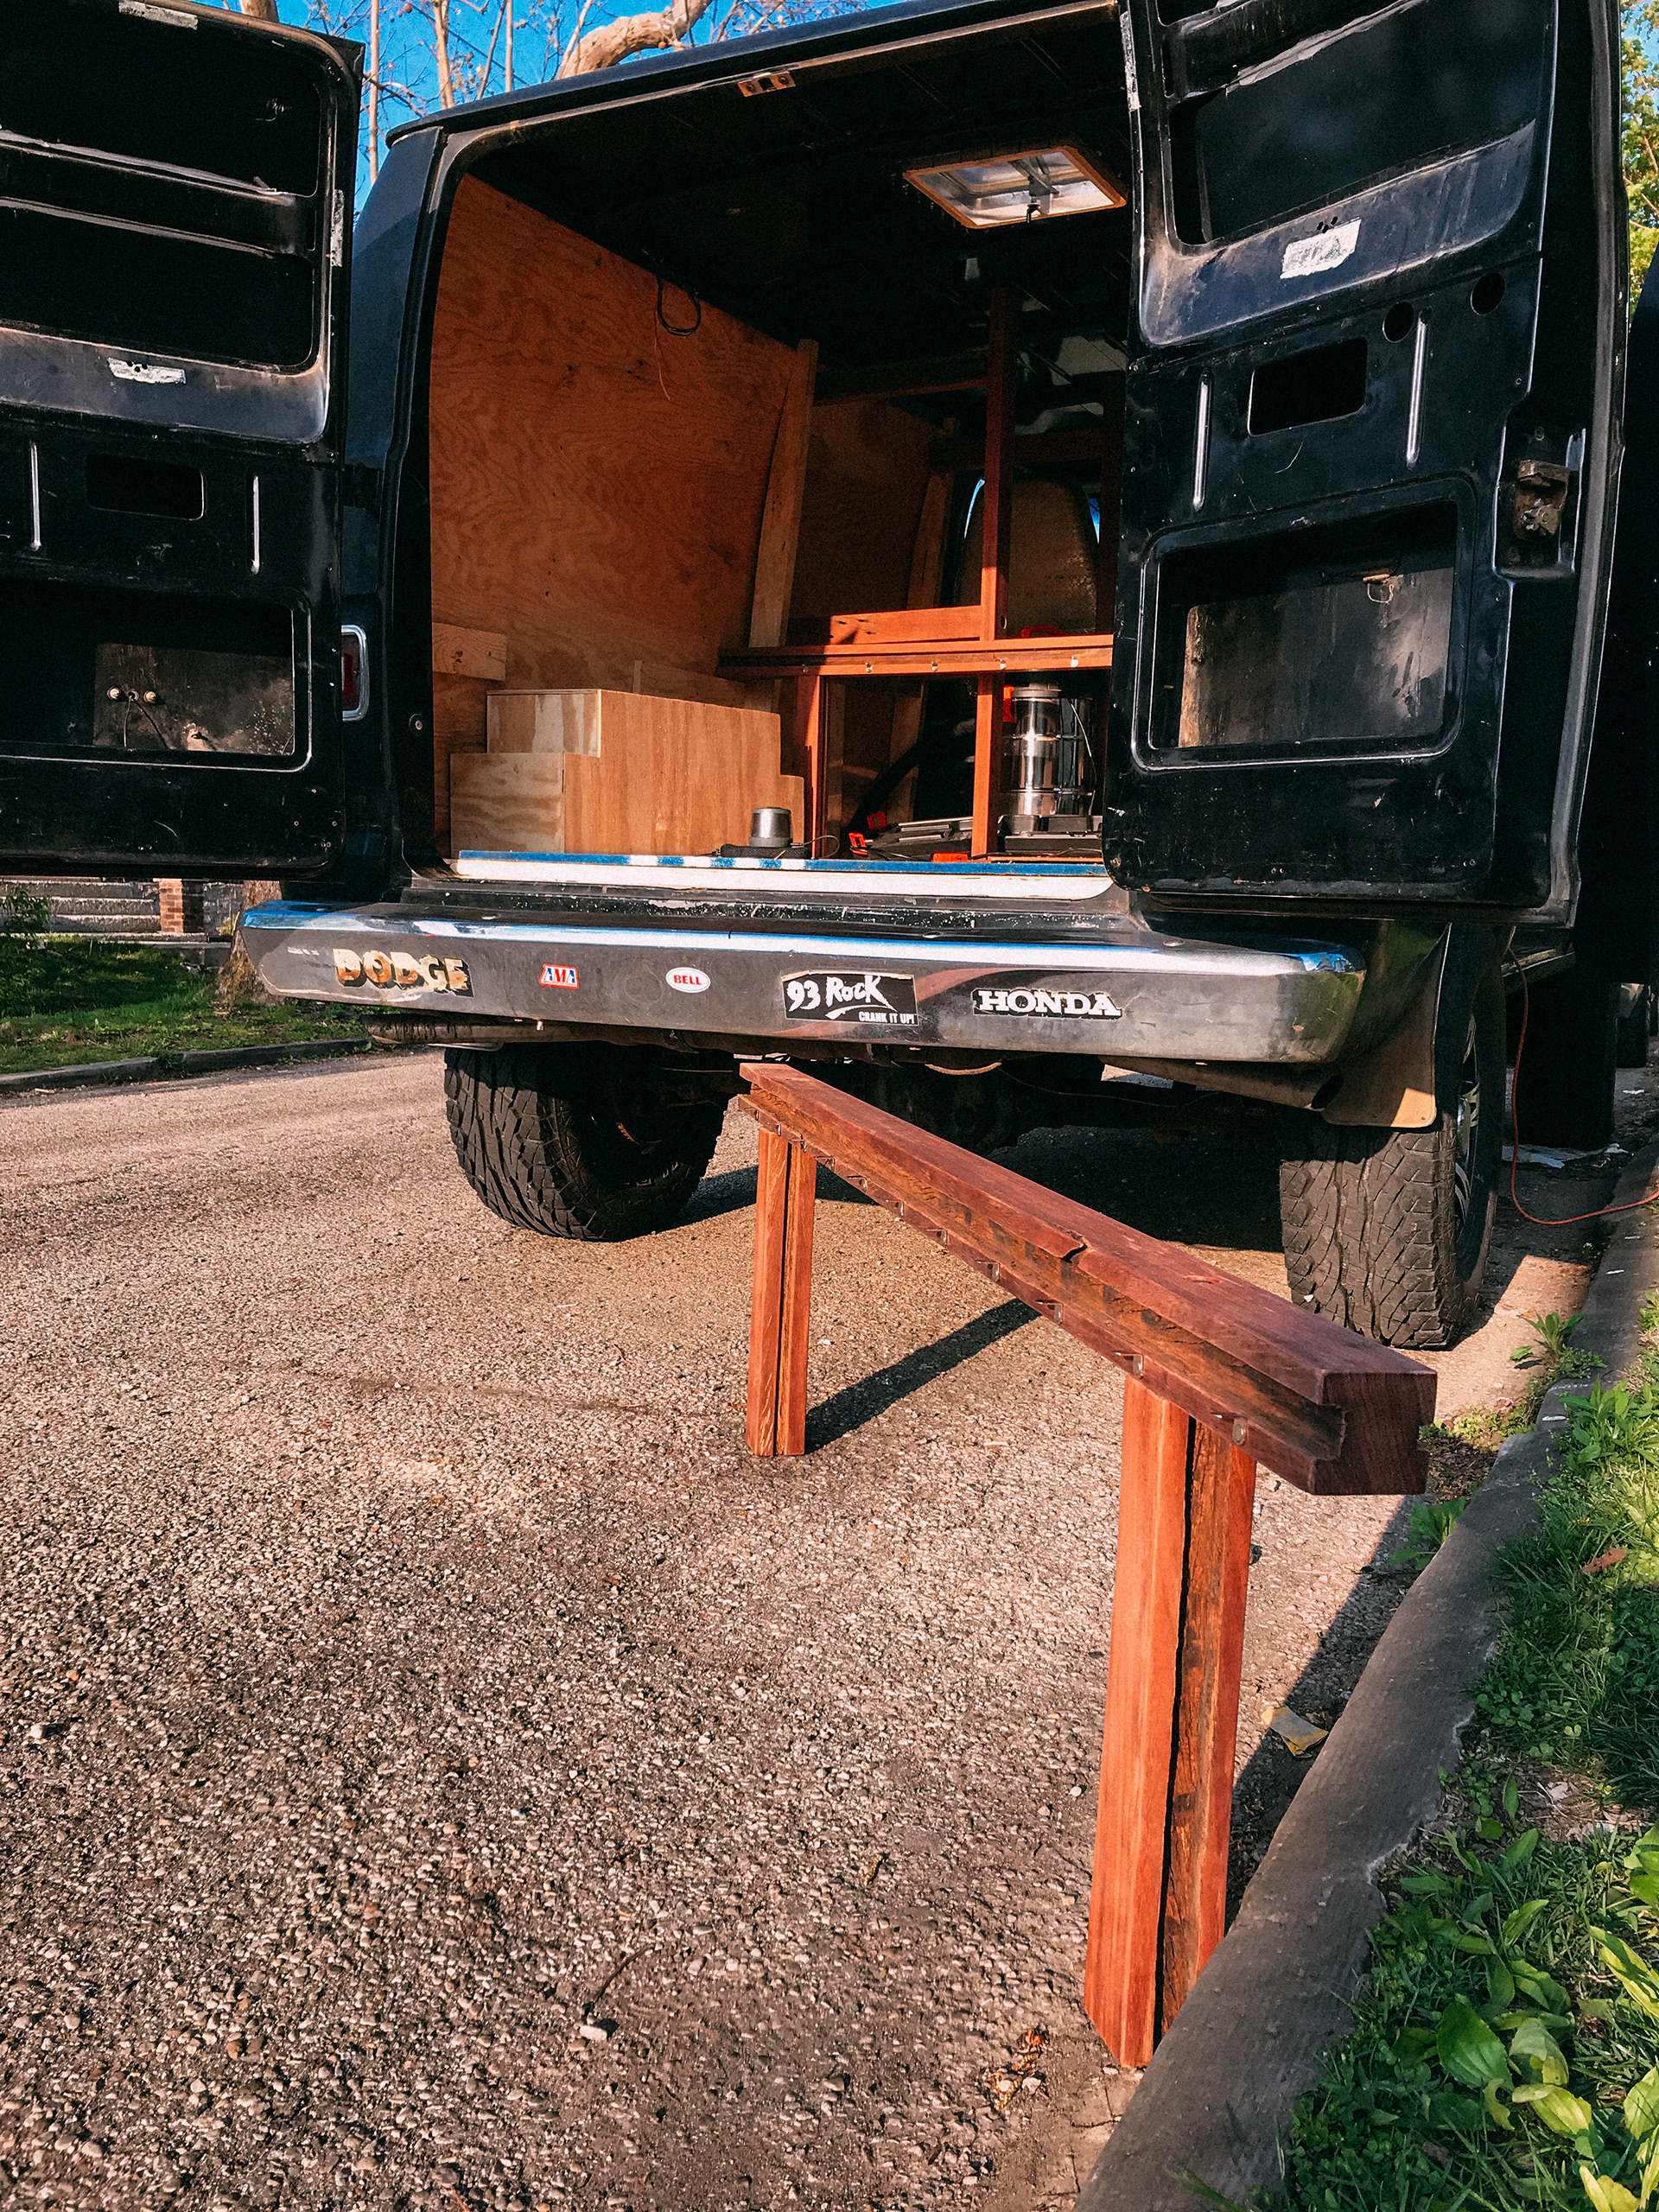
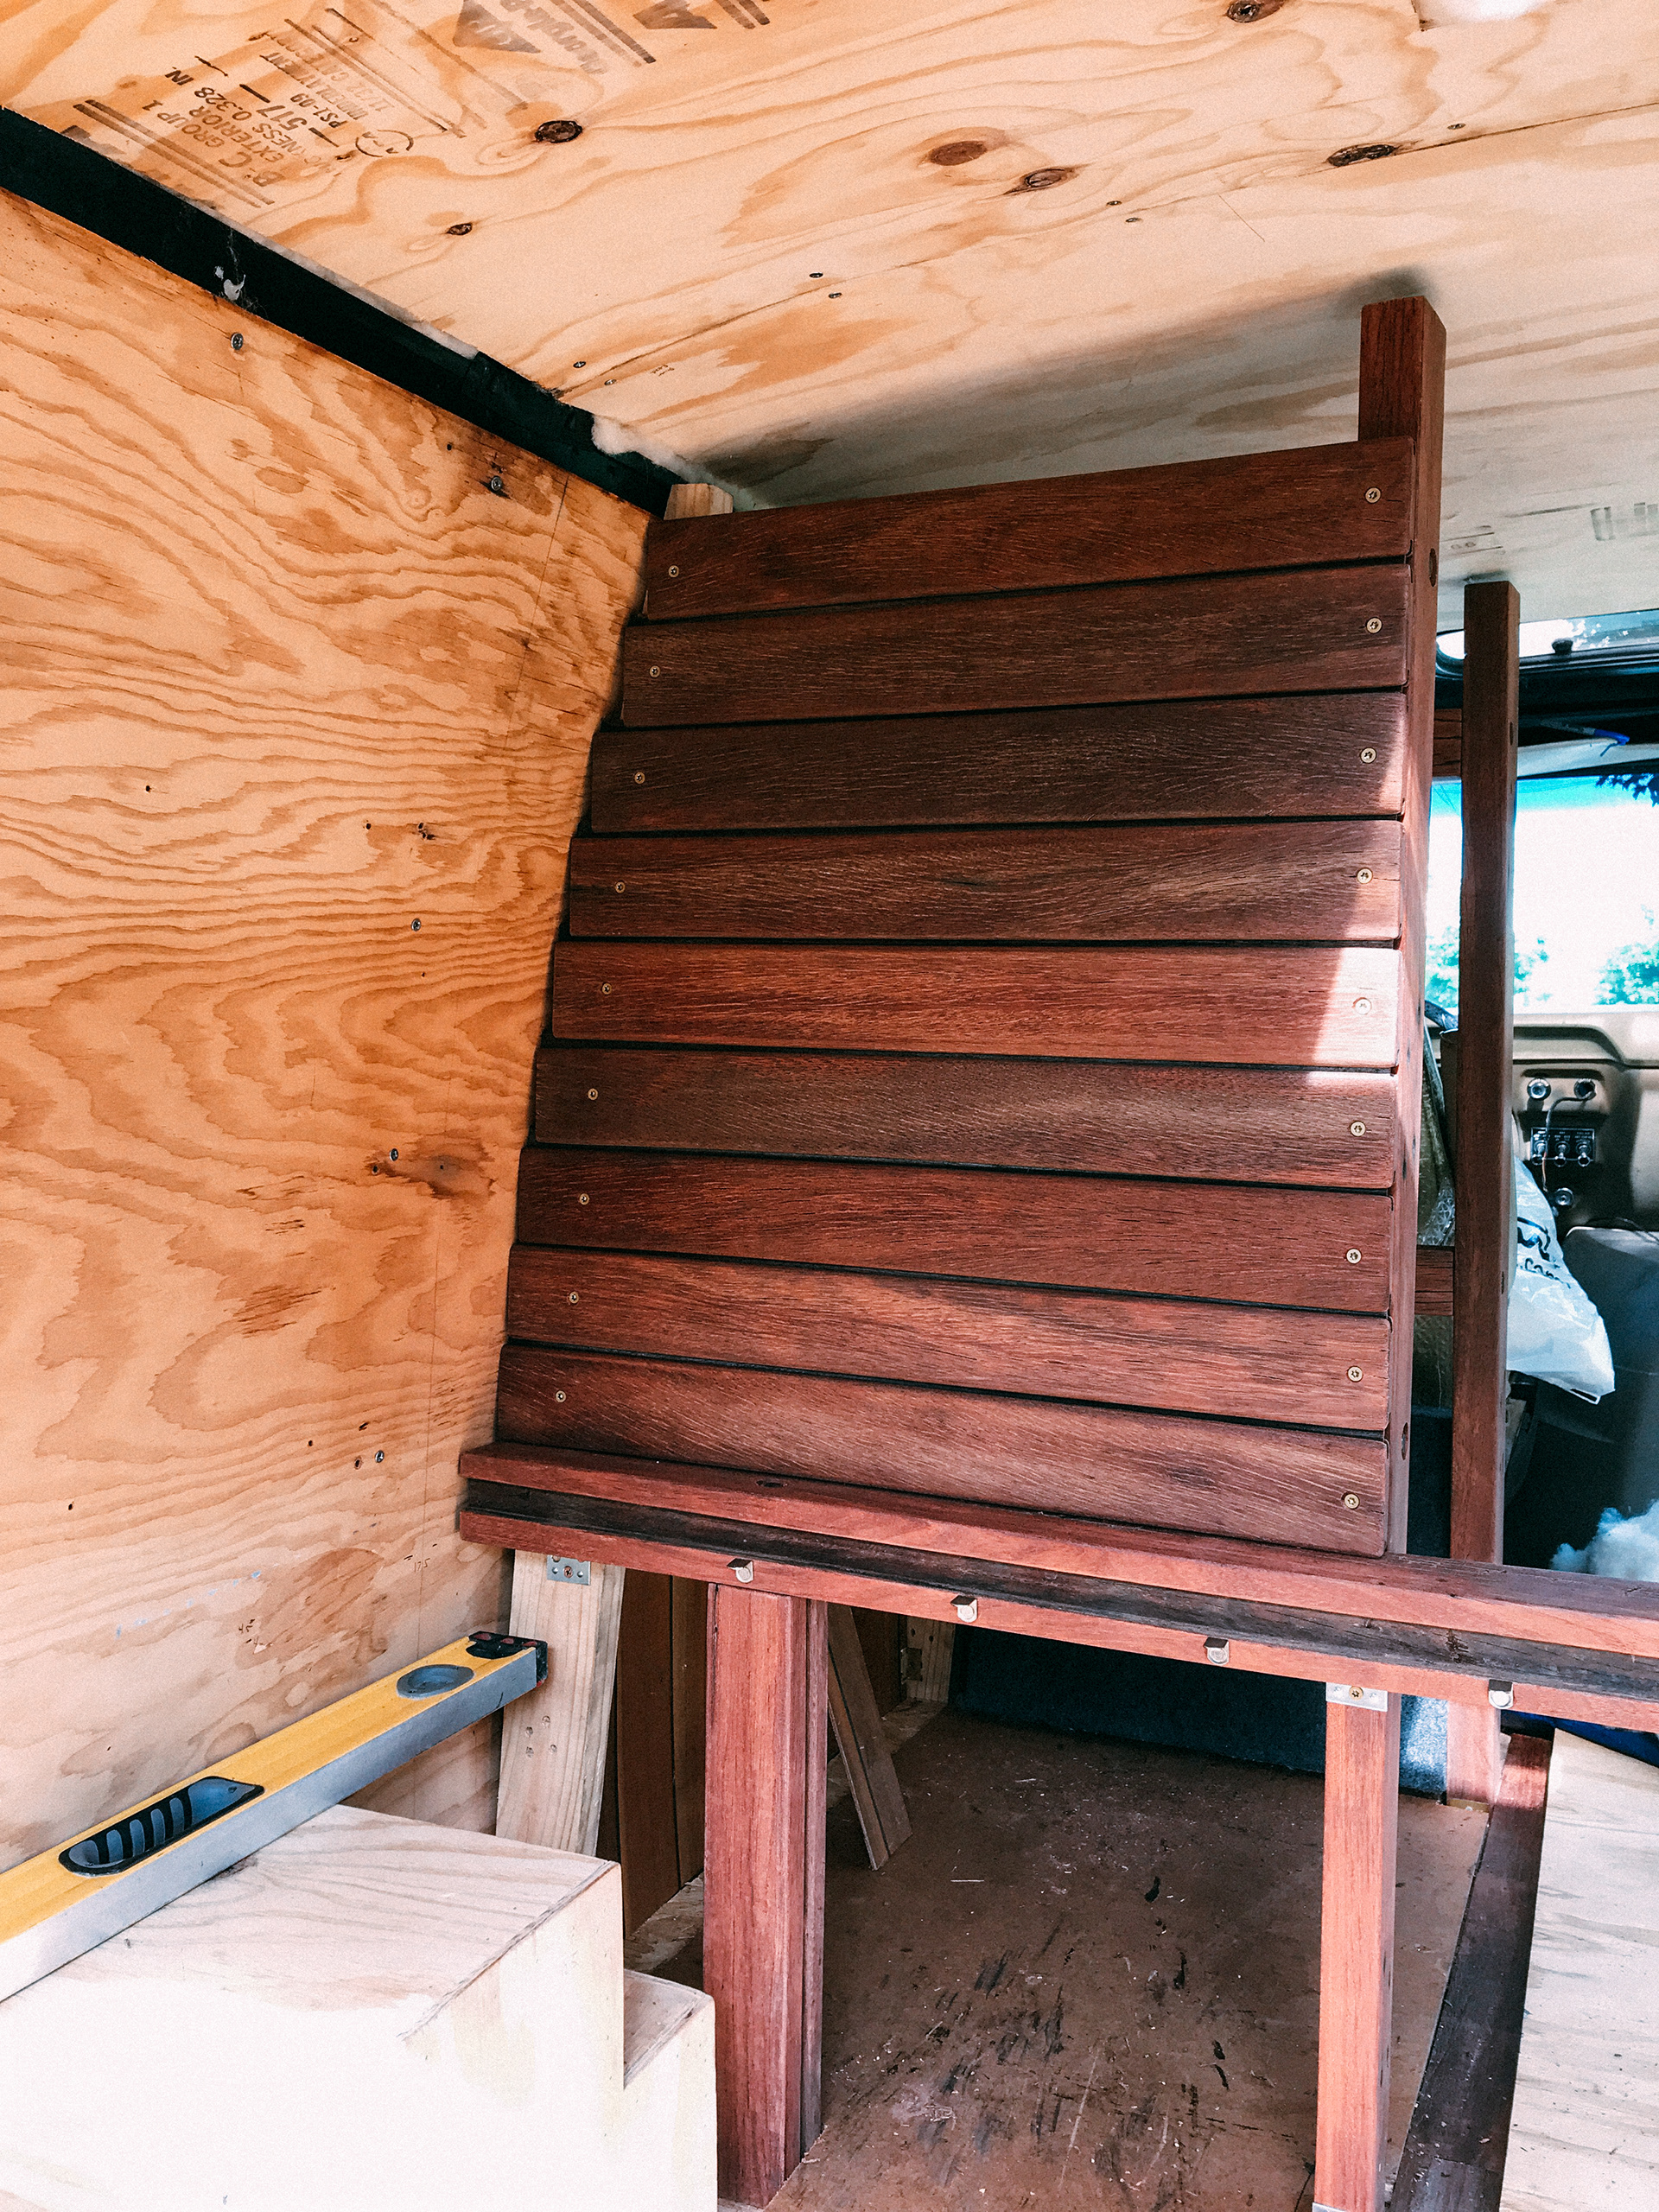
From there, I covered the bottom of the slats with some satin spar because I was told it wouldn't add any look and it would work well with the temperature/humidity changes. Good thing I added it to the bottom because it left a film to the wood which I don't like. A talented carpenter told me to try out some Osmo polyx oil 3054 which I plan on doing the top with. I also had to wet down the plywood for the front so it would warp with the framing. I ended up using cement blocks to help with the warping.

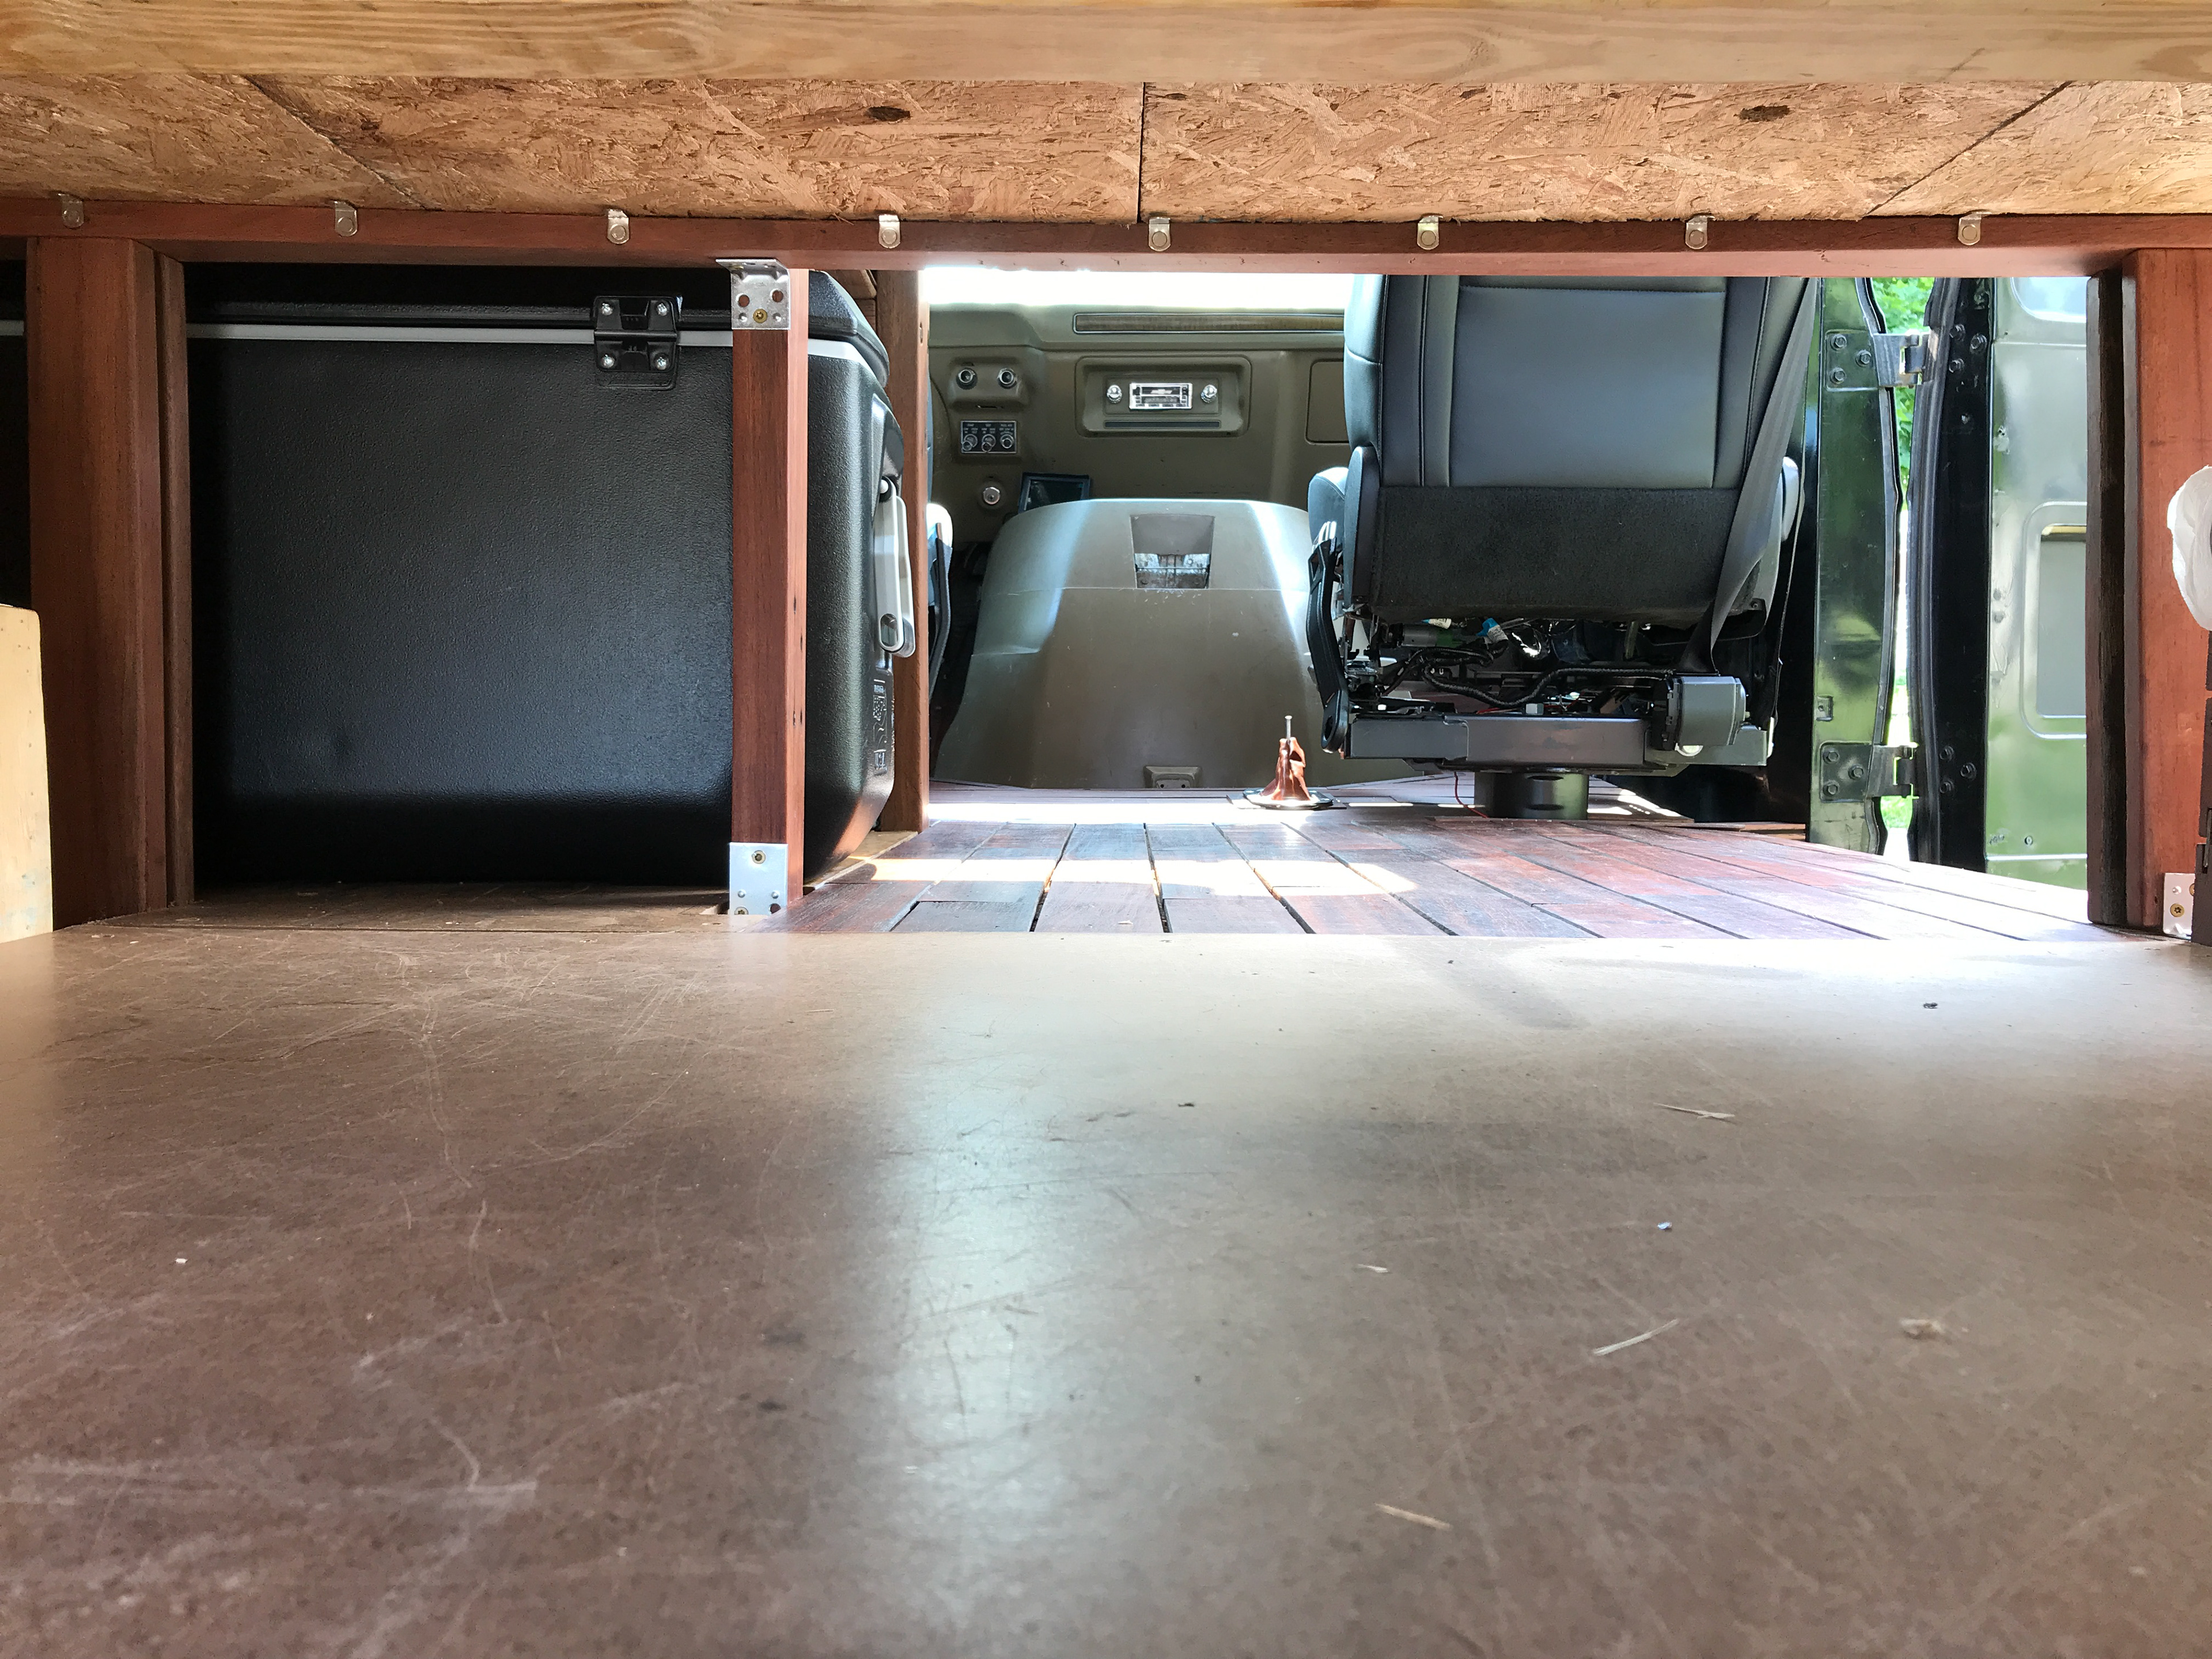
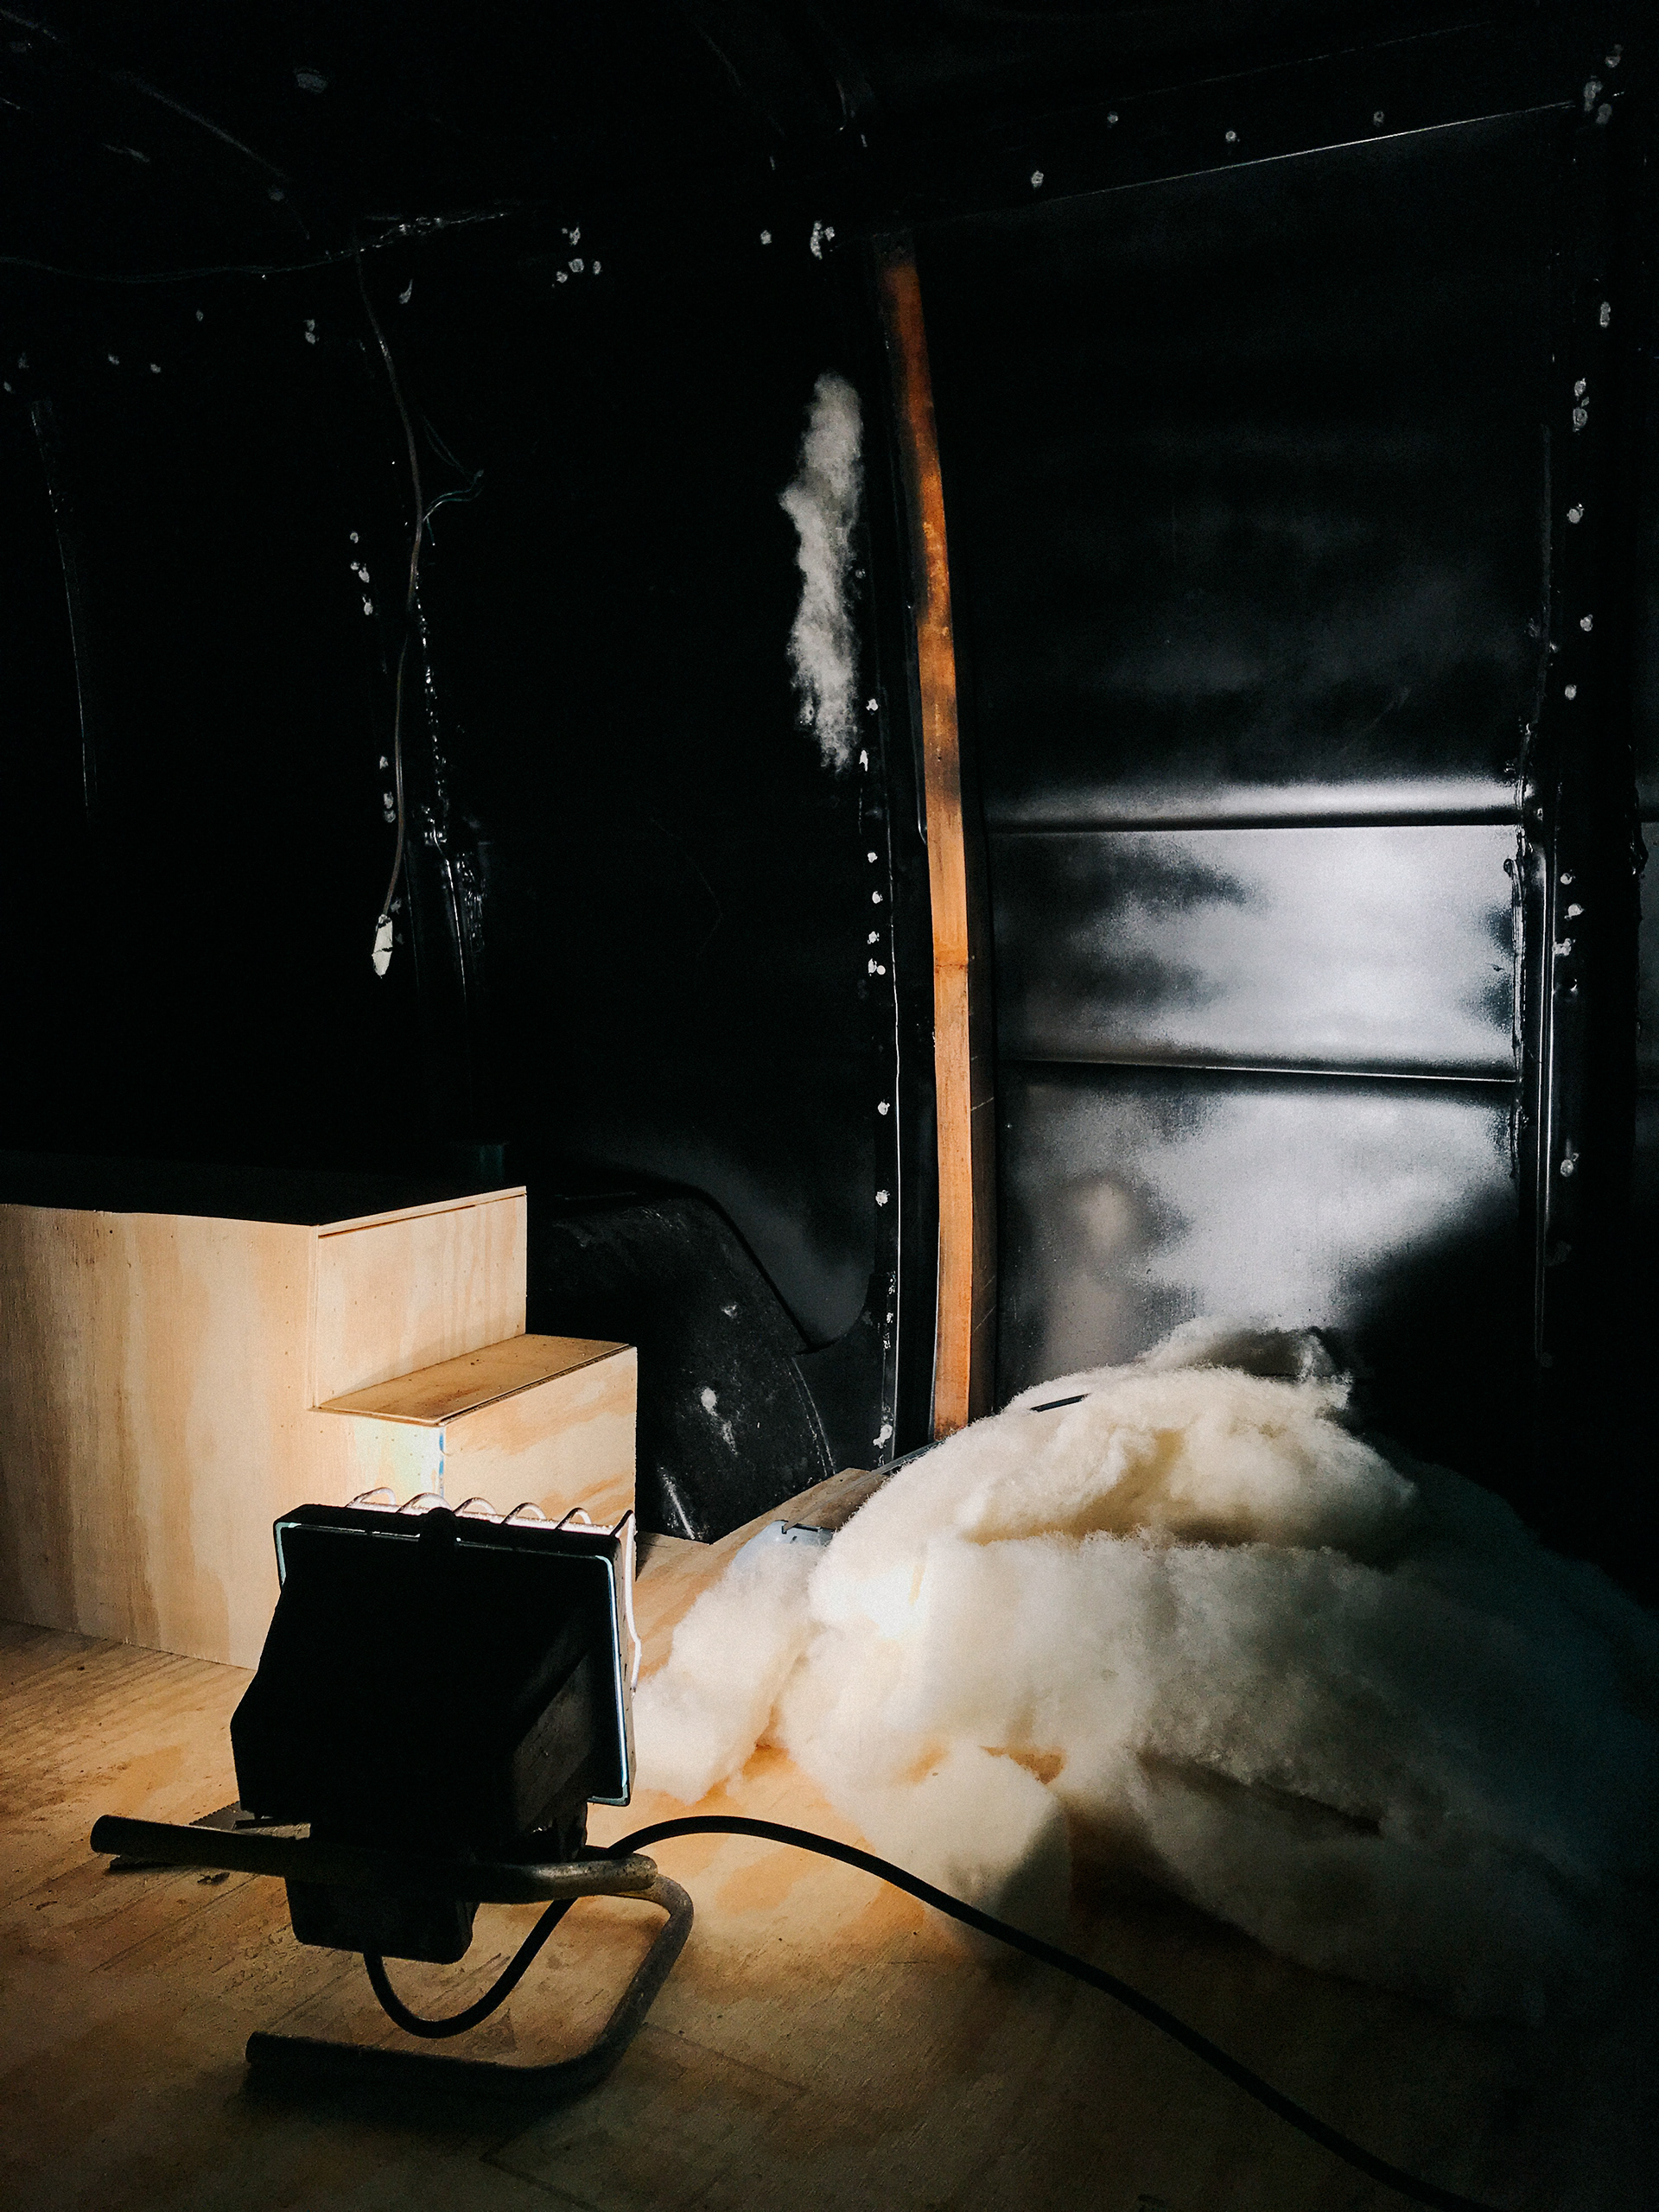
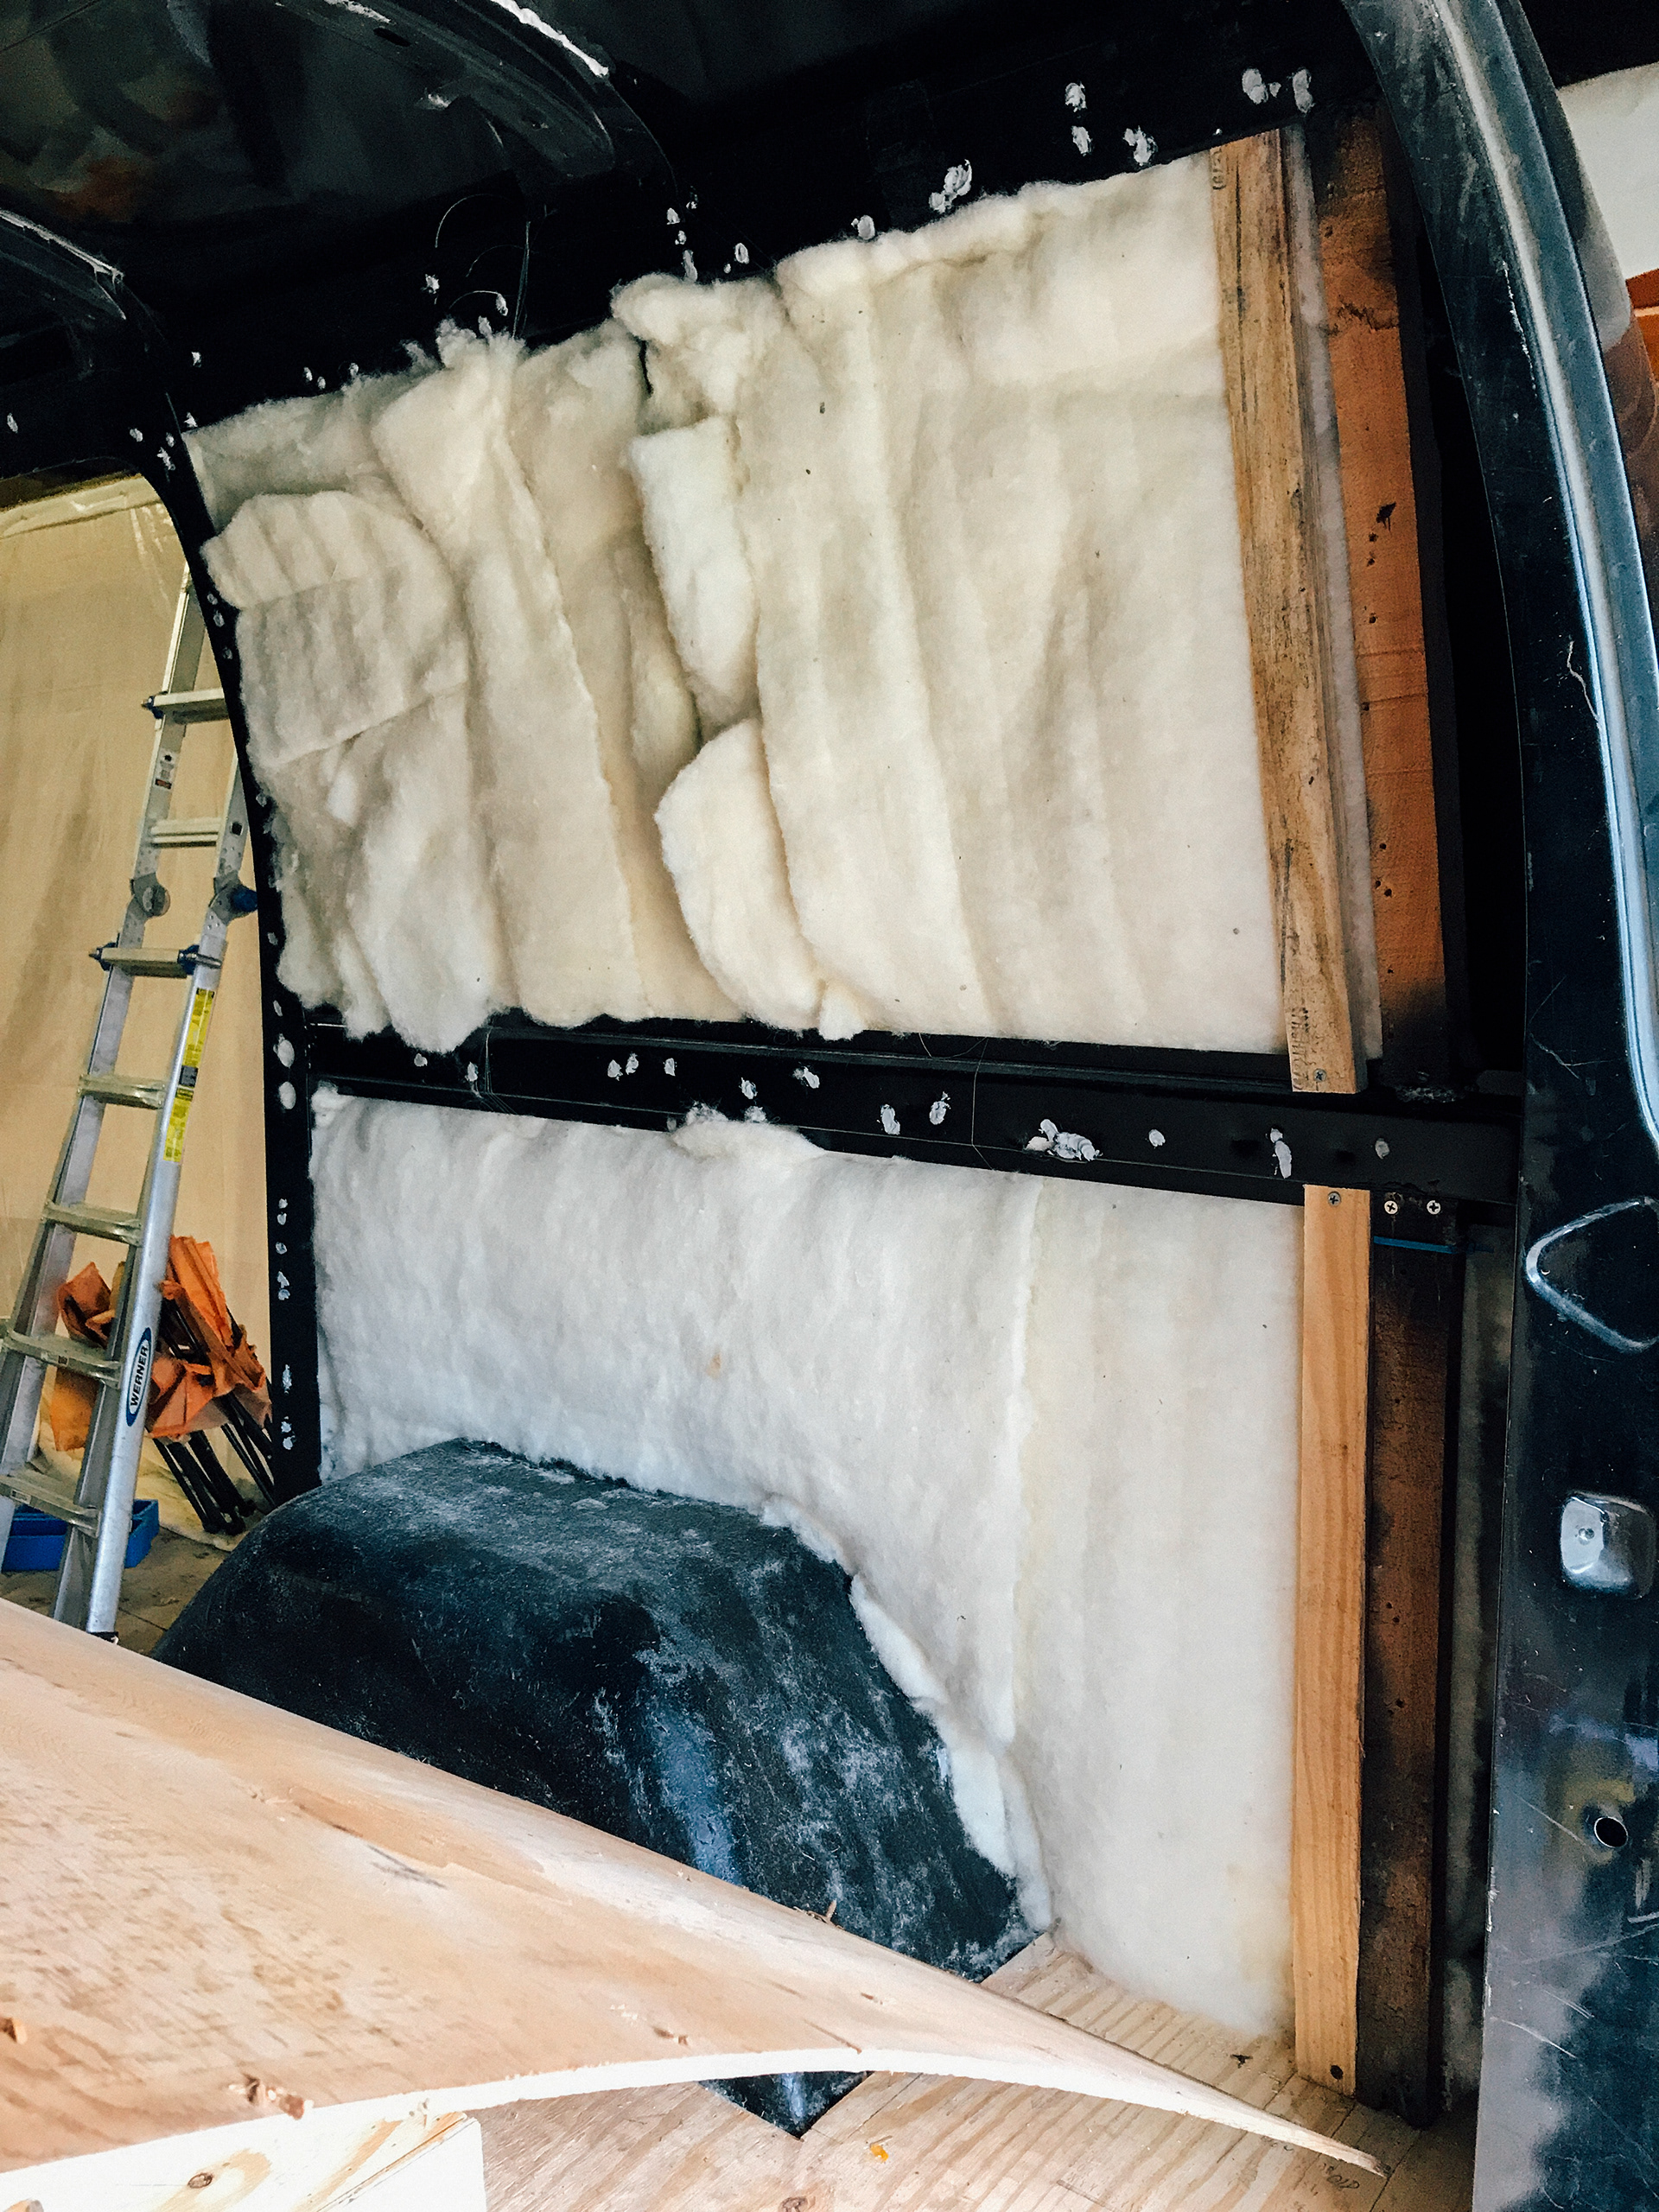
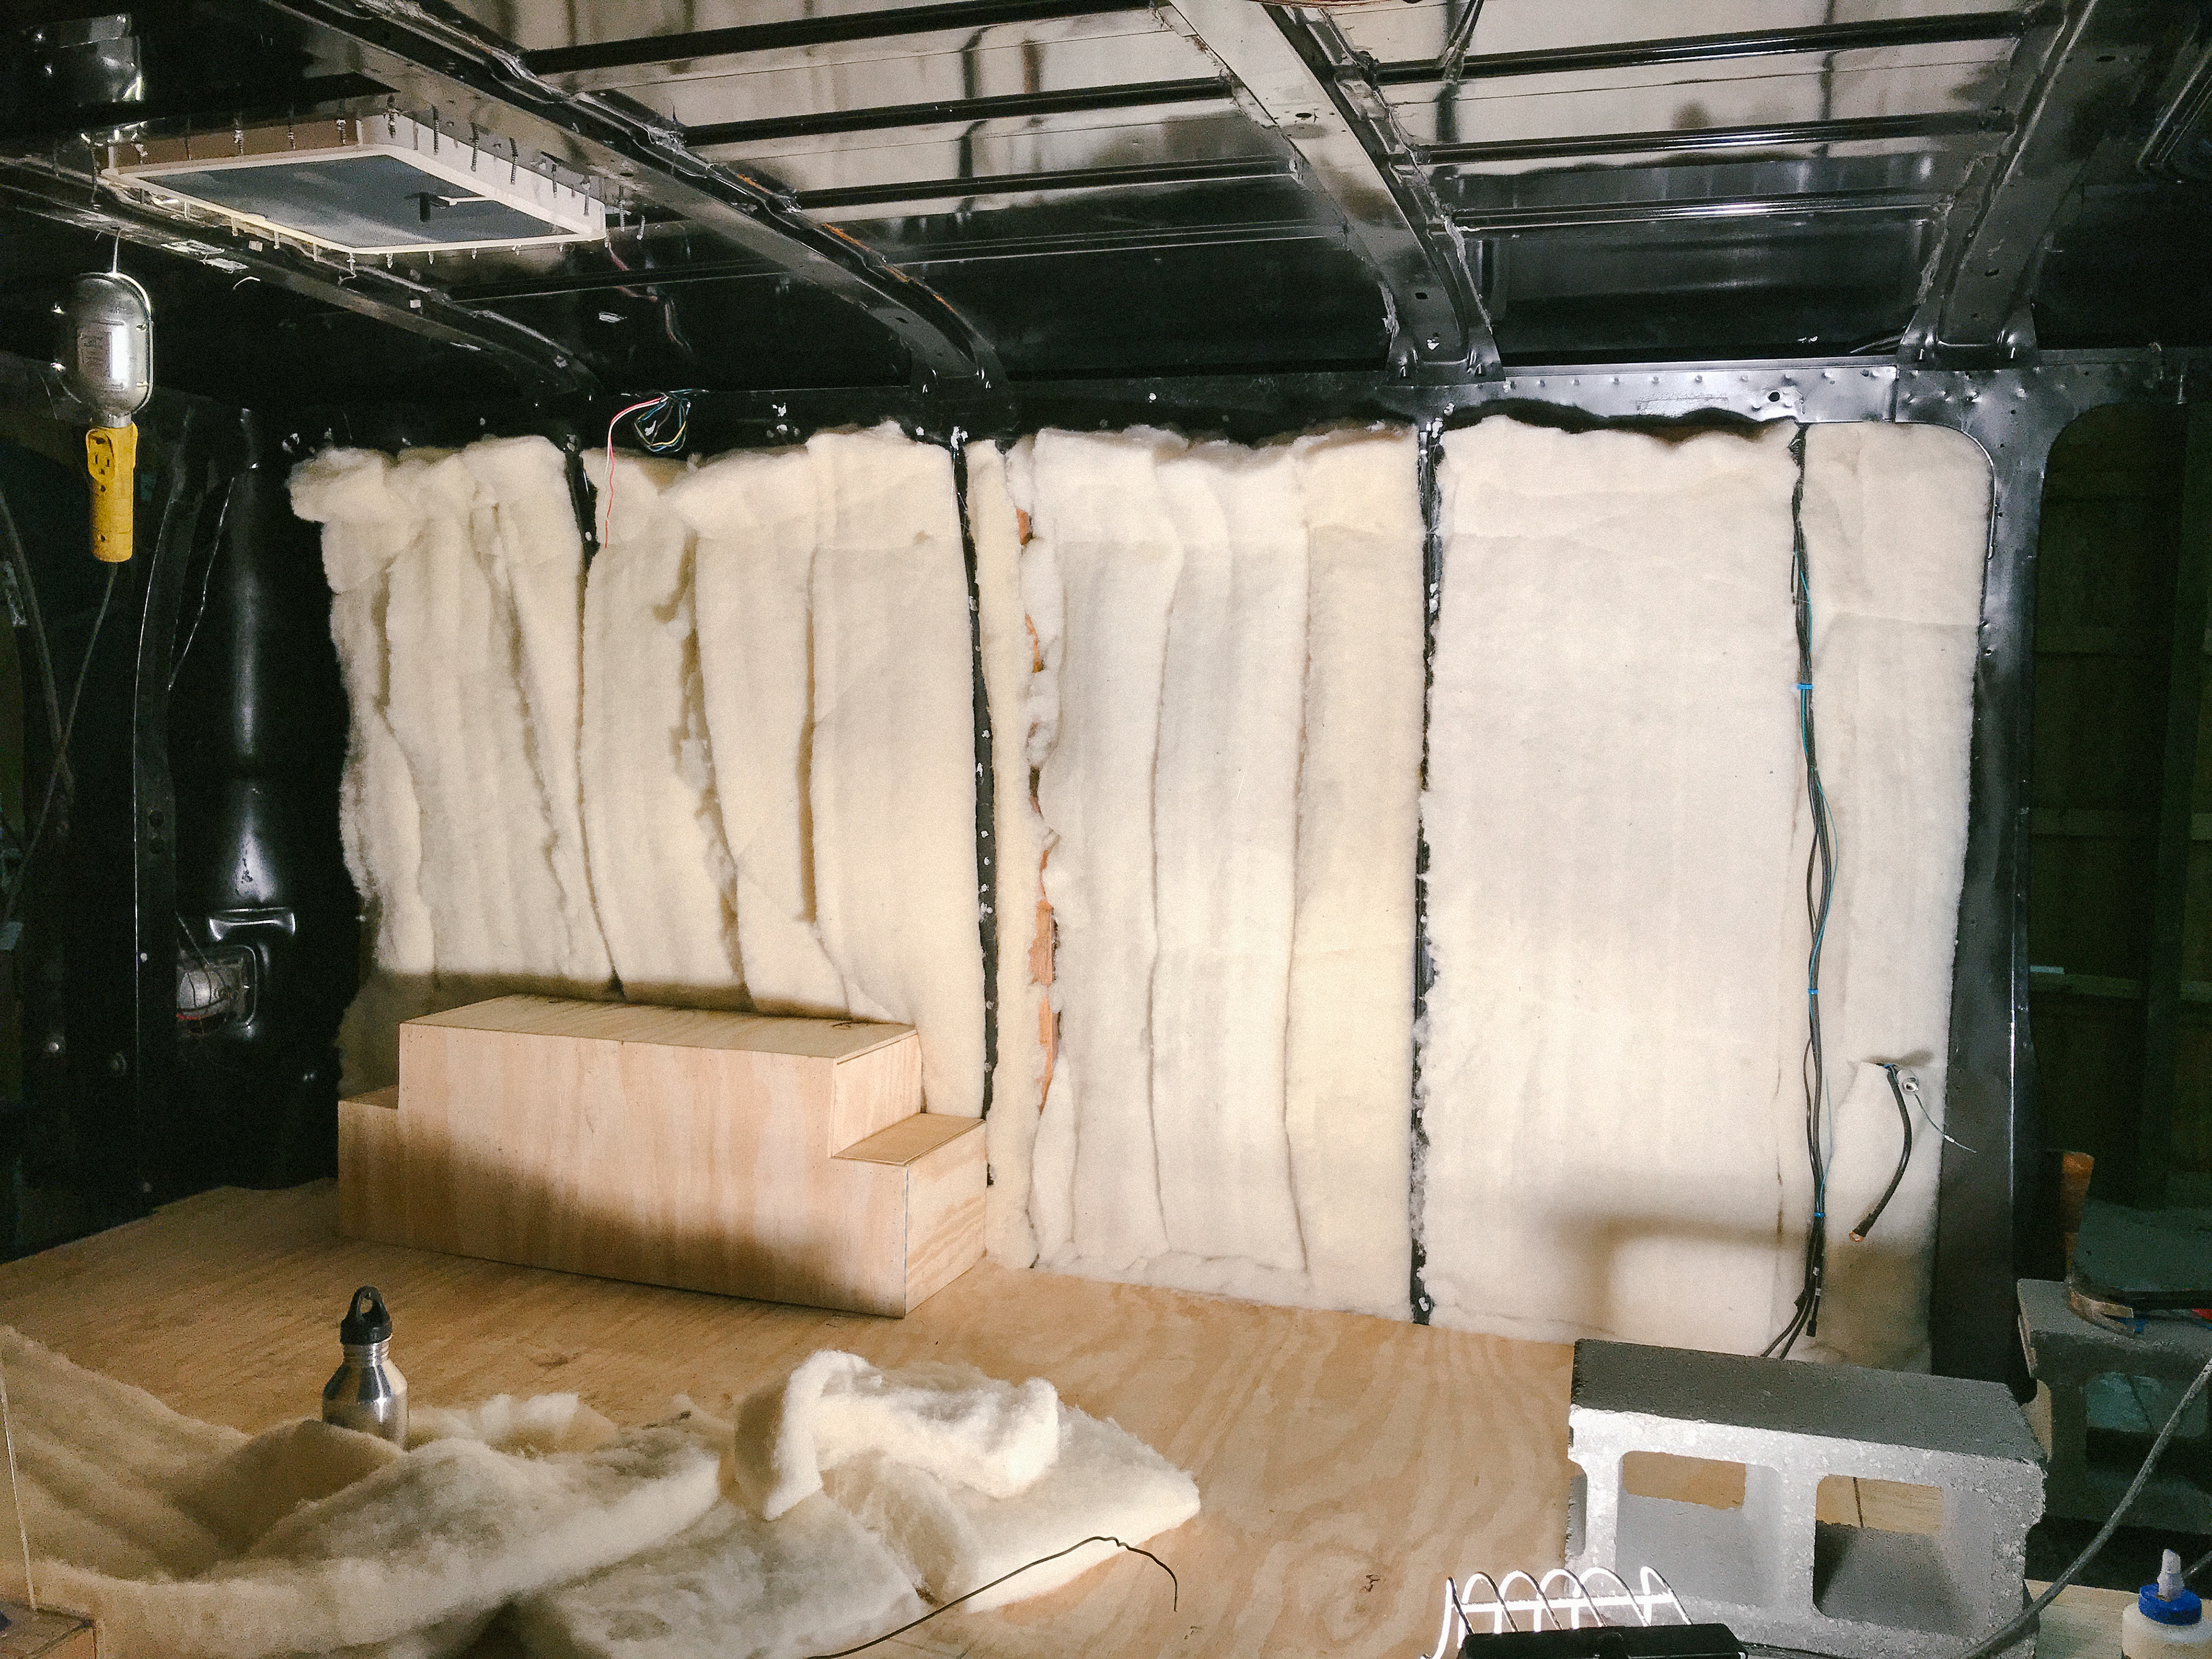
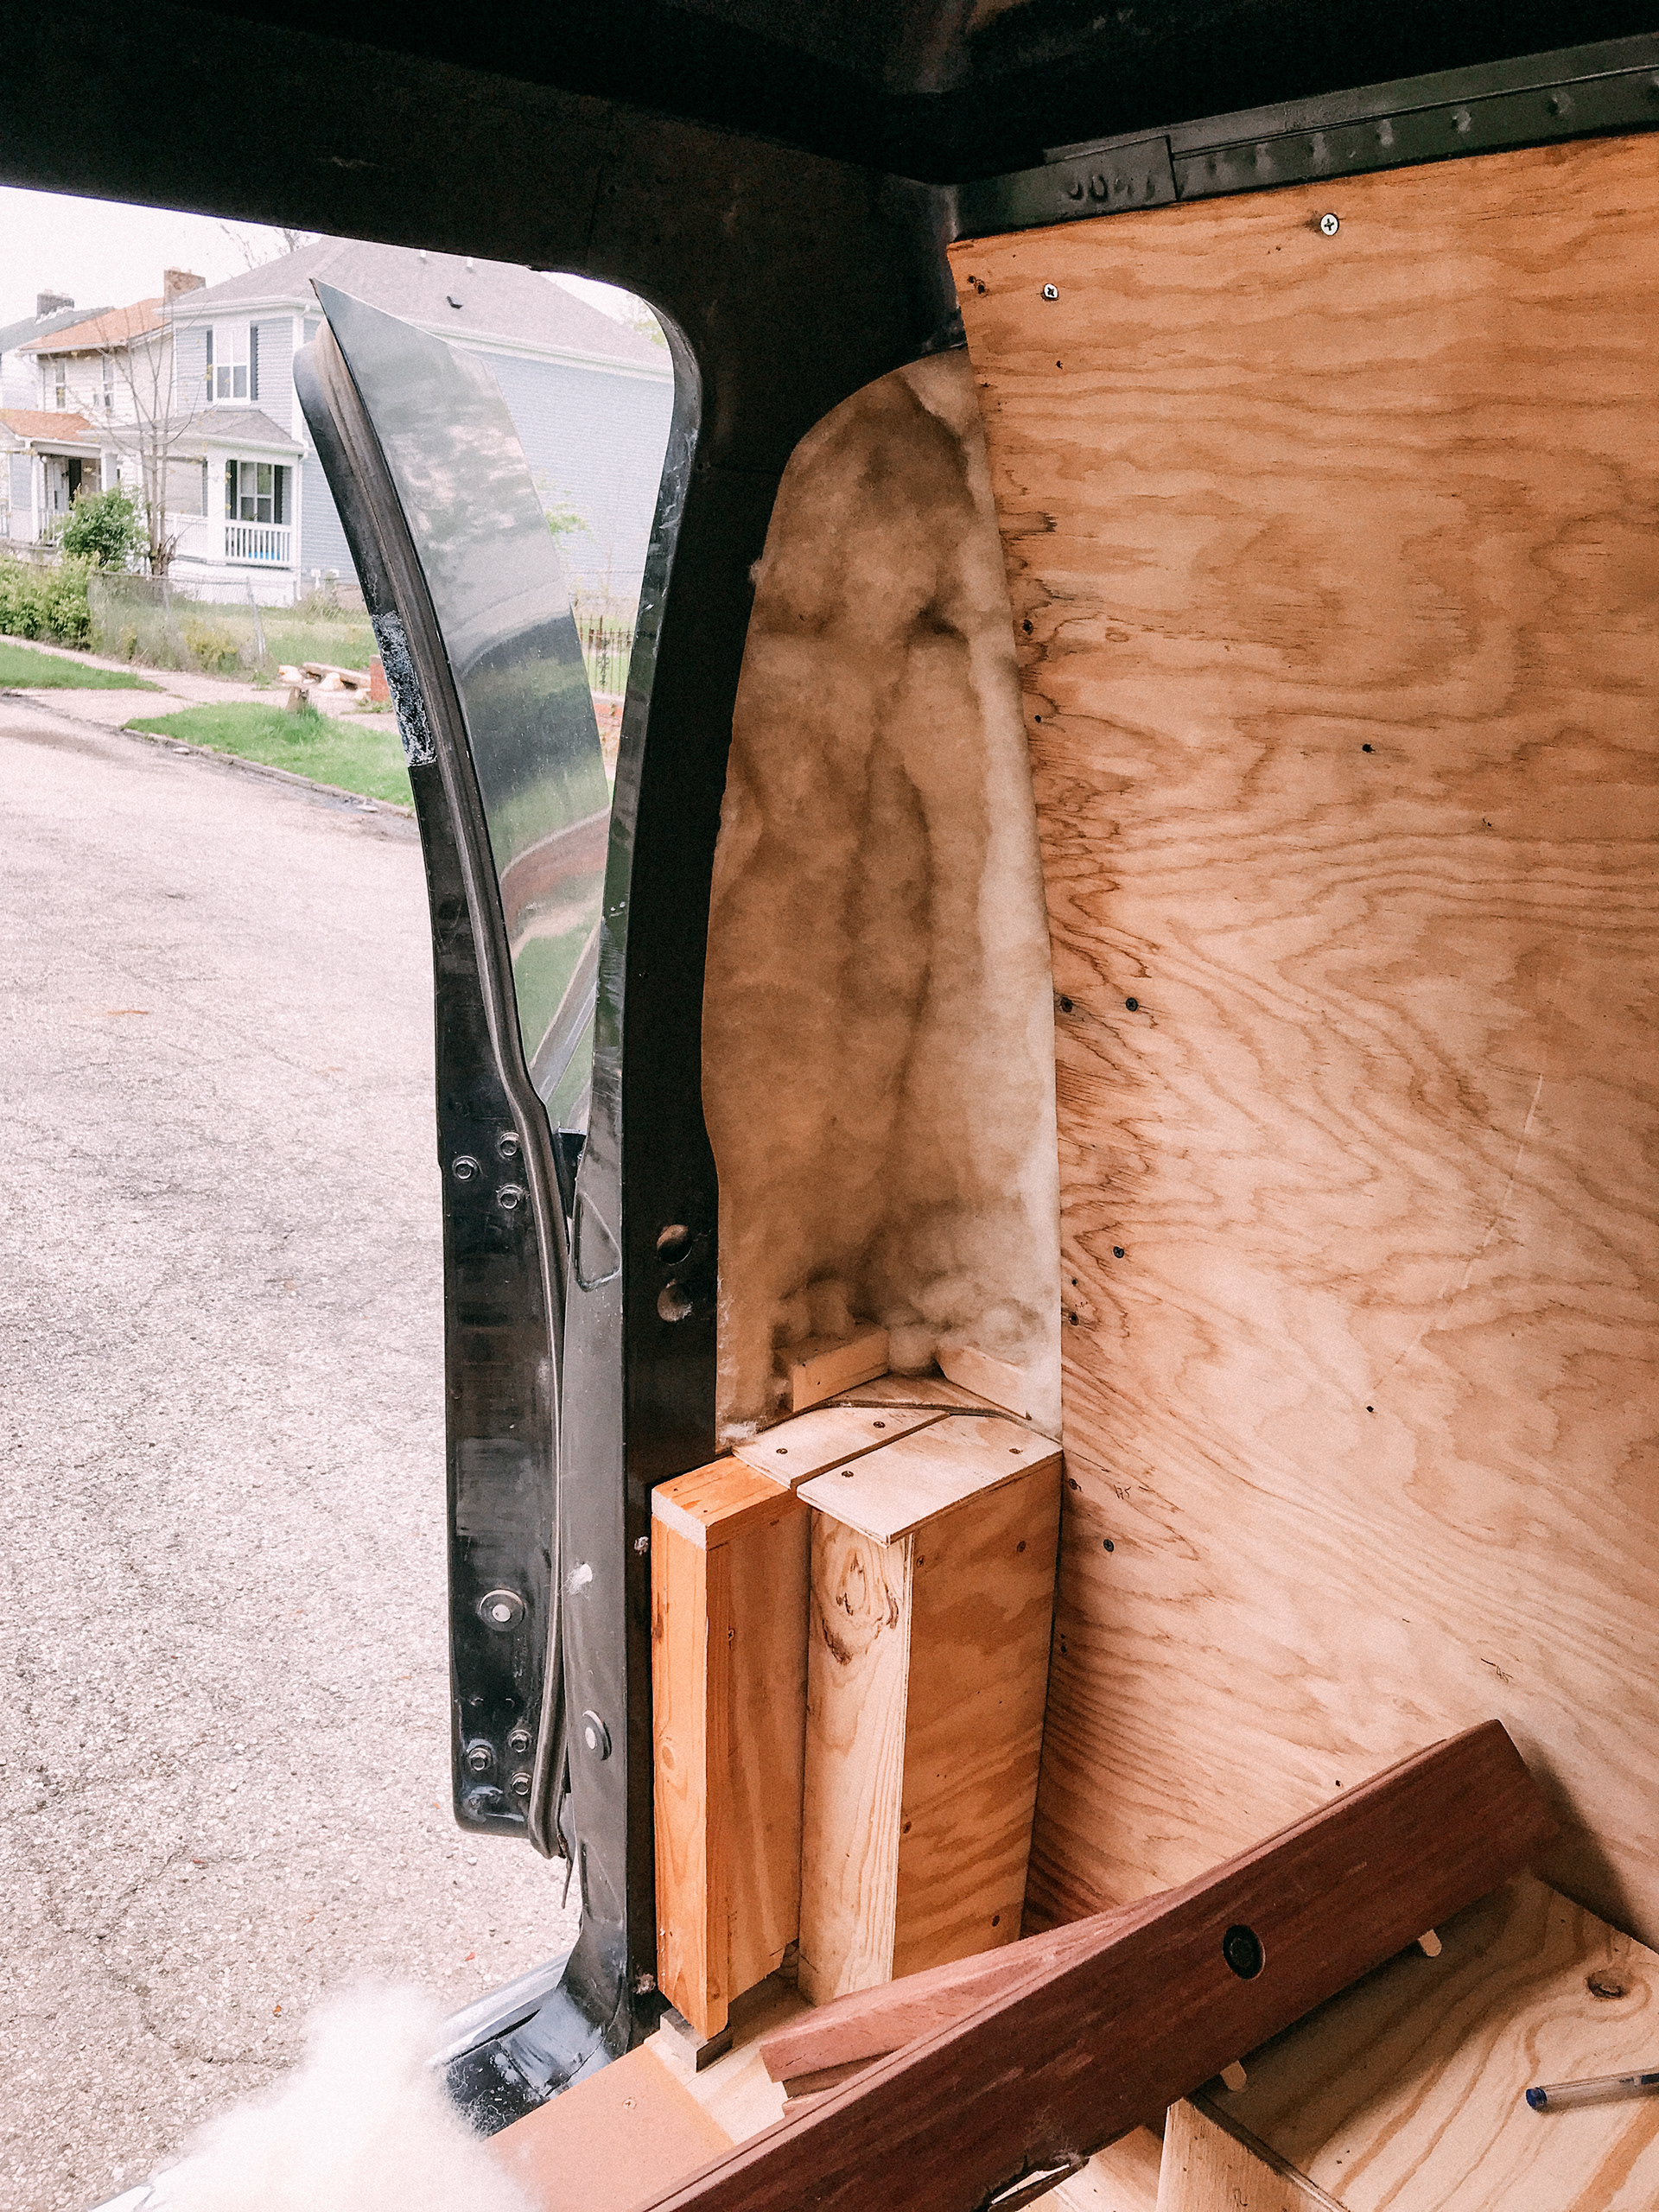
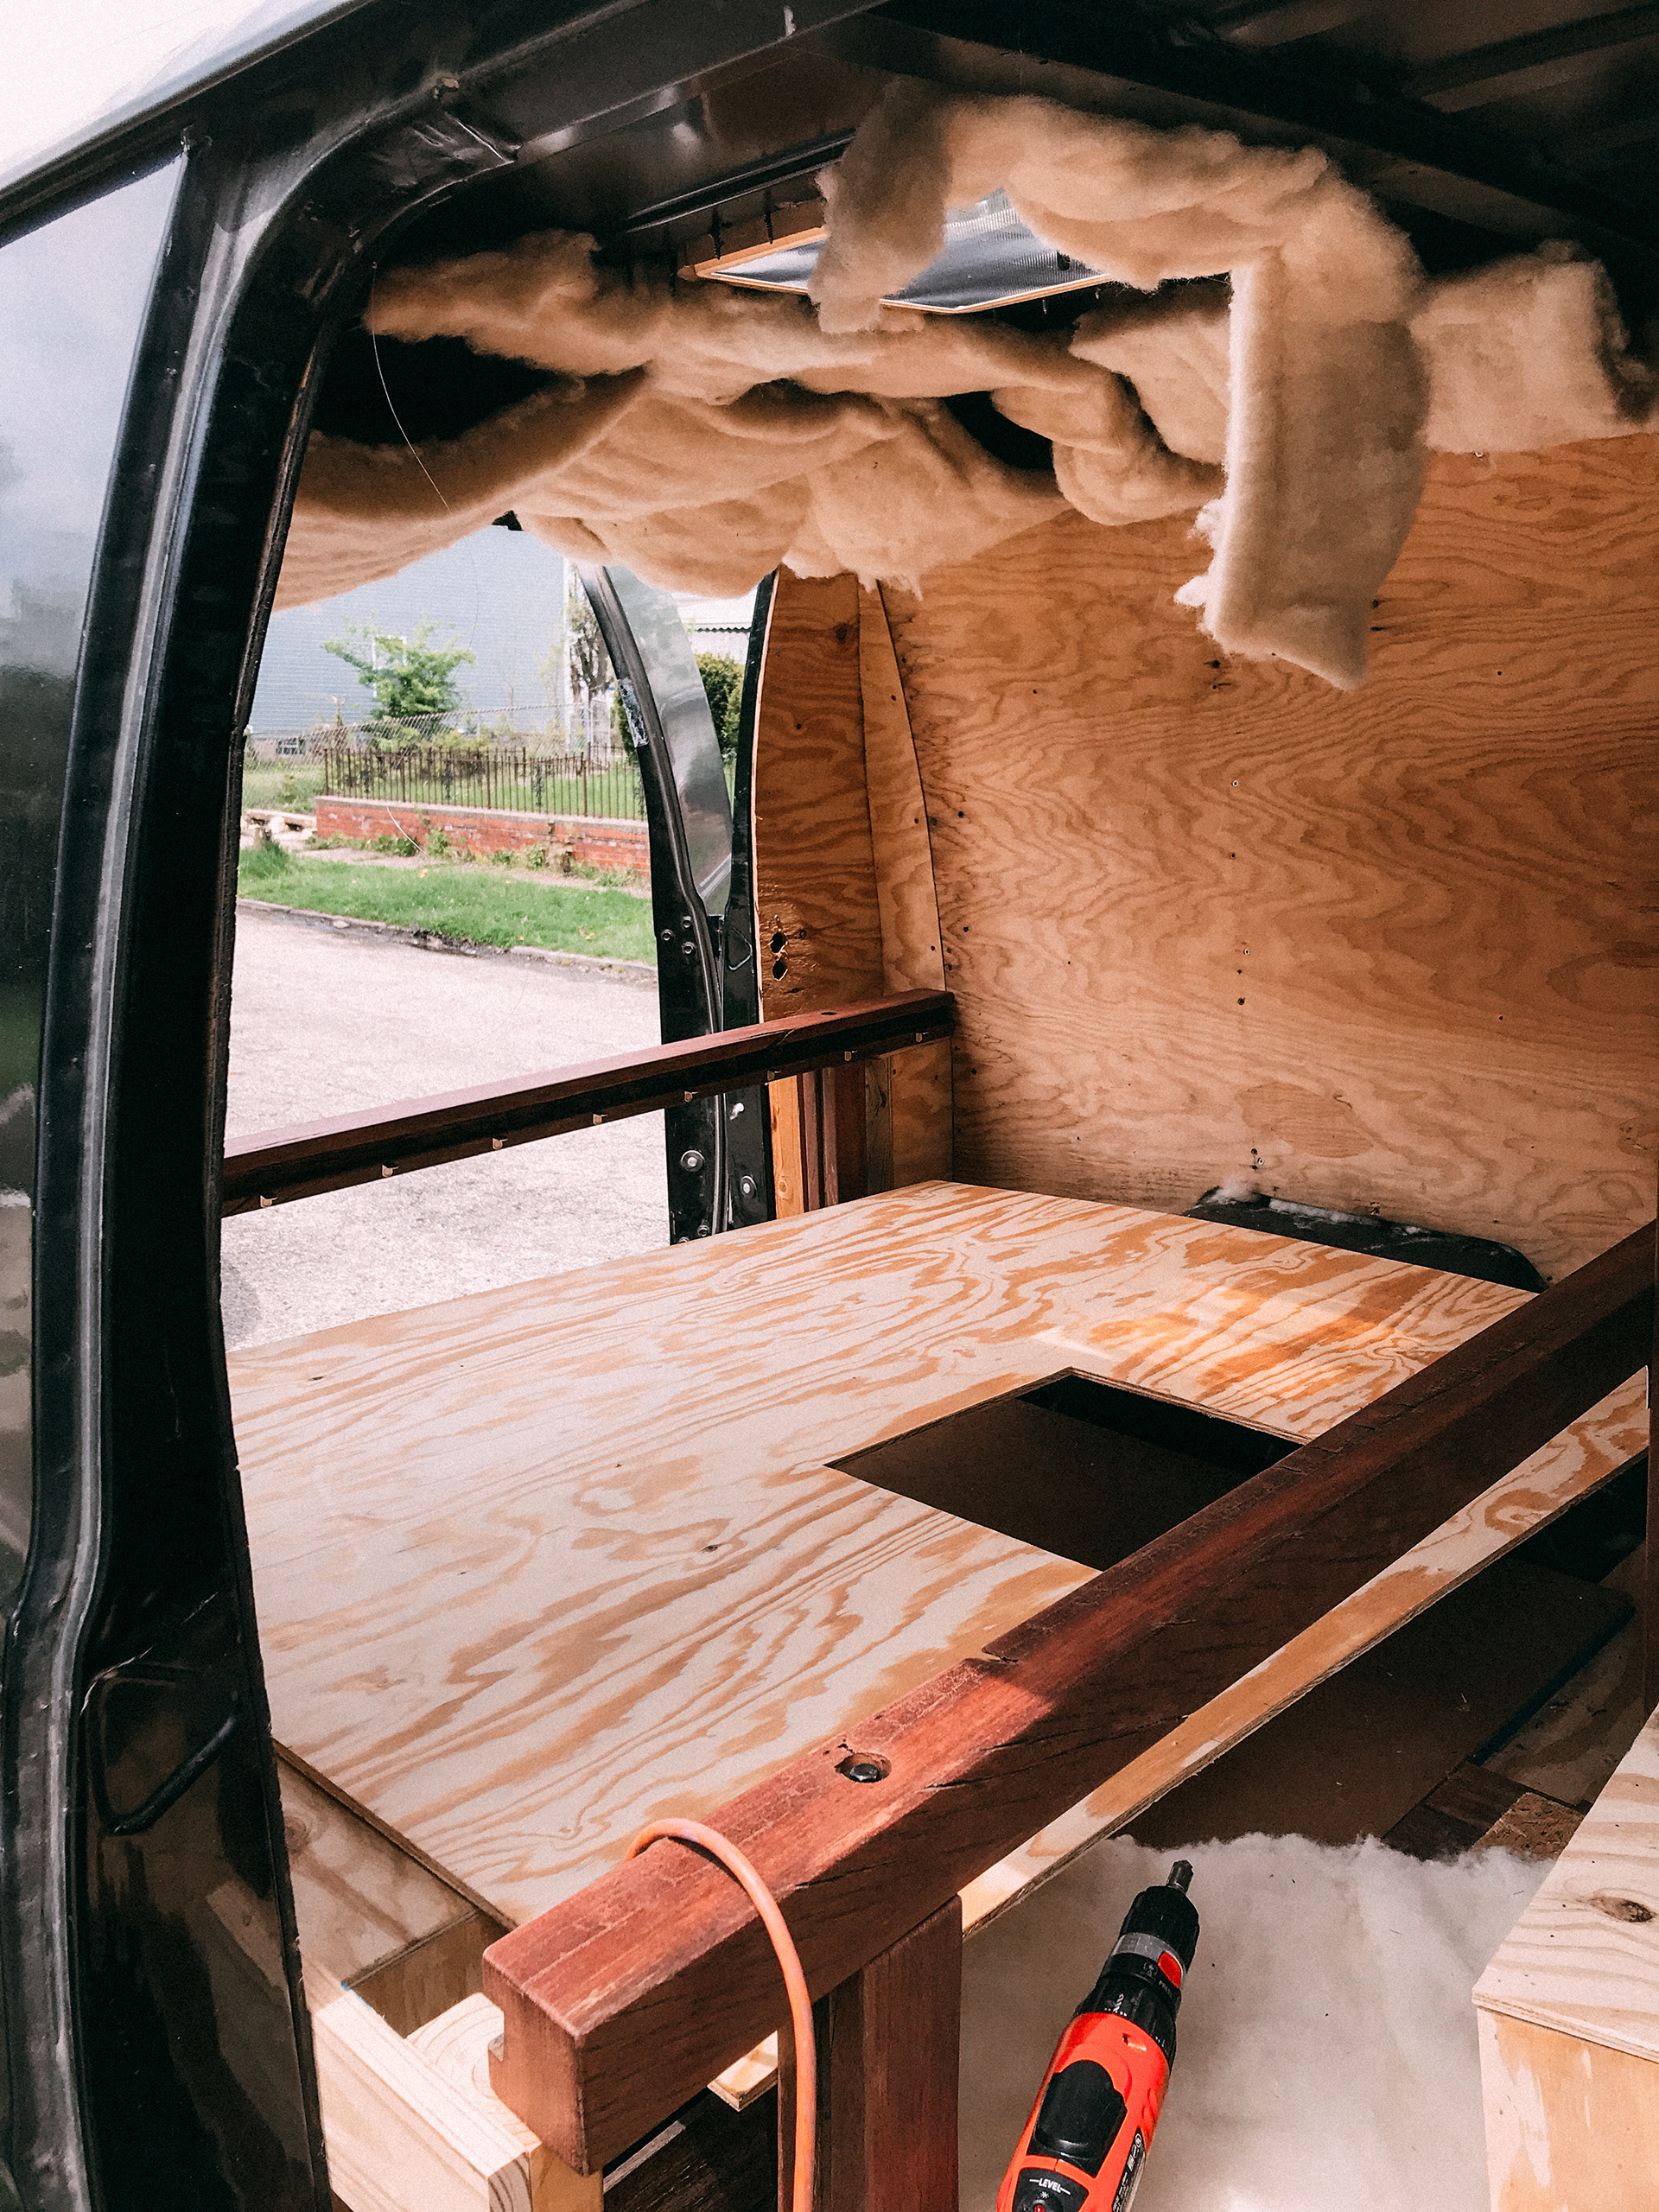
While the floor was drying, I was stuffing my walls full of wool from Havelock Wool. This was a very time consuming project because there is a lot of small holes I needed to fill and setting up a way to hold the wool in place before installing the plywood walls was a headache. I ended up using fishing line because I had a spool of it and it fed through some of the preexisting holes.
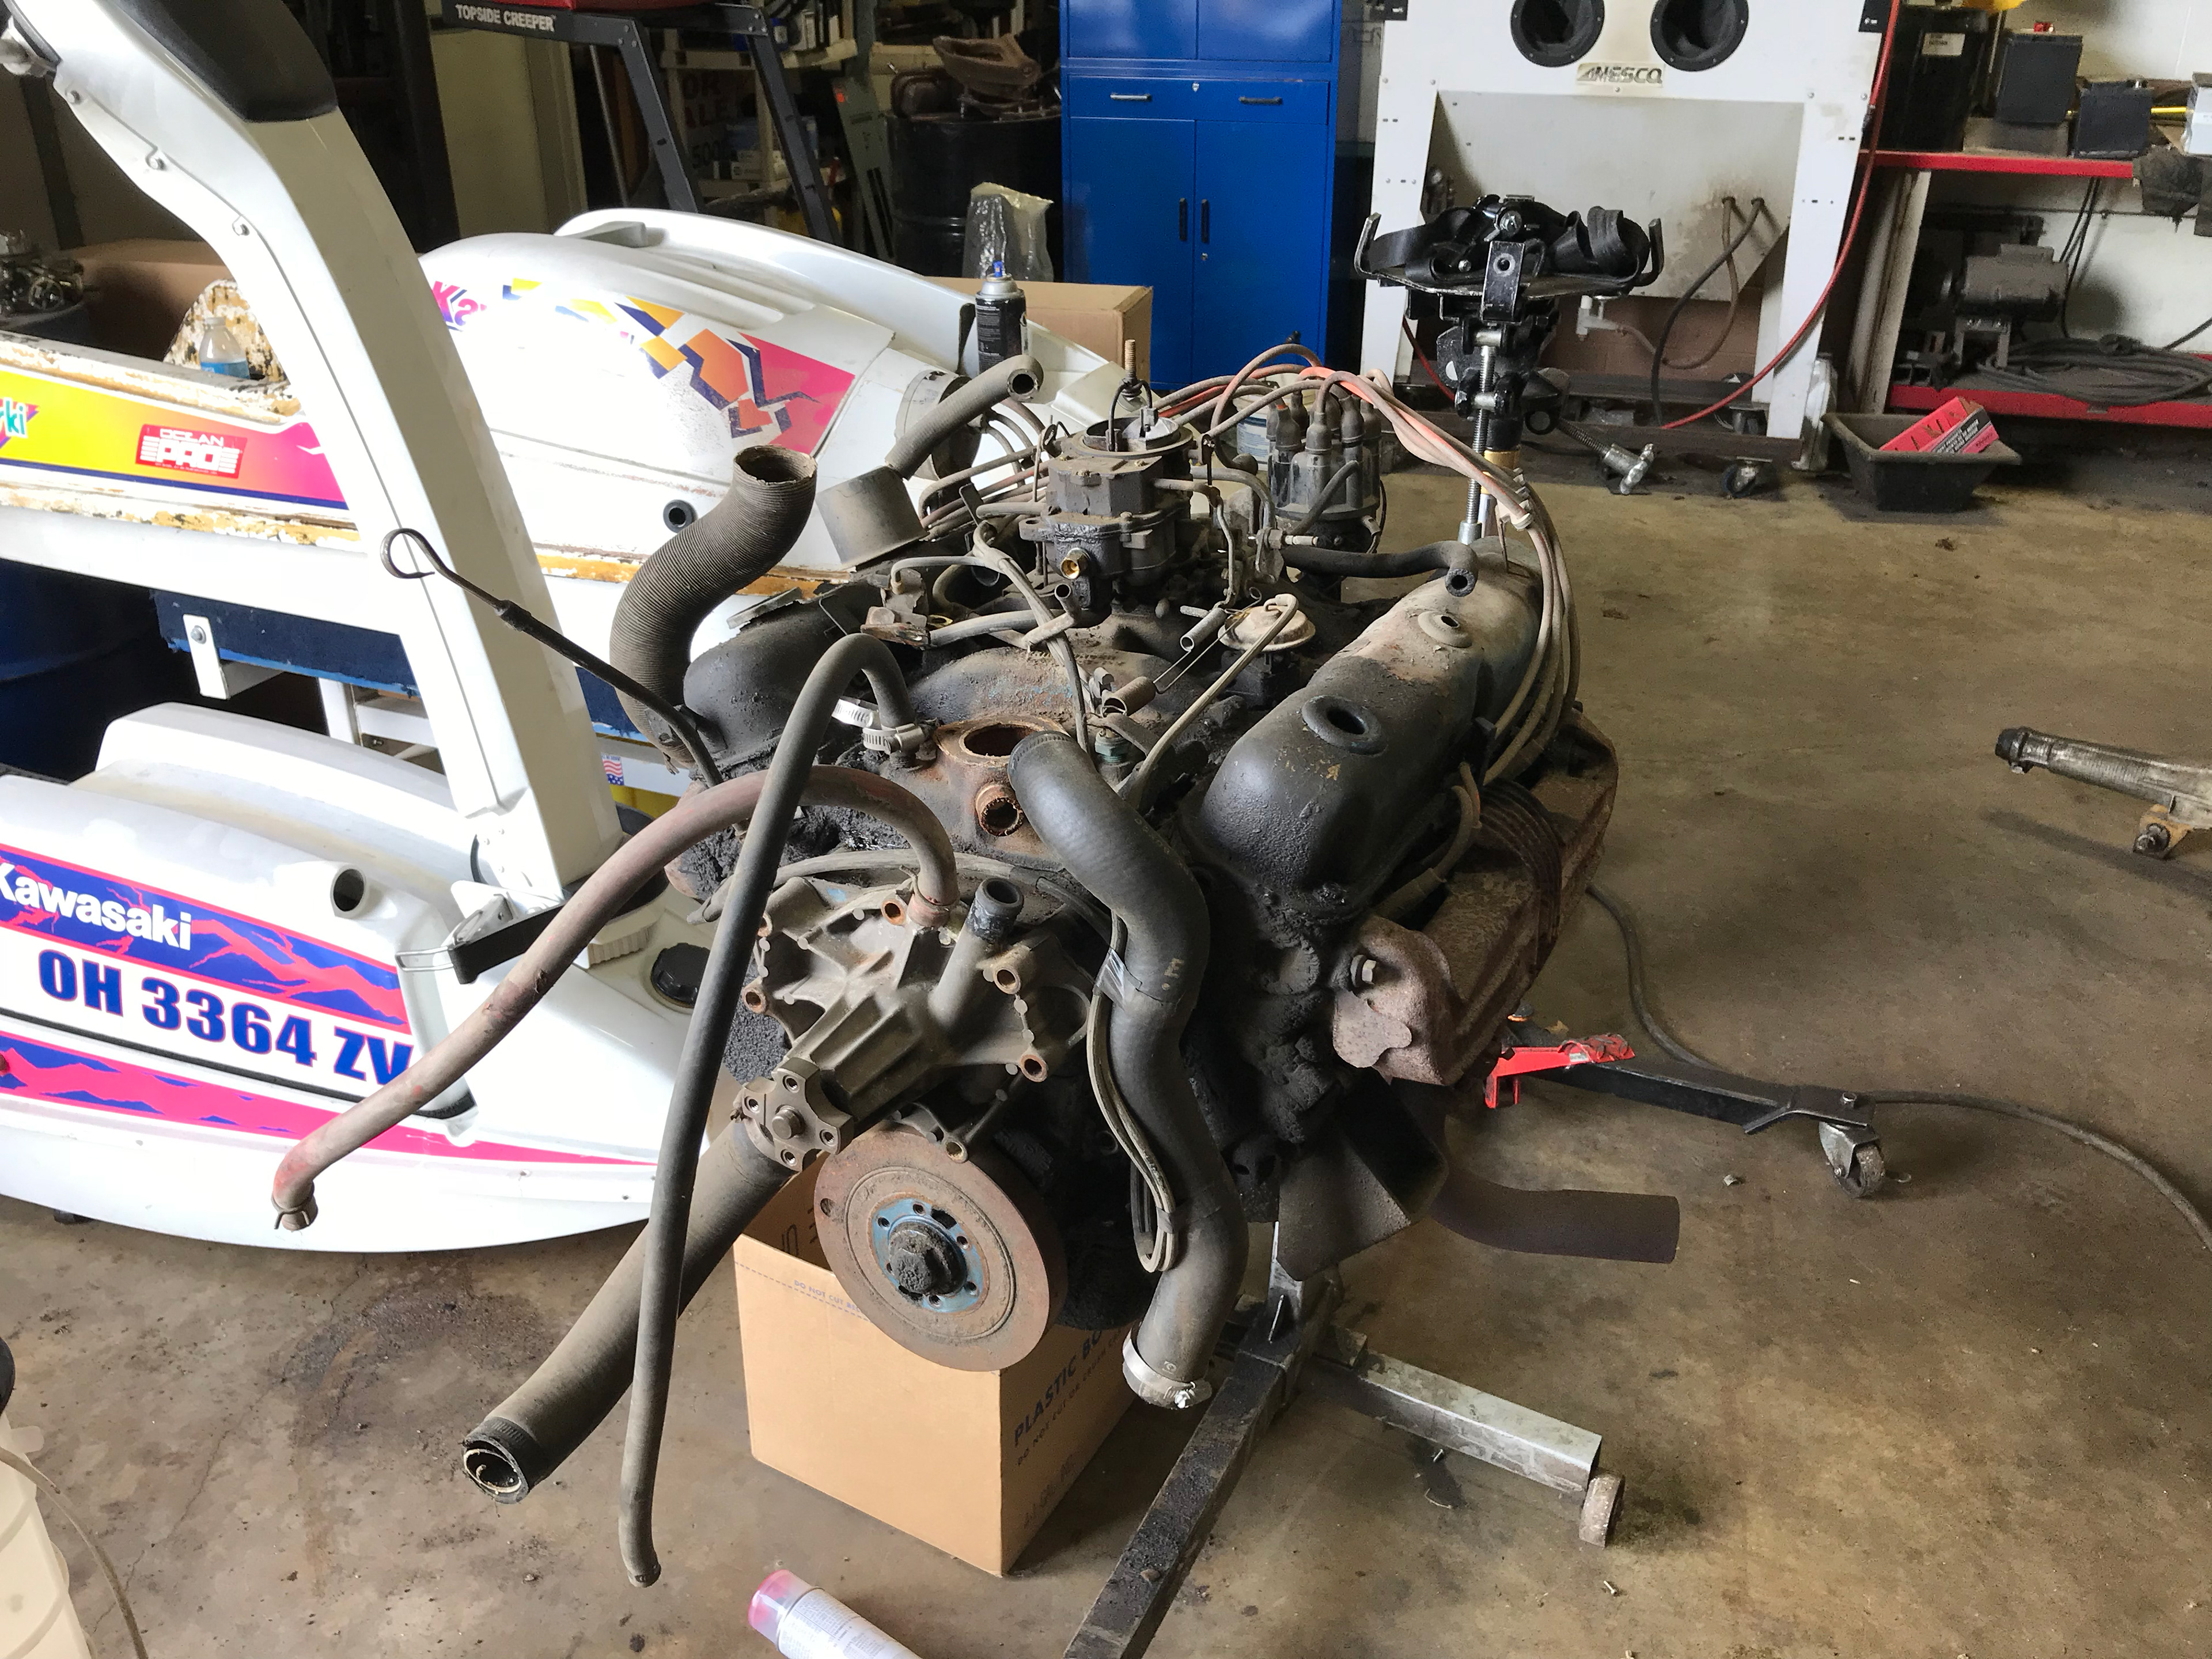
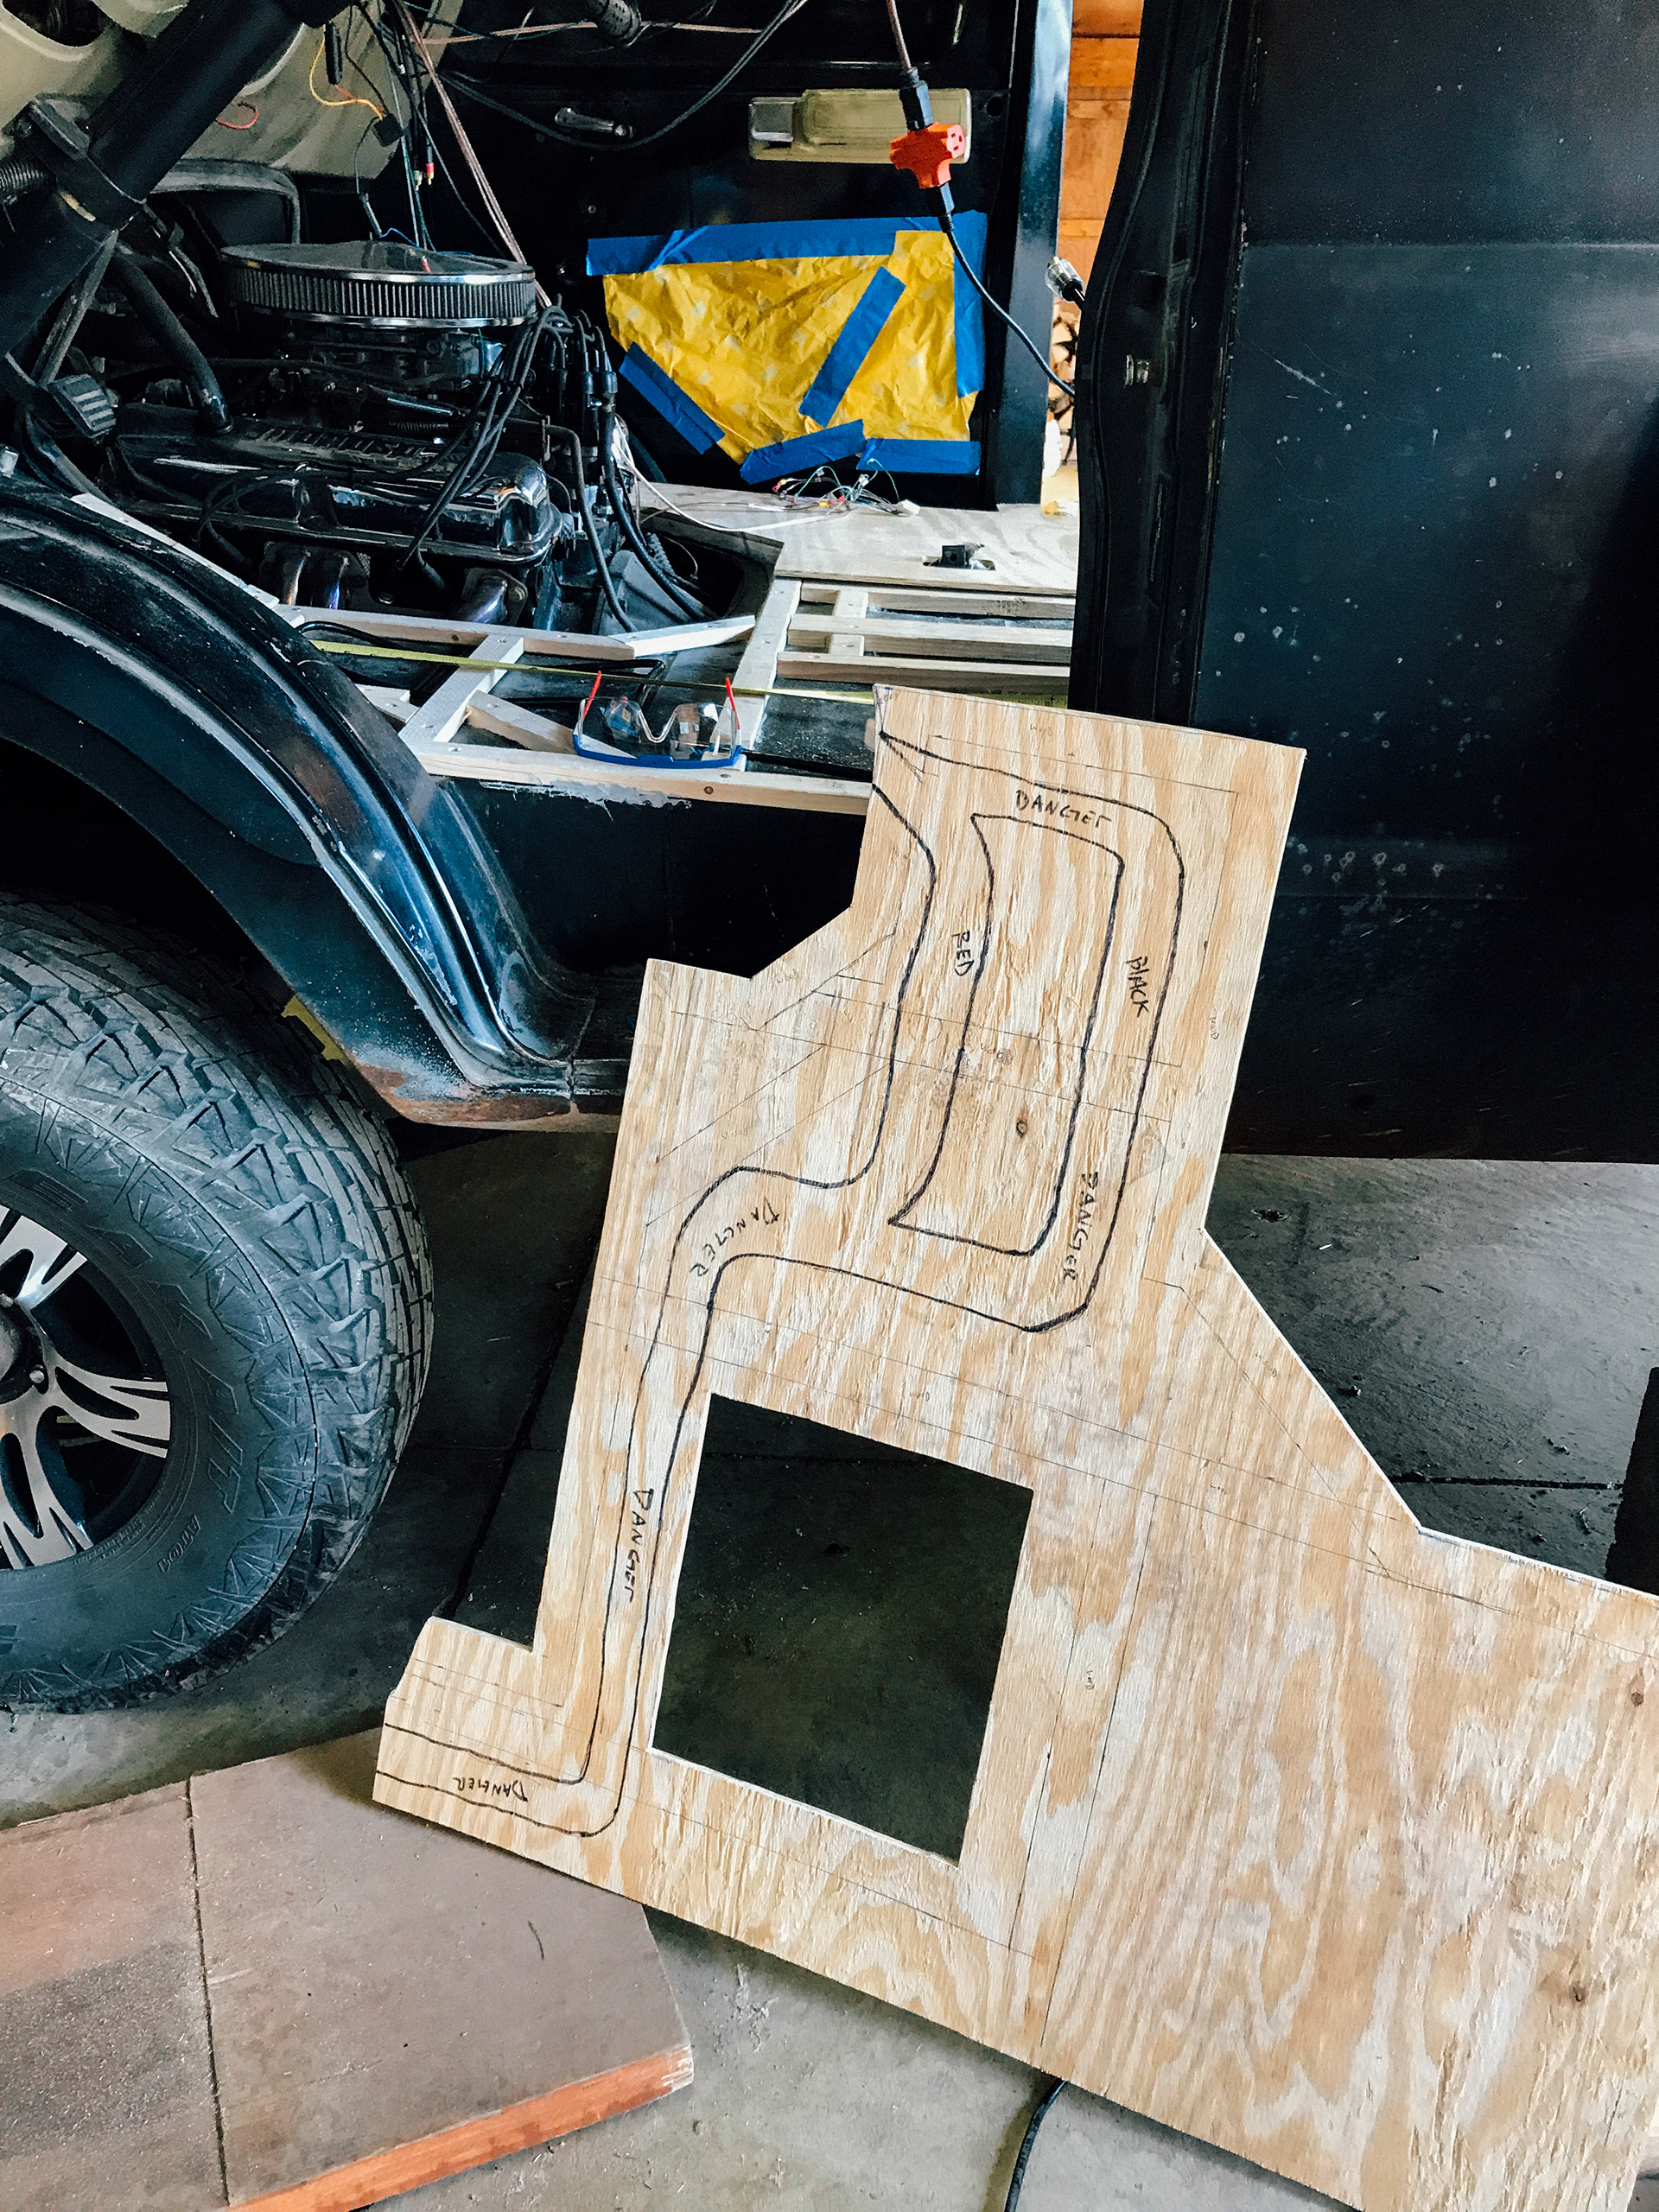
Before I could finish the floor, I needed to do some wiring with Josh leading the charge. In order to save money, we used leftover 3 gauge housing wire to power my sub/amp and inverter. I ran this through the floor and marked the area so I didn't nail into it later with a nail gun. Using that house wire instead of car wire was like wrestling an anaconda. I 100% don't recommend it unless you are trying to be as cheap as possible and your friend just rewired his house.
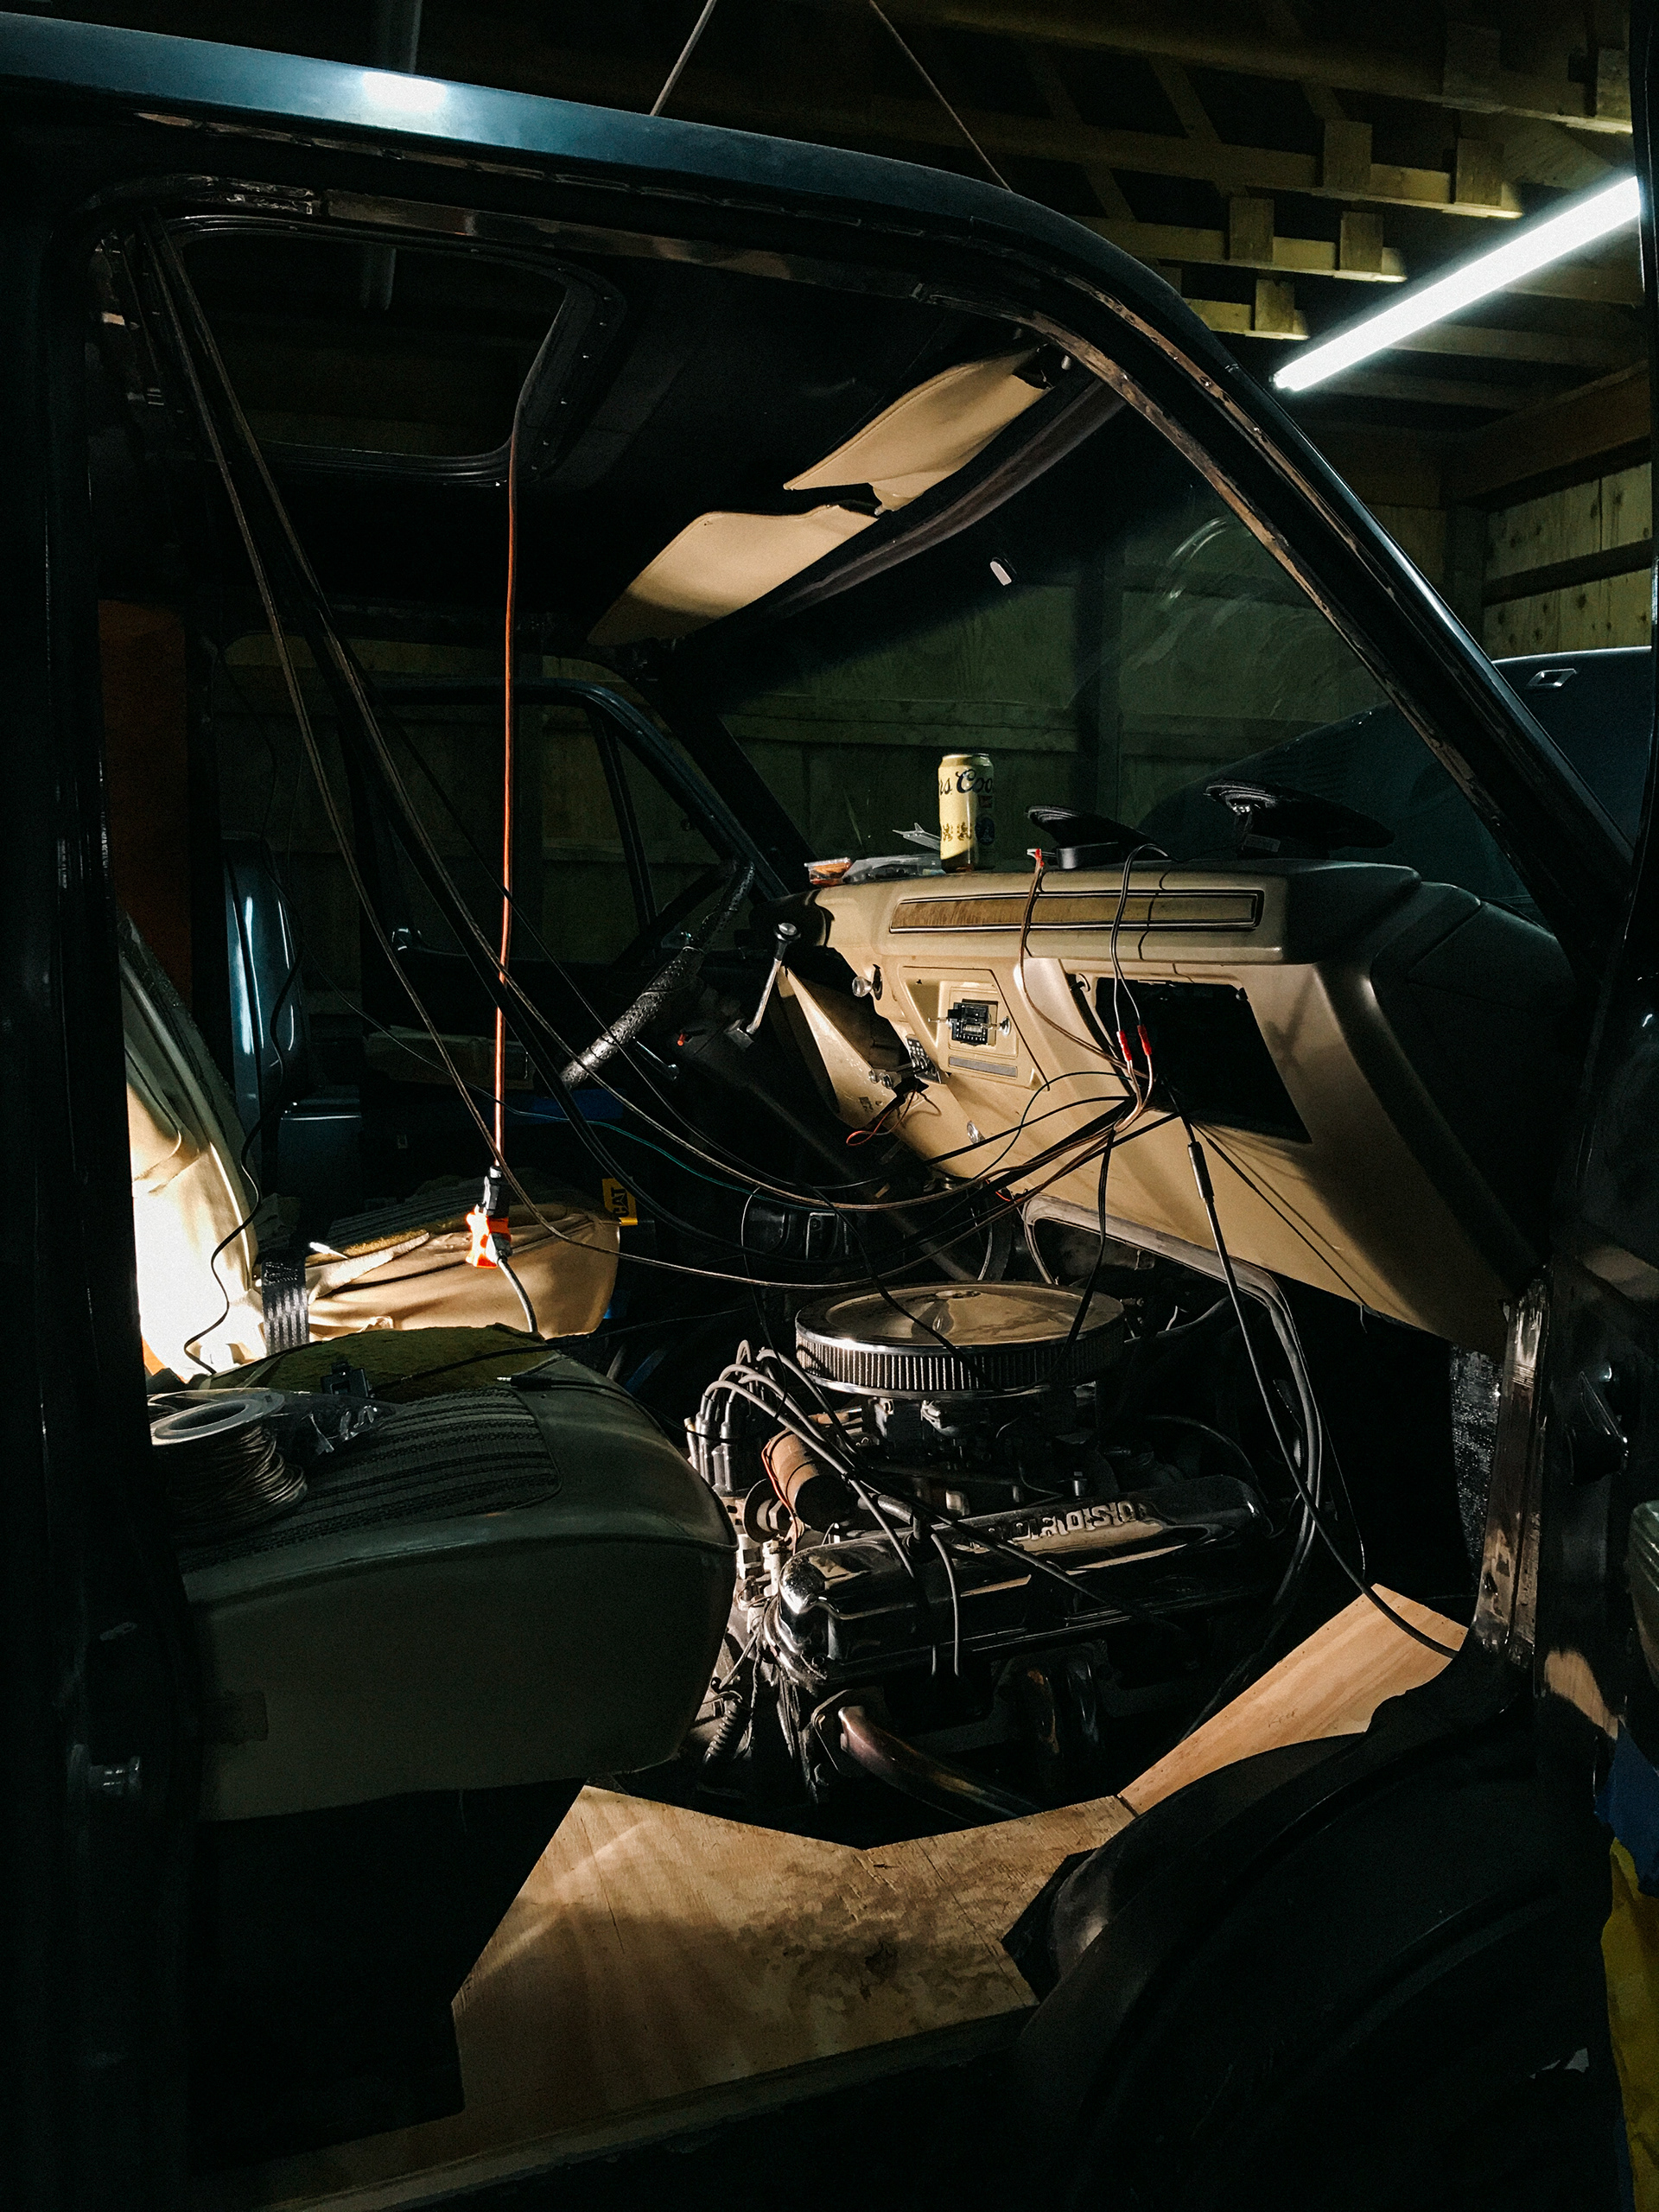
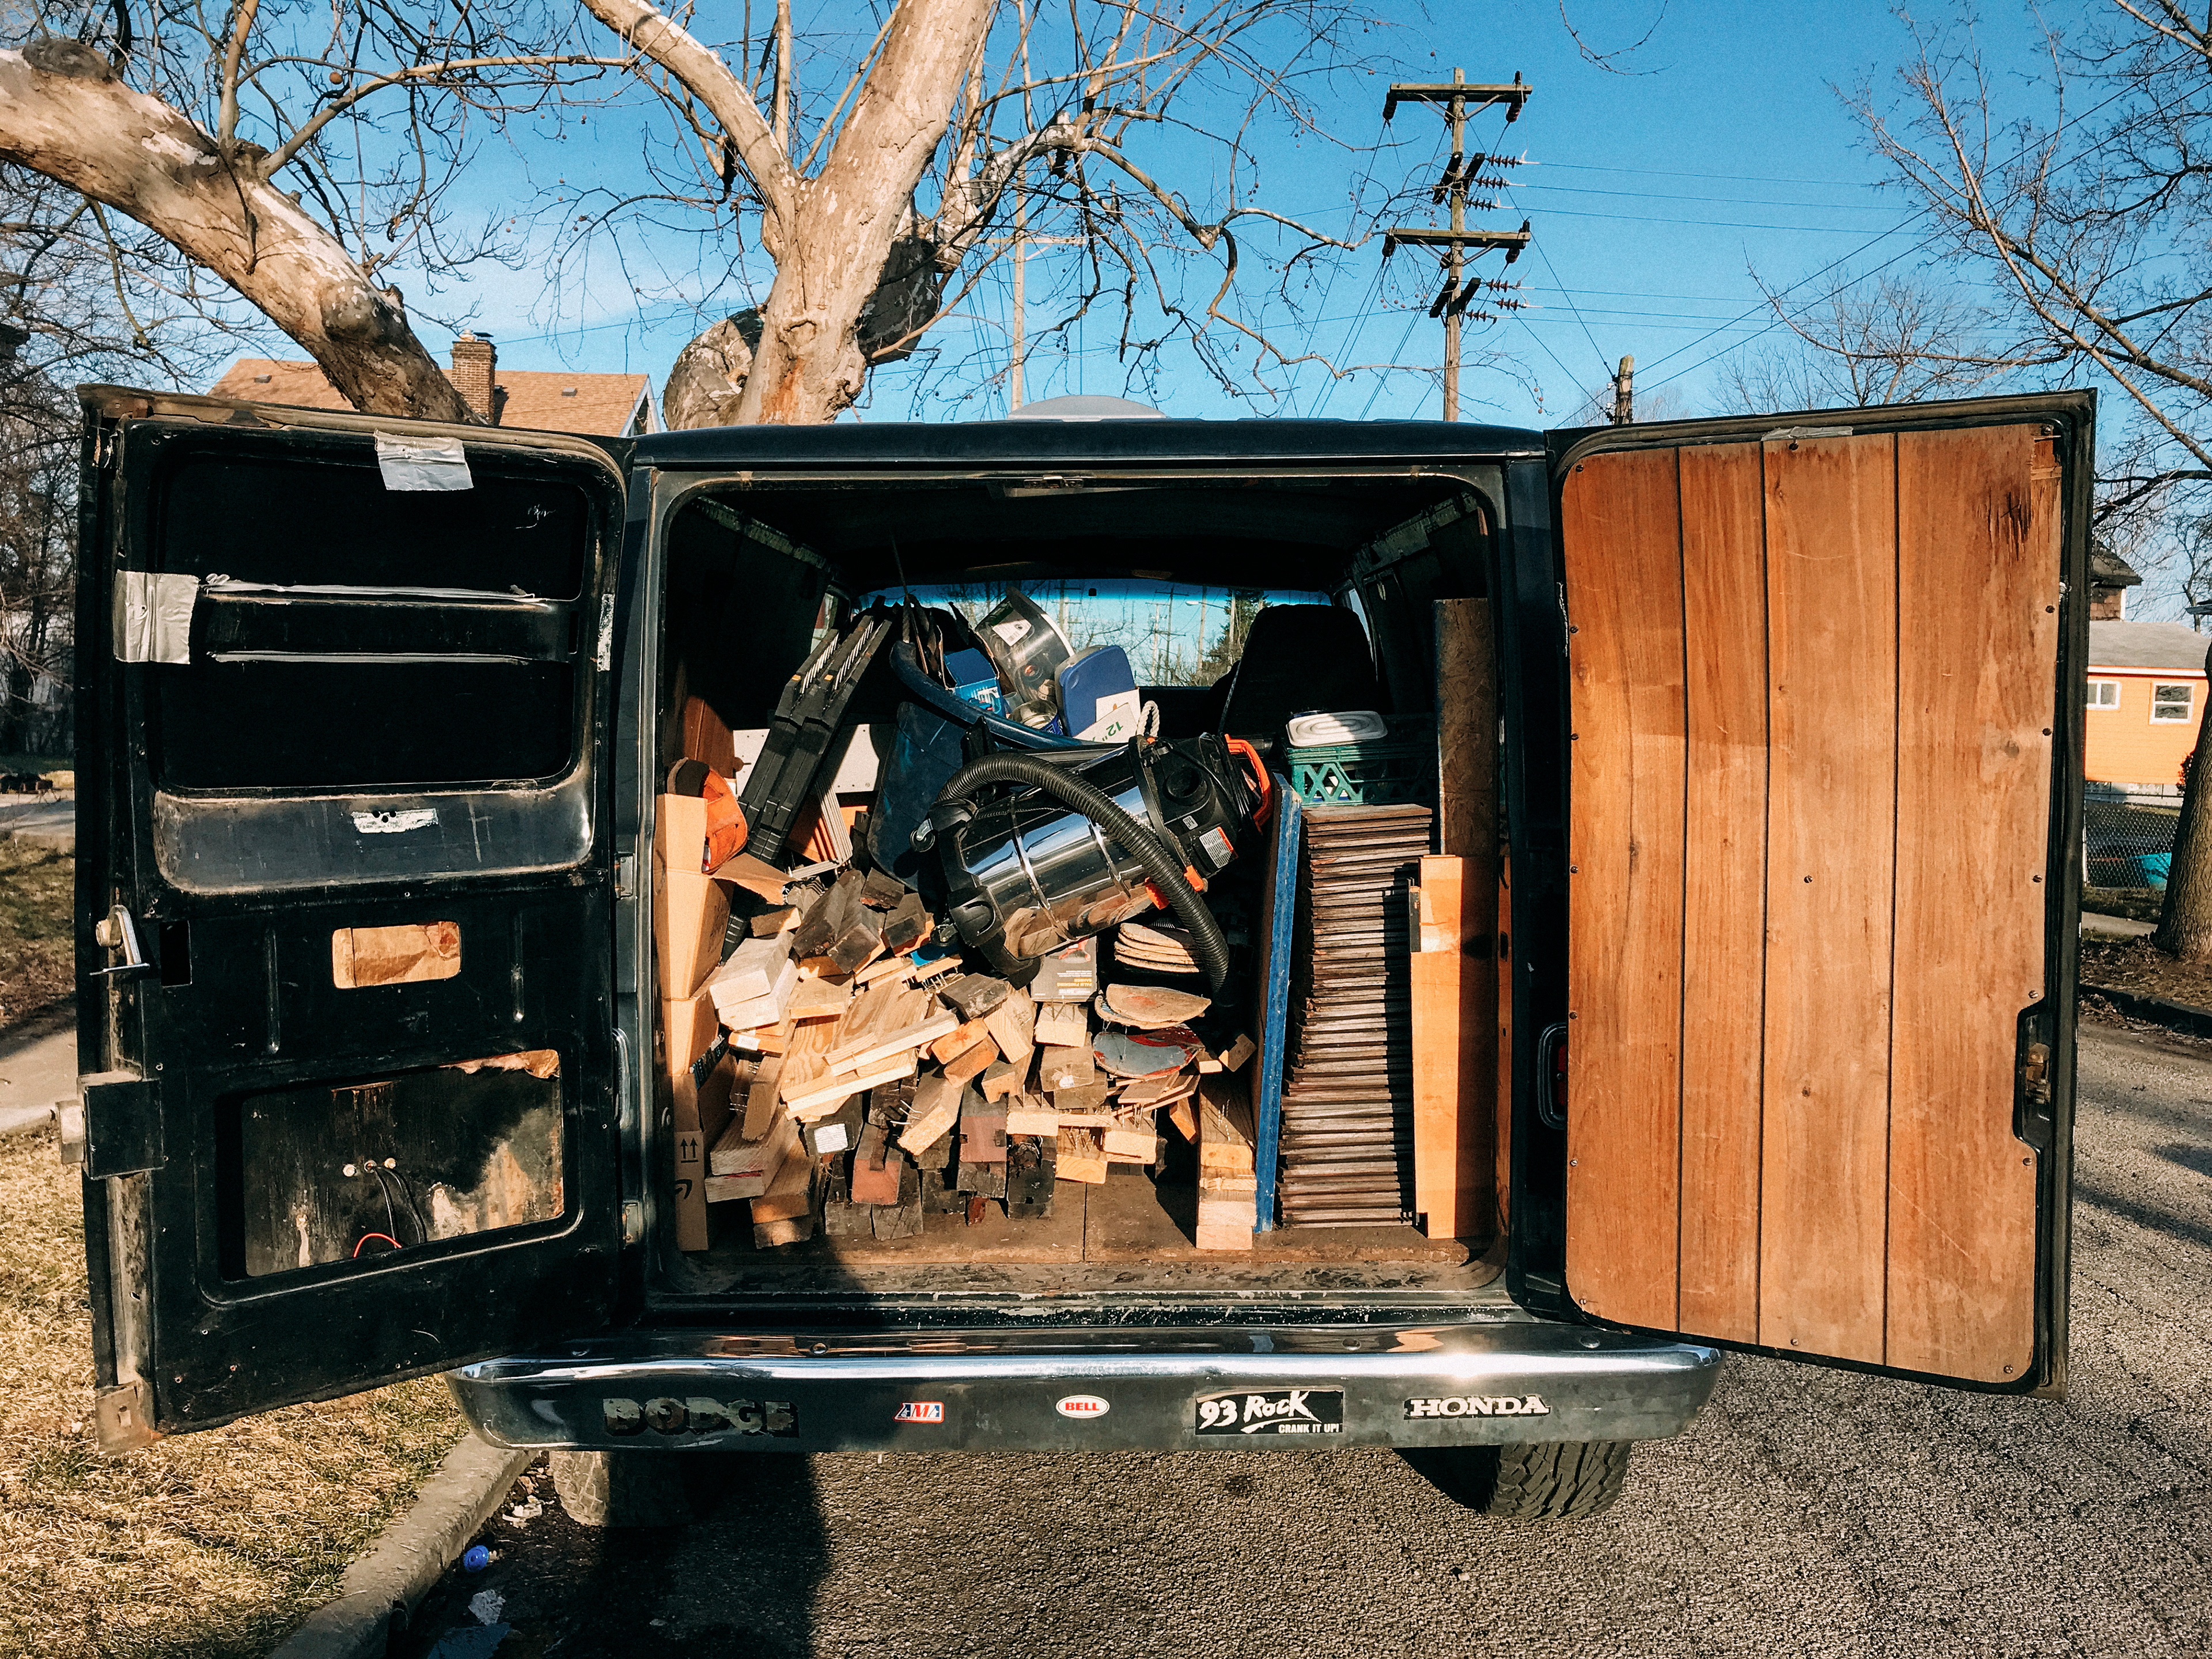
After working 19 straight days on the van, it was time to head back to Columbus so I could sell my M3 and get more money for this build/trip. I loaded the van packed to the ceiling with tools, wool and my bed. I ended up leaving a lot later than I had planned to and ran into wiring issues as night crept in. My speedometer lights didn't work, my turn signals stopped working and then all of a sudden, my wipers stopped working, while it was raining and the roof was leaking directly on me. I was in over my head and needed to figure out a way to solve these problems before I could even head home to risk it on the freeway. Did I mention all my tools were packed! Well Josh came to the rescue as we diagnosed the problems. The windshield wiper bracket popped off the motor and there was no C clip in sight so I used a random S hook that I bench grinded into a C and then pinched at the end. After about 5 times of Josh almost giving up, we found that the wiring issue was that my brights for my headlights weren't grounded which somehow ruined everything else. Fucking old cars man, they're sick and simple but then they aren't. After making it back to Columbus, I started using the planed wood for the floor and other structural projects in the van. I'm quickly learning that hardwood is no joke and requires hefty tools & hardware.
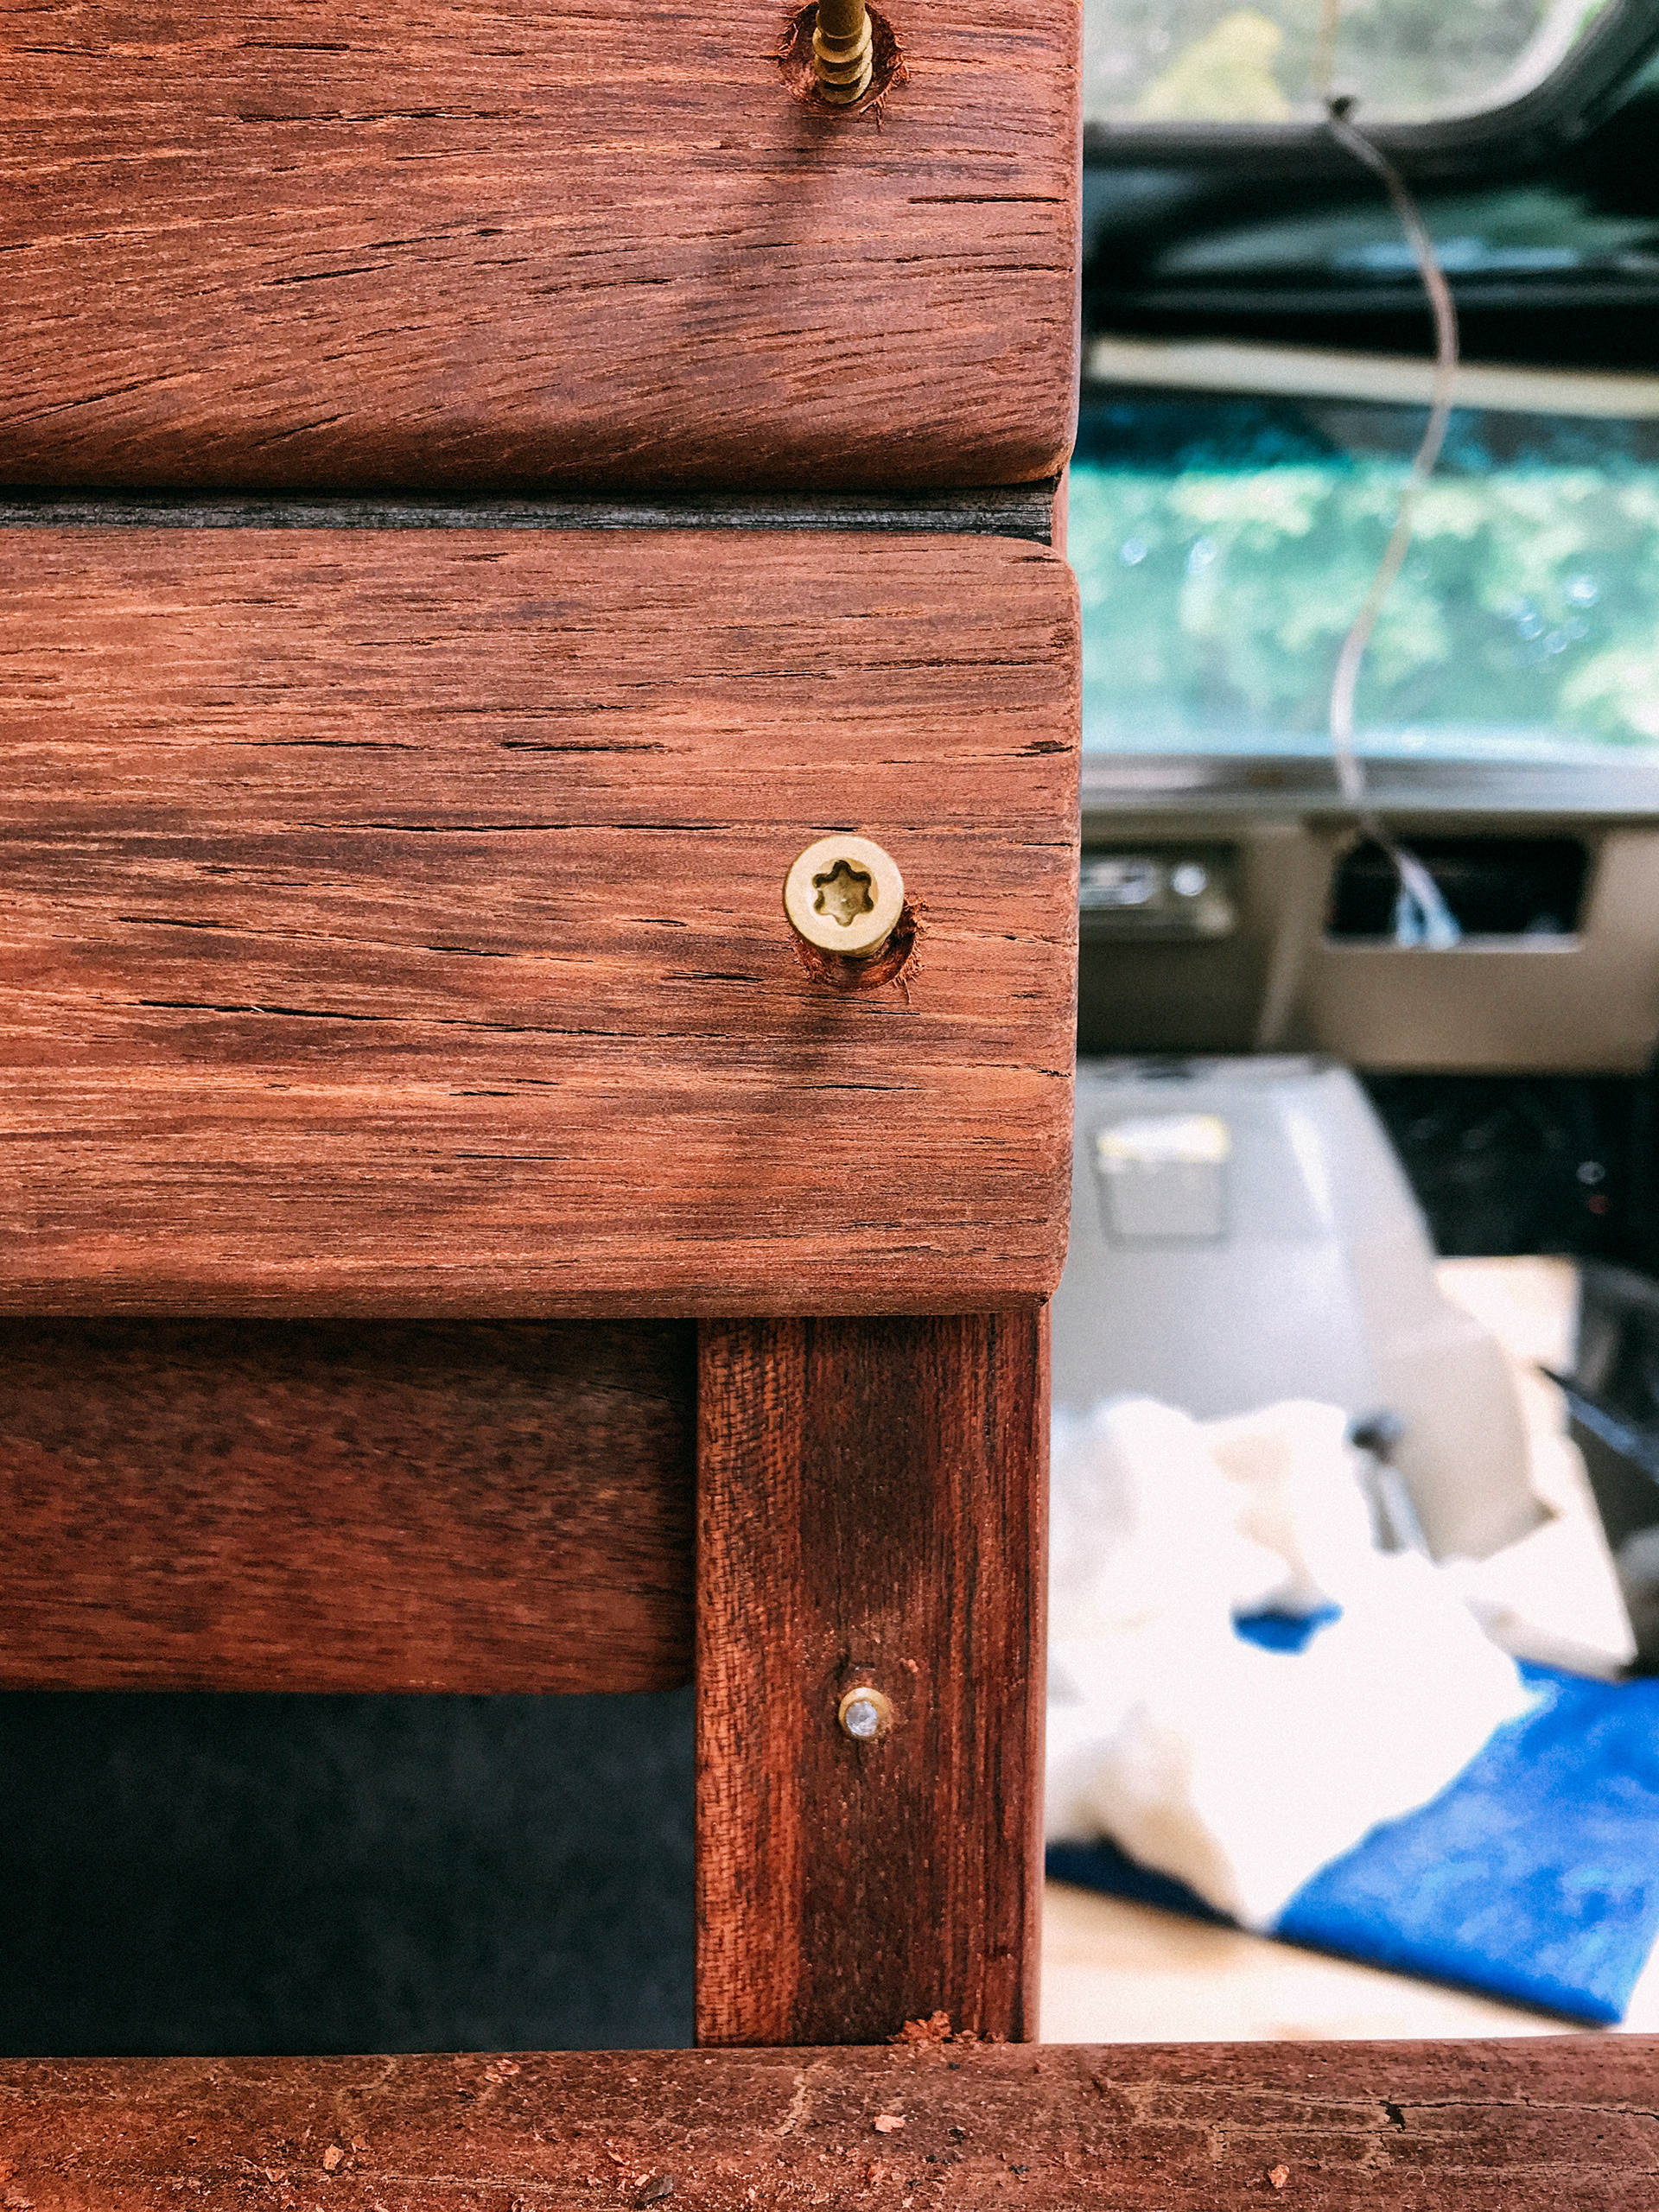

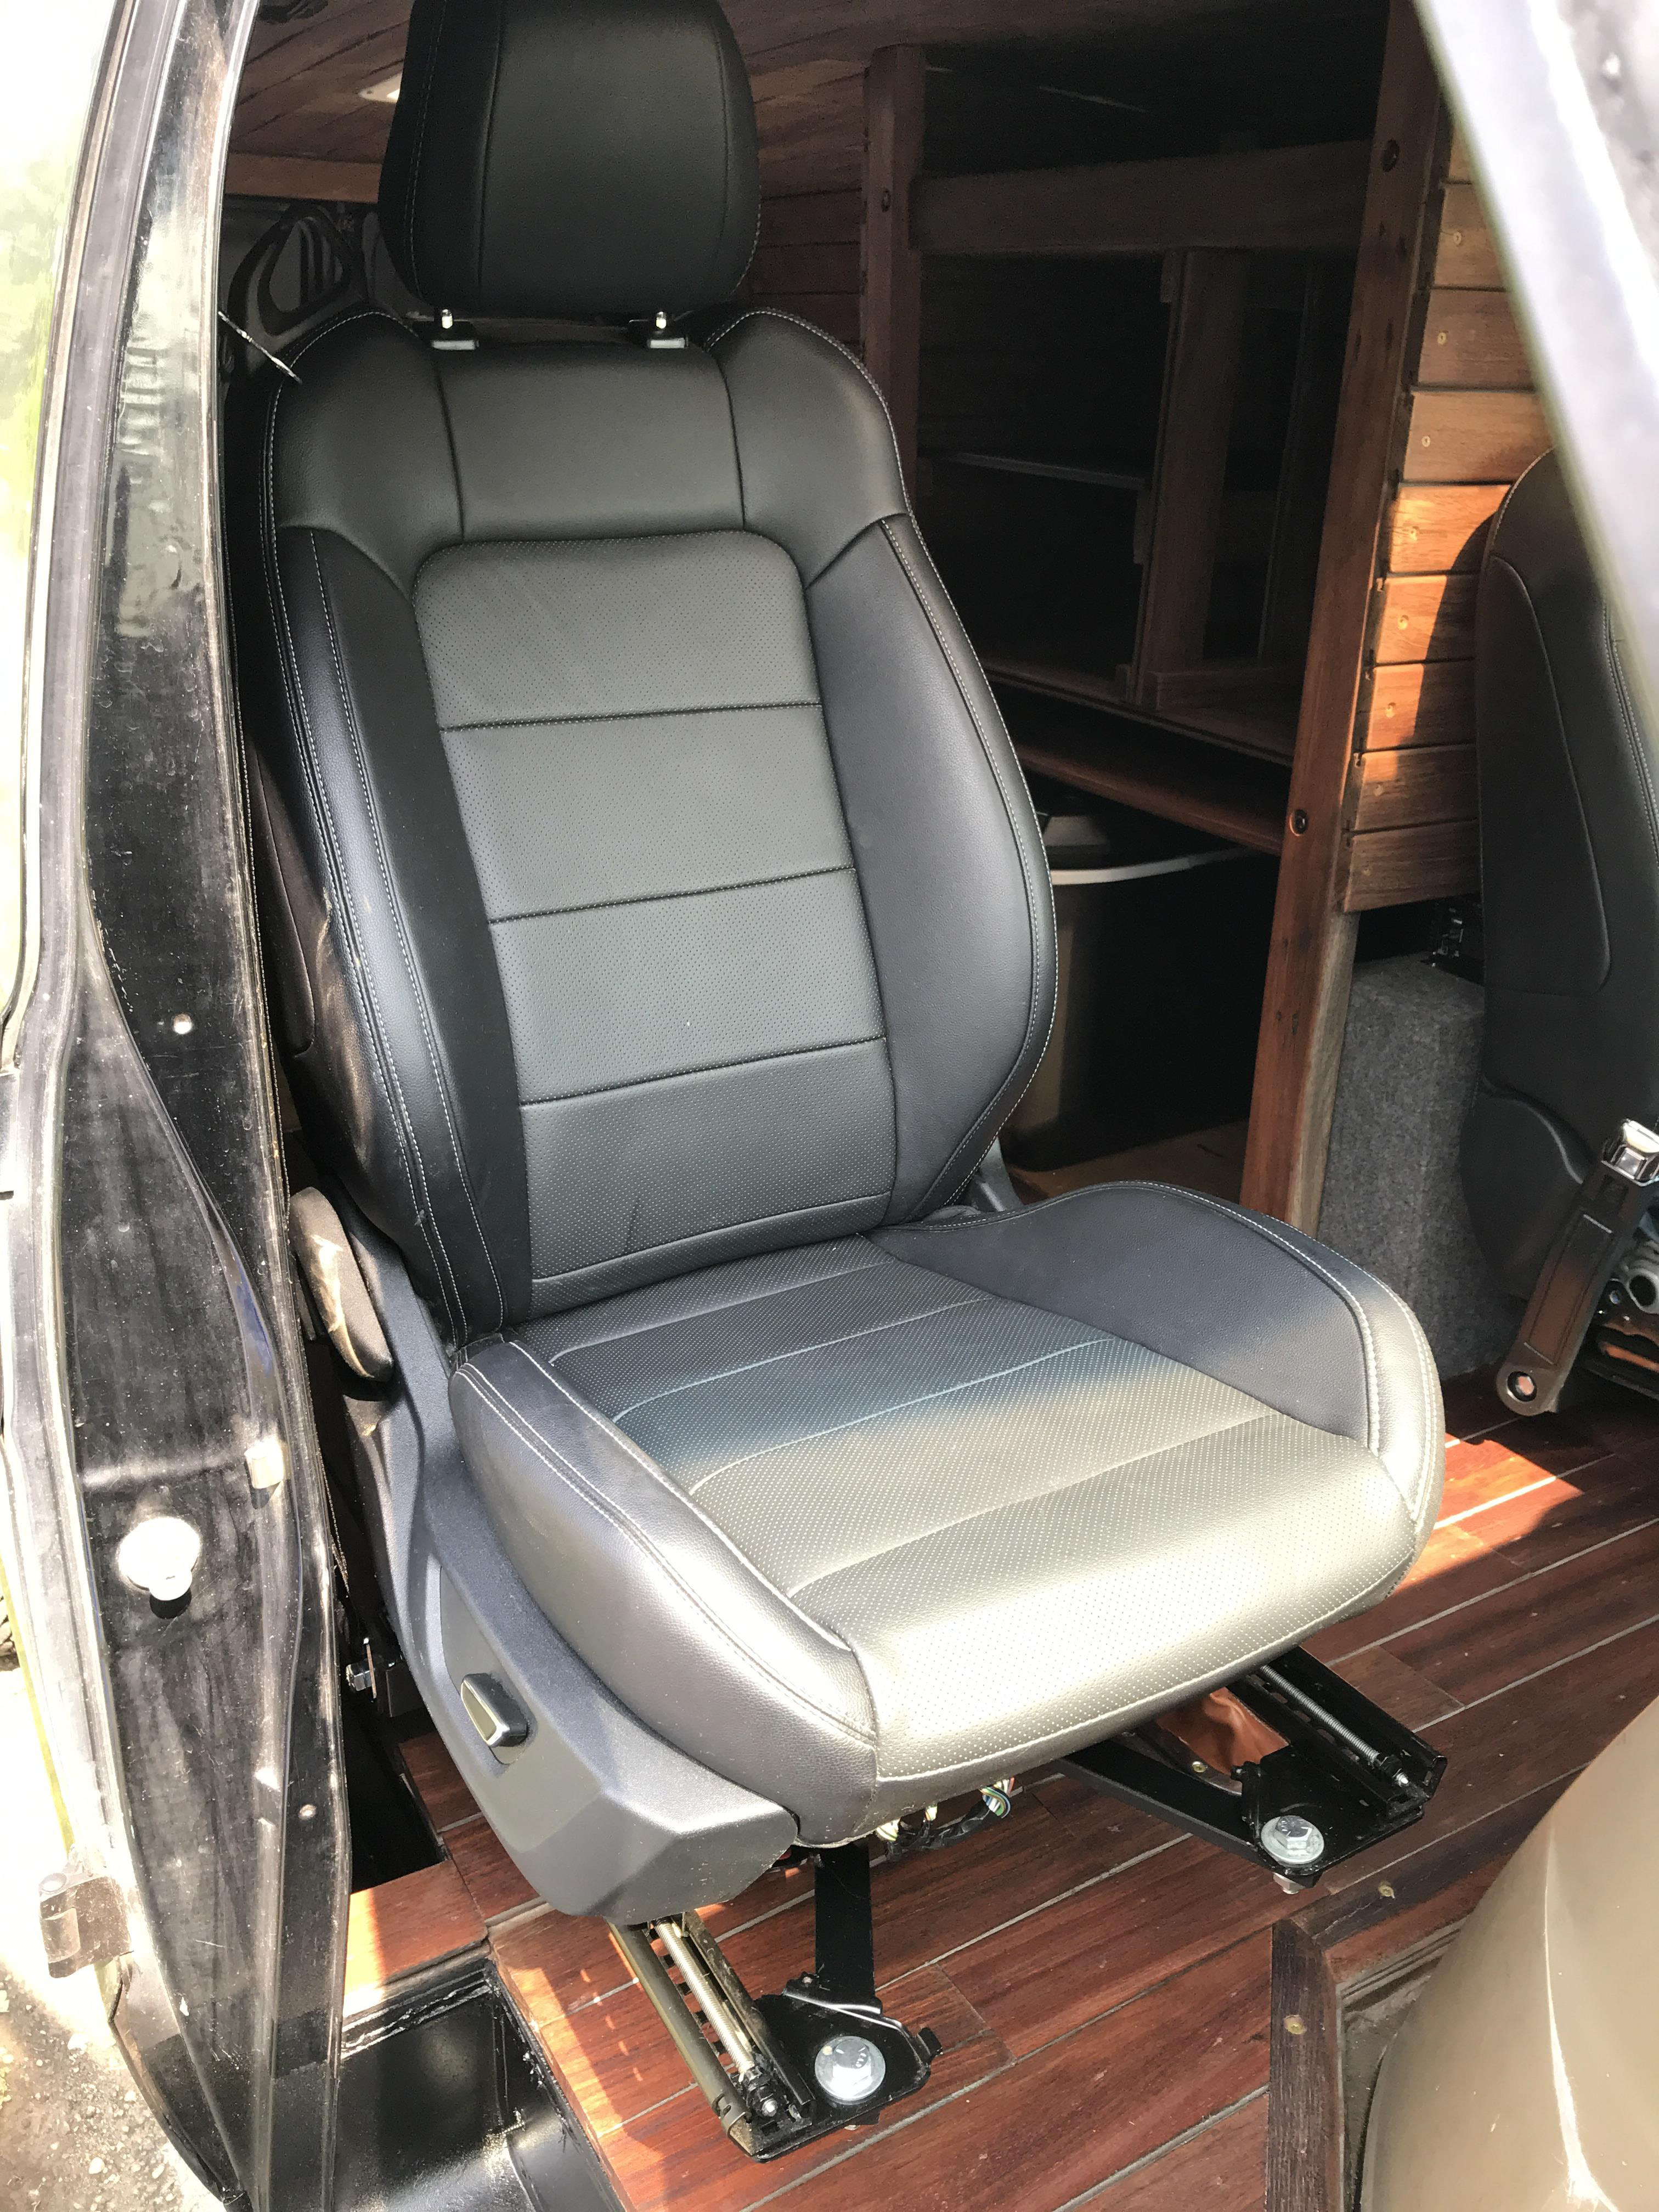
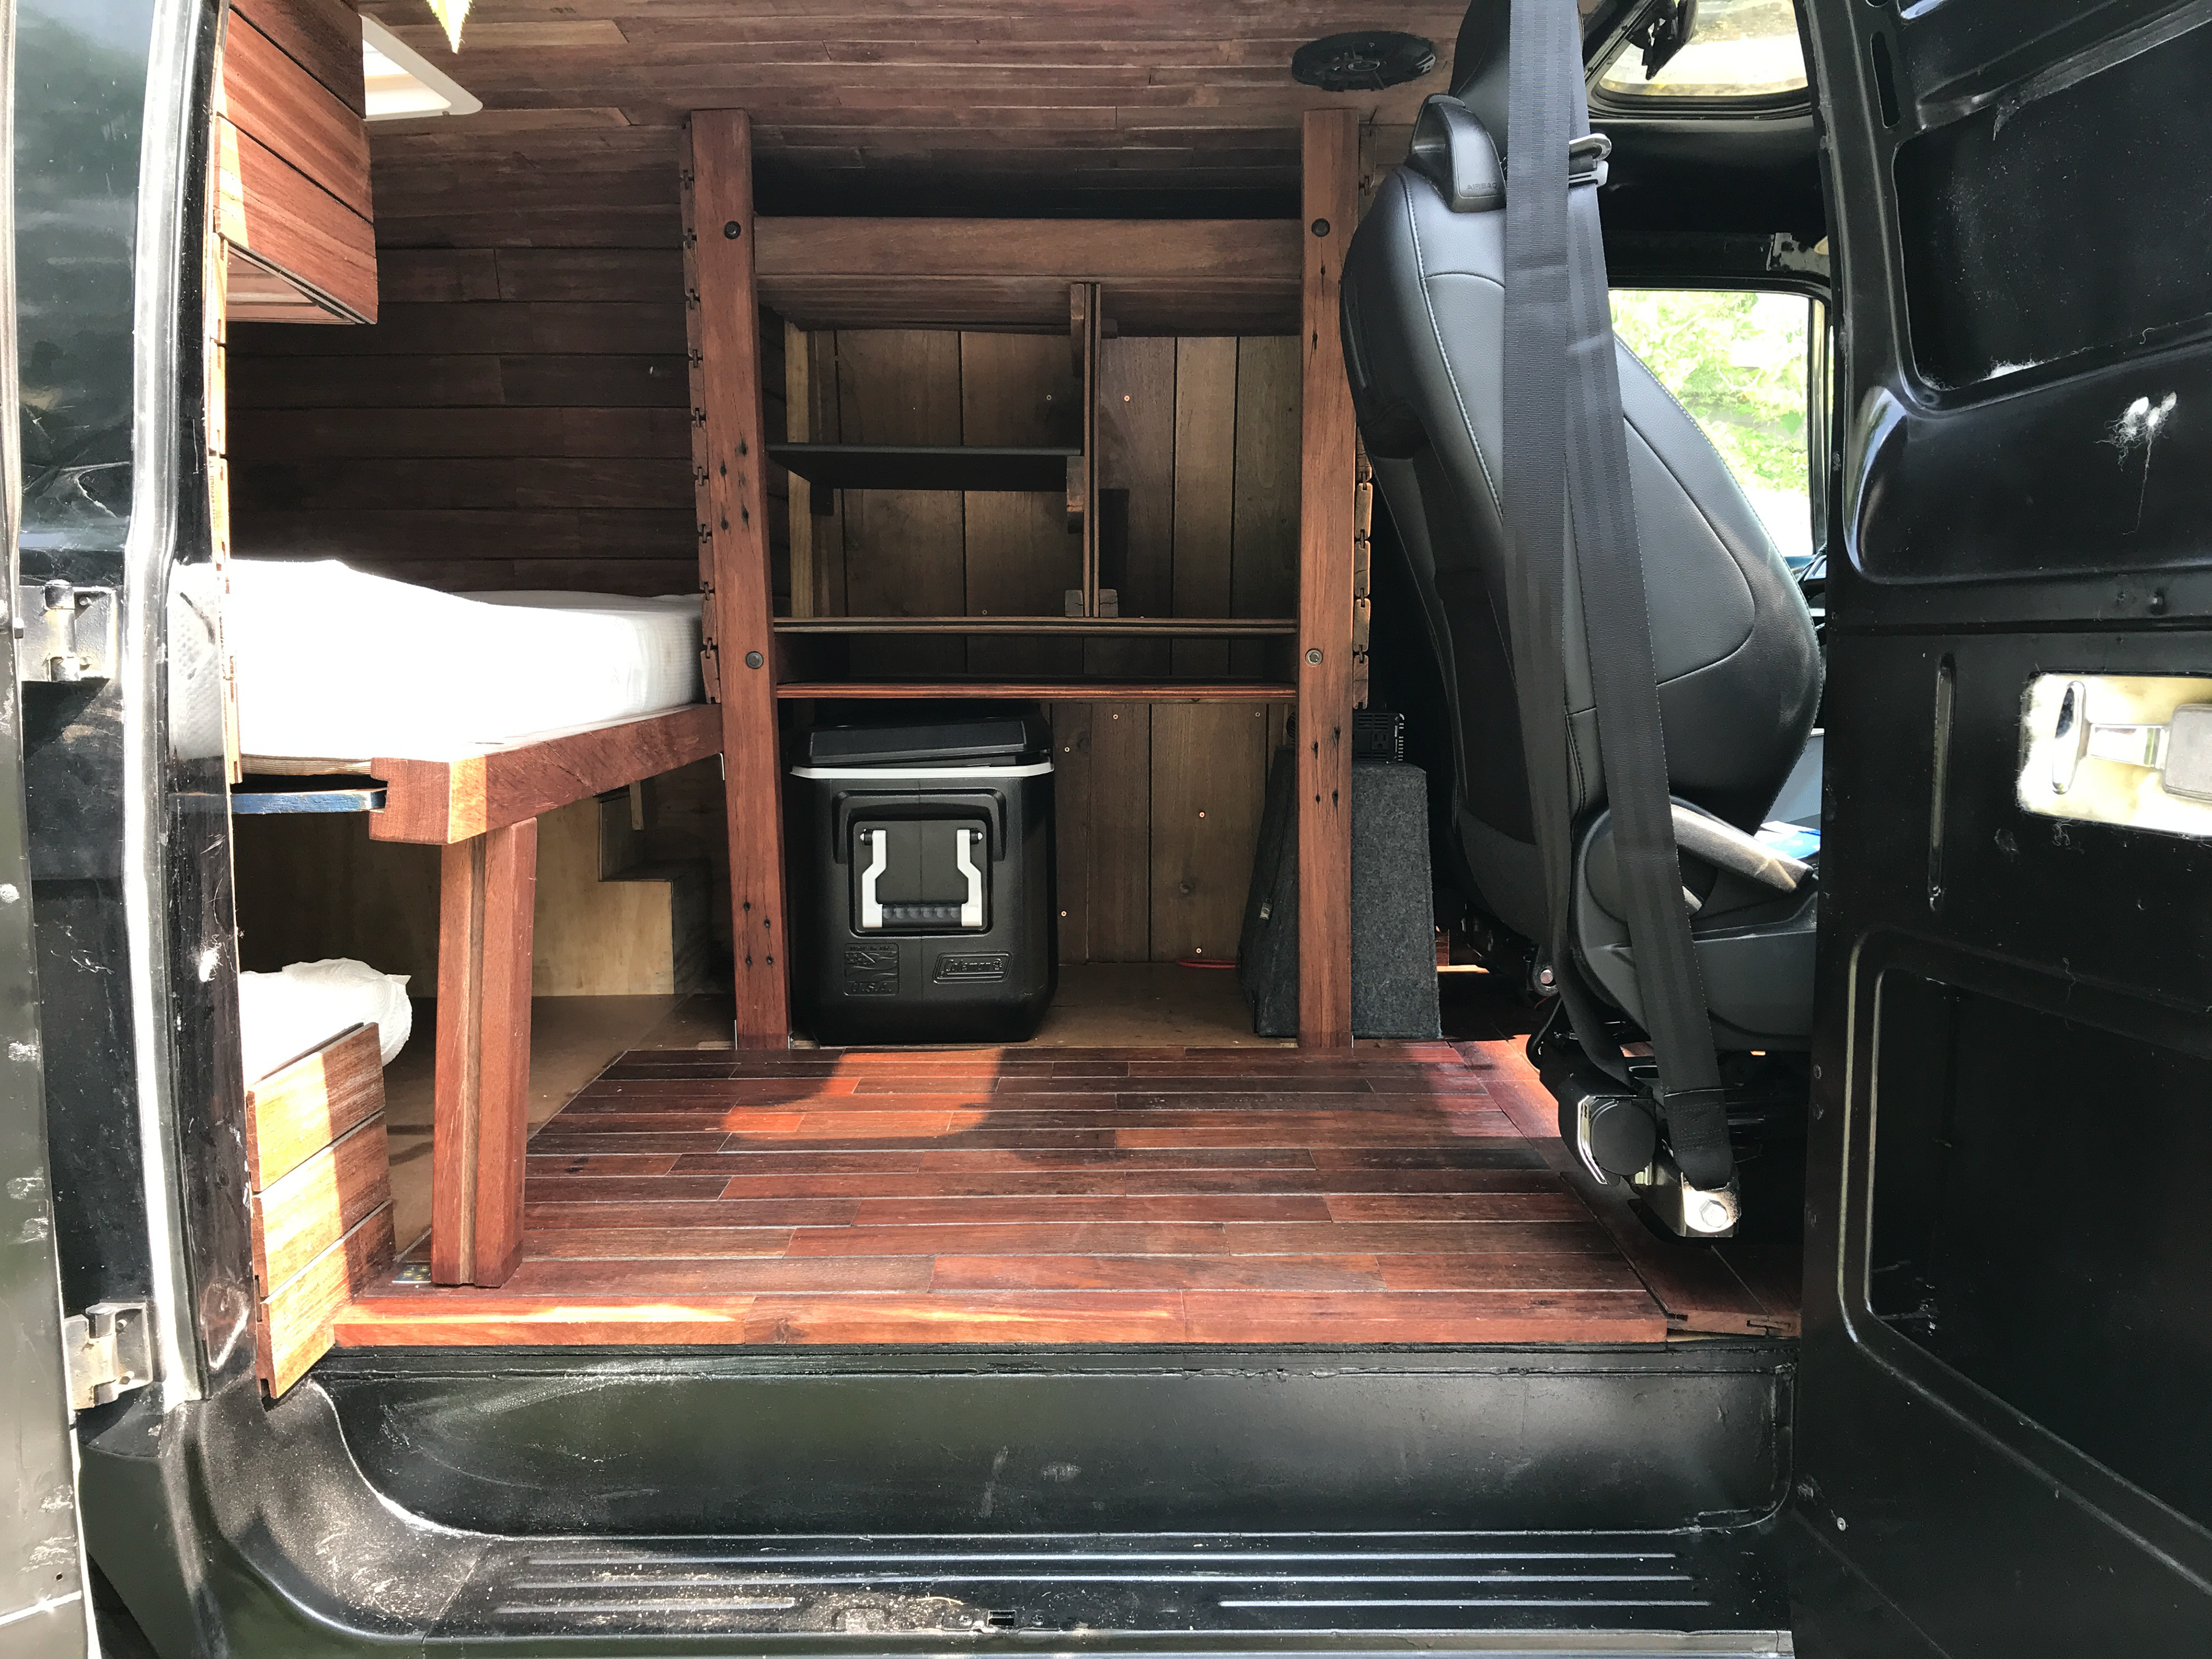
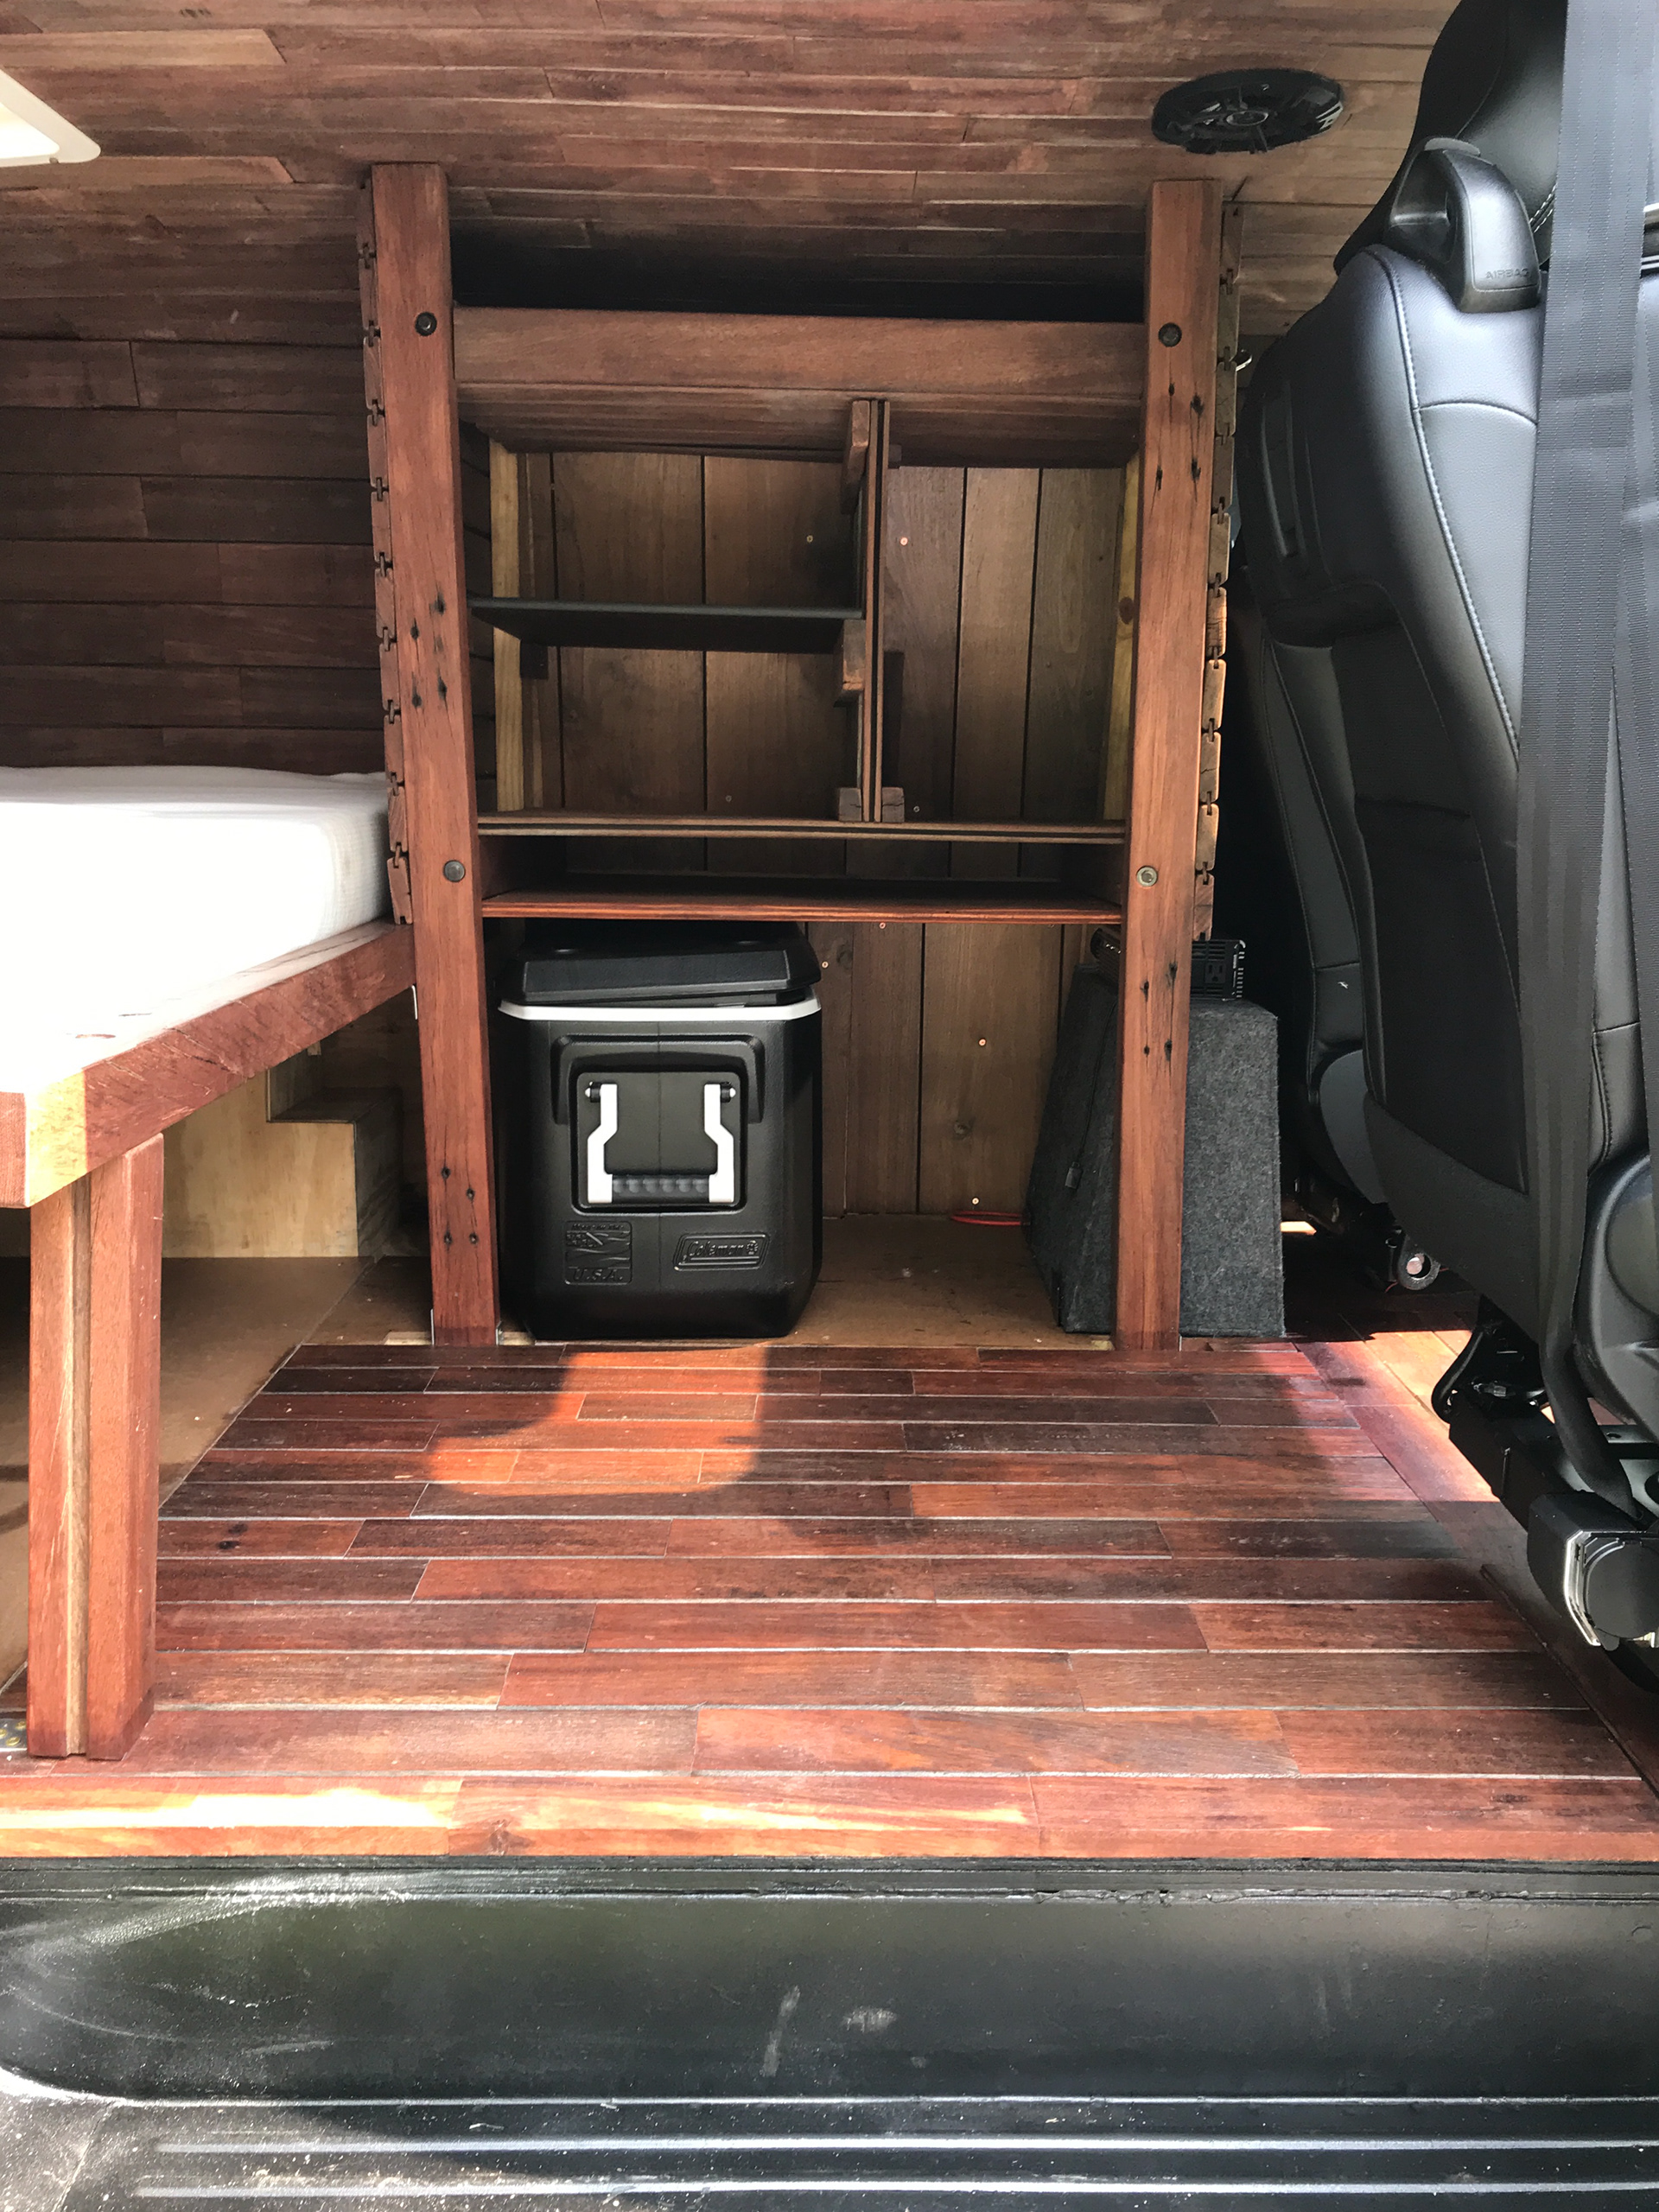
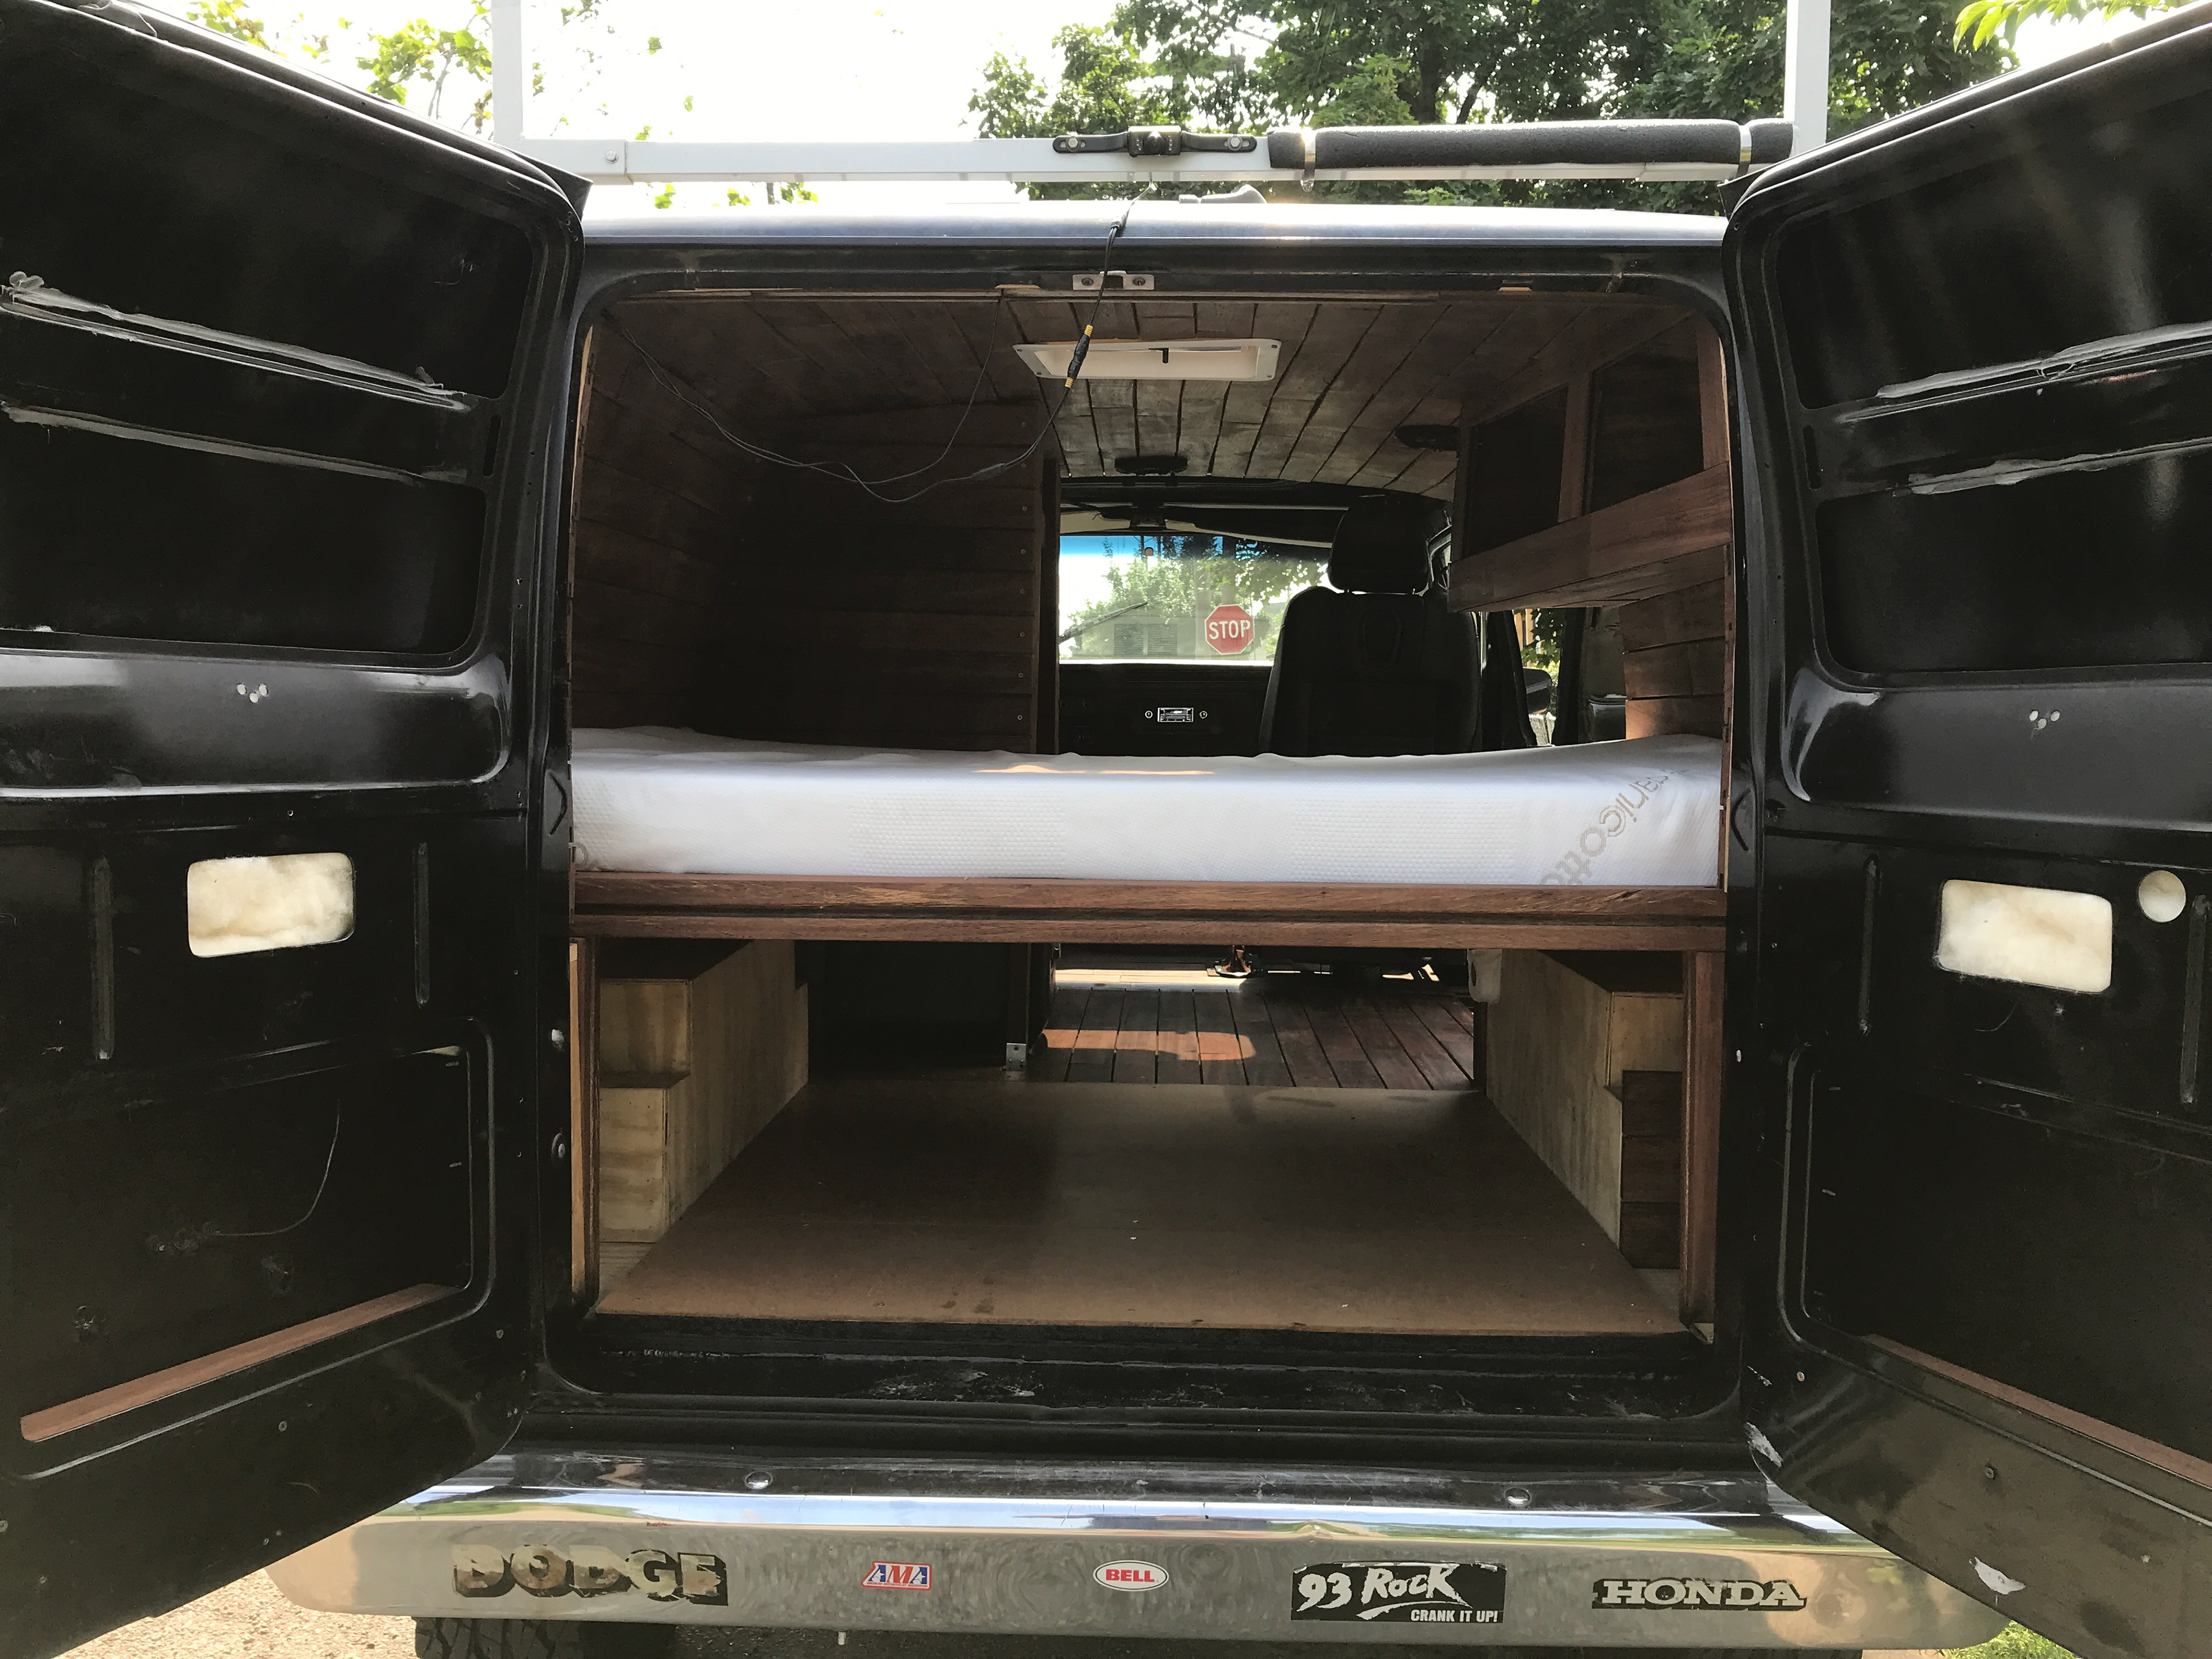
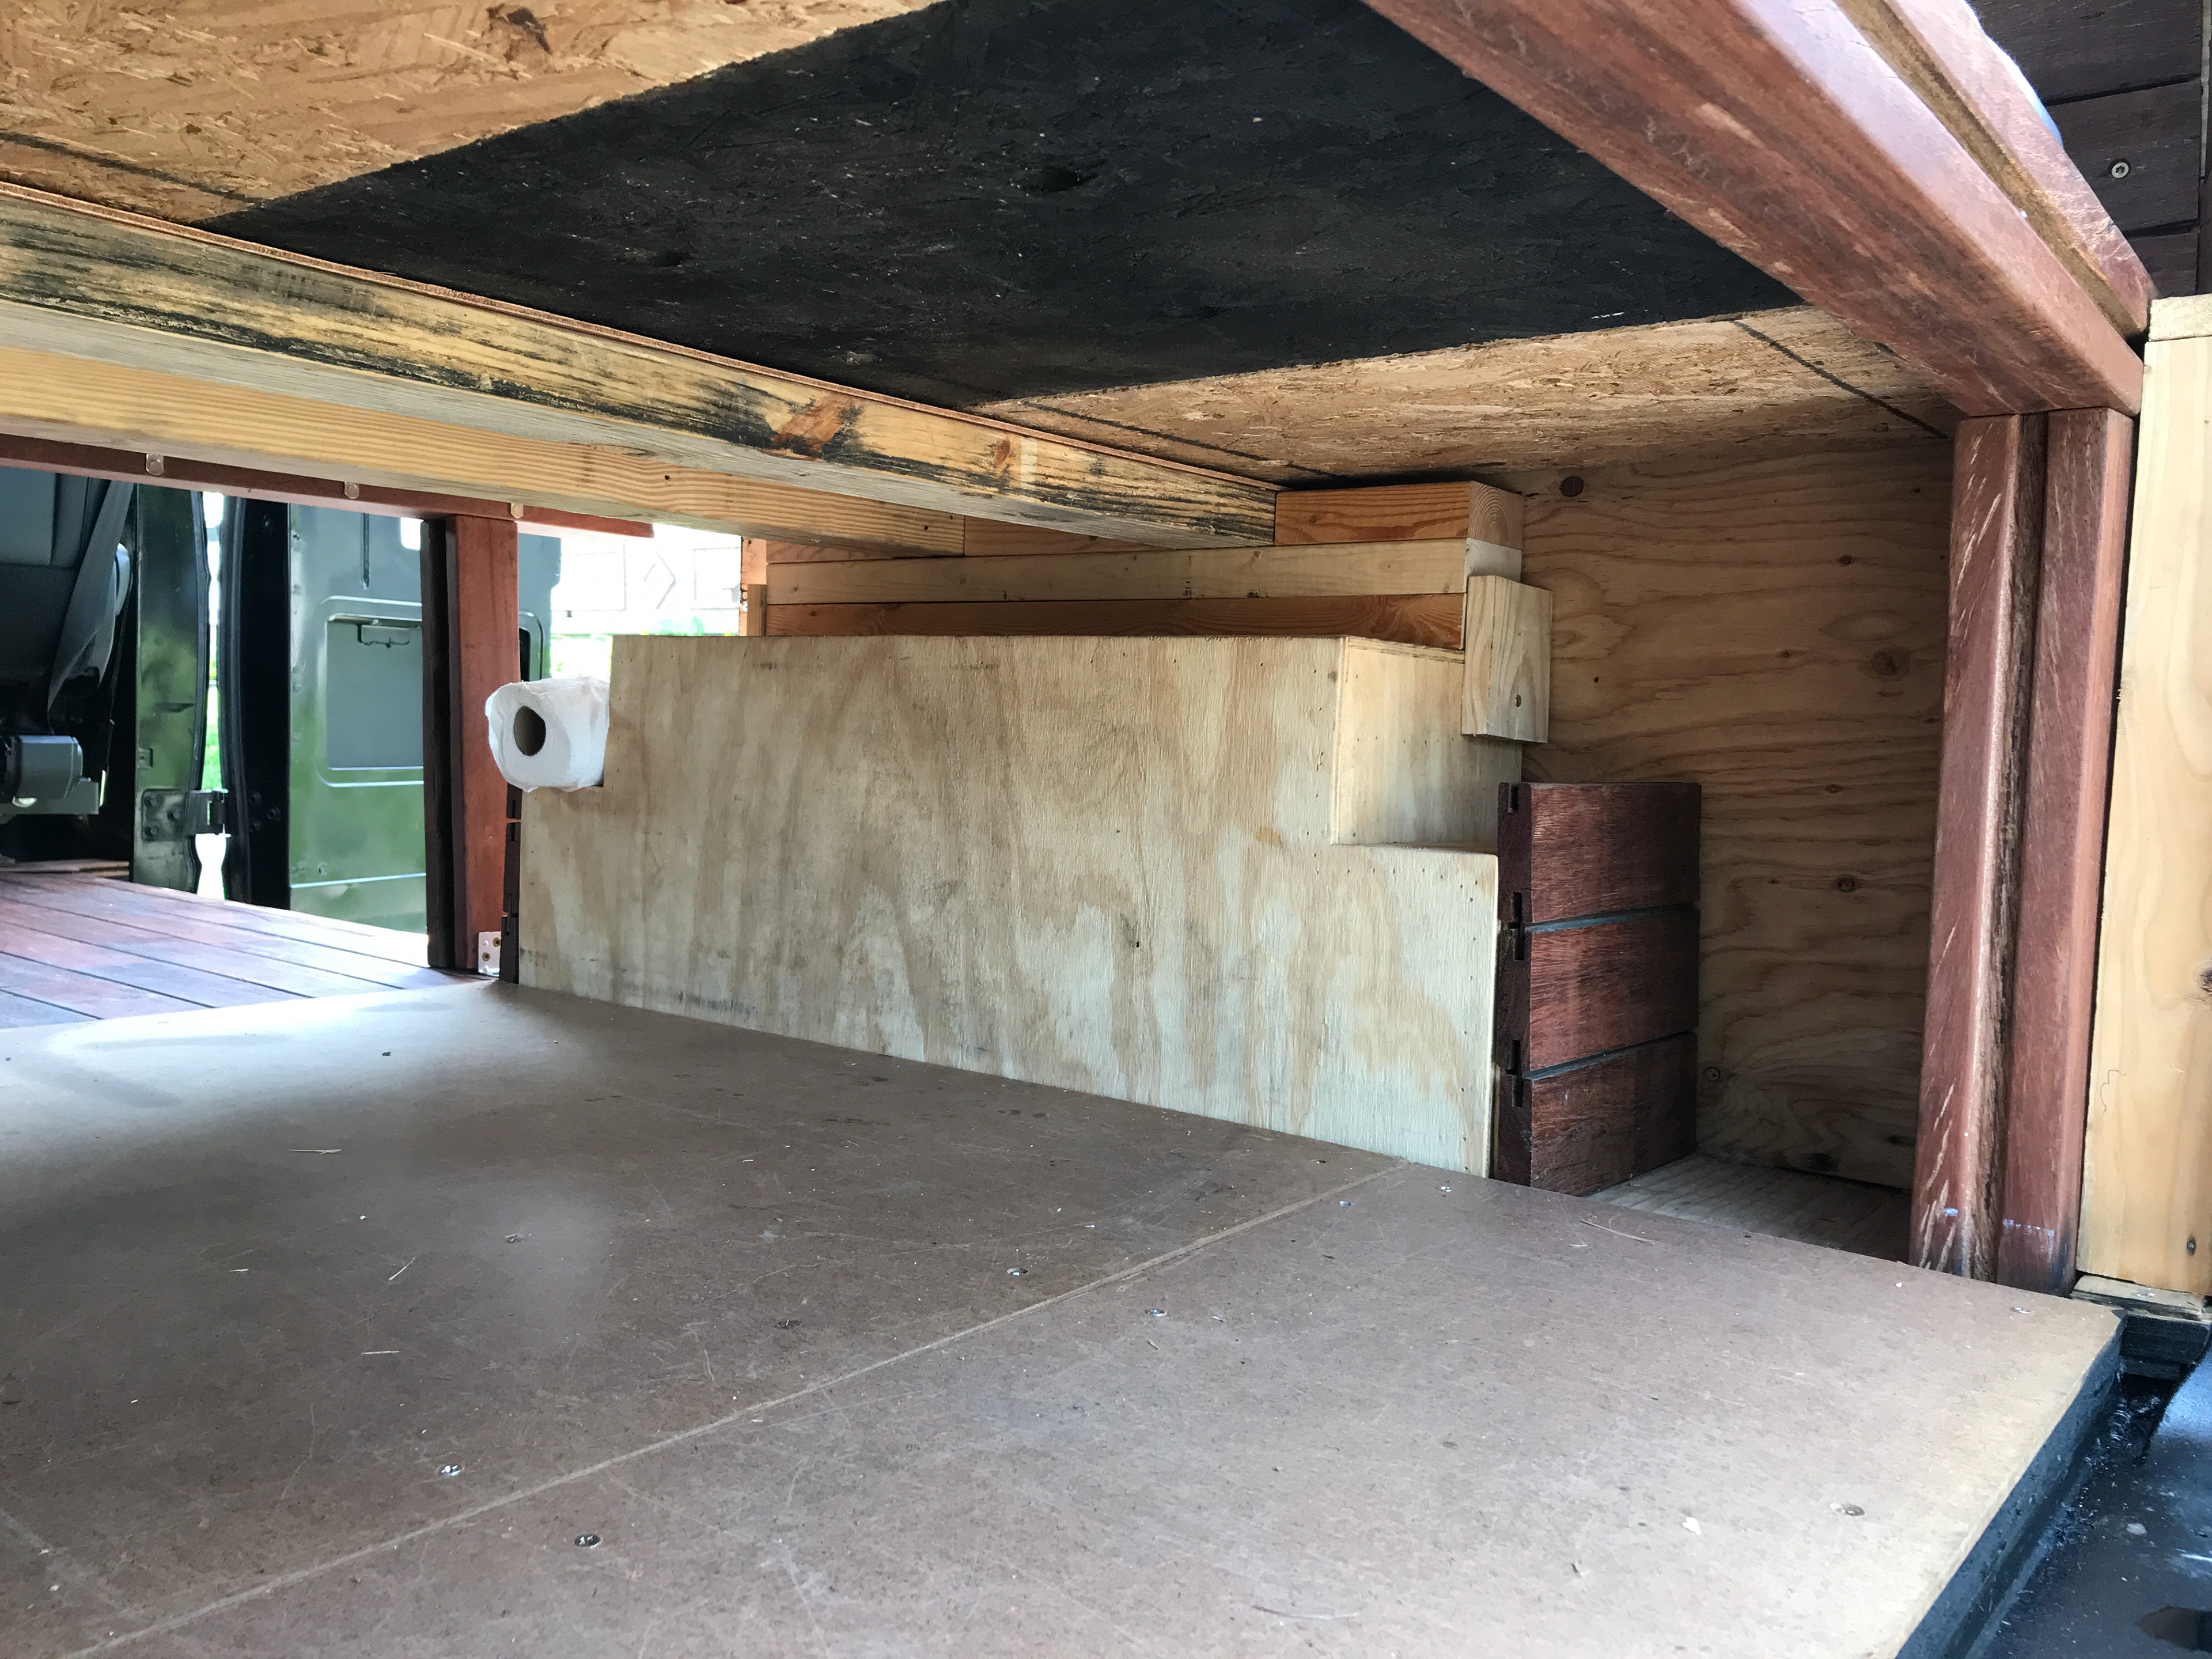
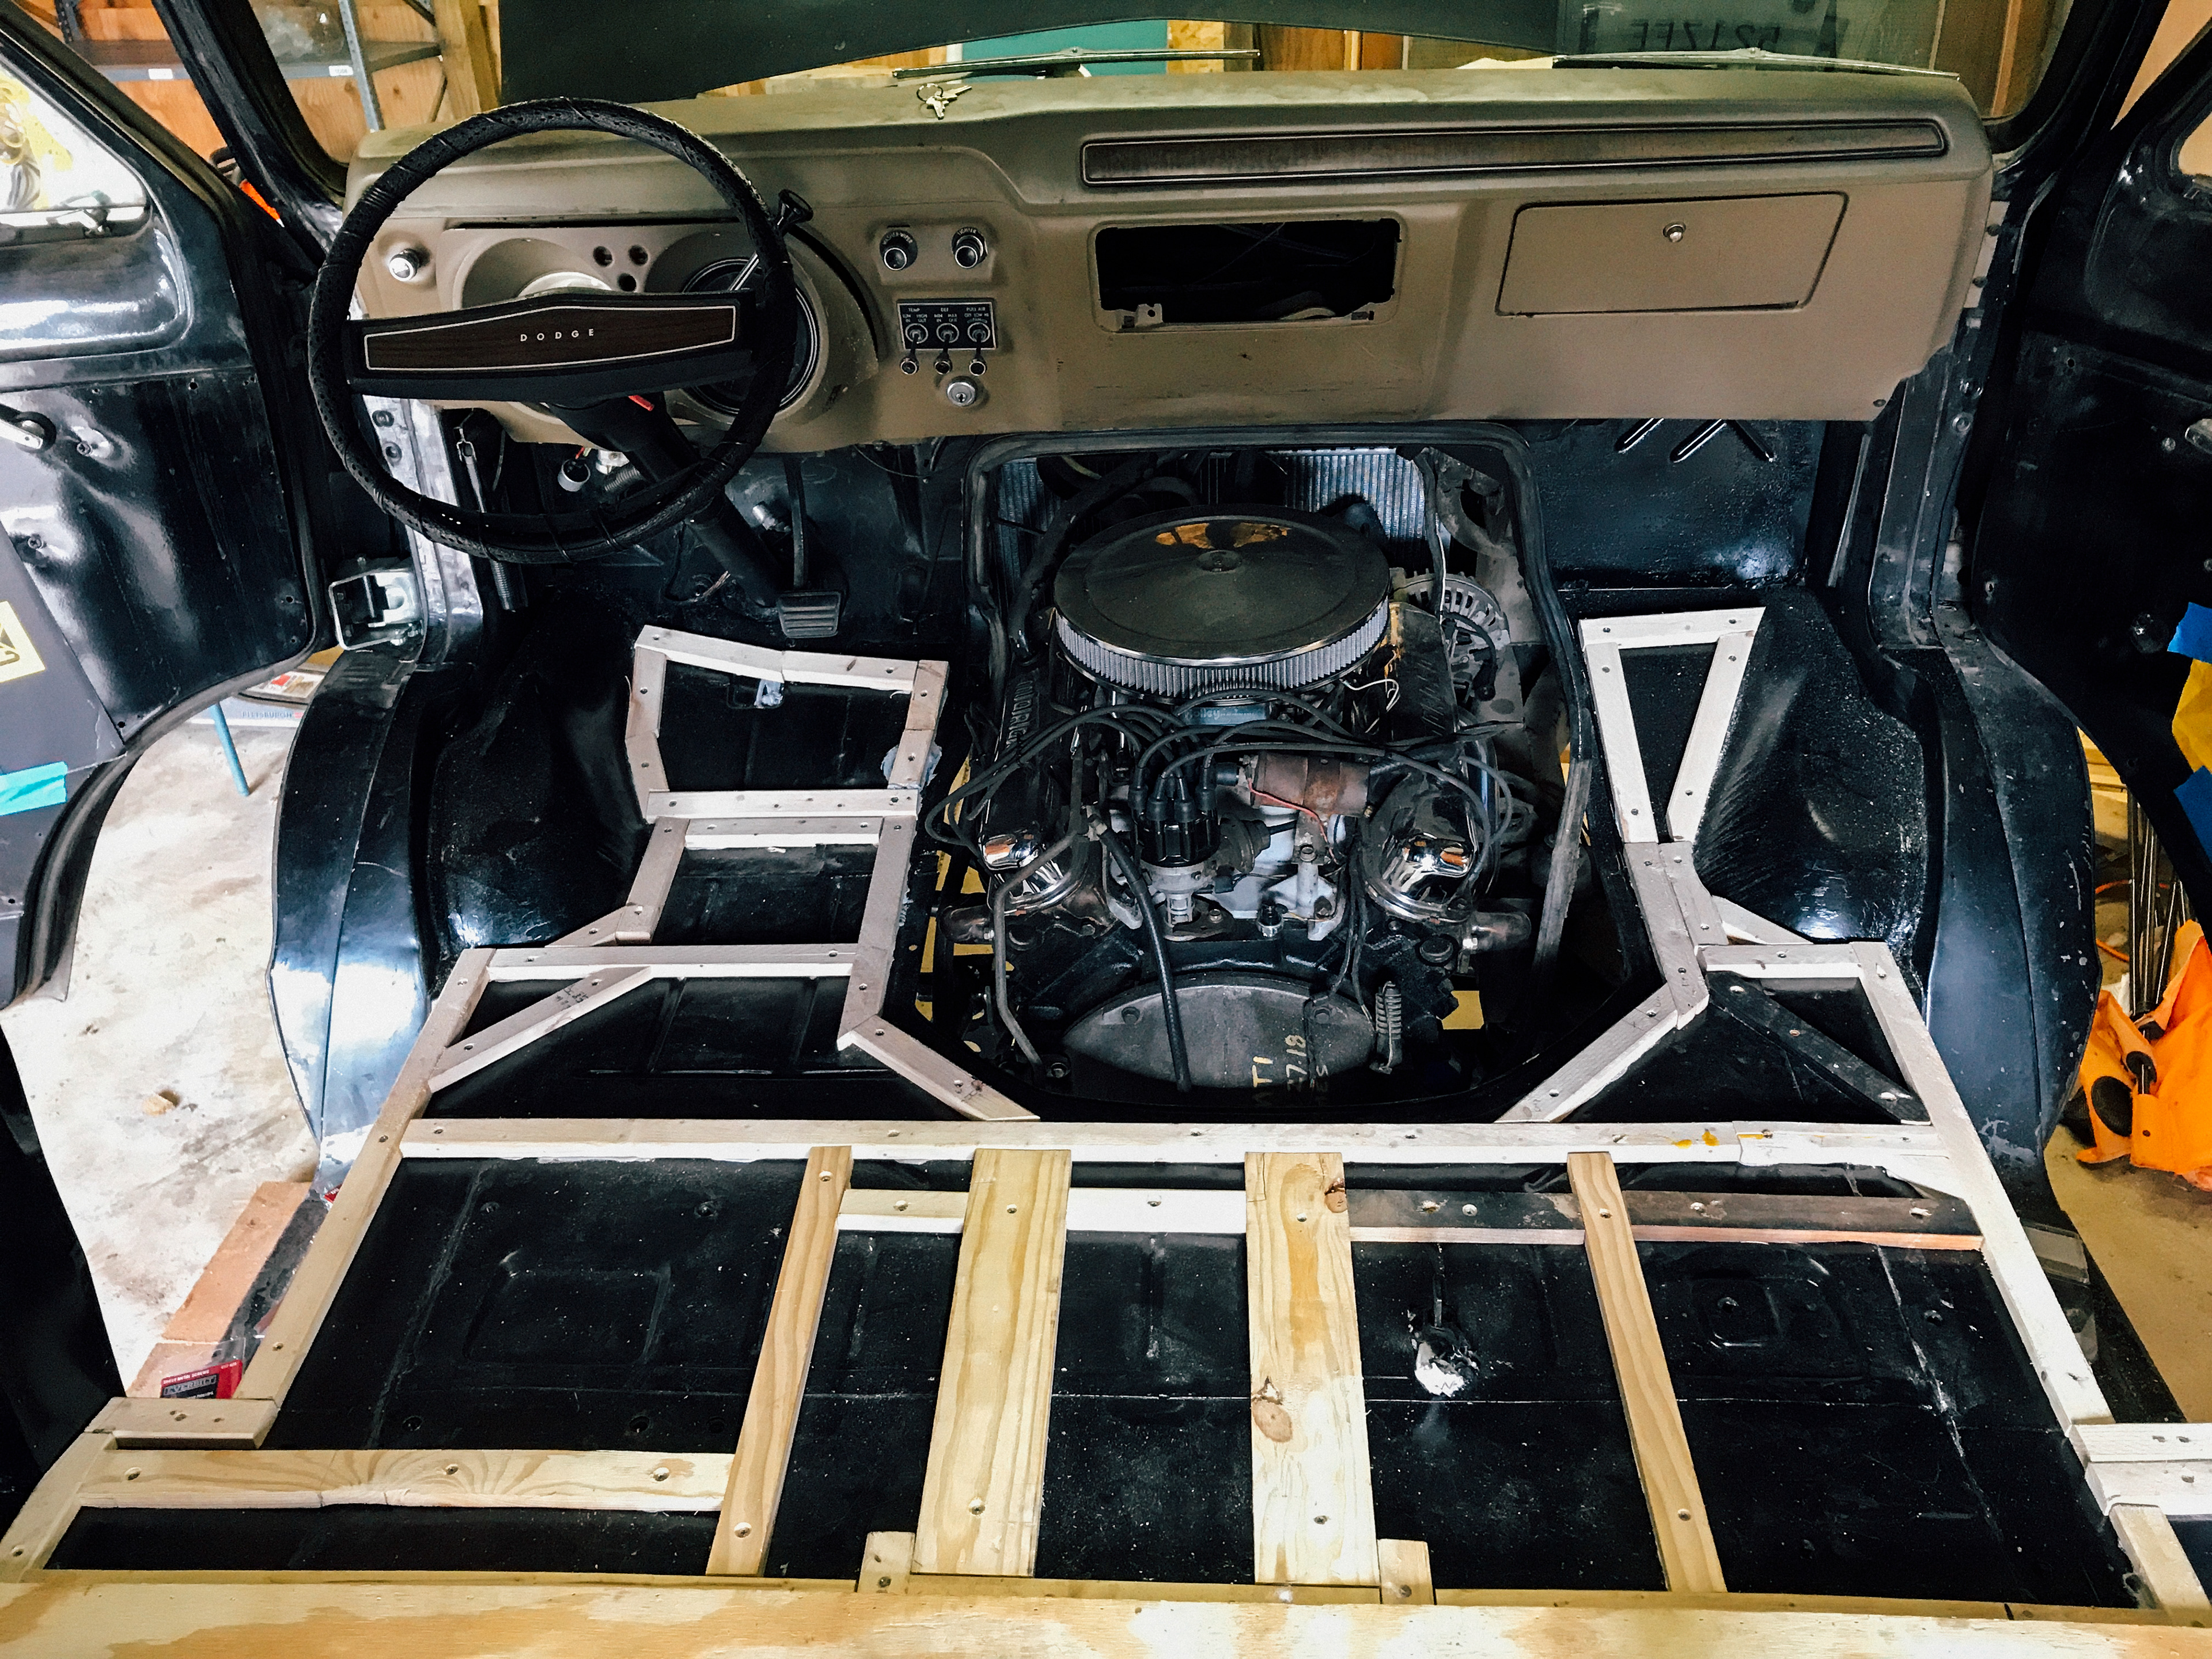
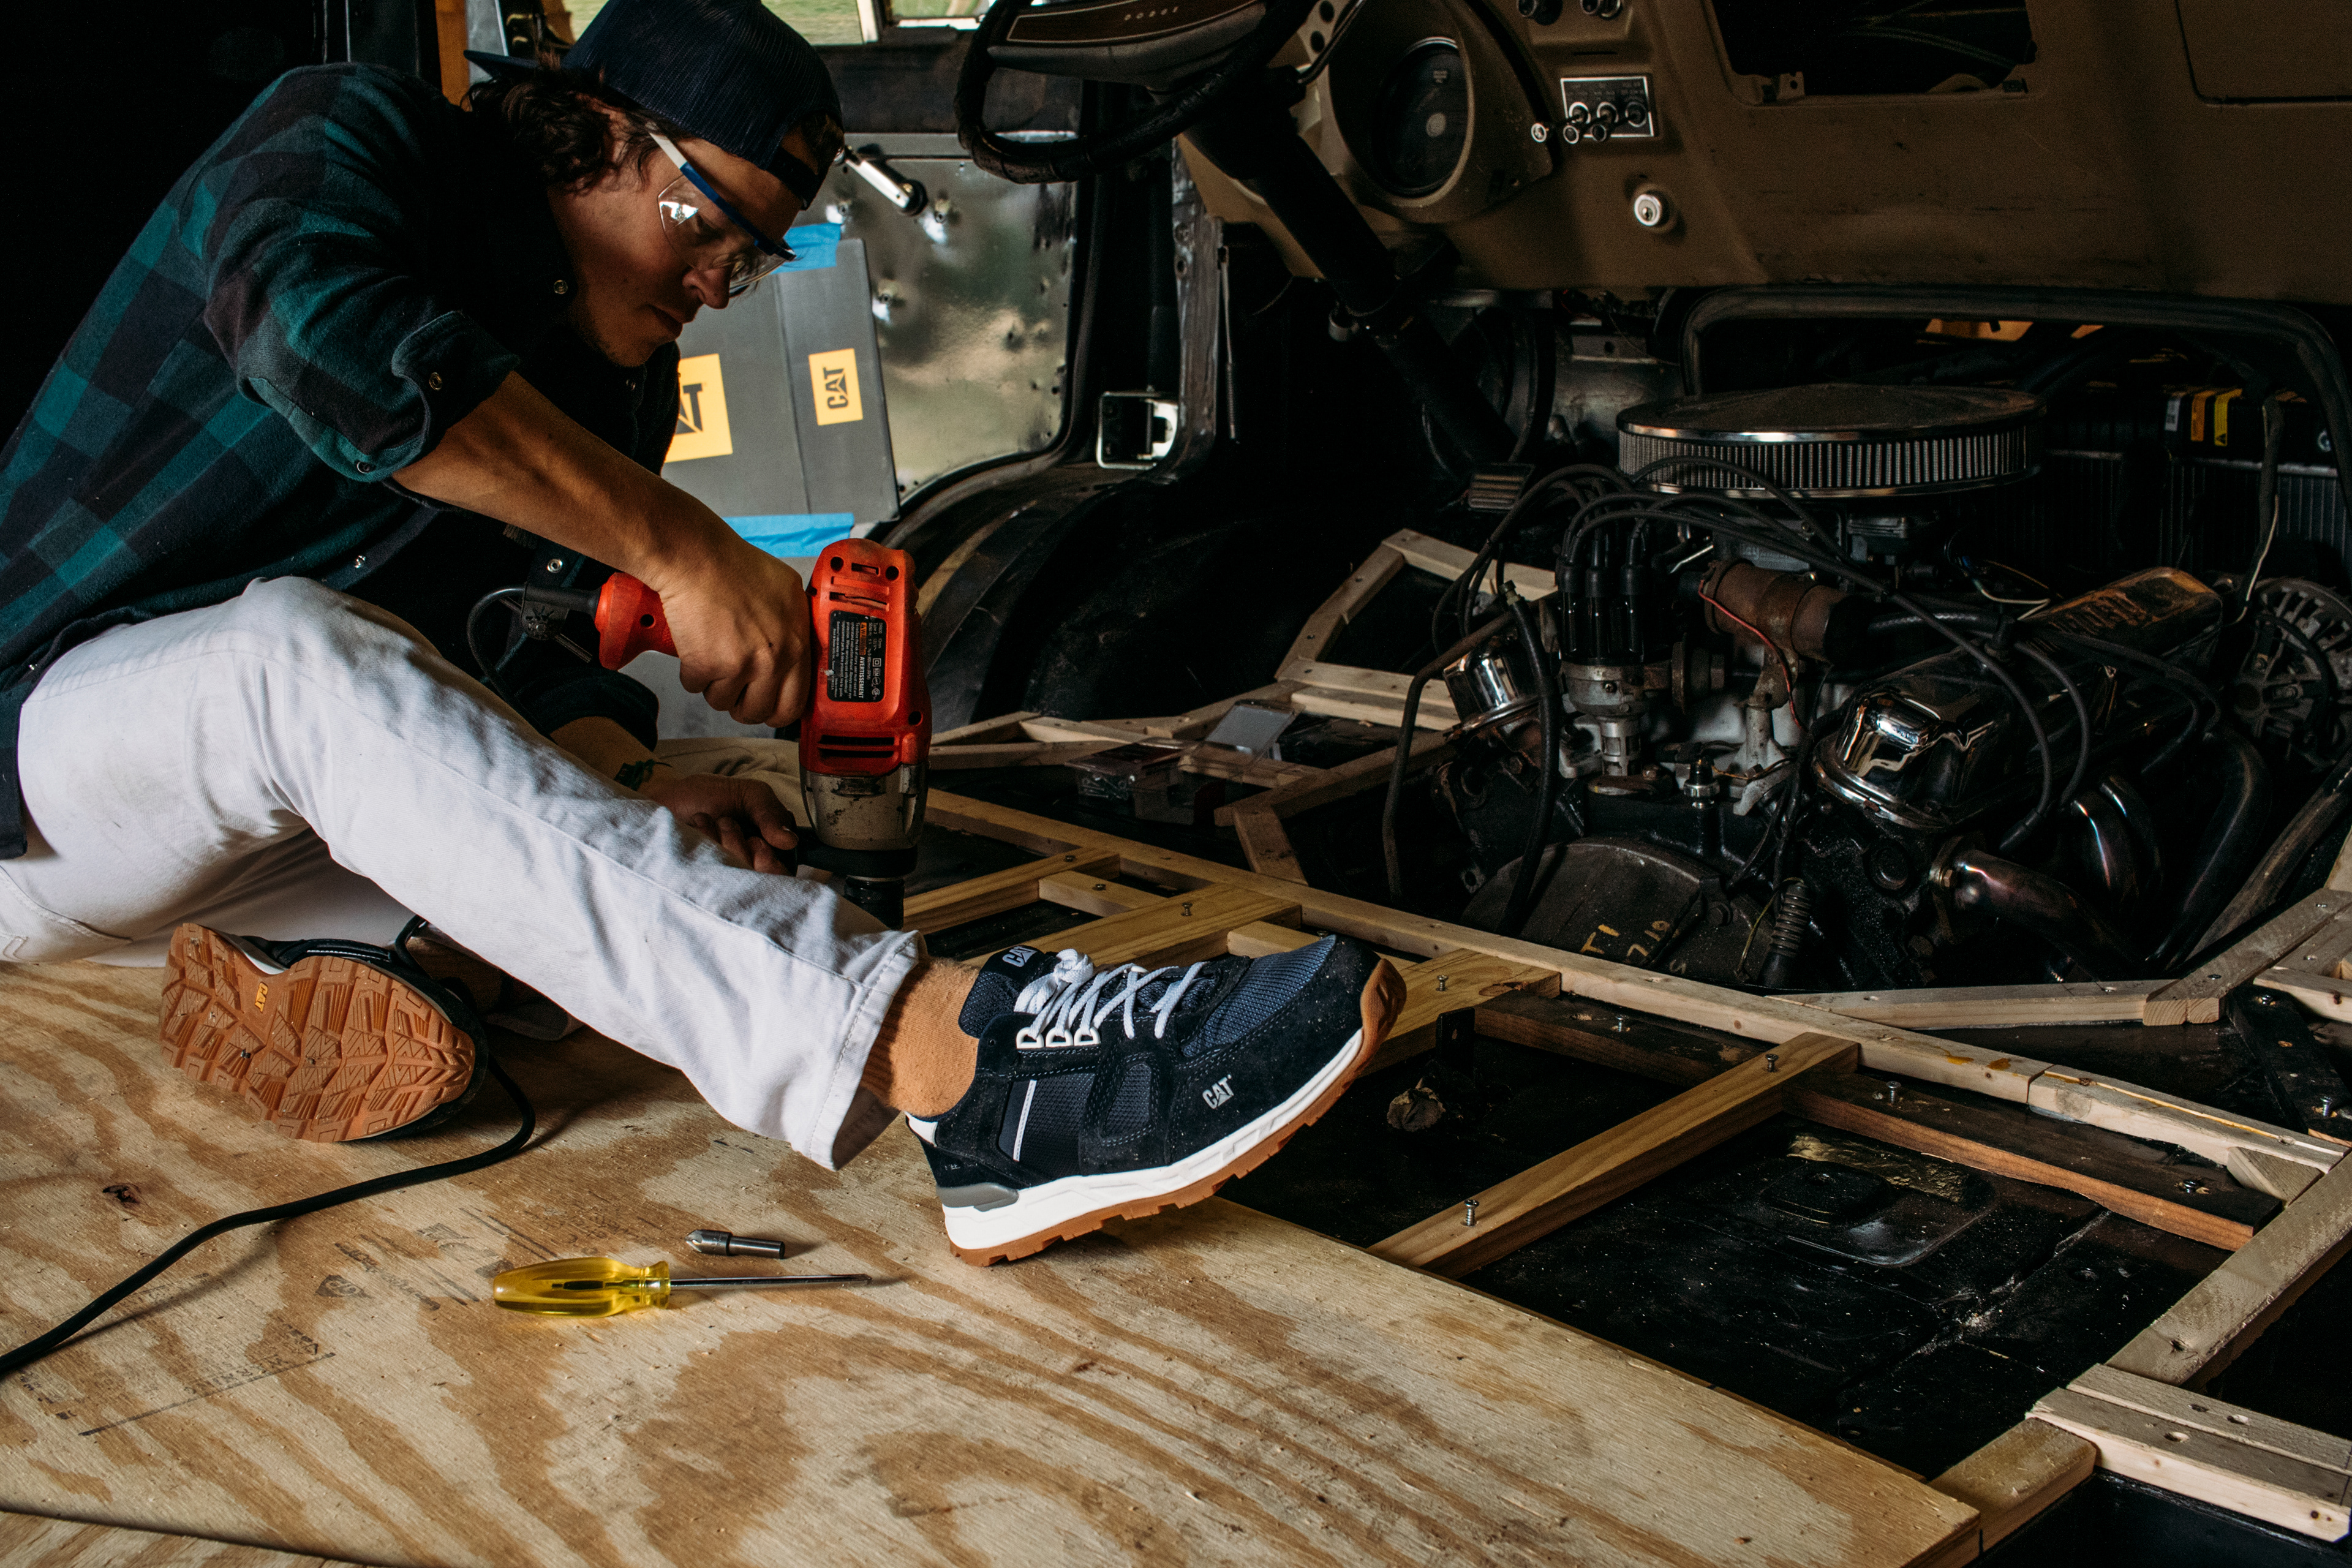
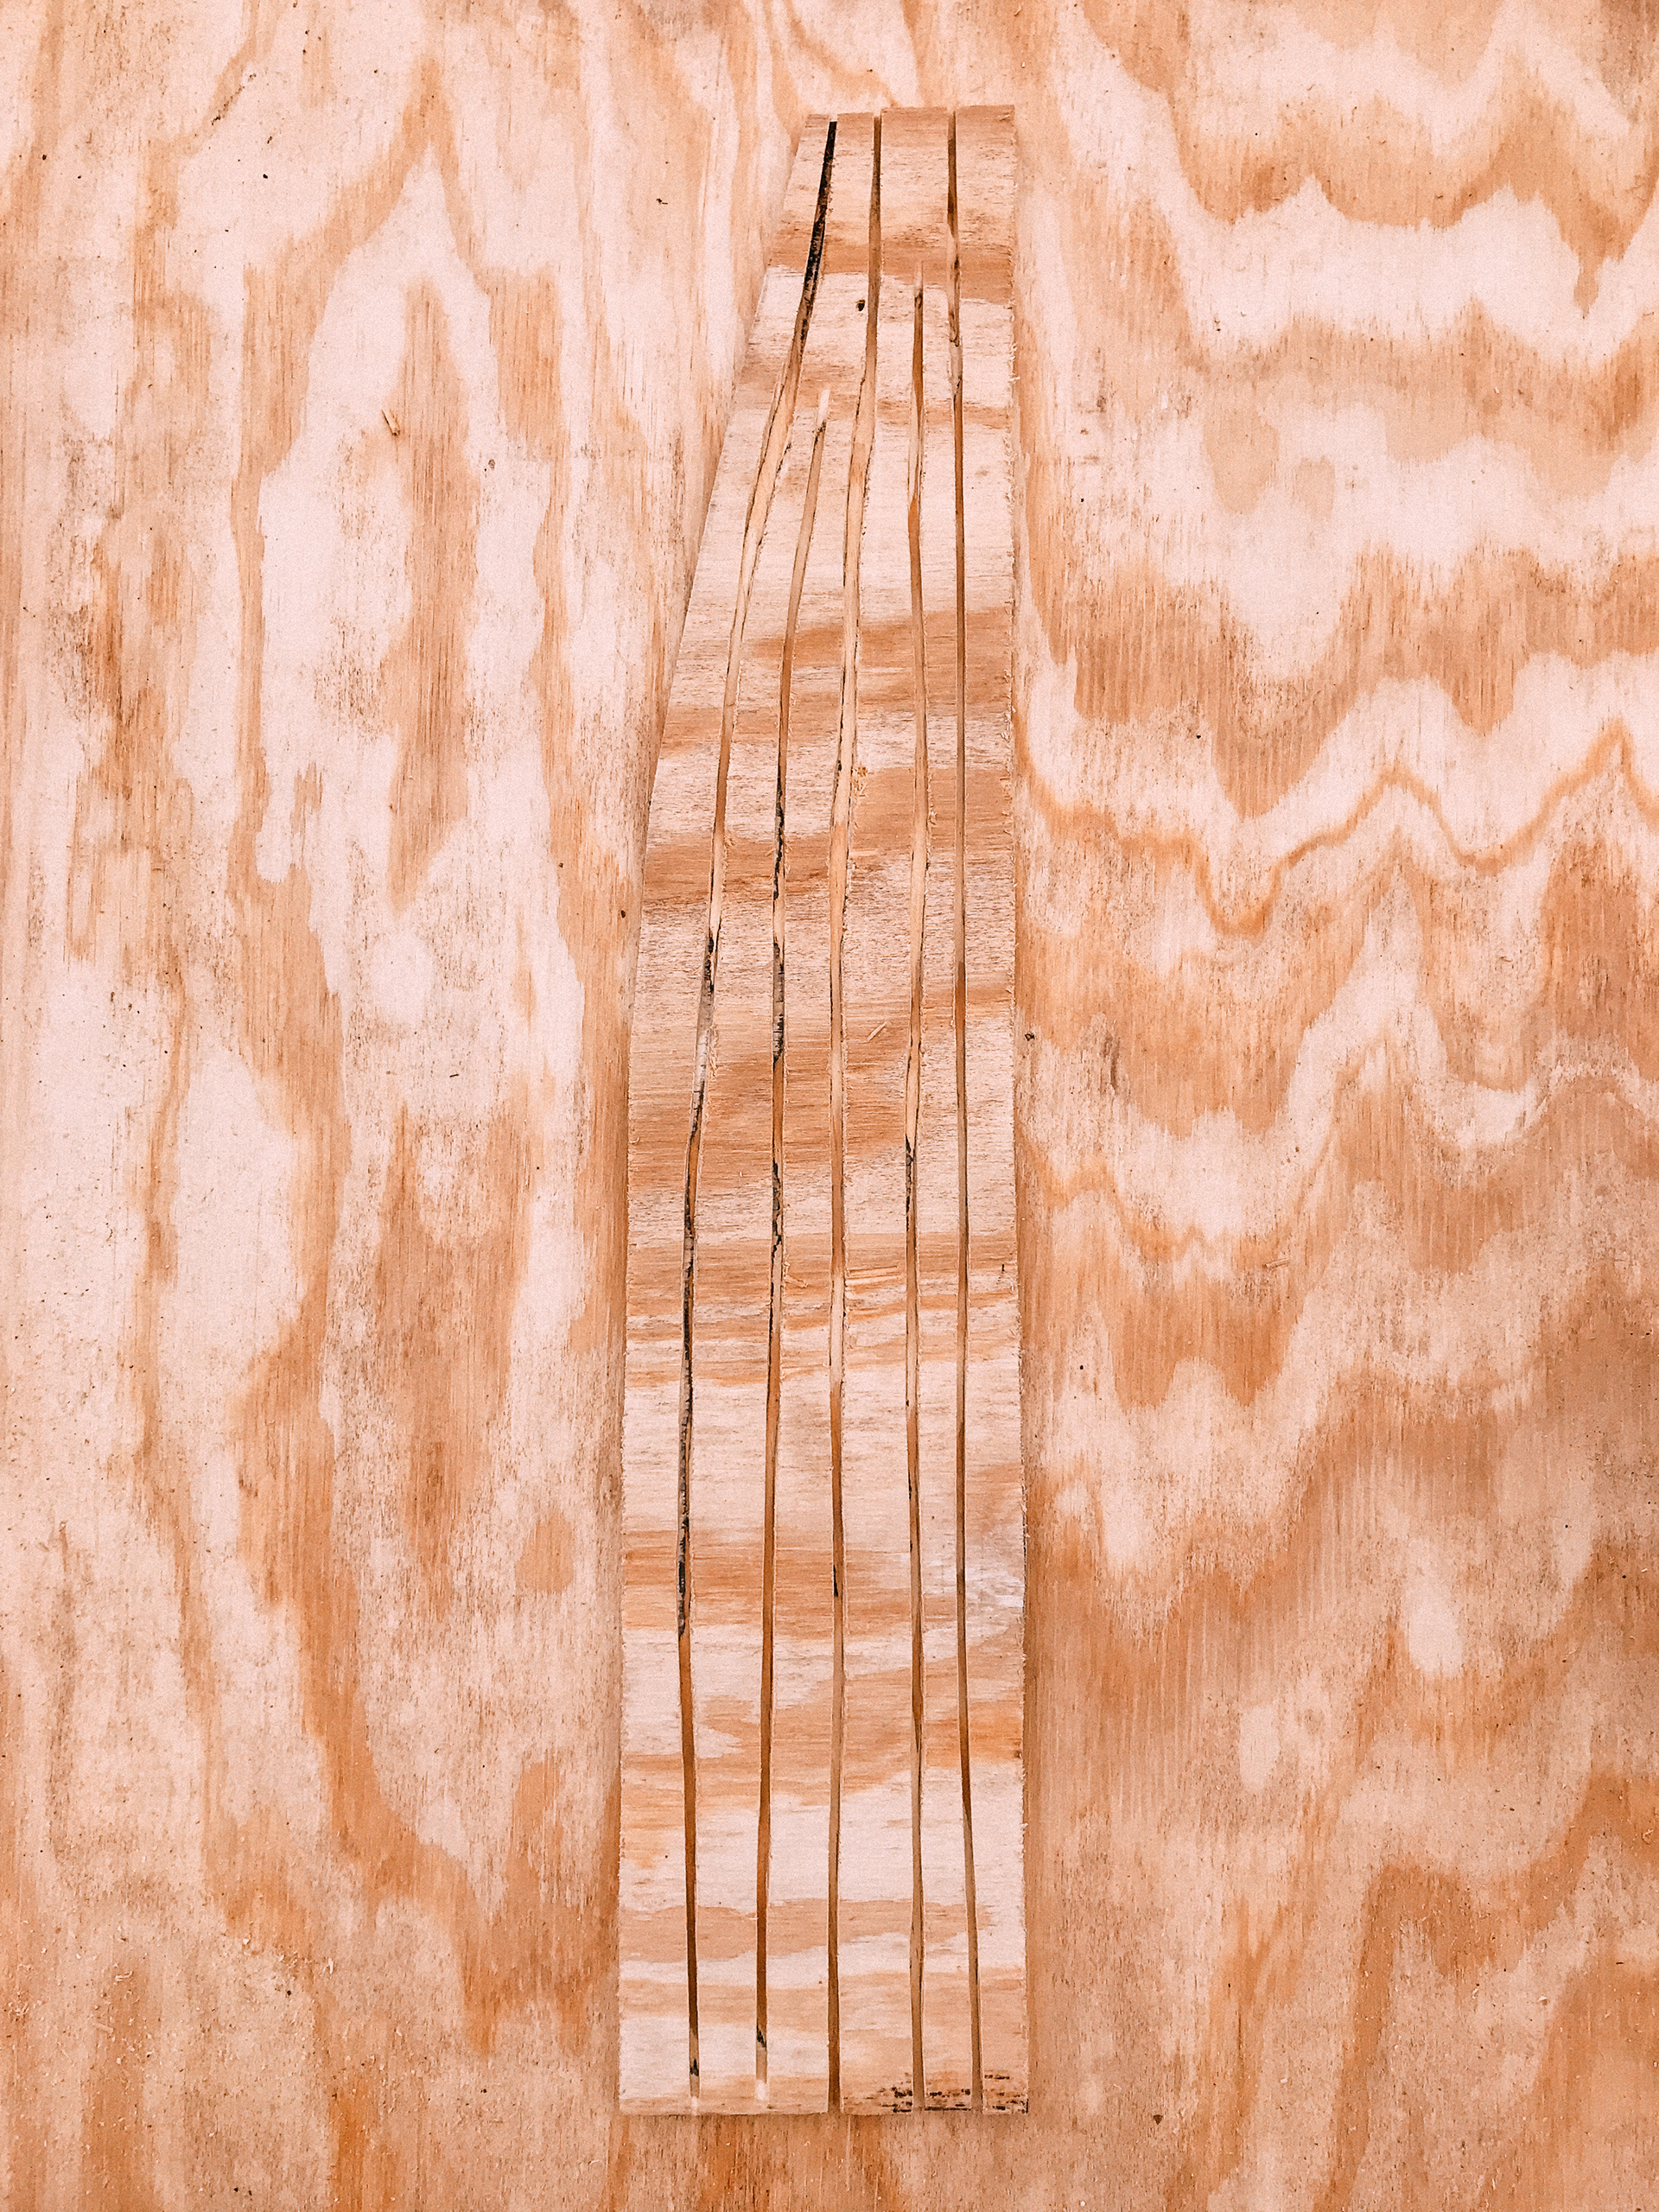
Every piece of wood I decide to use, I have to plane, clean, sand, sand again, cut to size, sand again and then drill and install into the van. Since this is a lot of work for one person, my Mother came by to help finish up the bed framing.
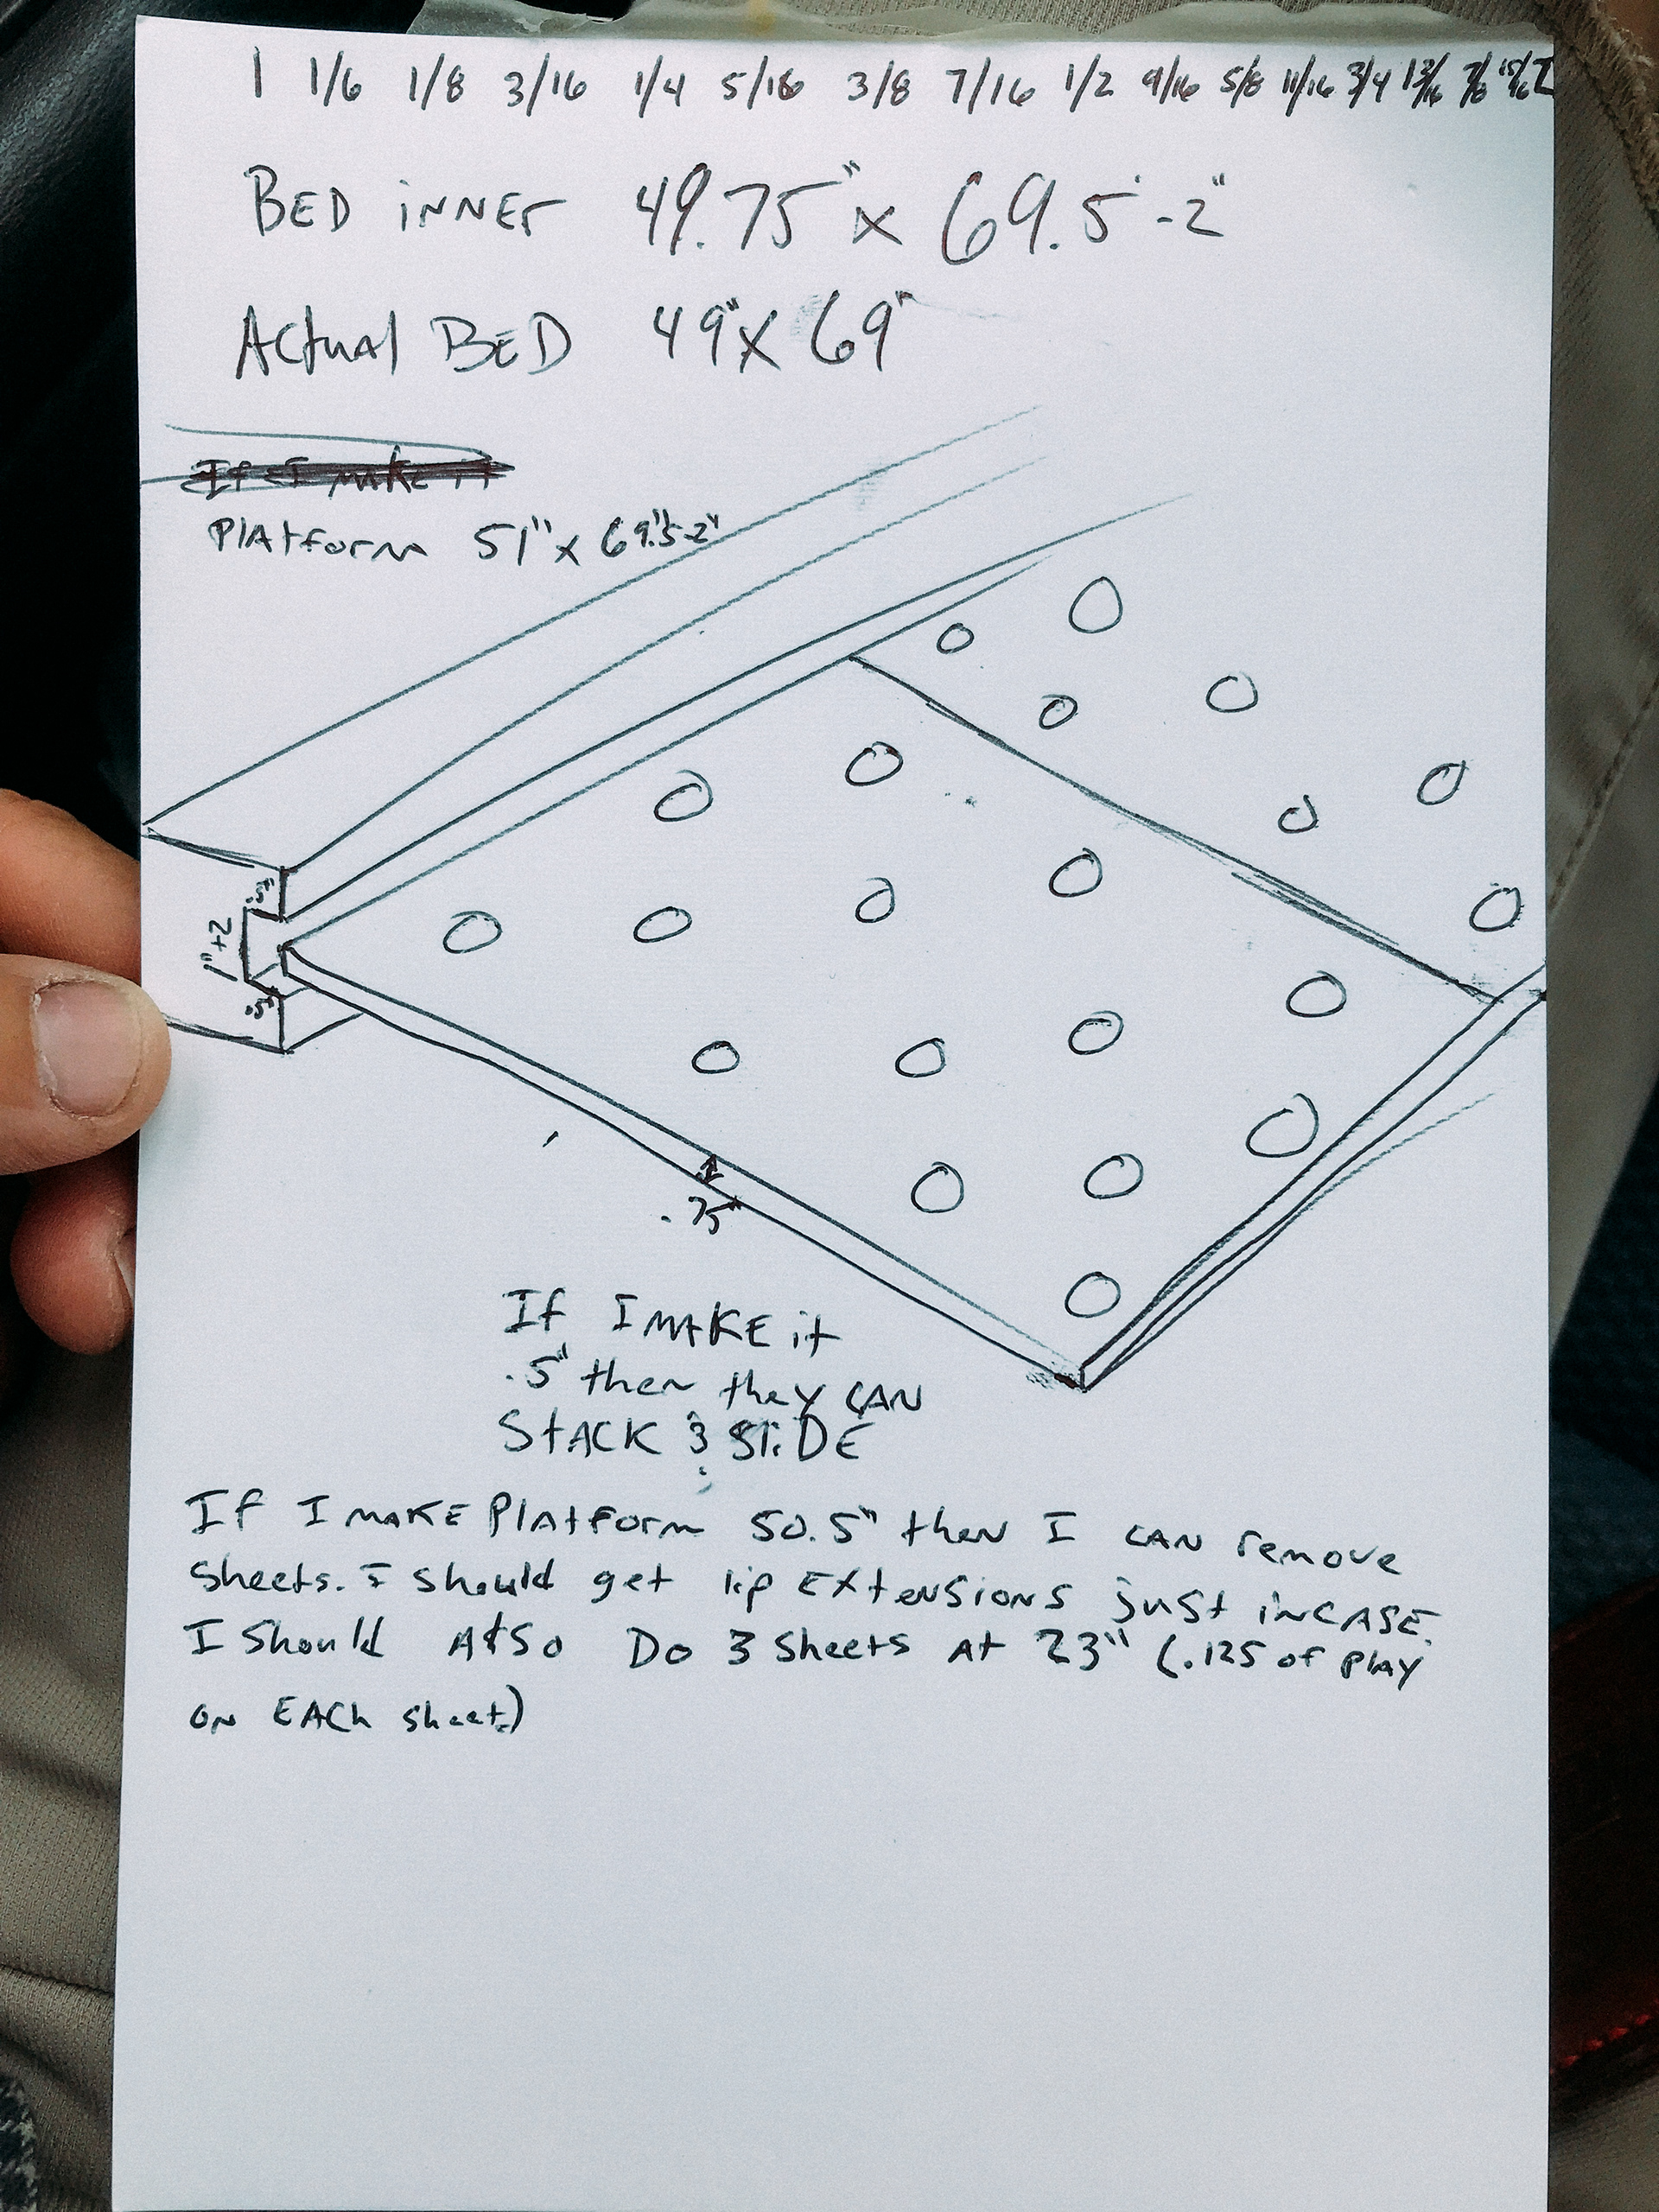
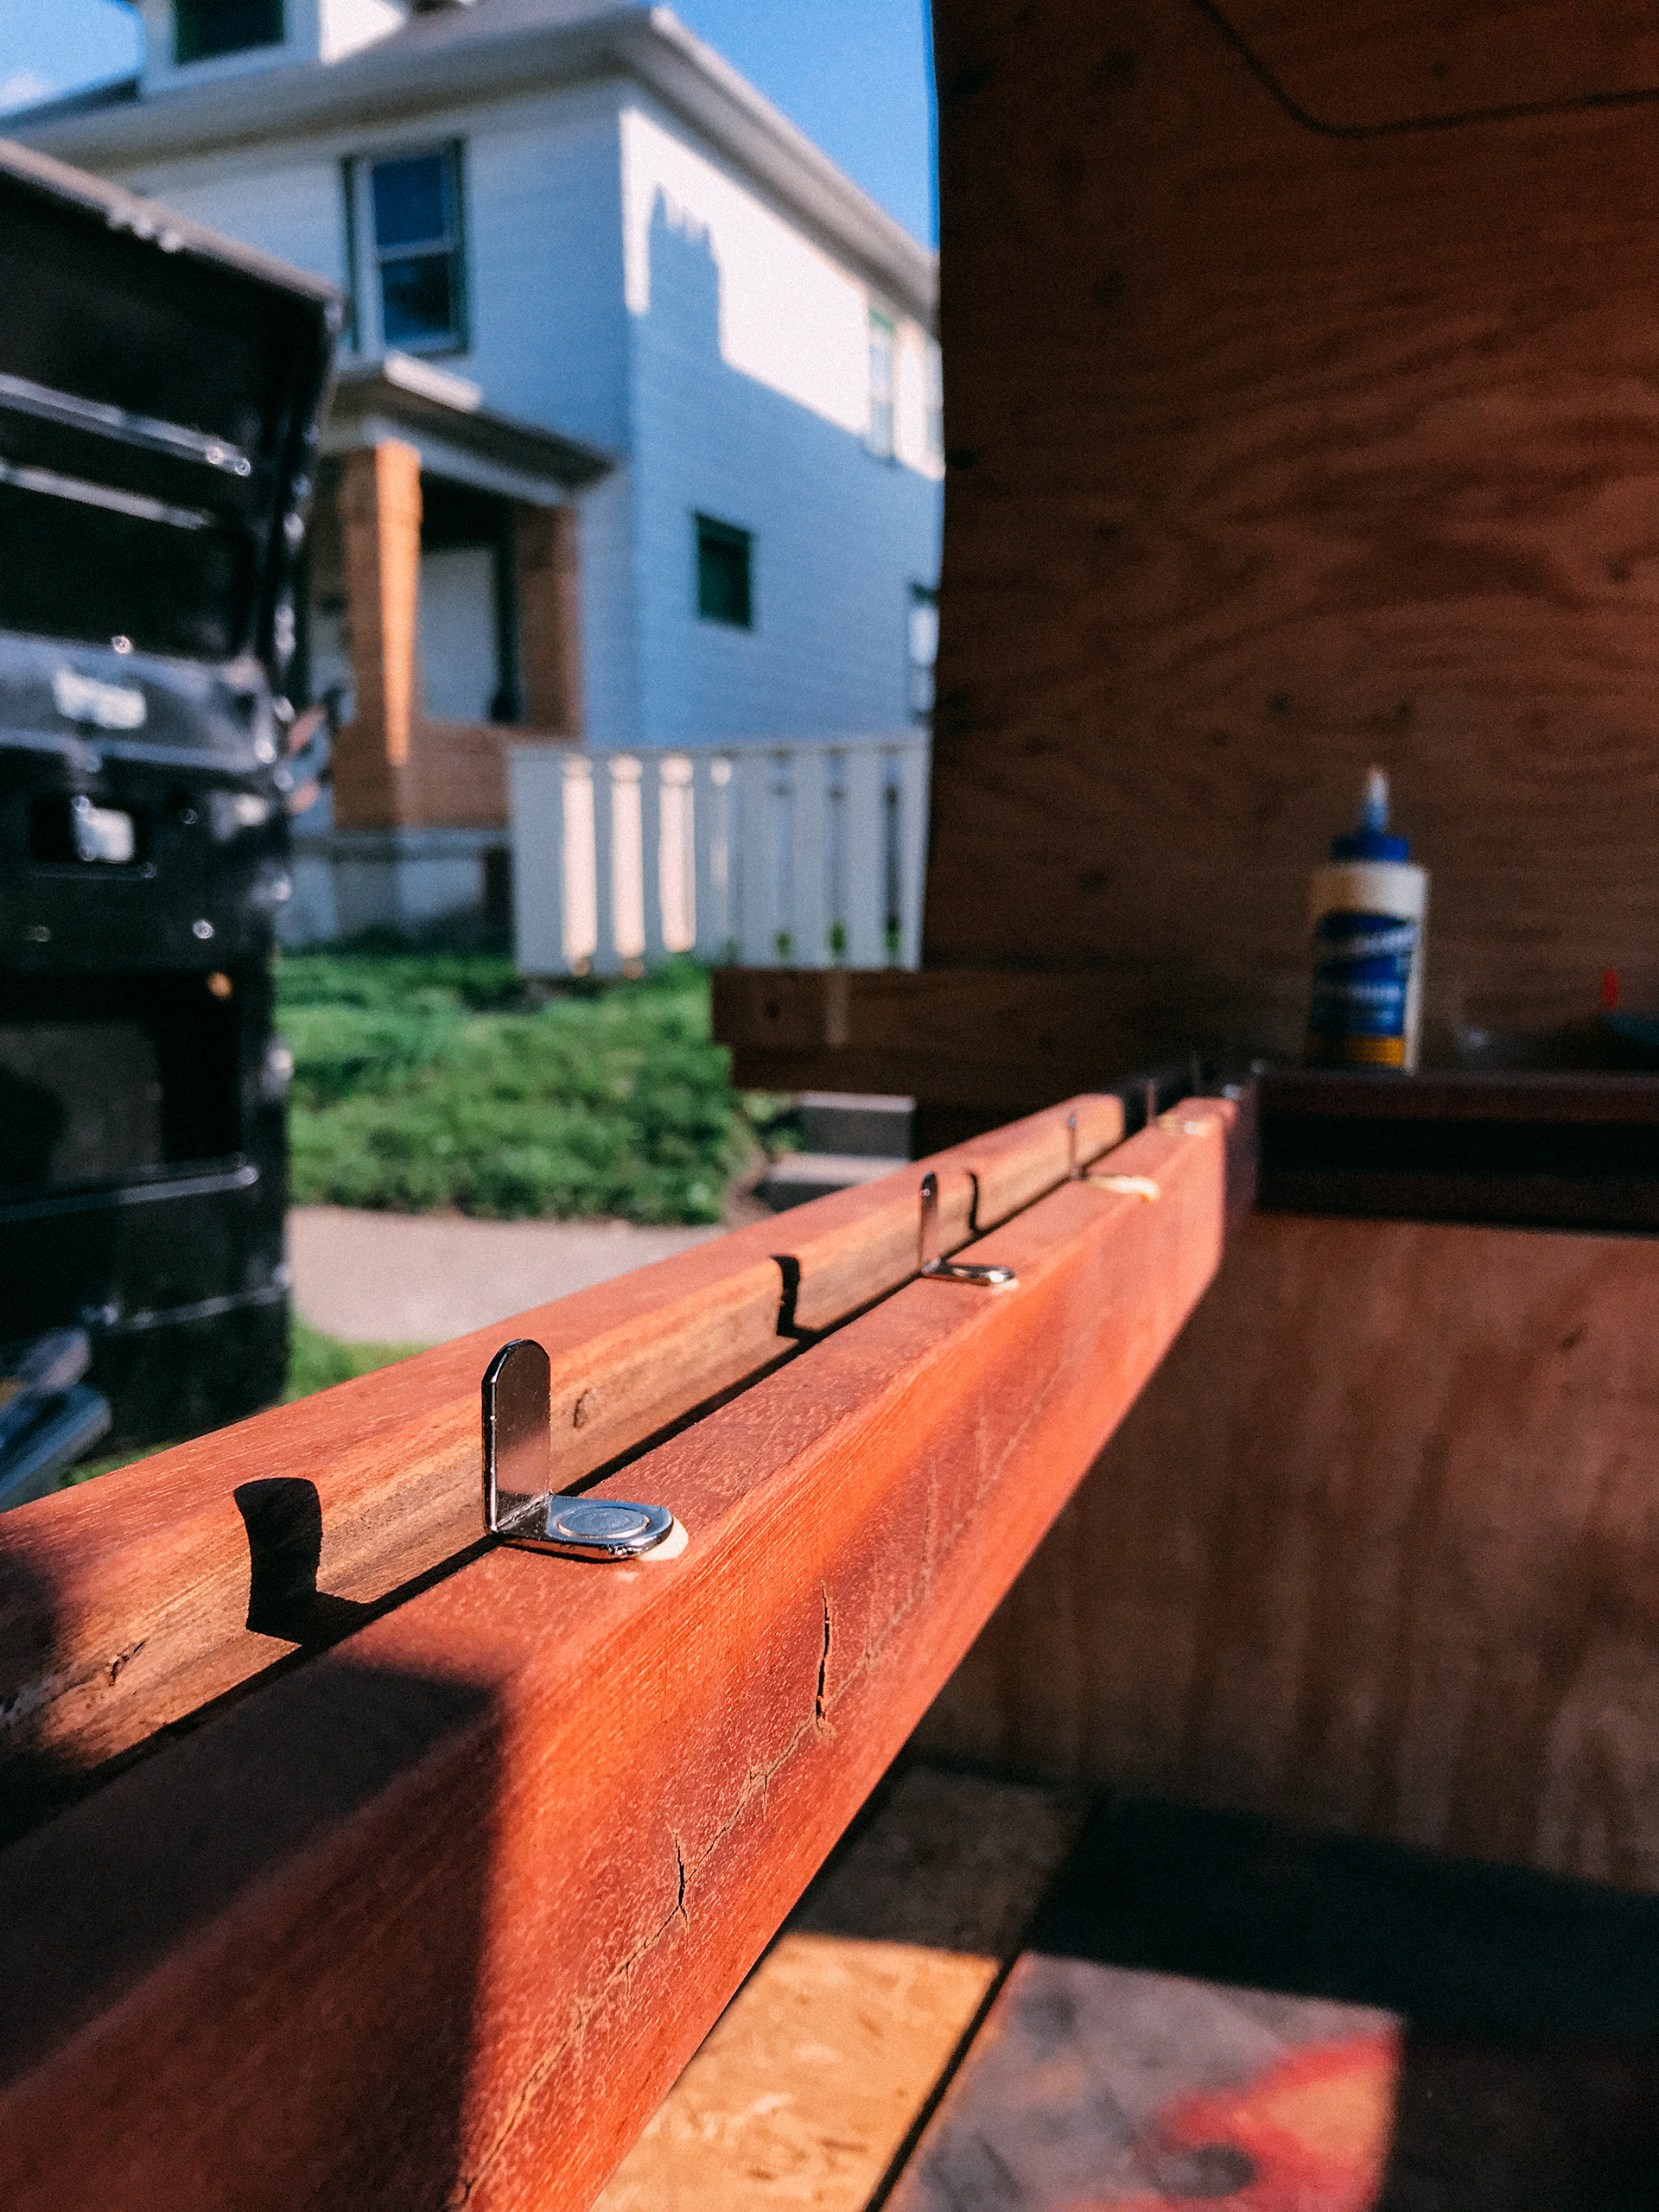
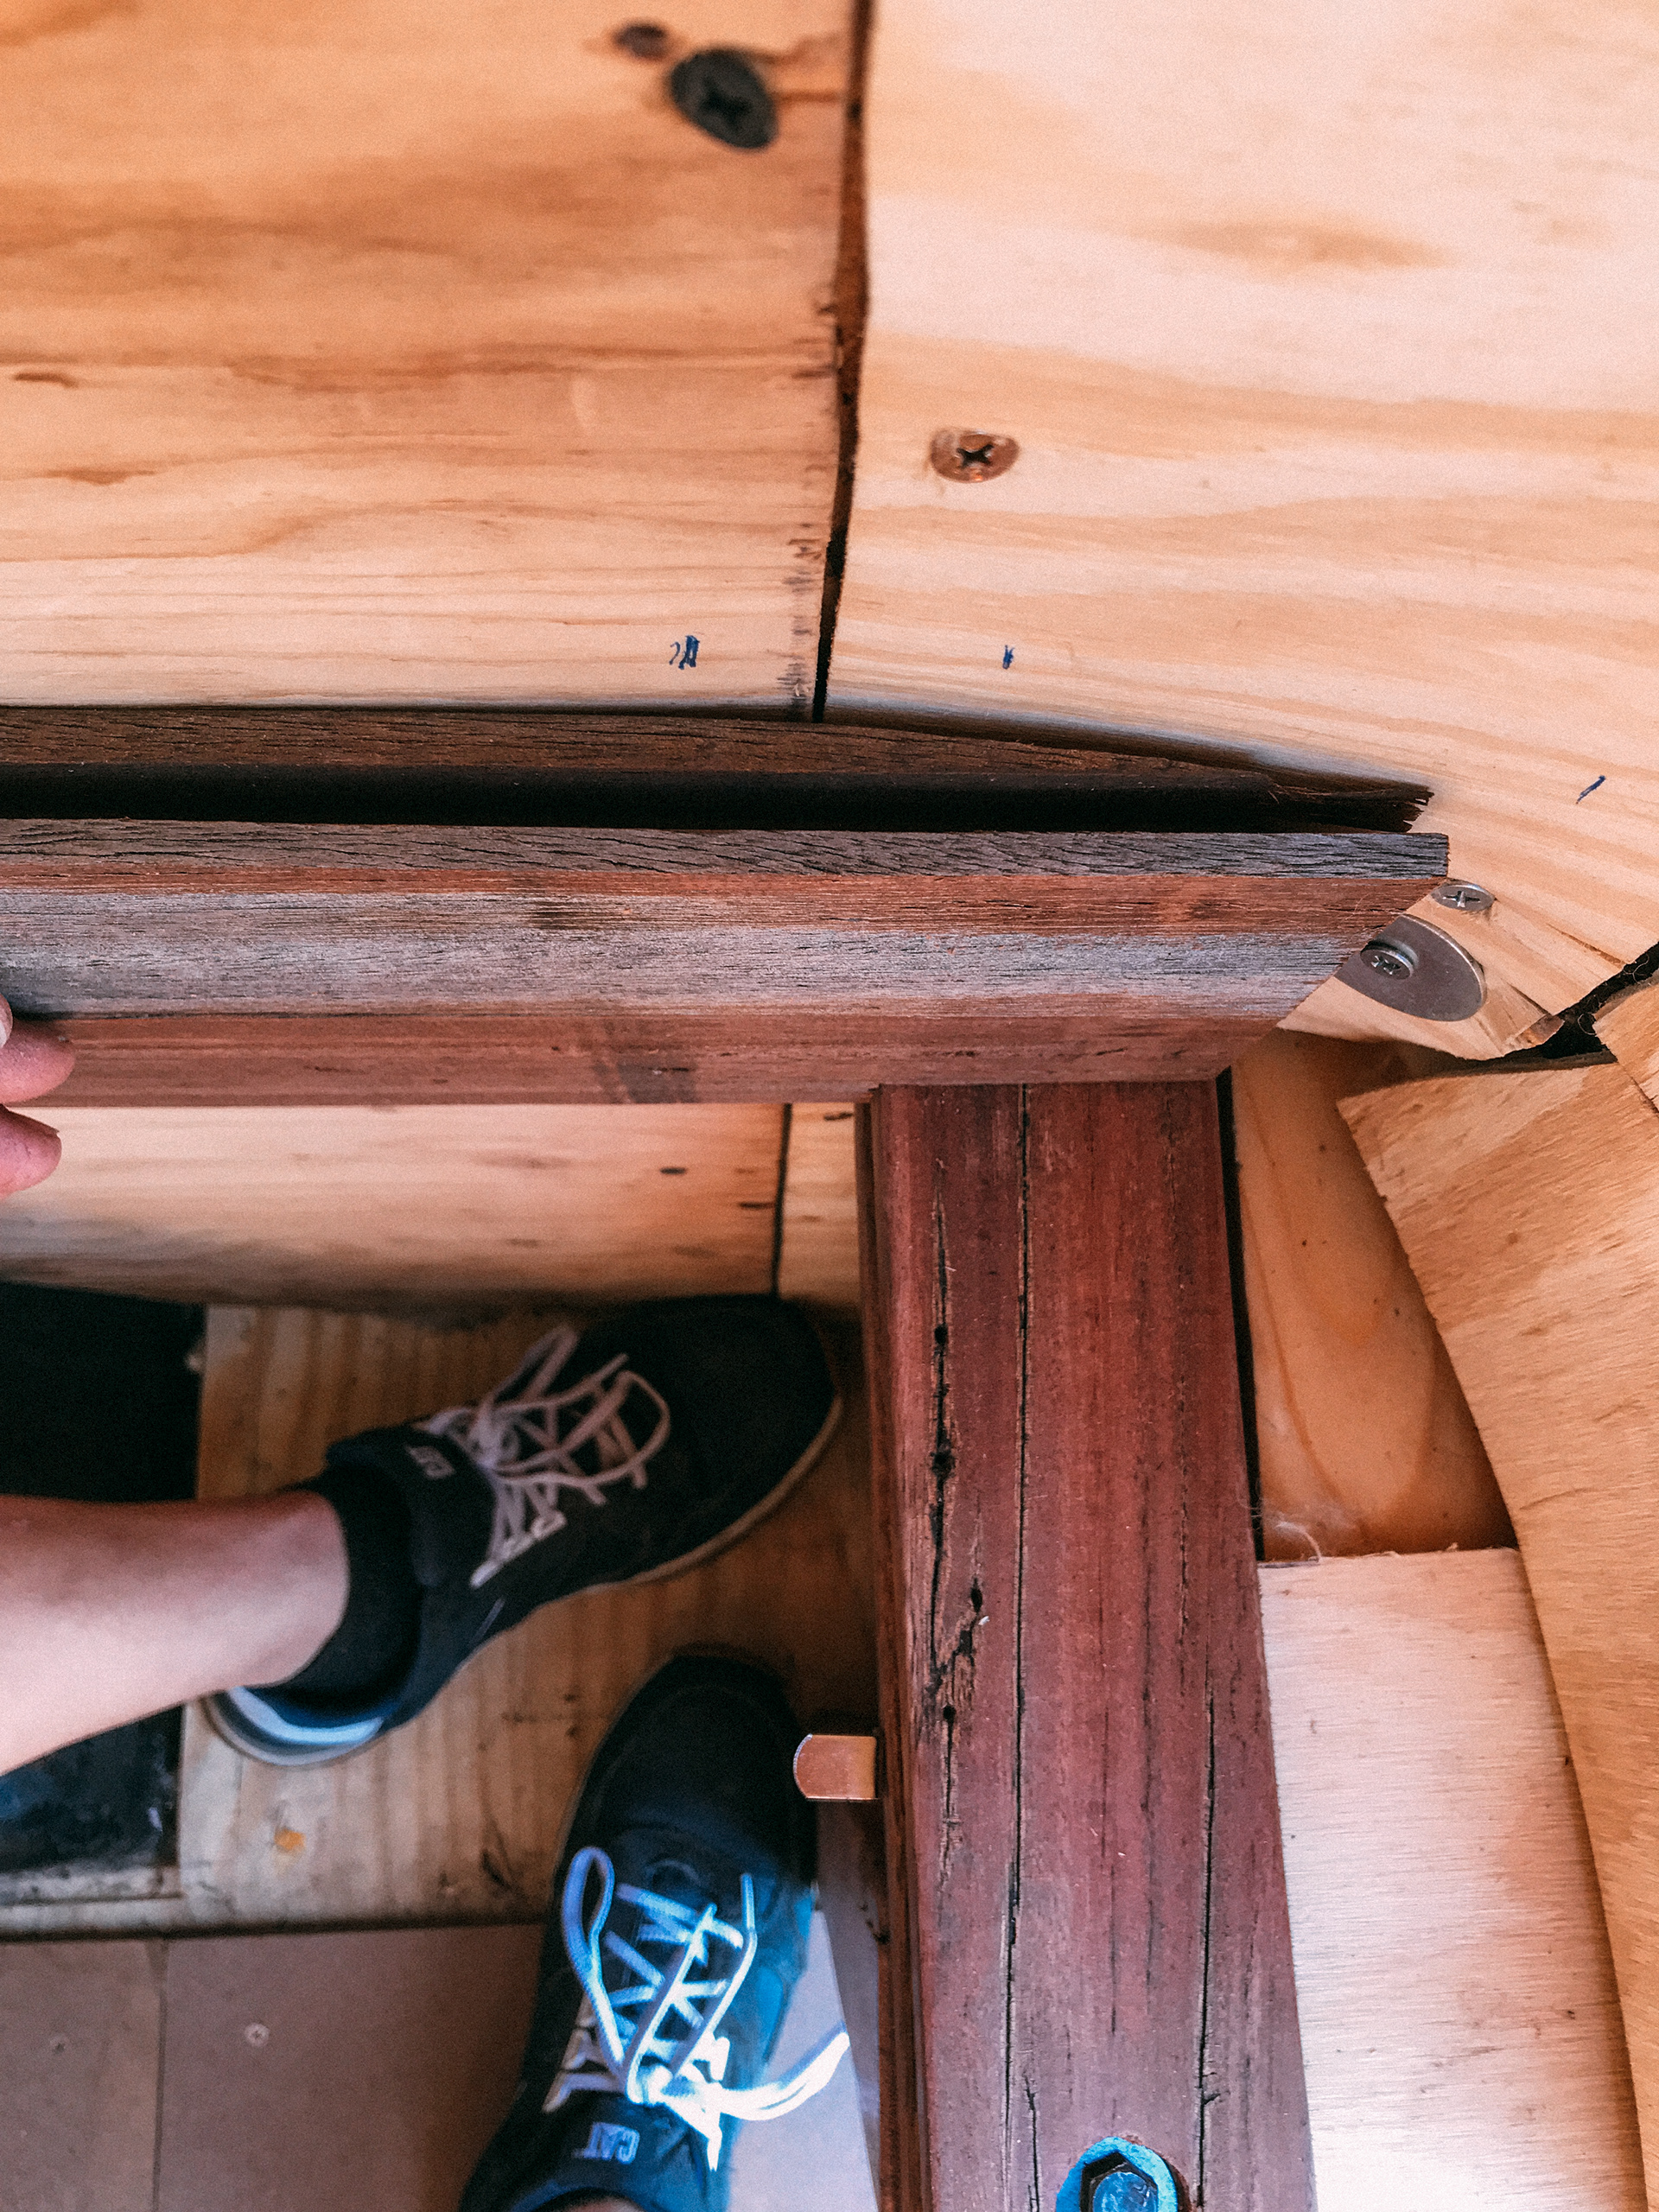
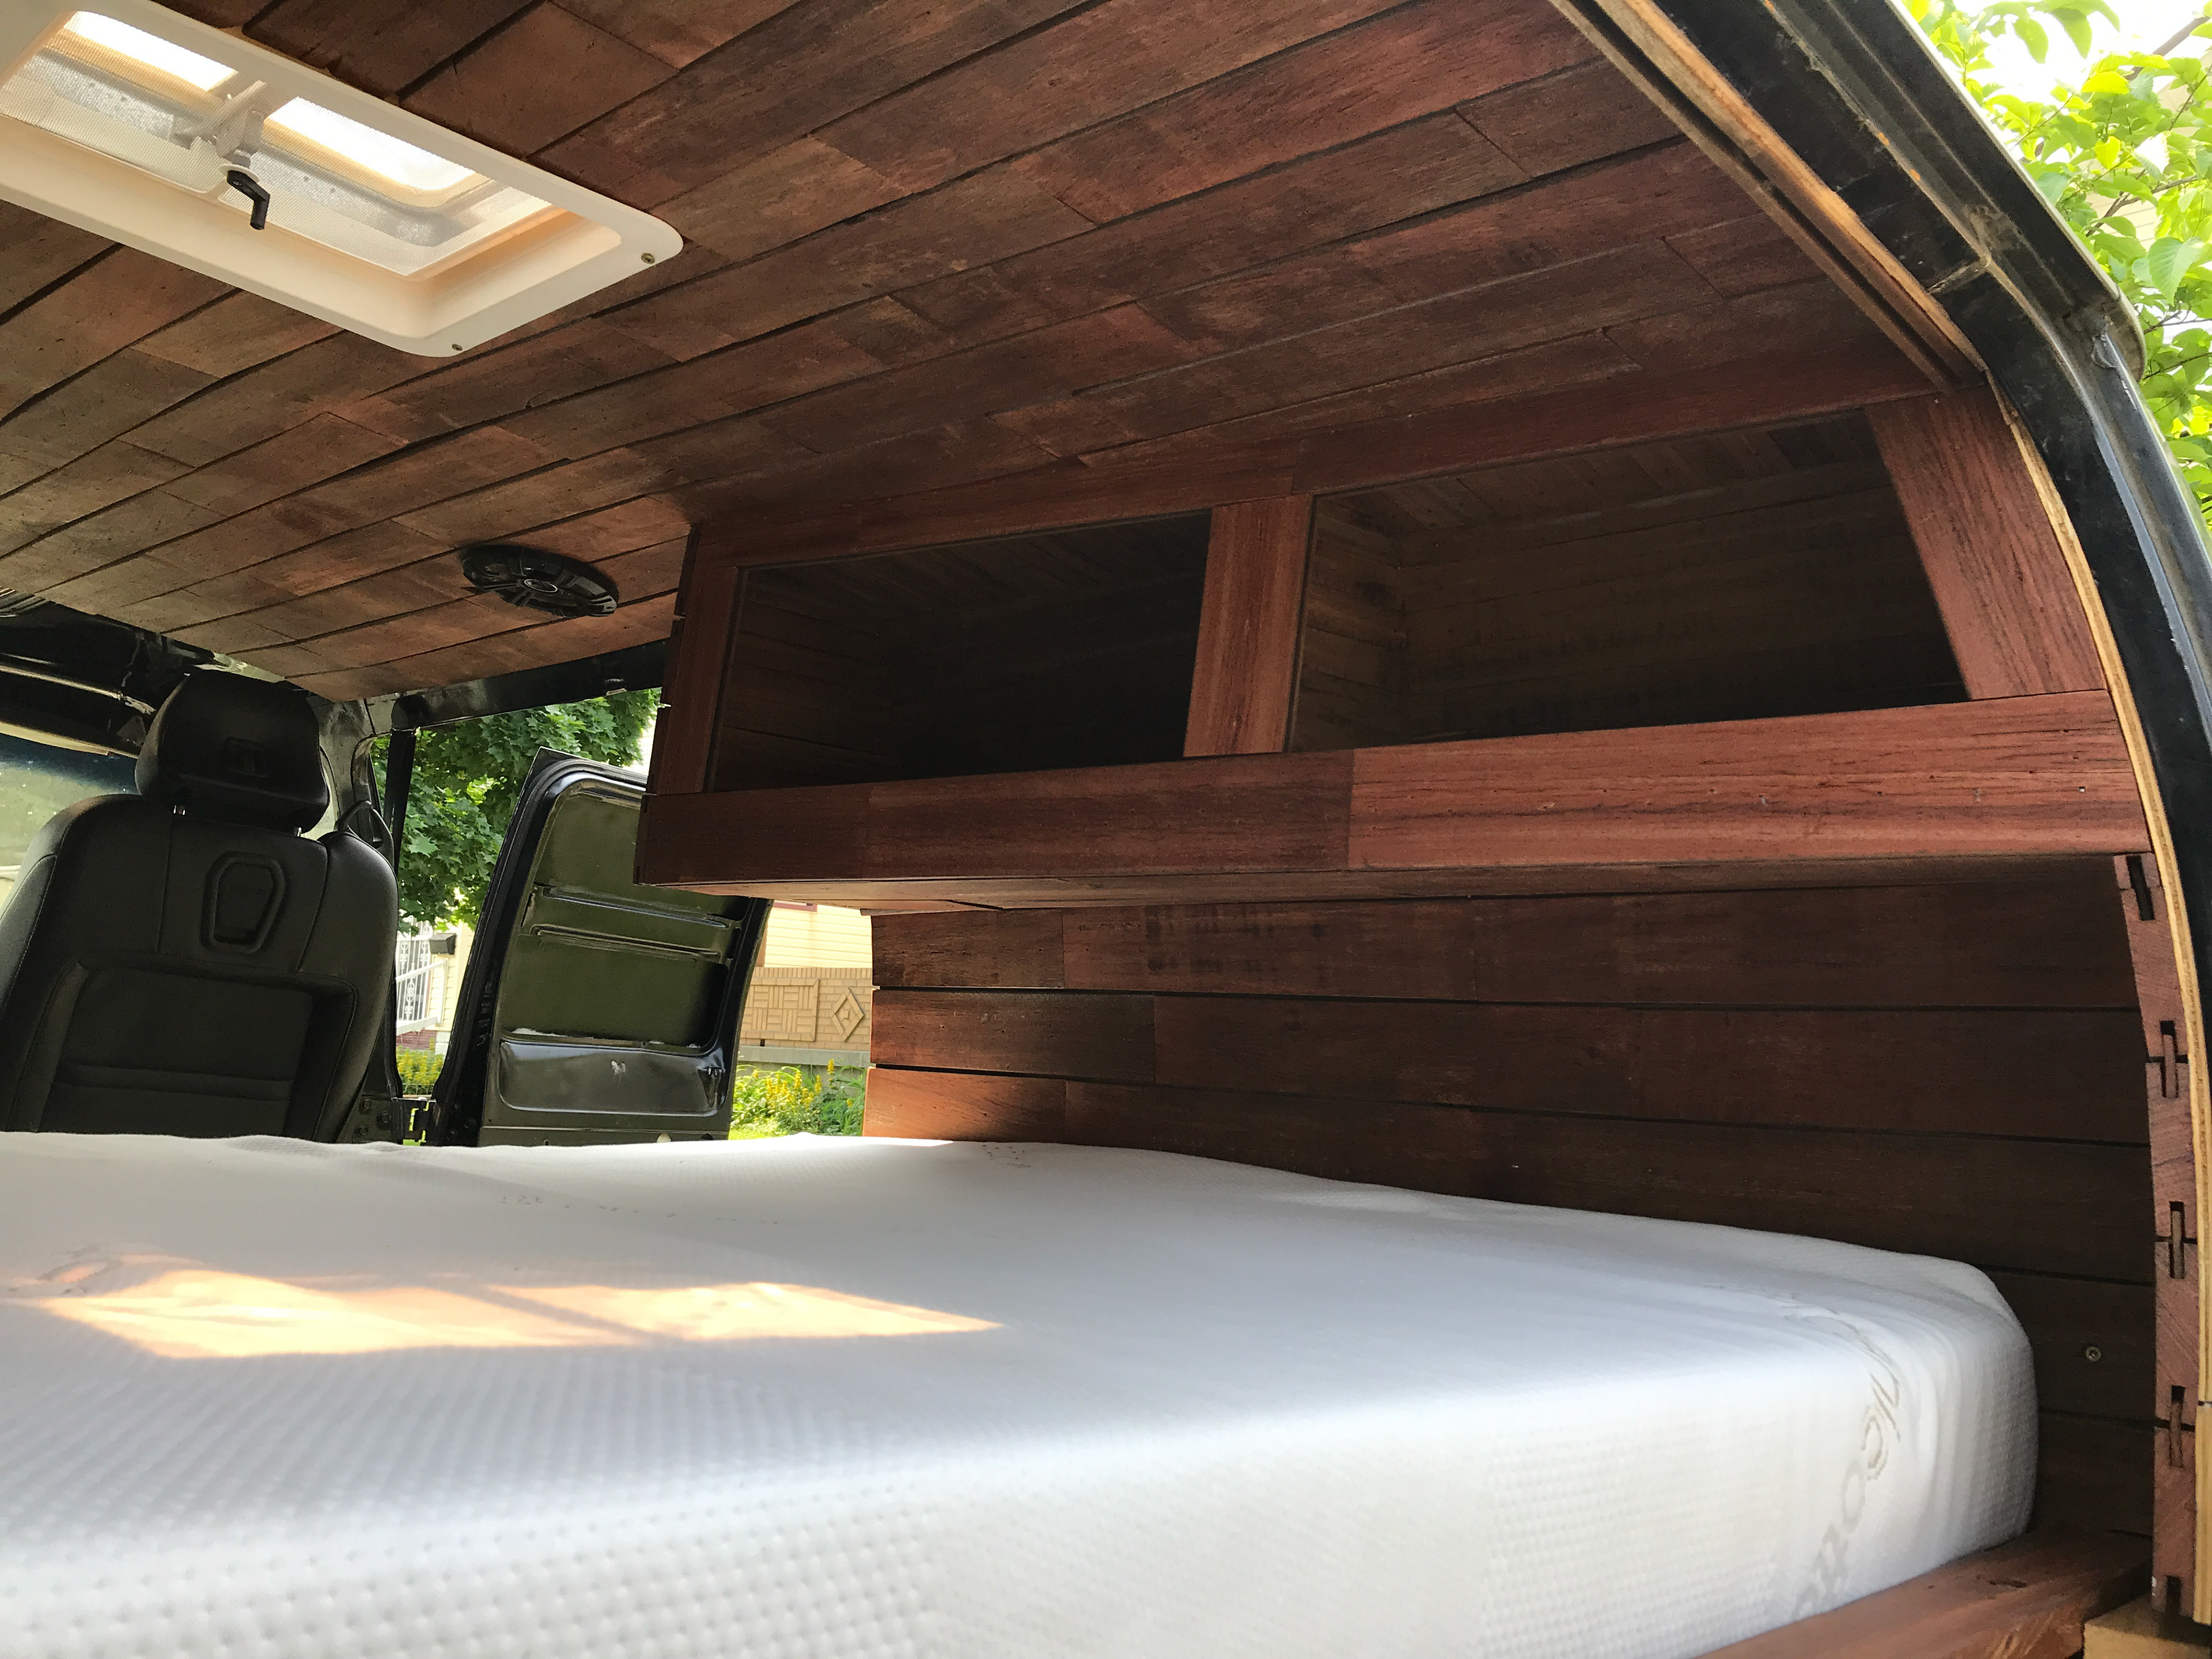
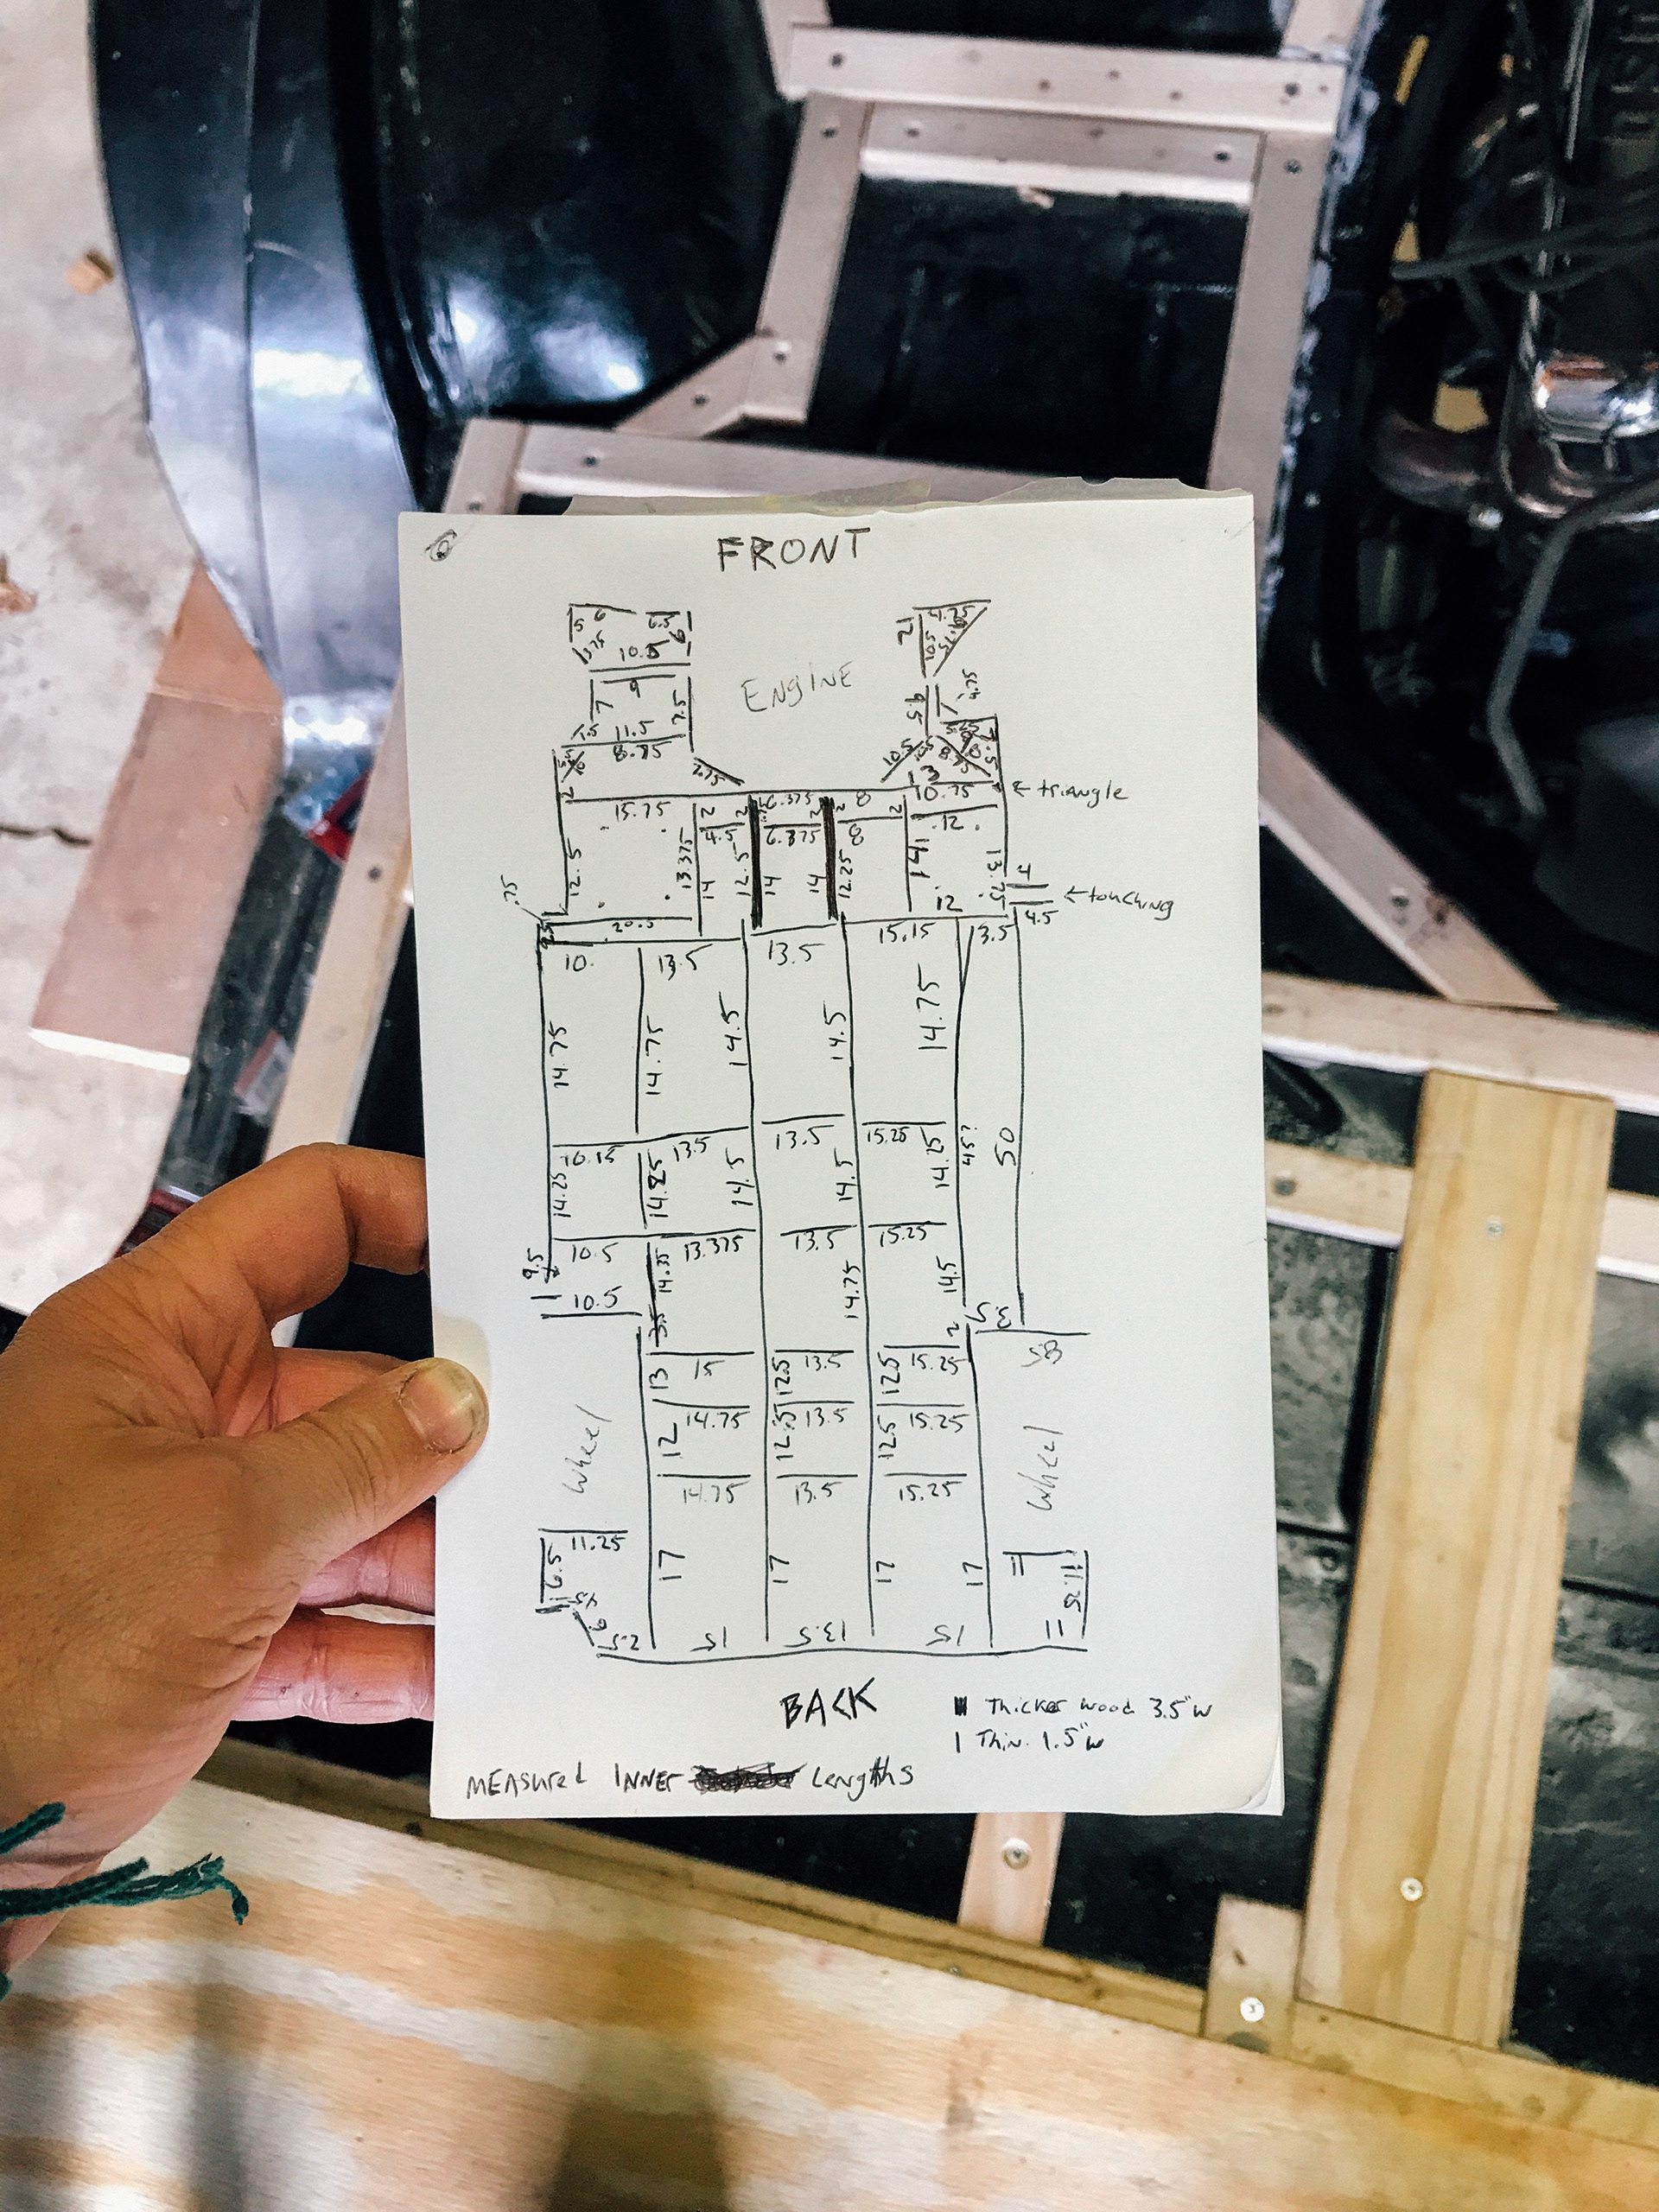
If you have ever worked on a vehicle interior, then you understand how little there are of straight edges. Everything from 1970s onwards has a curve to it. I had been putting off the corners and the ceiling but I couldn't put it off any longer. I needed something was removable down below for the taillights and the wood for up top needed to curve to the van. It helps to have wood that has grain going the way you need it to. It also helps to soak the wood with water prior to installing. For the really rigid sections, I tried cutting grooves in the back of the wood to help it flex which worked a little but not as much as I needed it to. In the end, I needed to force it, clamp it and sweat a lot while trying to power my screws into the van. Getting the wool to stay in the ceiling while I tried installing the wood was so frustrating that it drove me to drinking a 6 pack before I could get everything installed plus 3 hardware trips. For some reason the wood was warped and sagged in one location so I had to chisel a section out to mate the two with hinges that I turned into flat metal plates.
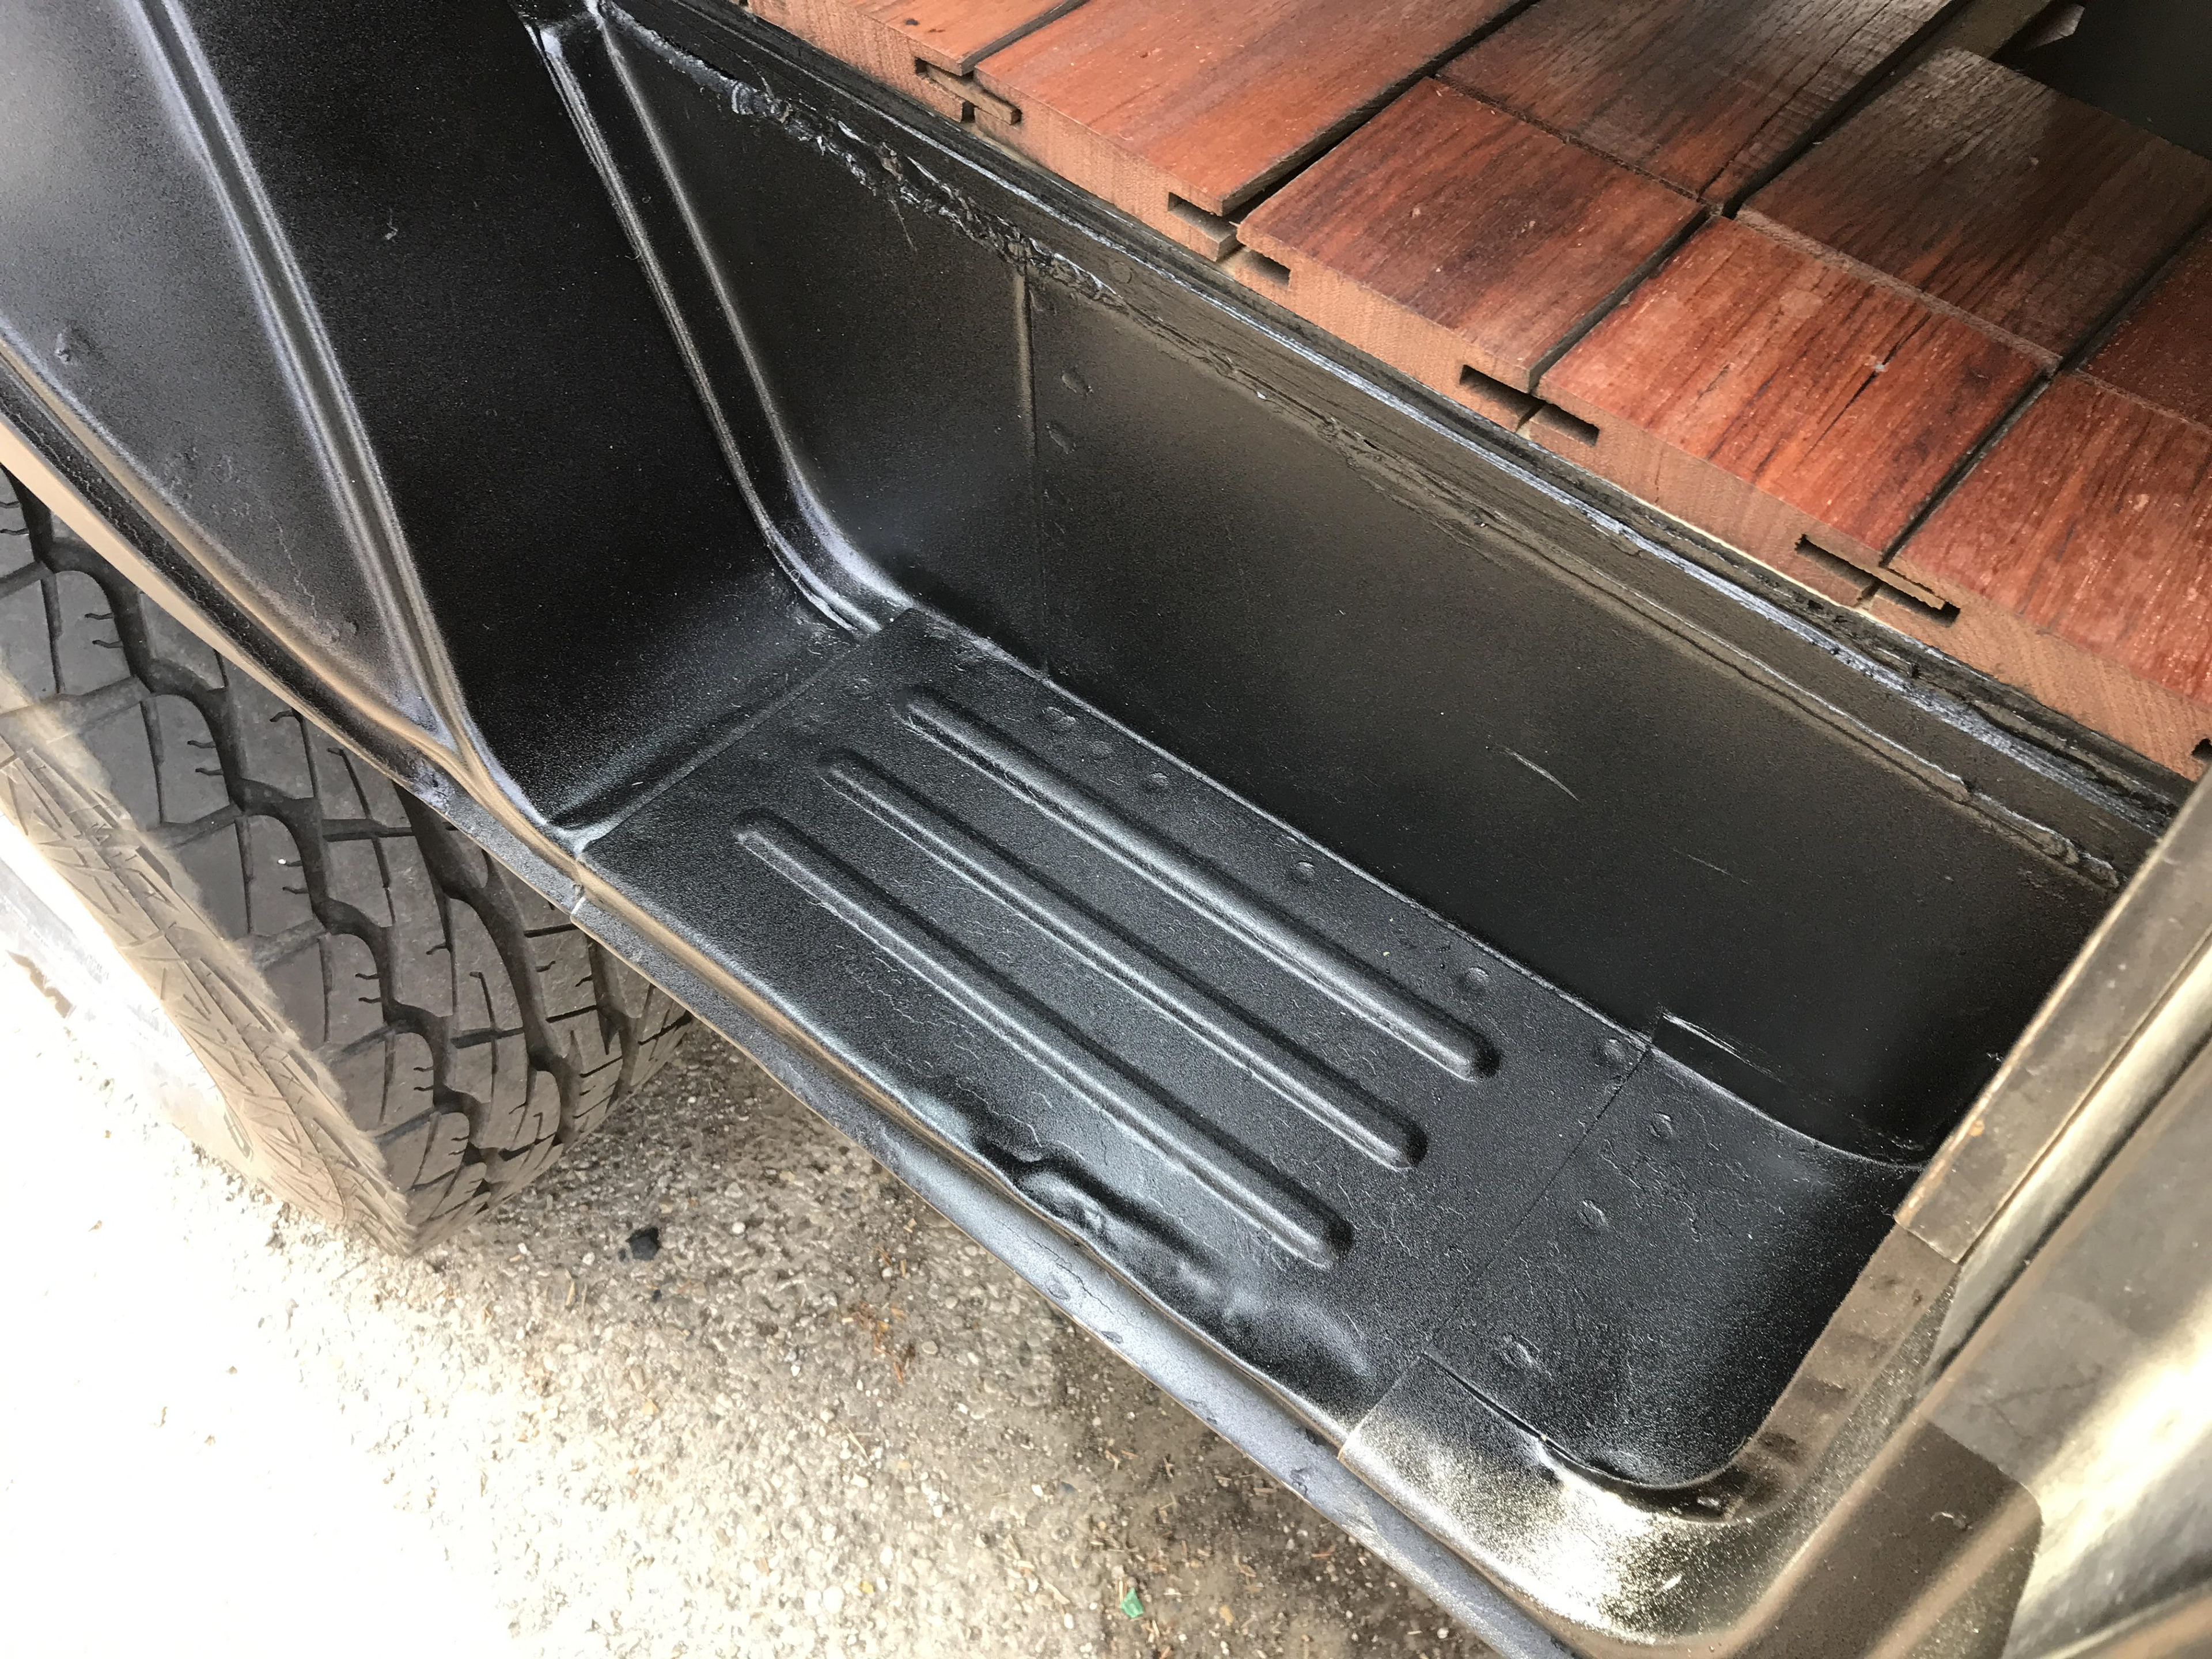
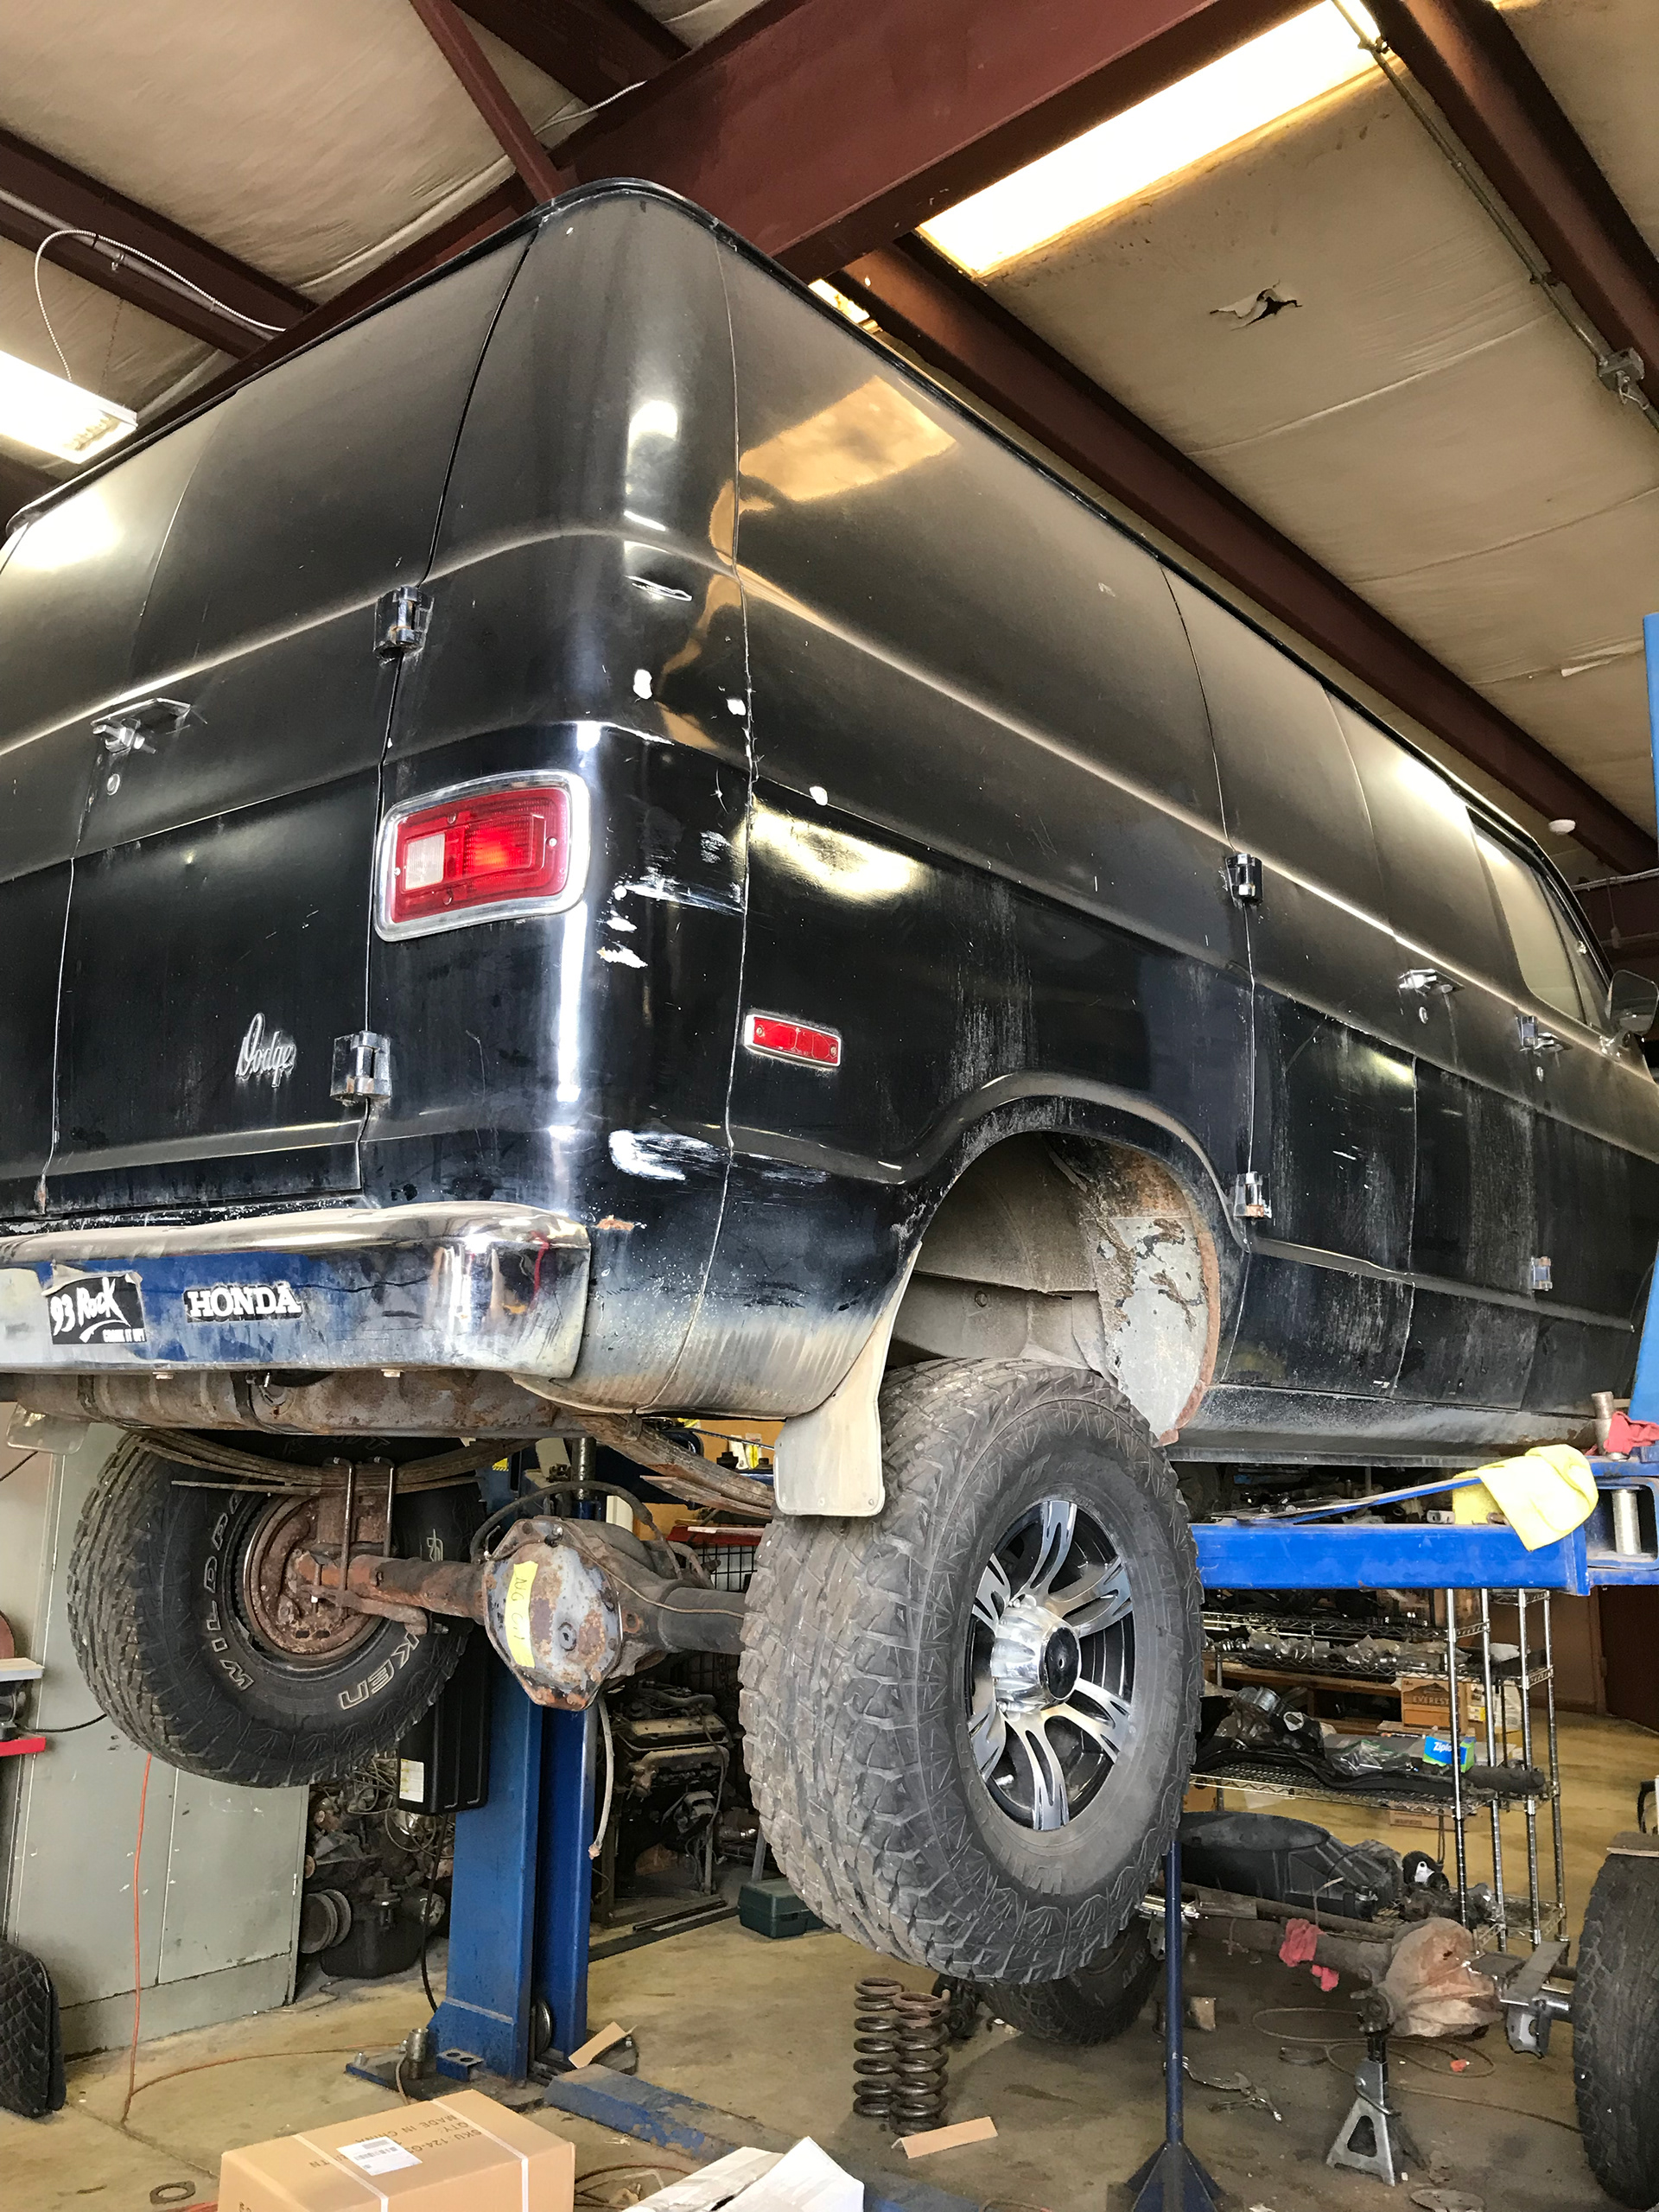
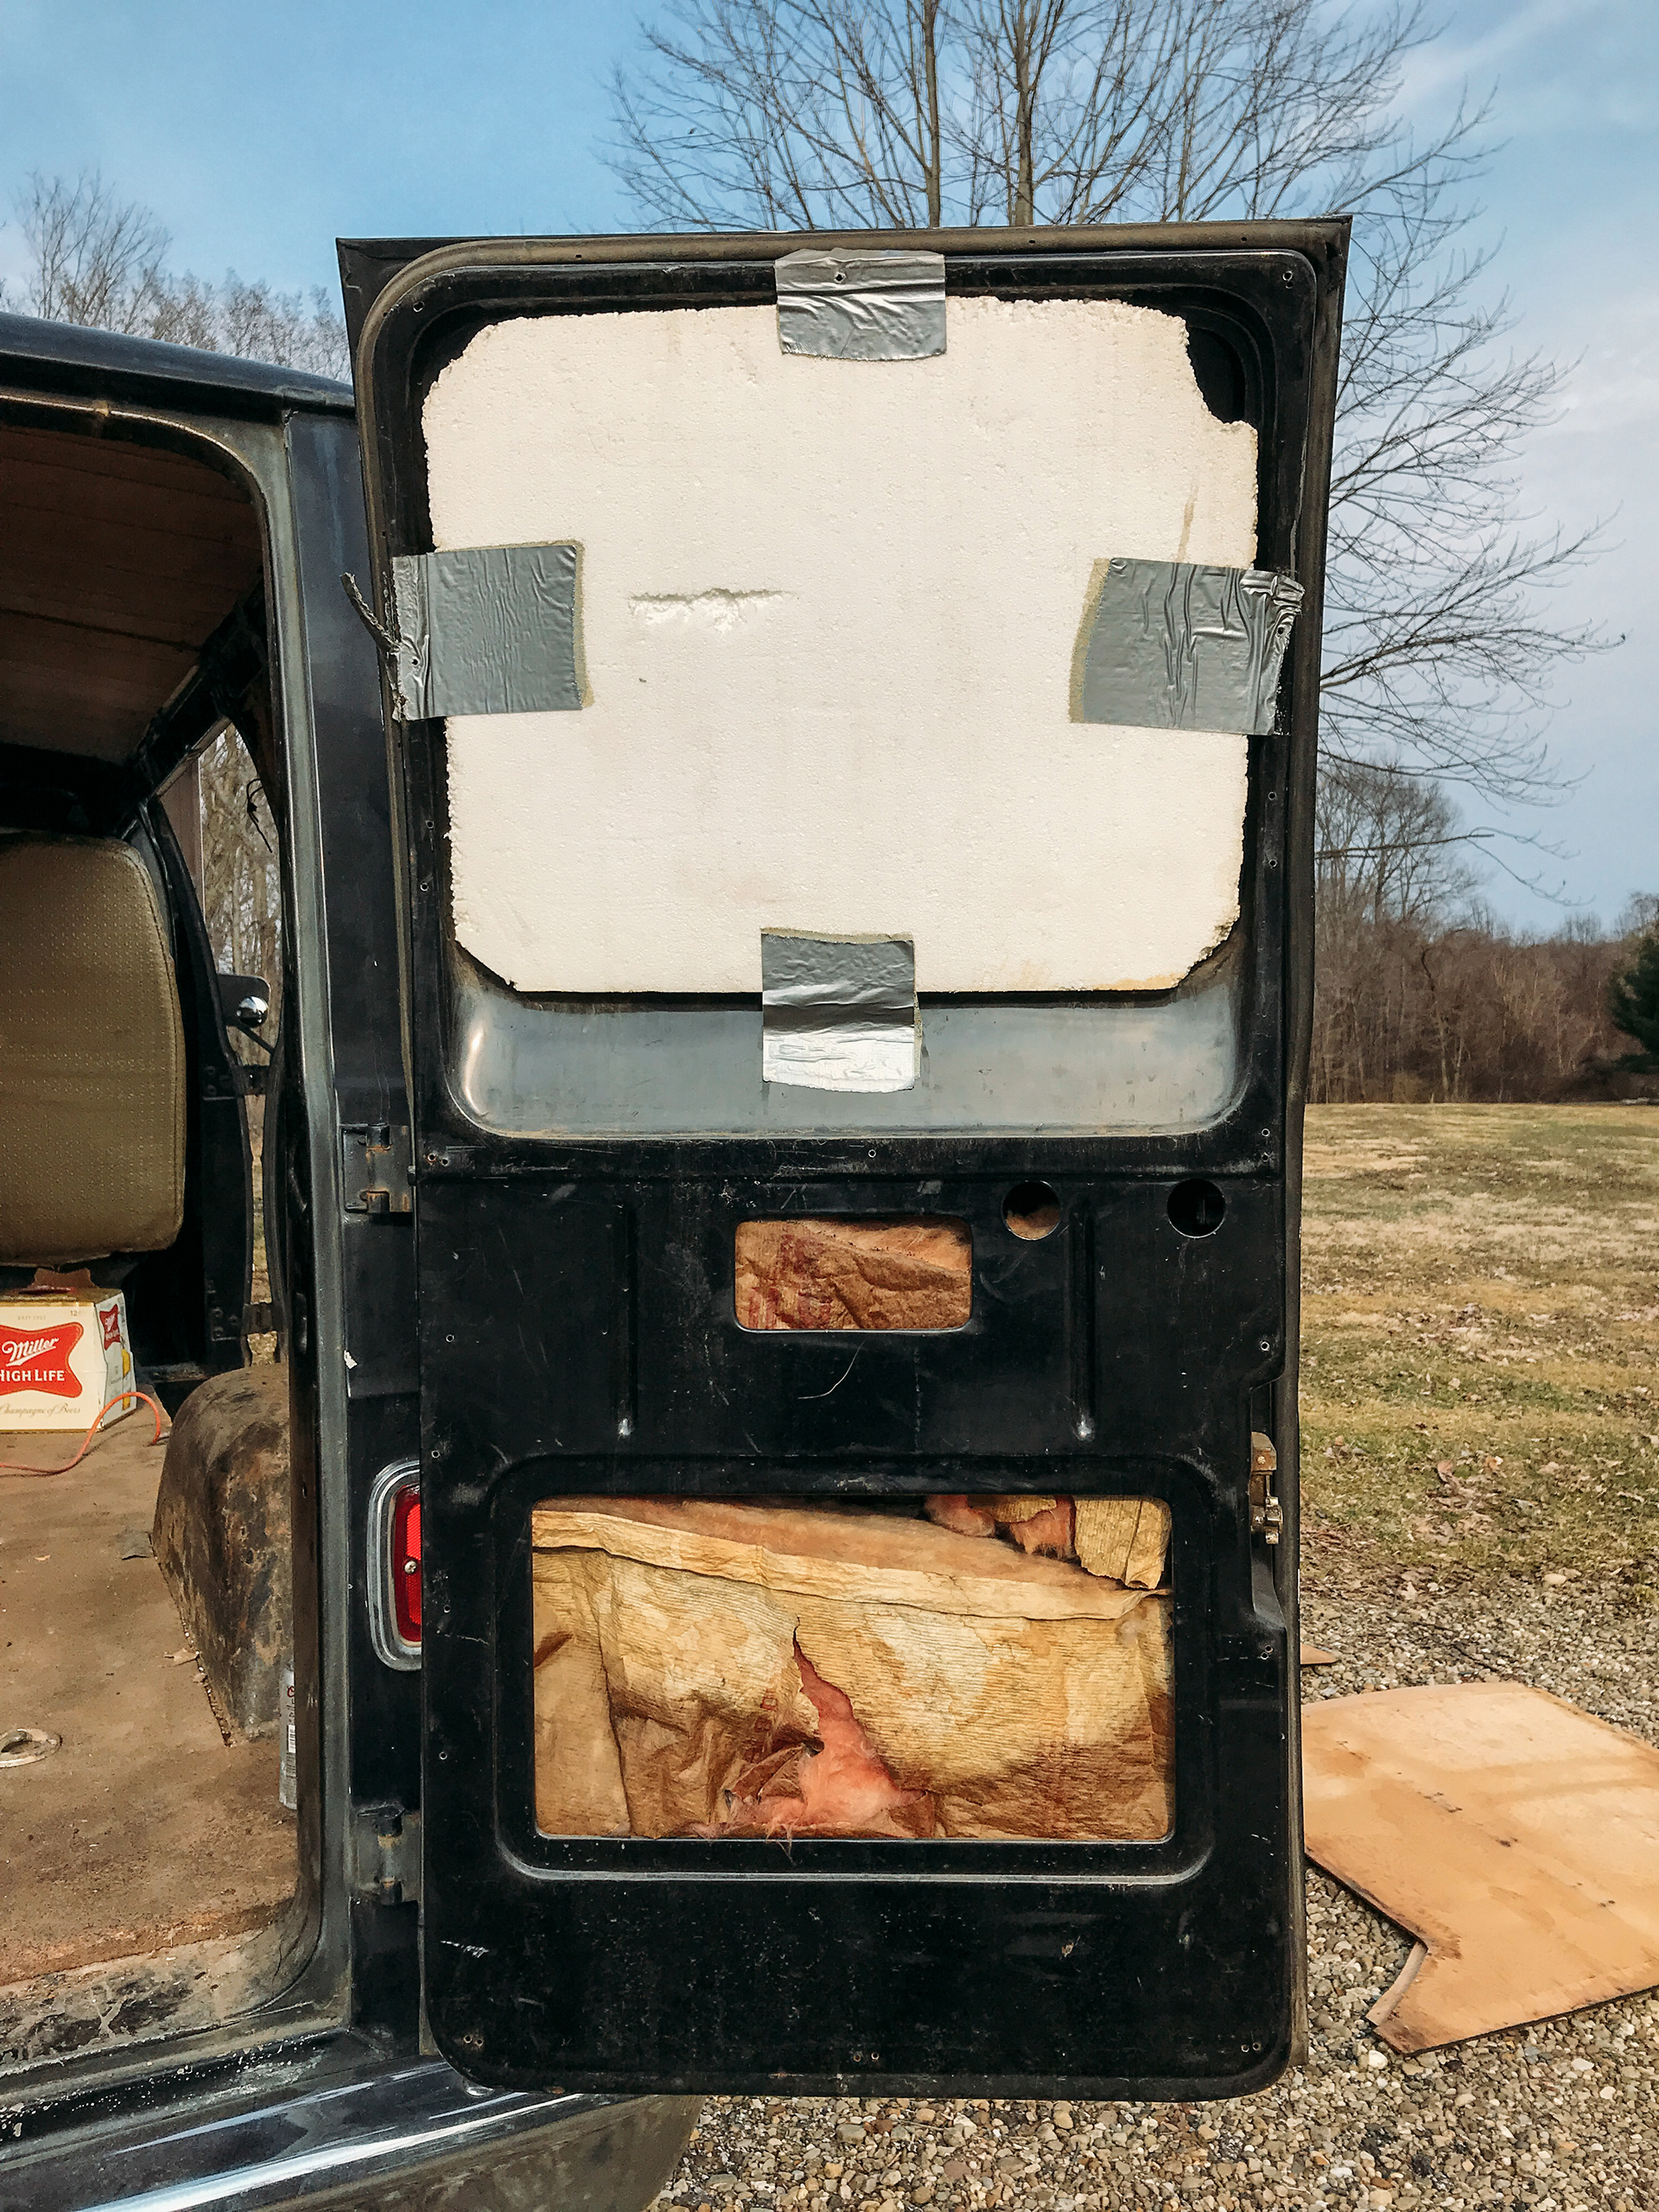
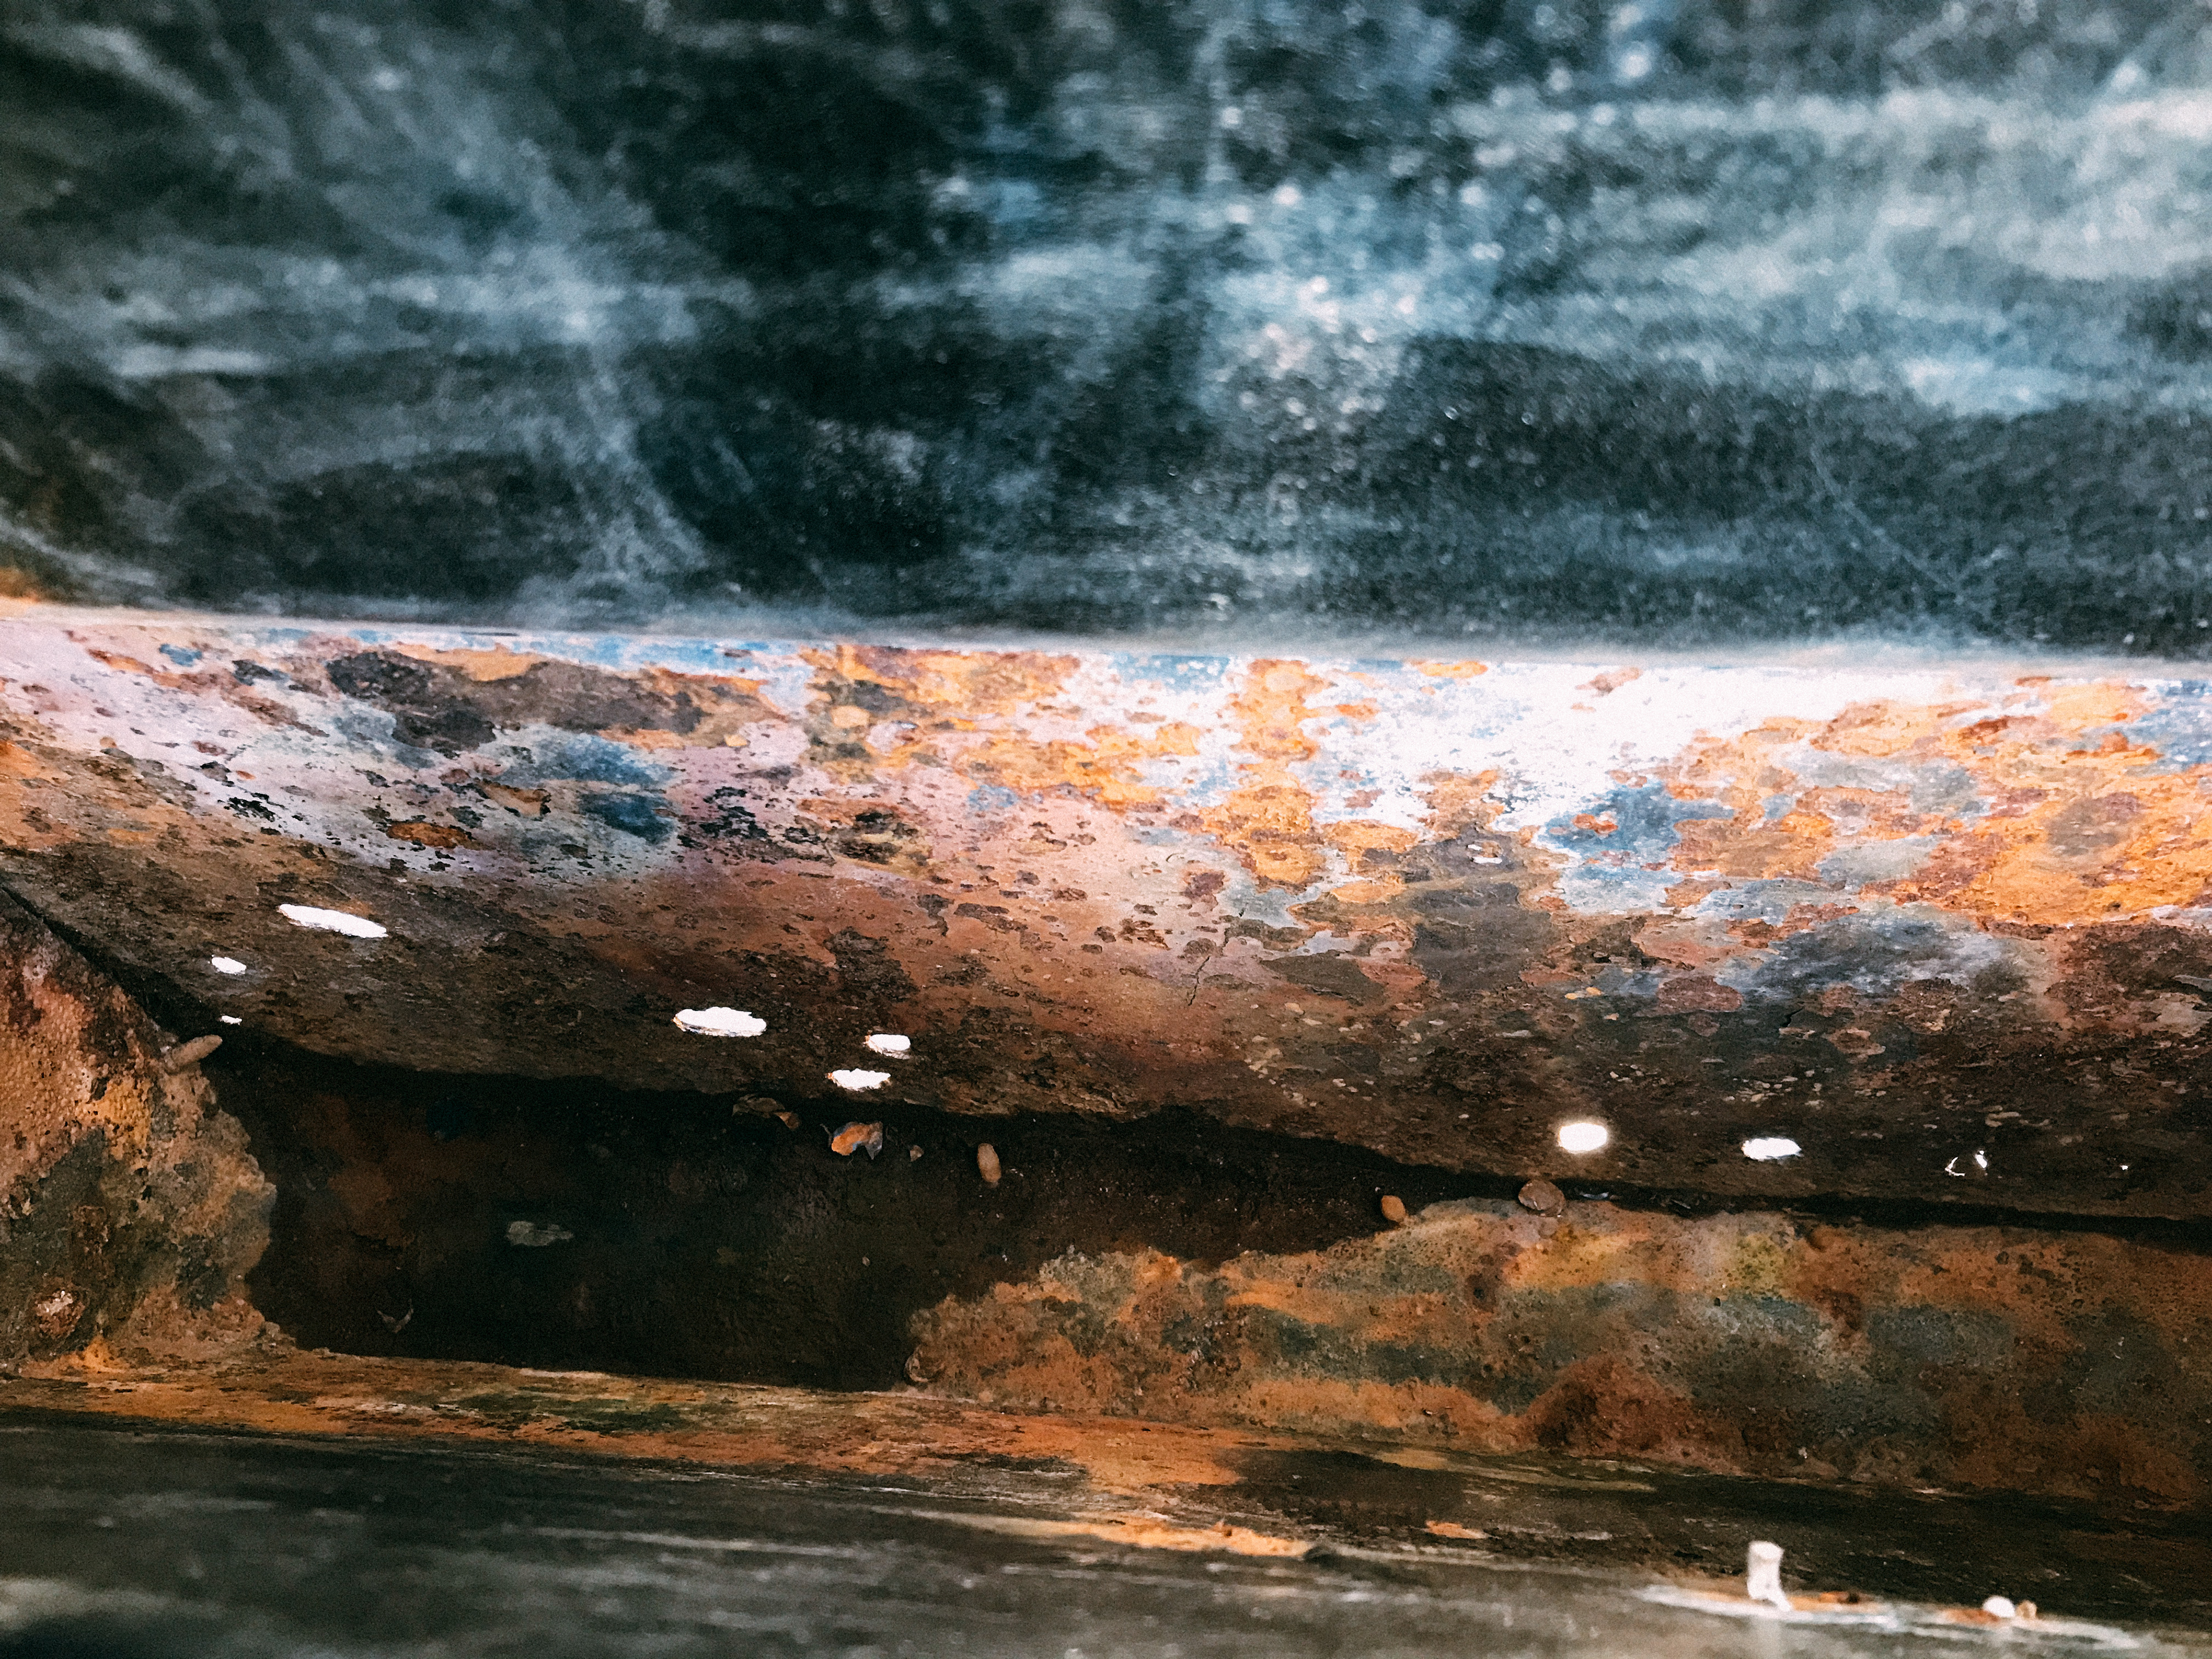
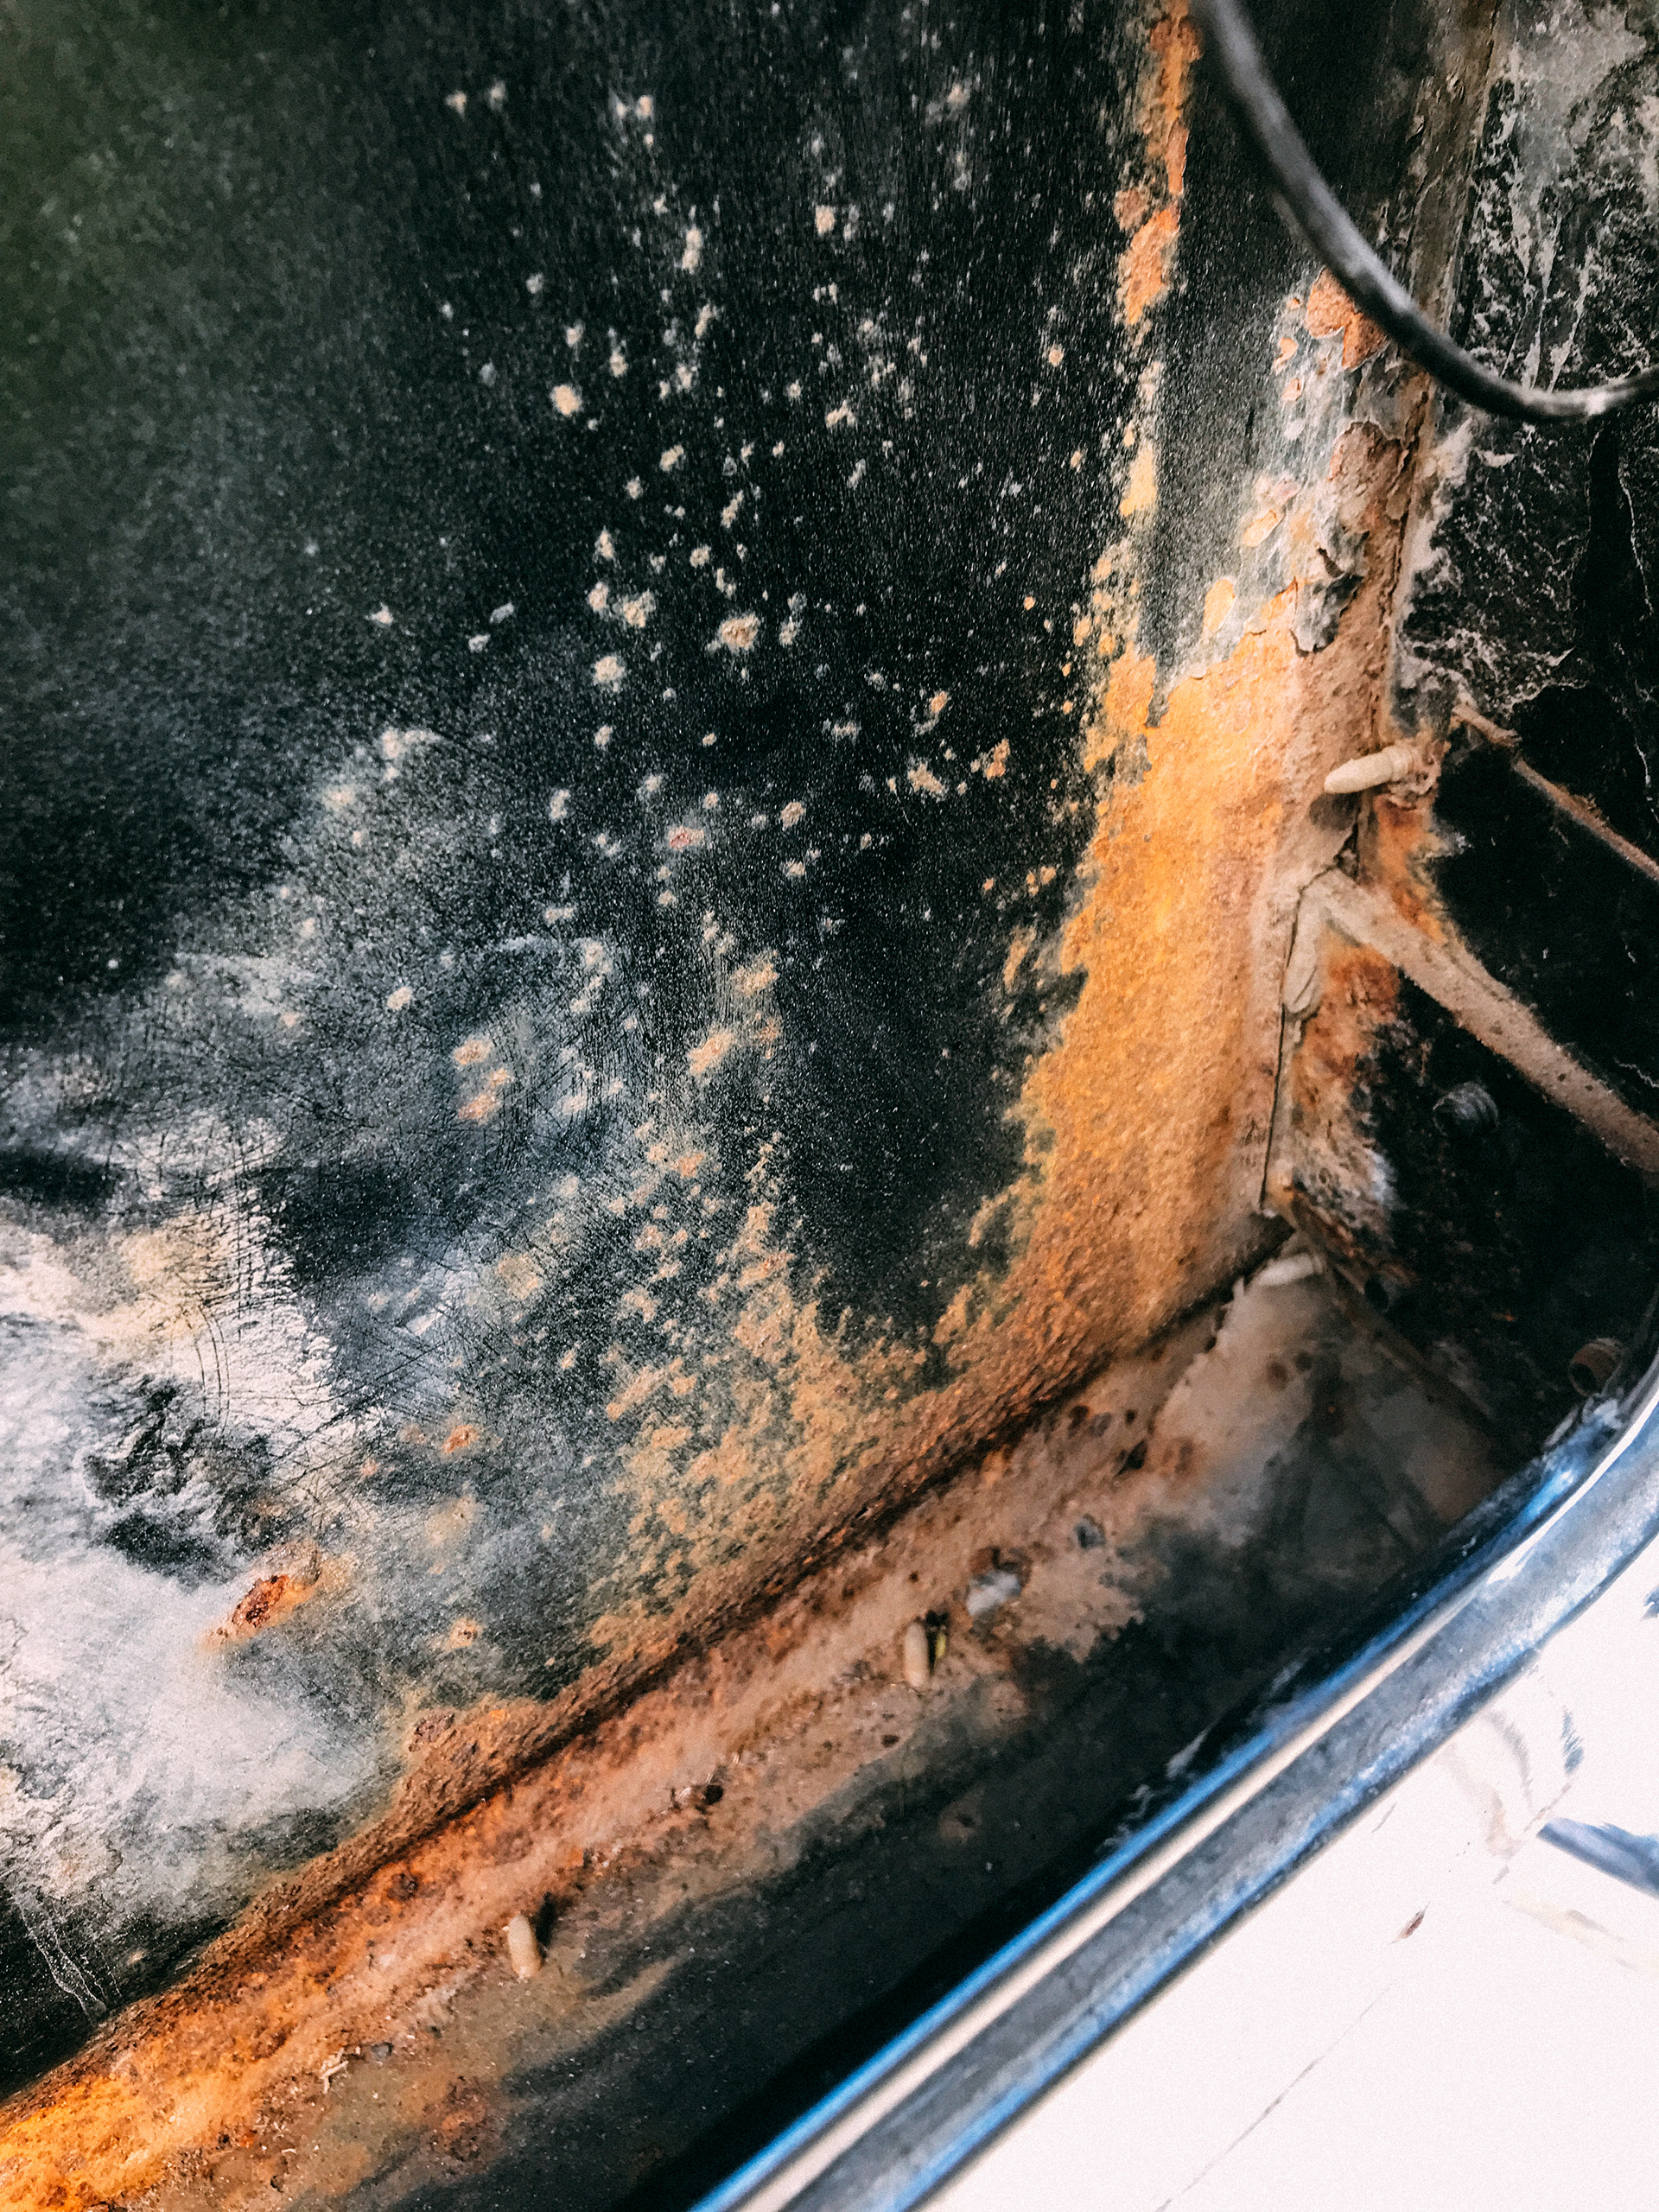
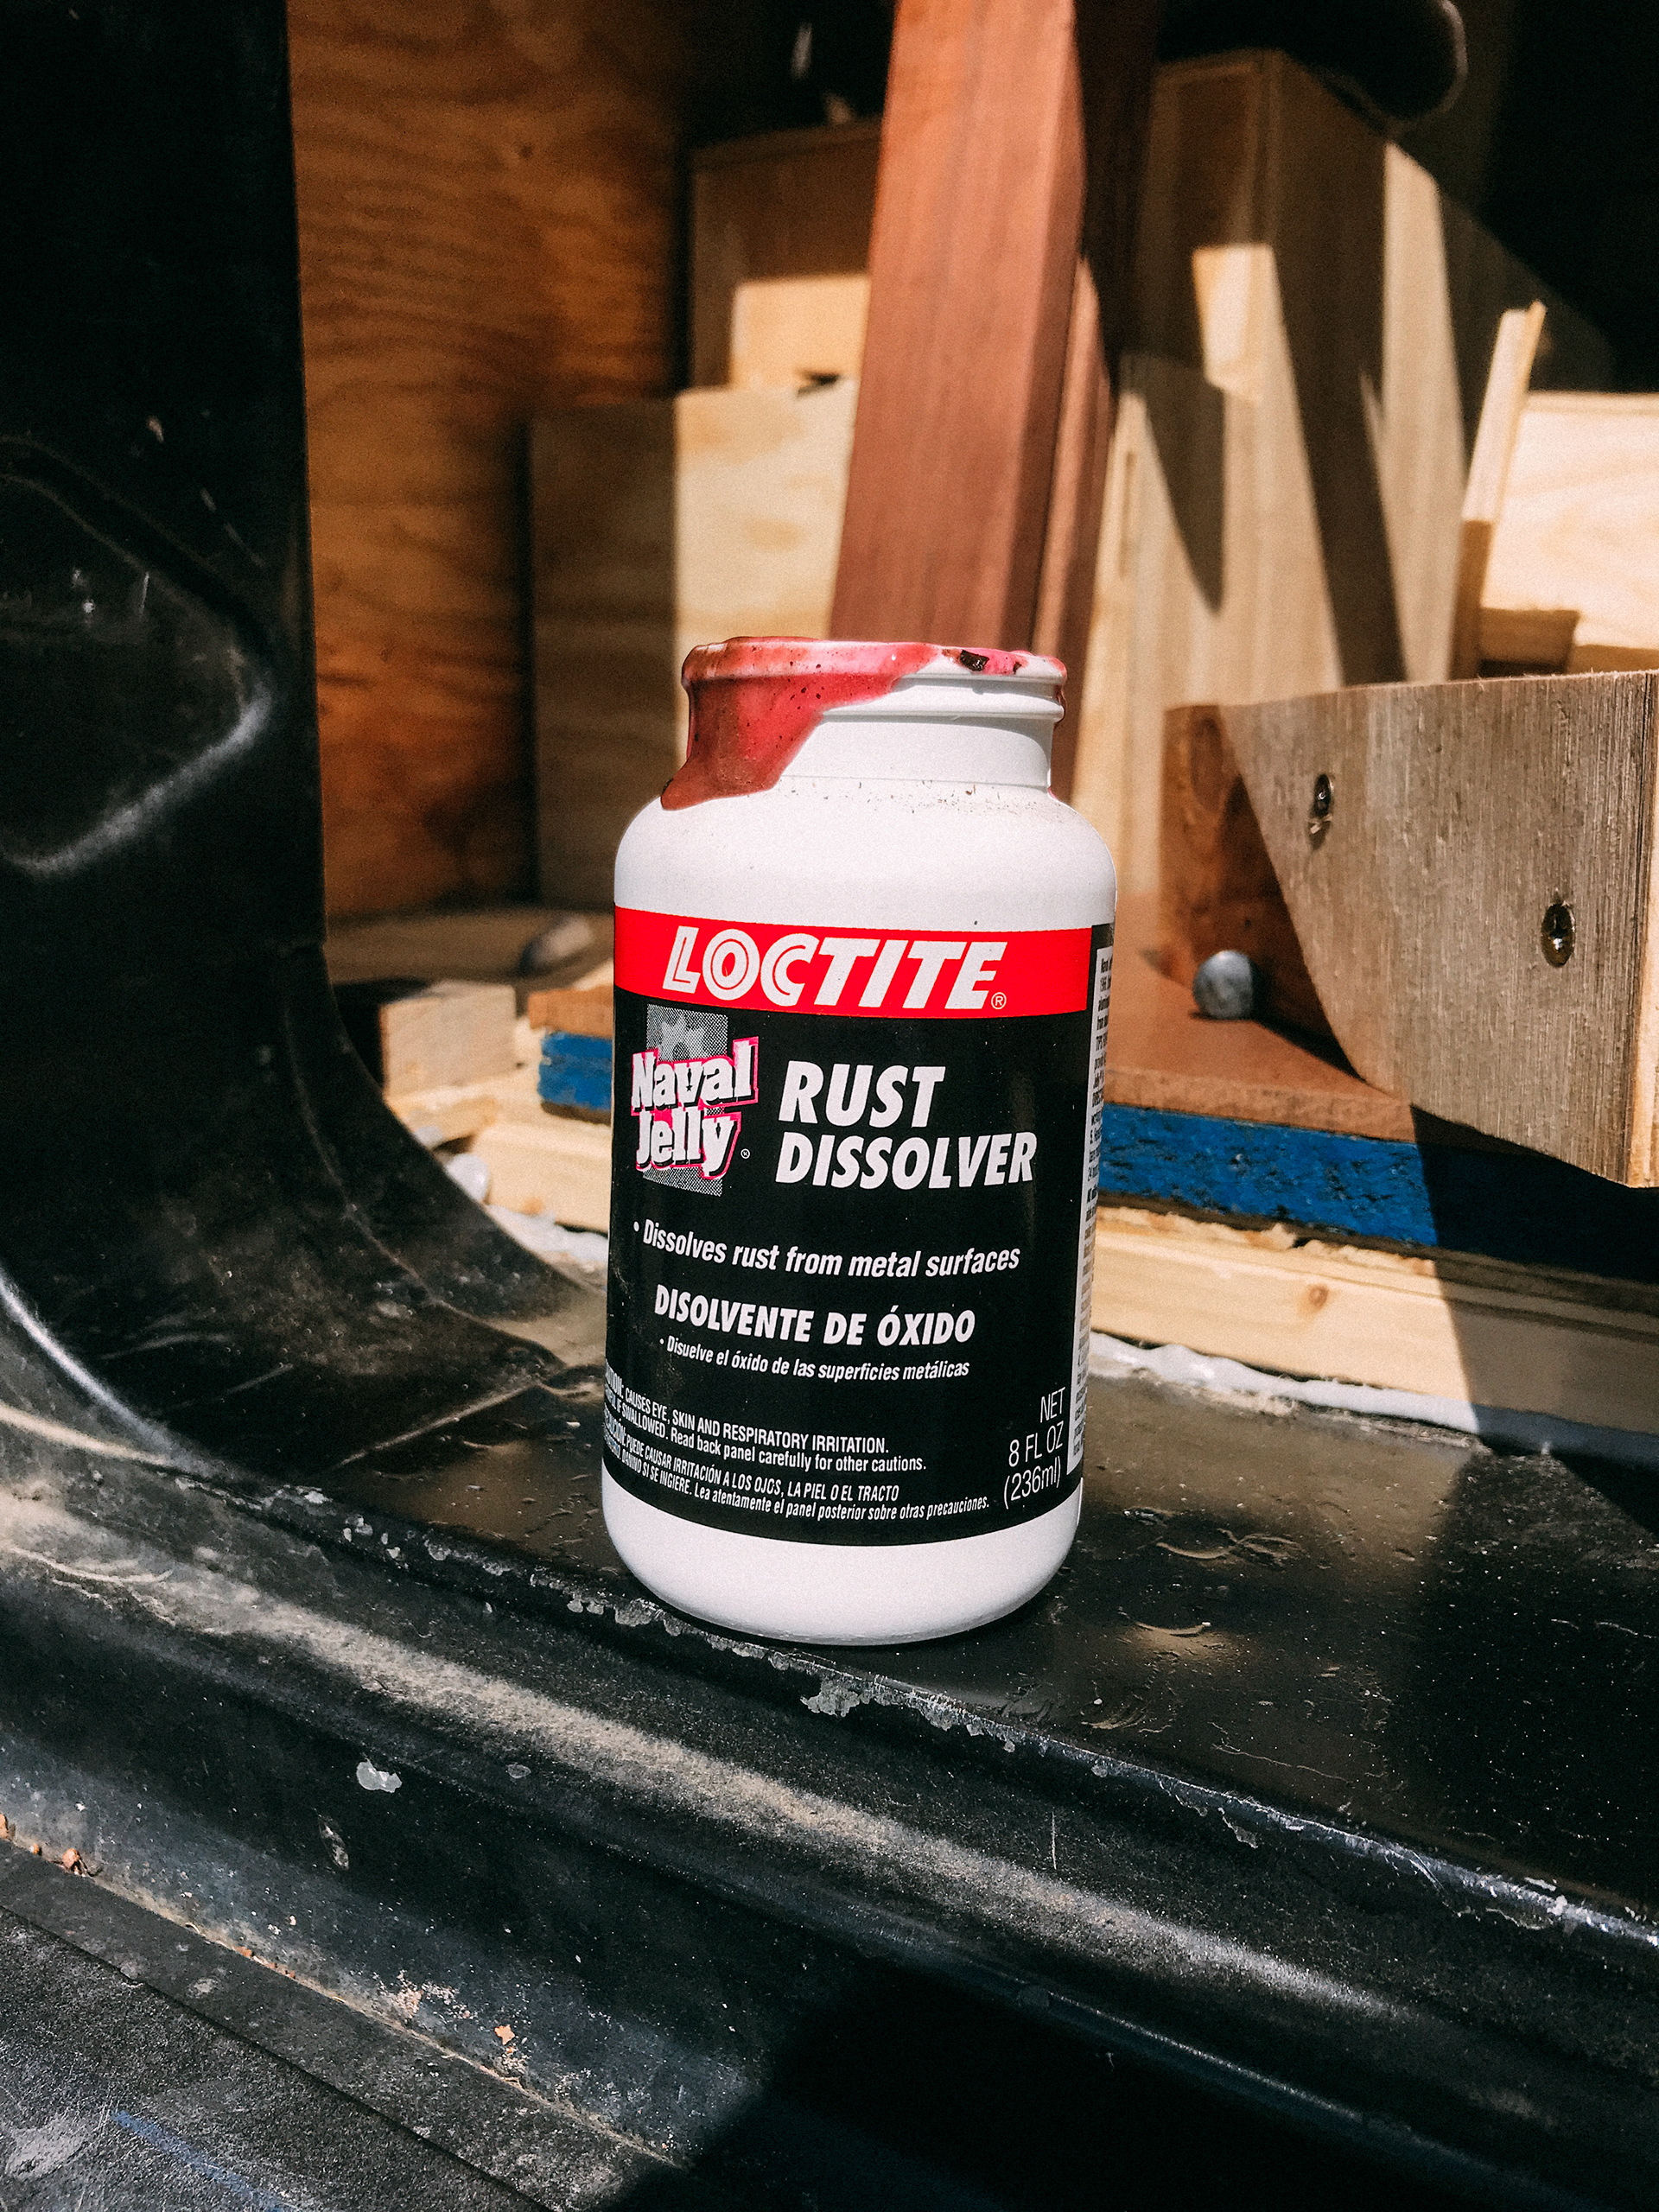
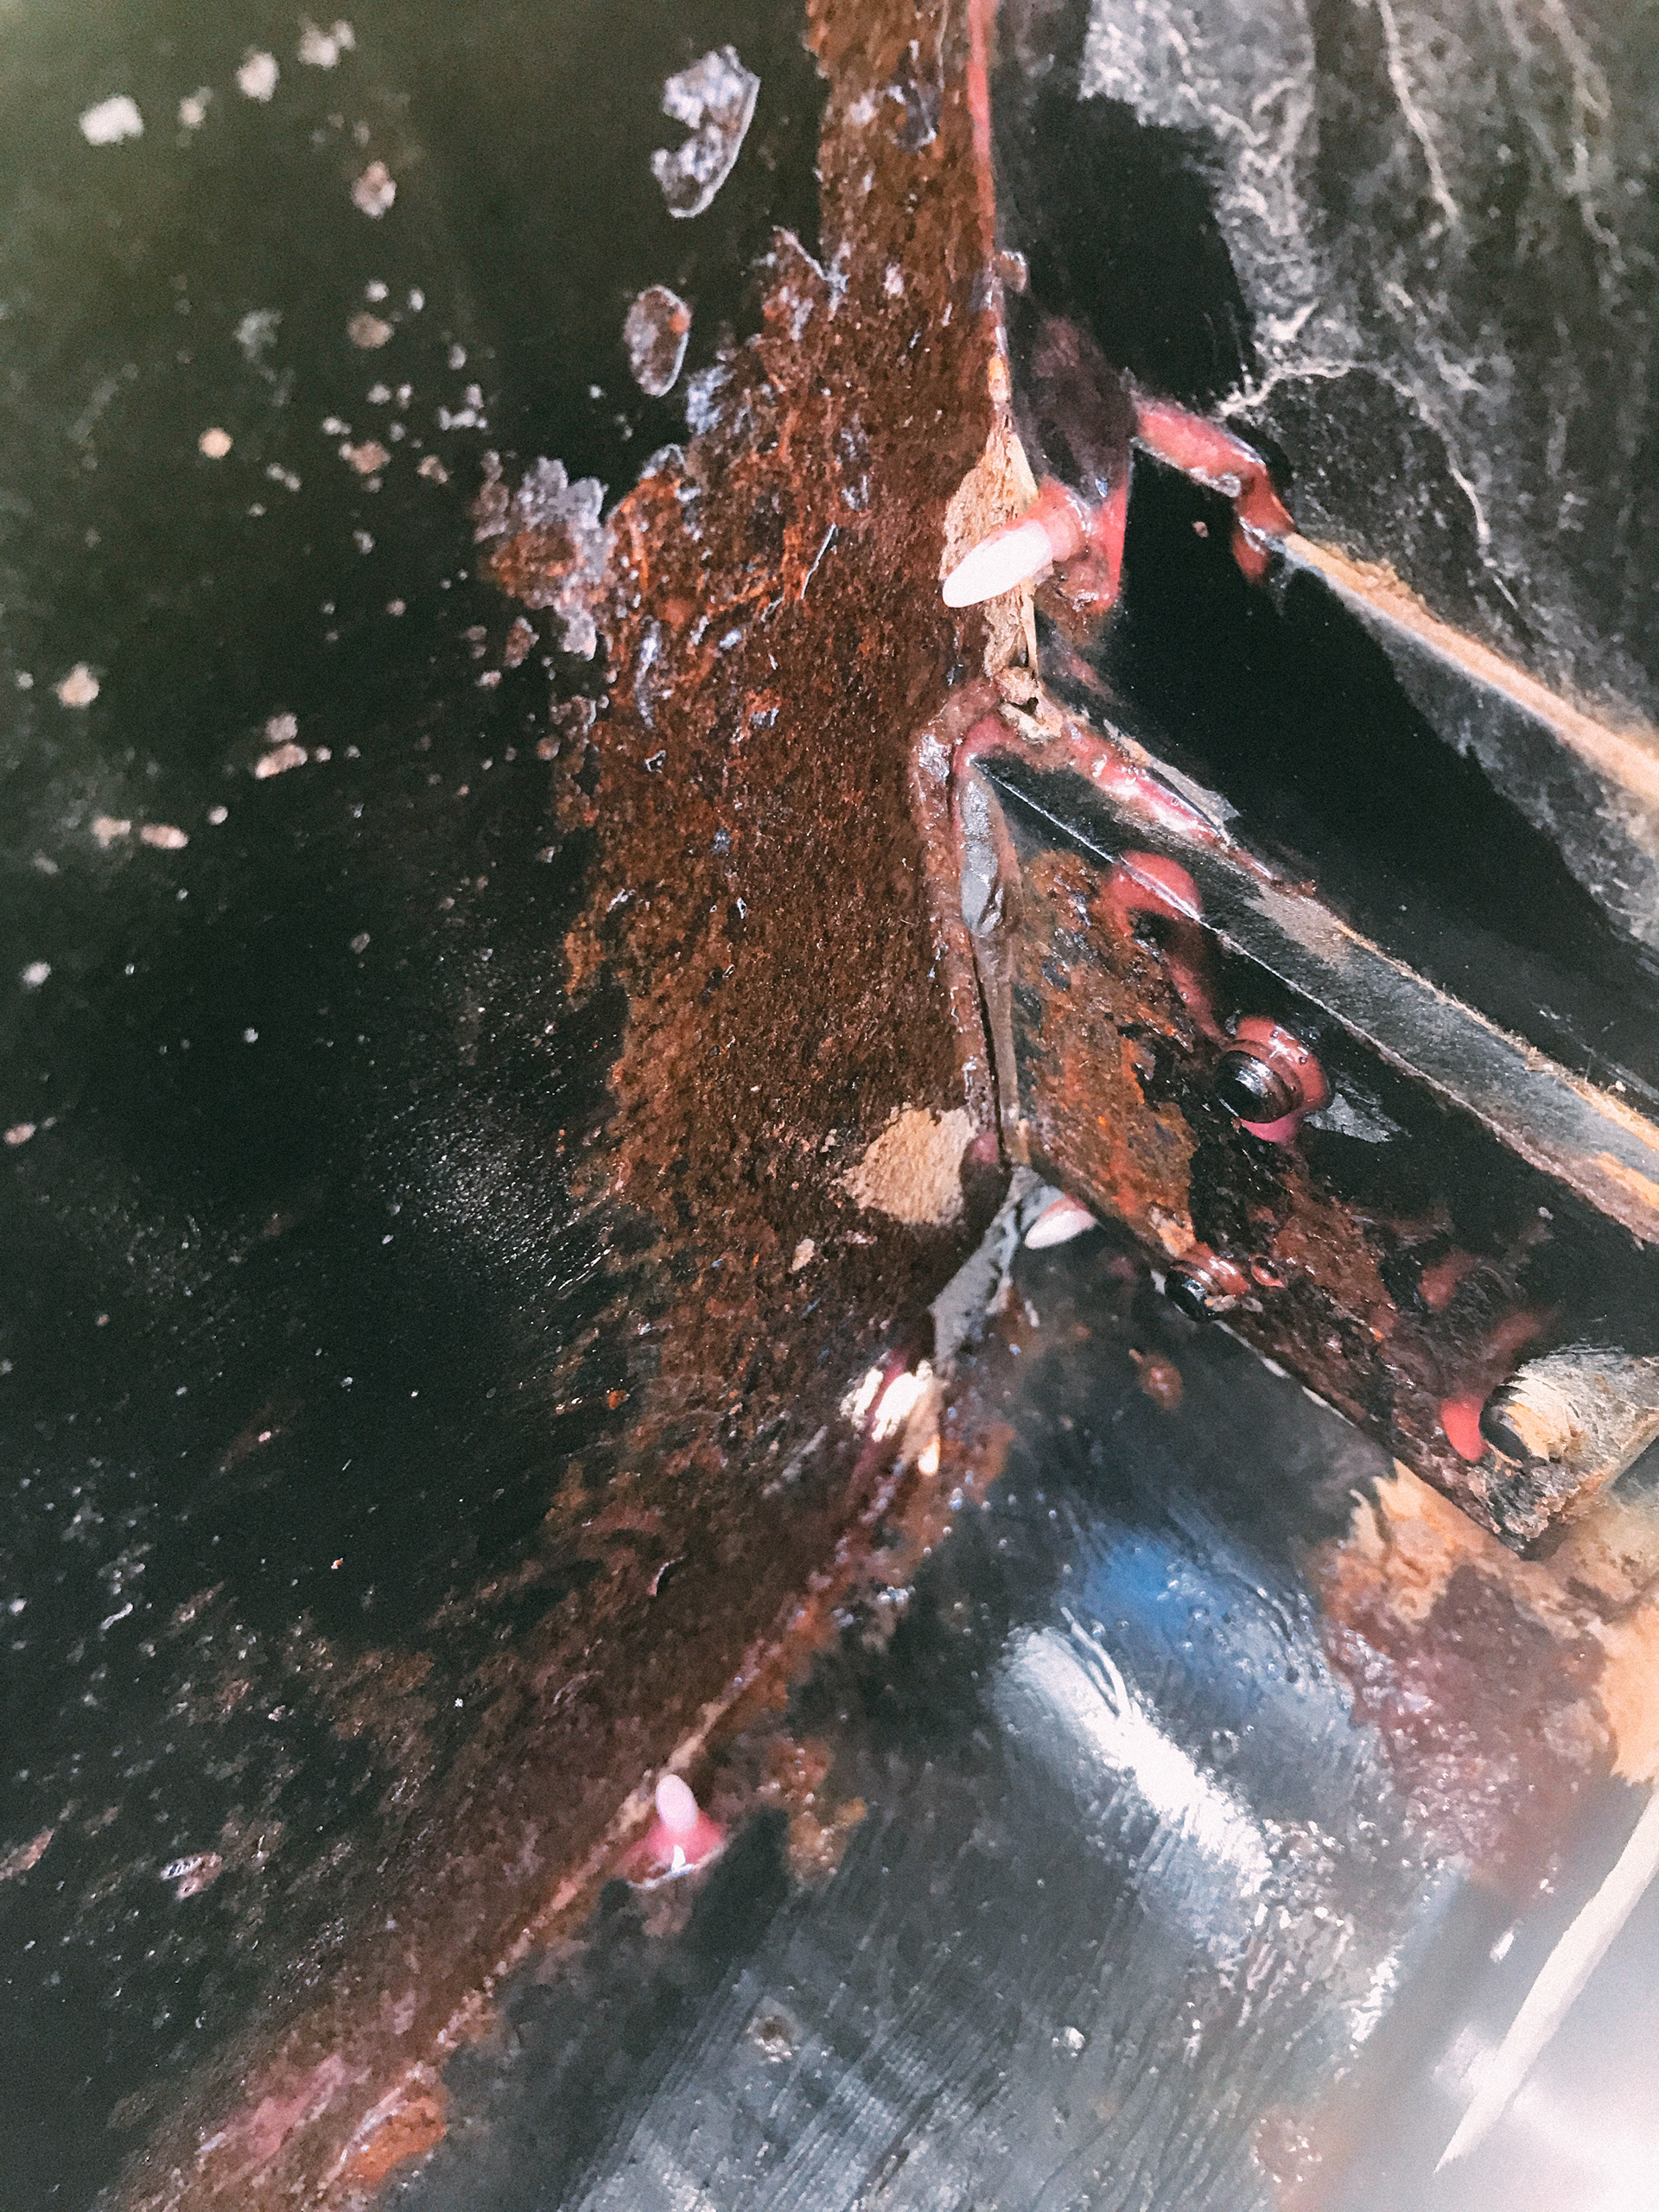
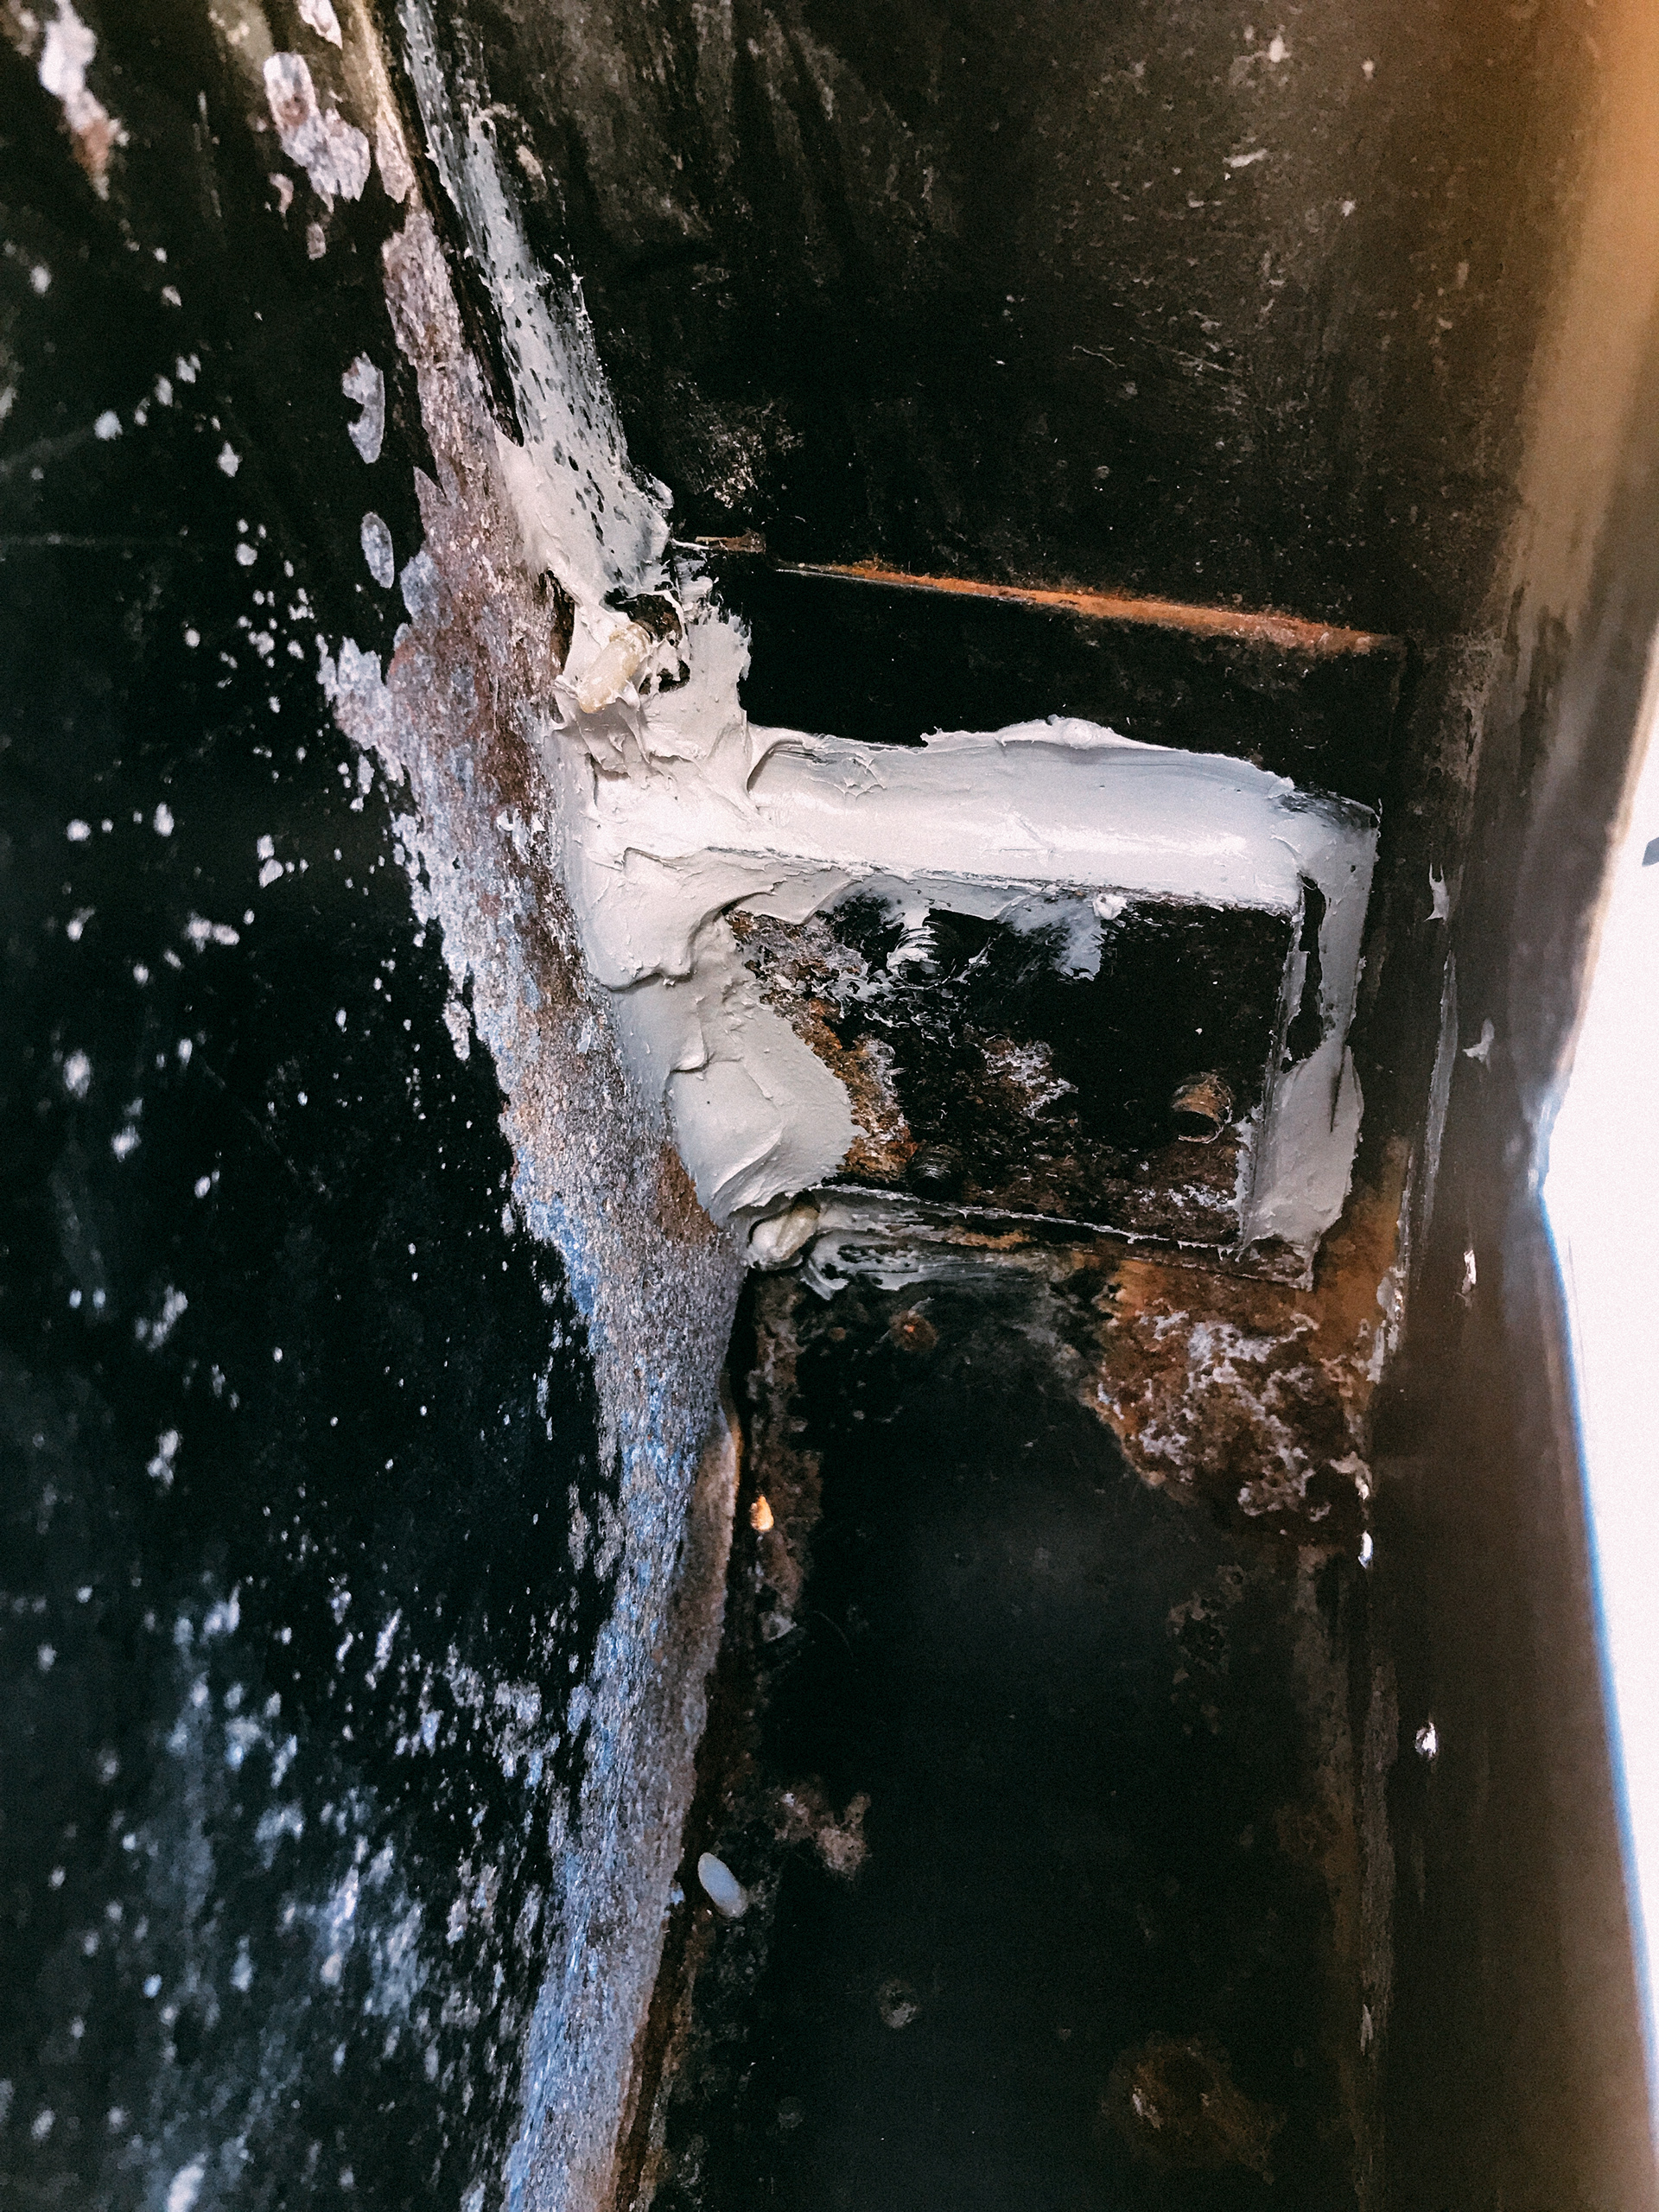
The van had some gnarly rust that I hadn't really noticed till I started looking. Some of it was so bad that it made some holes in my side door. I ended up using some naval jelly to wipe away most of the rust and added some sealant. I then sprayed some rust reformer spray paint to hopefully seal and slow down the erosion. This will most likely be a project for another time.

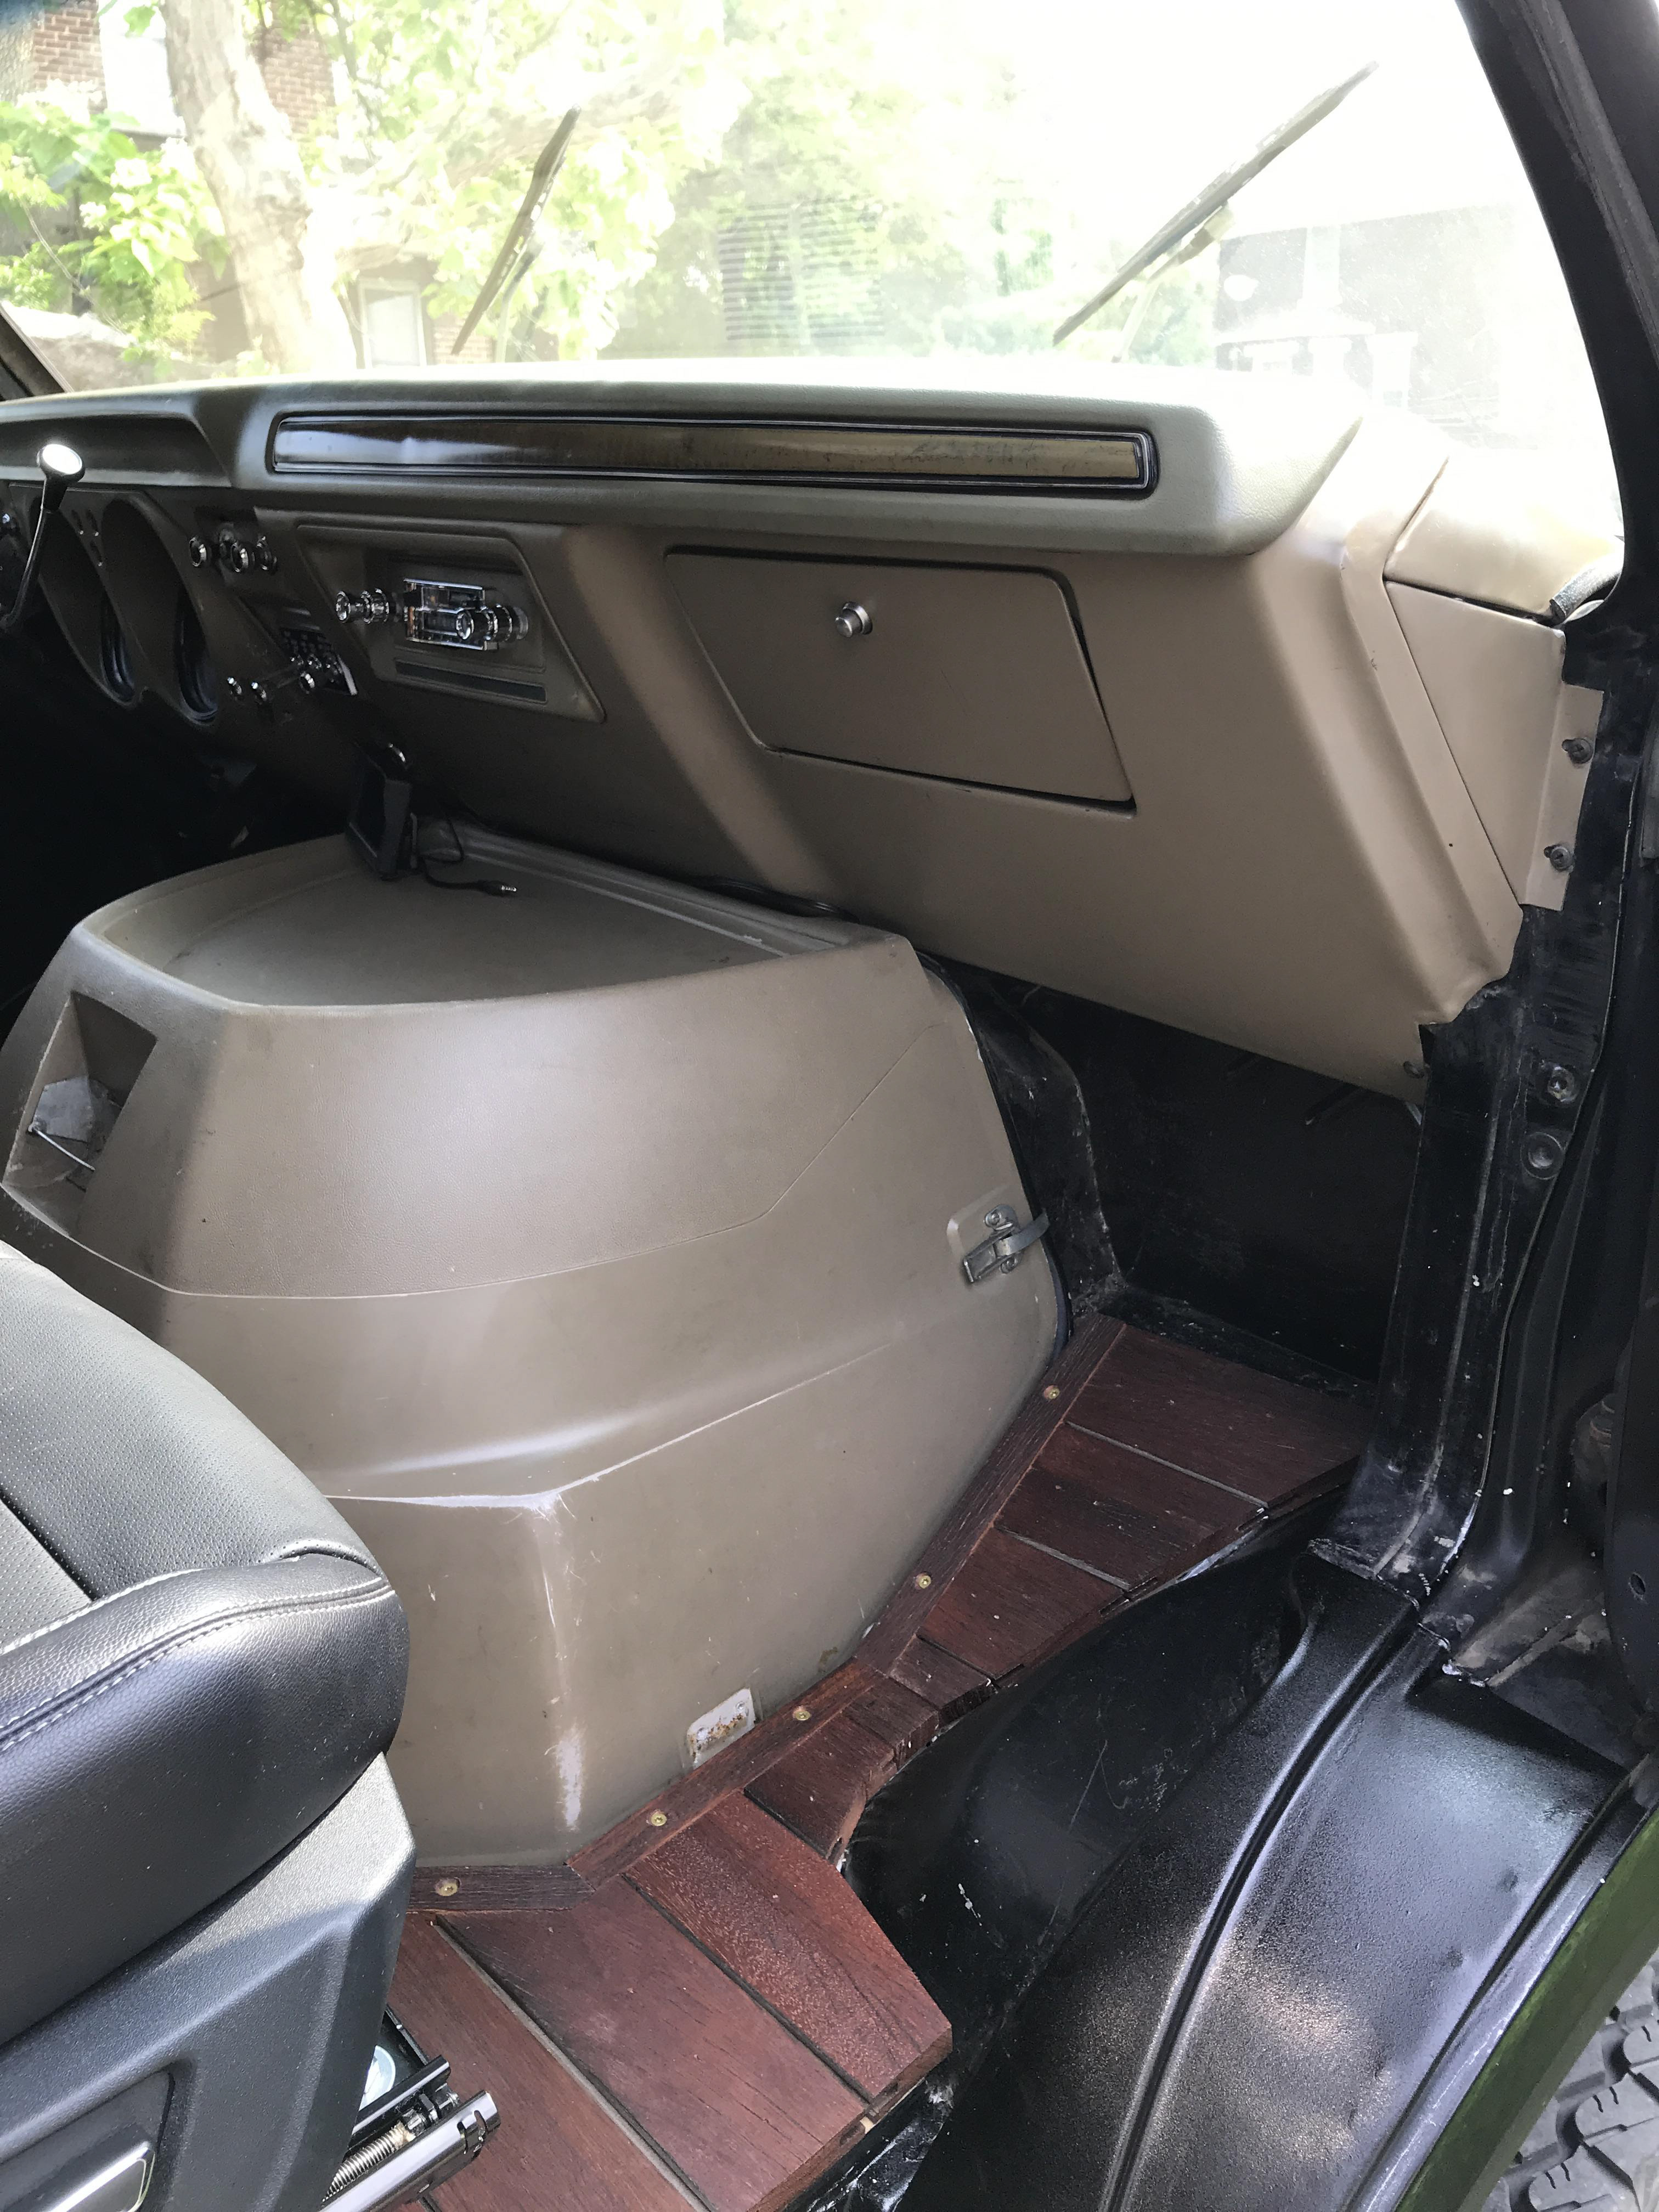
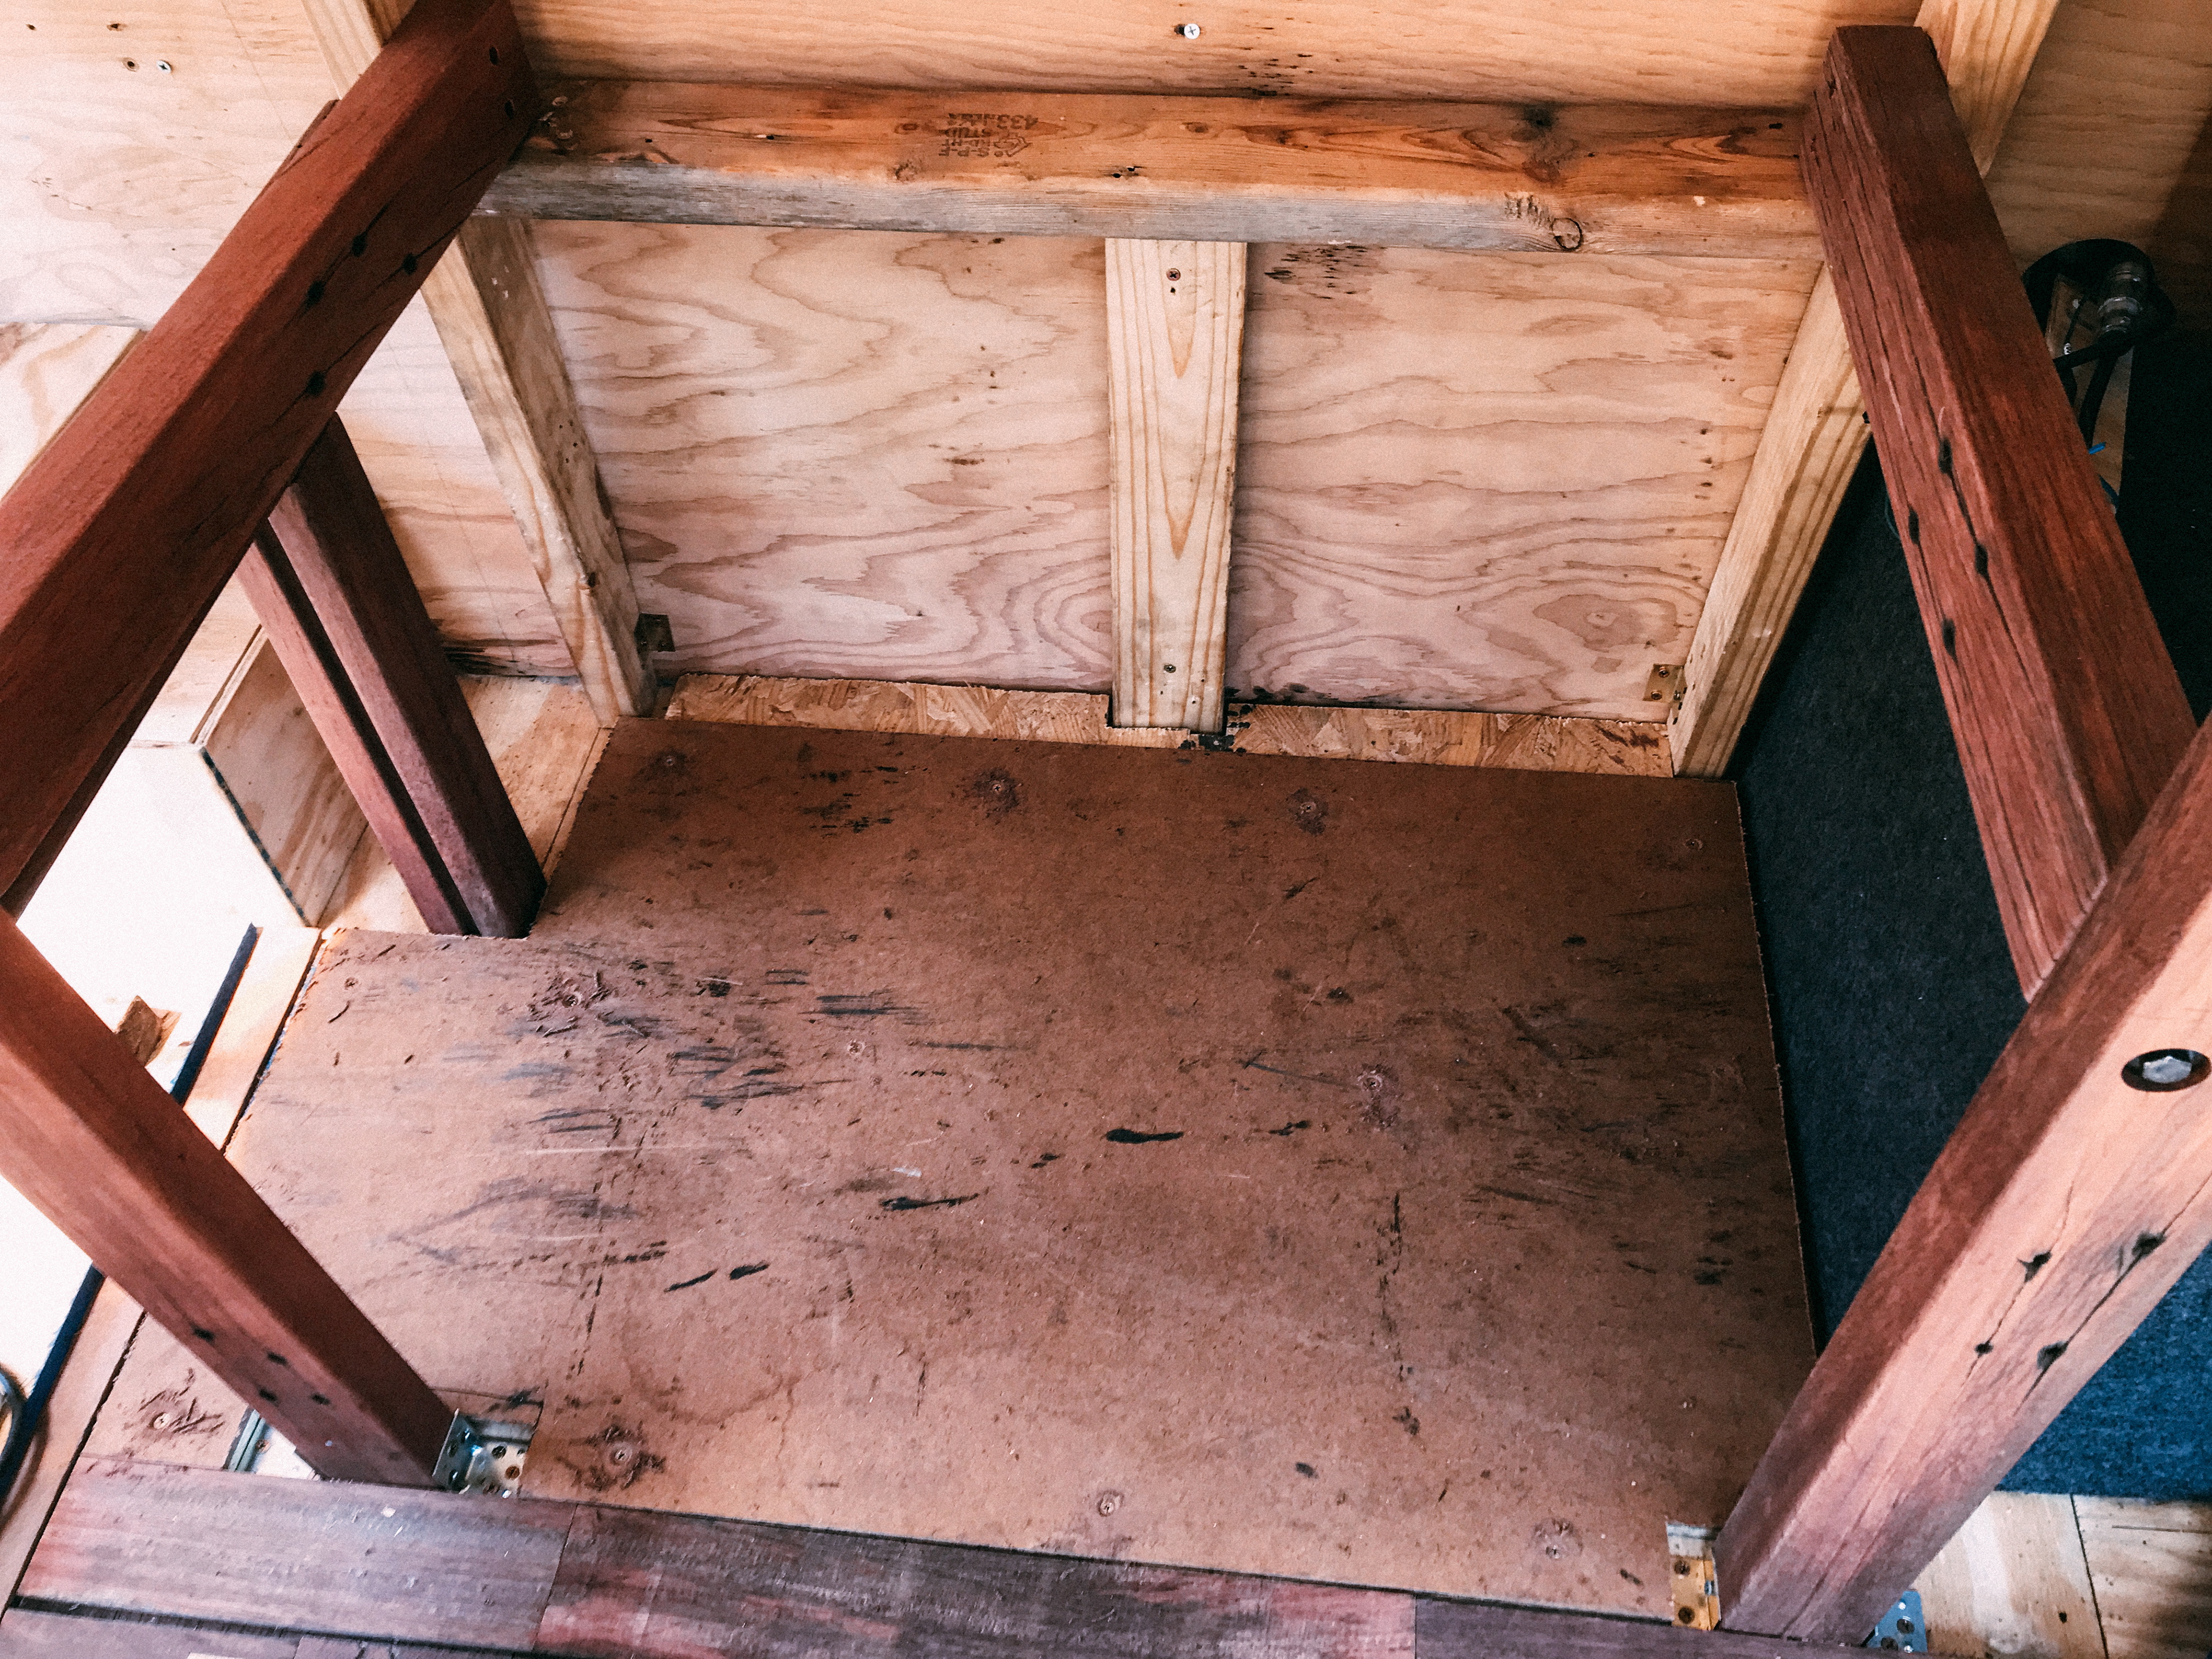
I found some old masonite at my Mothers house from my first skate box I ever built back when I was 2004 or something. I ended up putting it on the floor where it wasn't going to be super visible so it would line up with my hardwood floor in the front and things would slide better for when I am moving things from under the bed or the spot where the cooler is going.
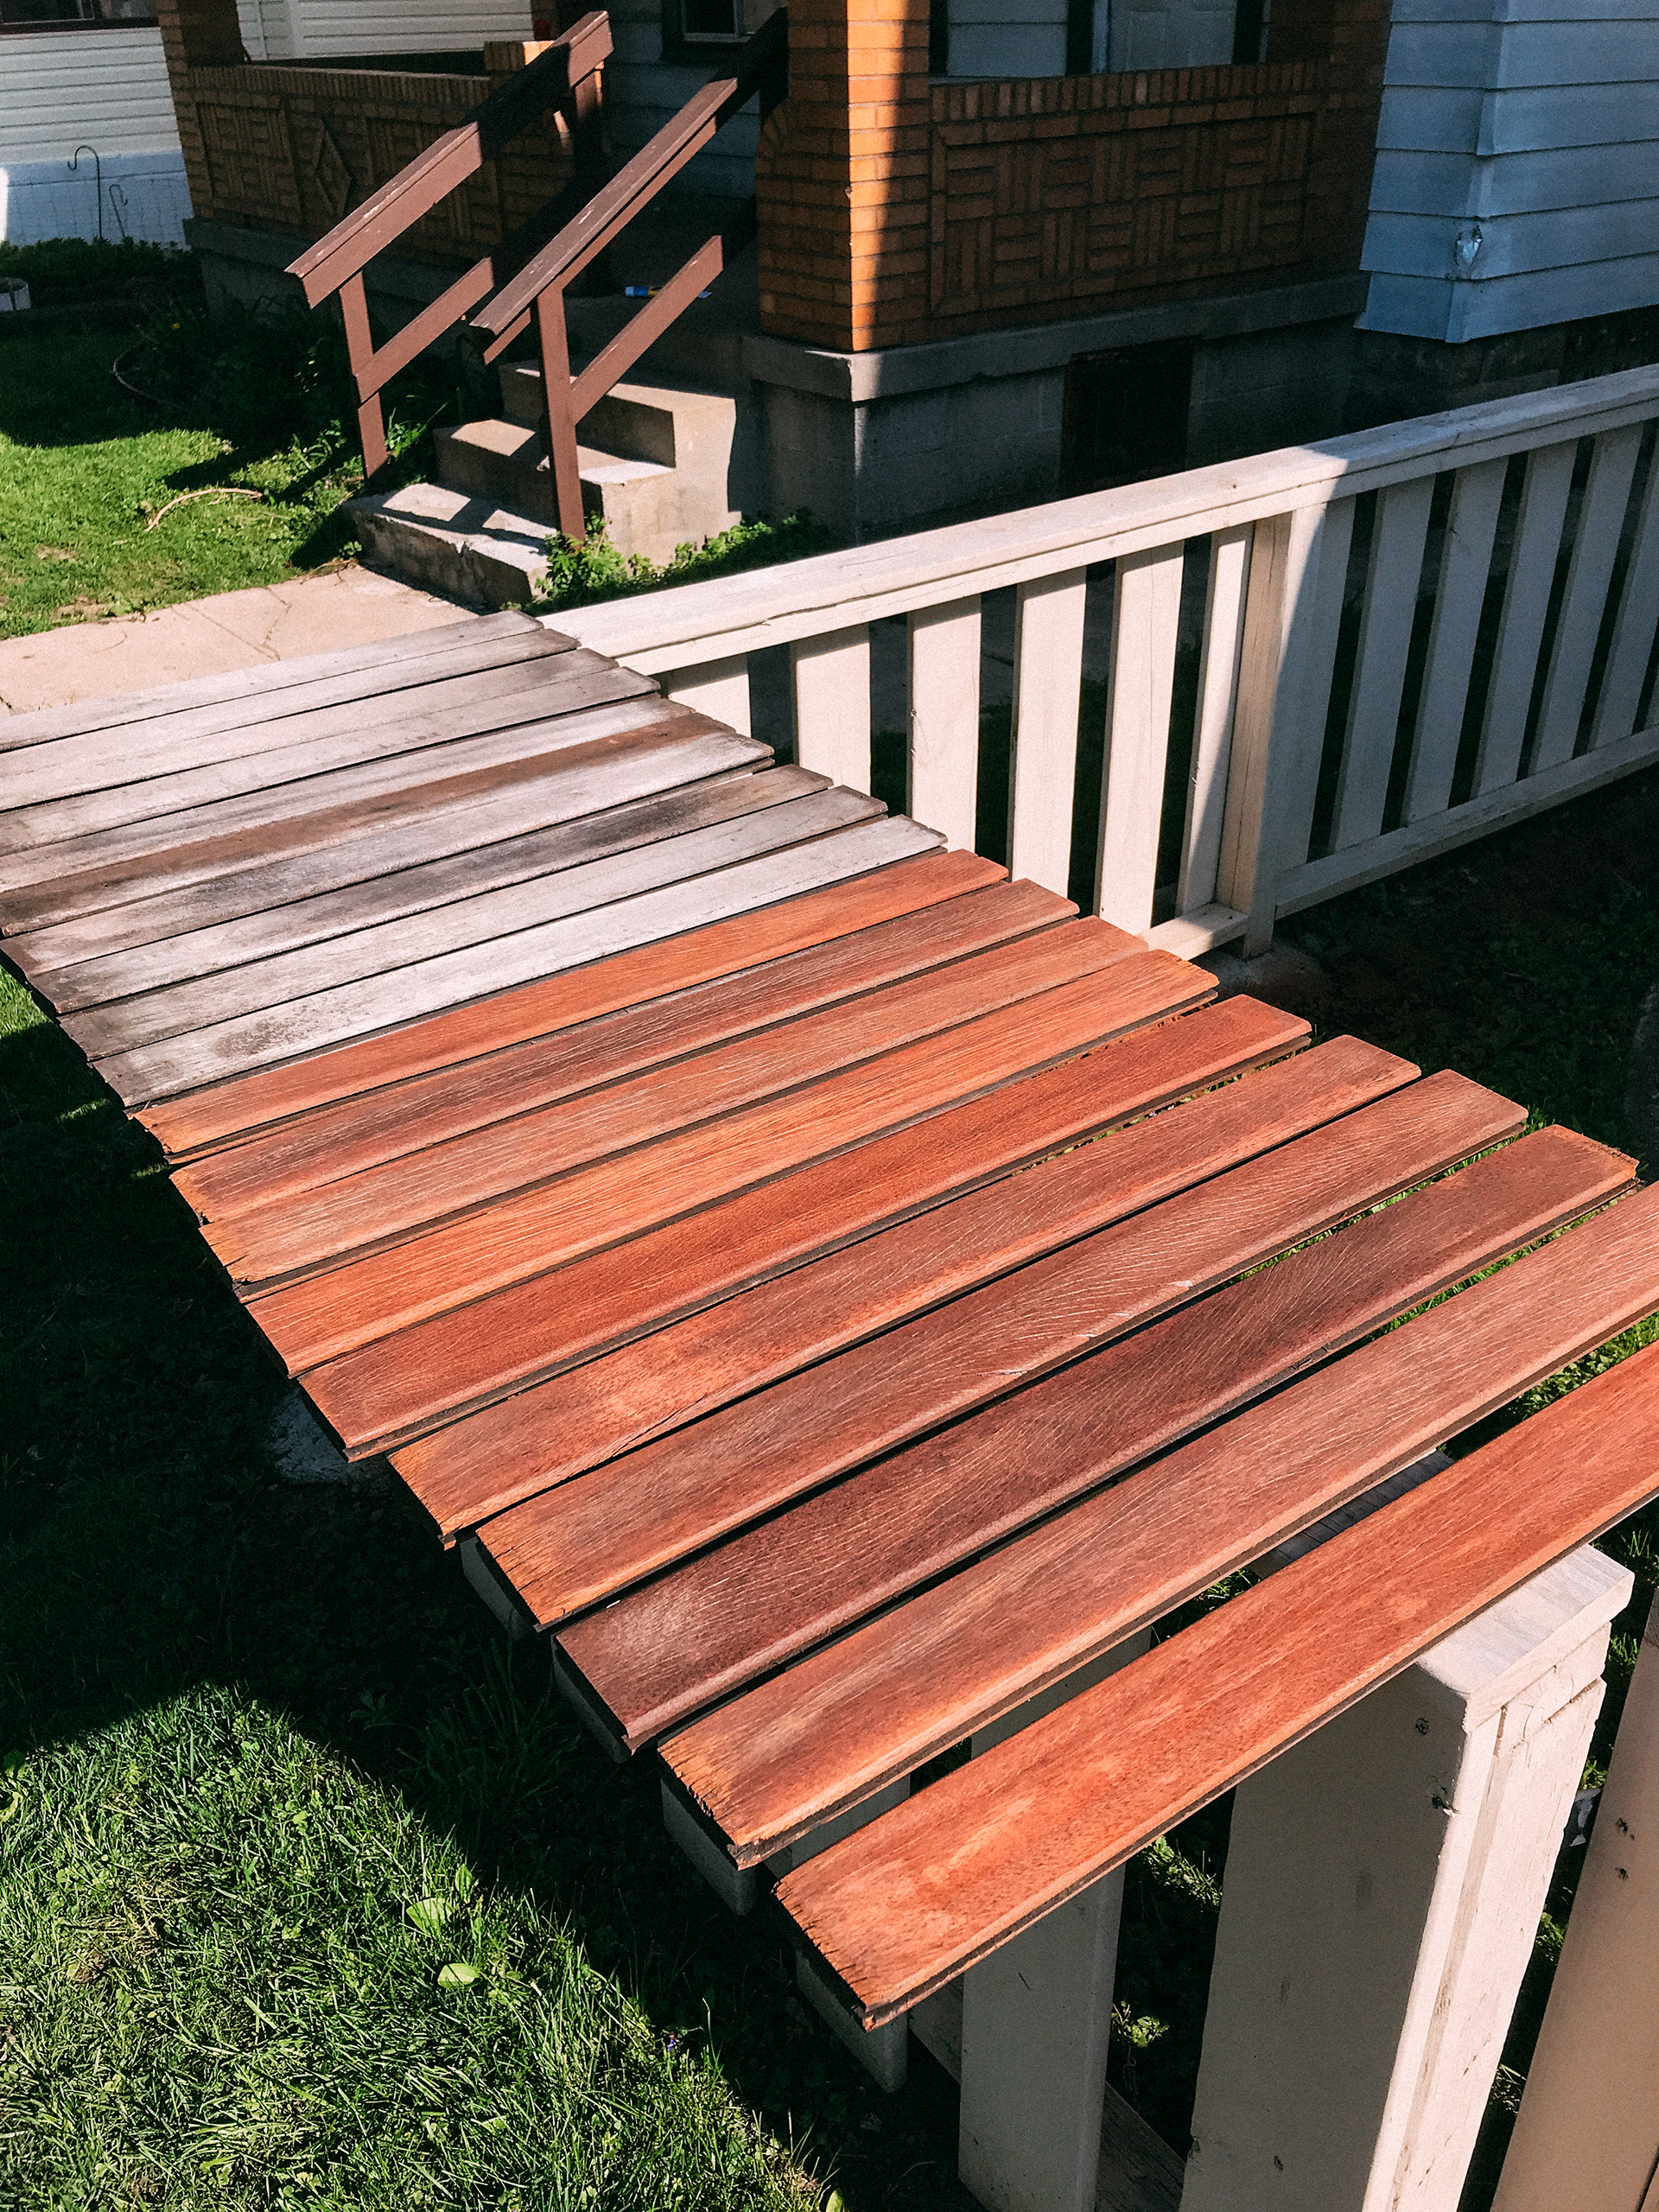
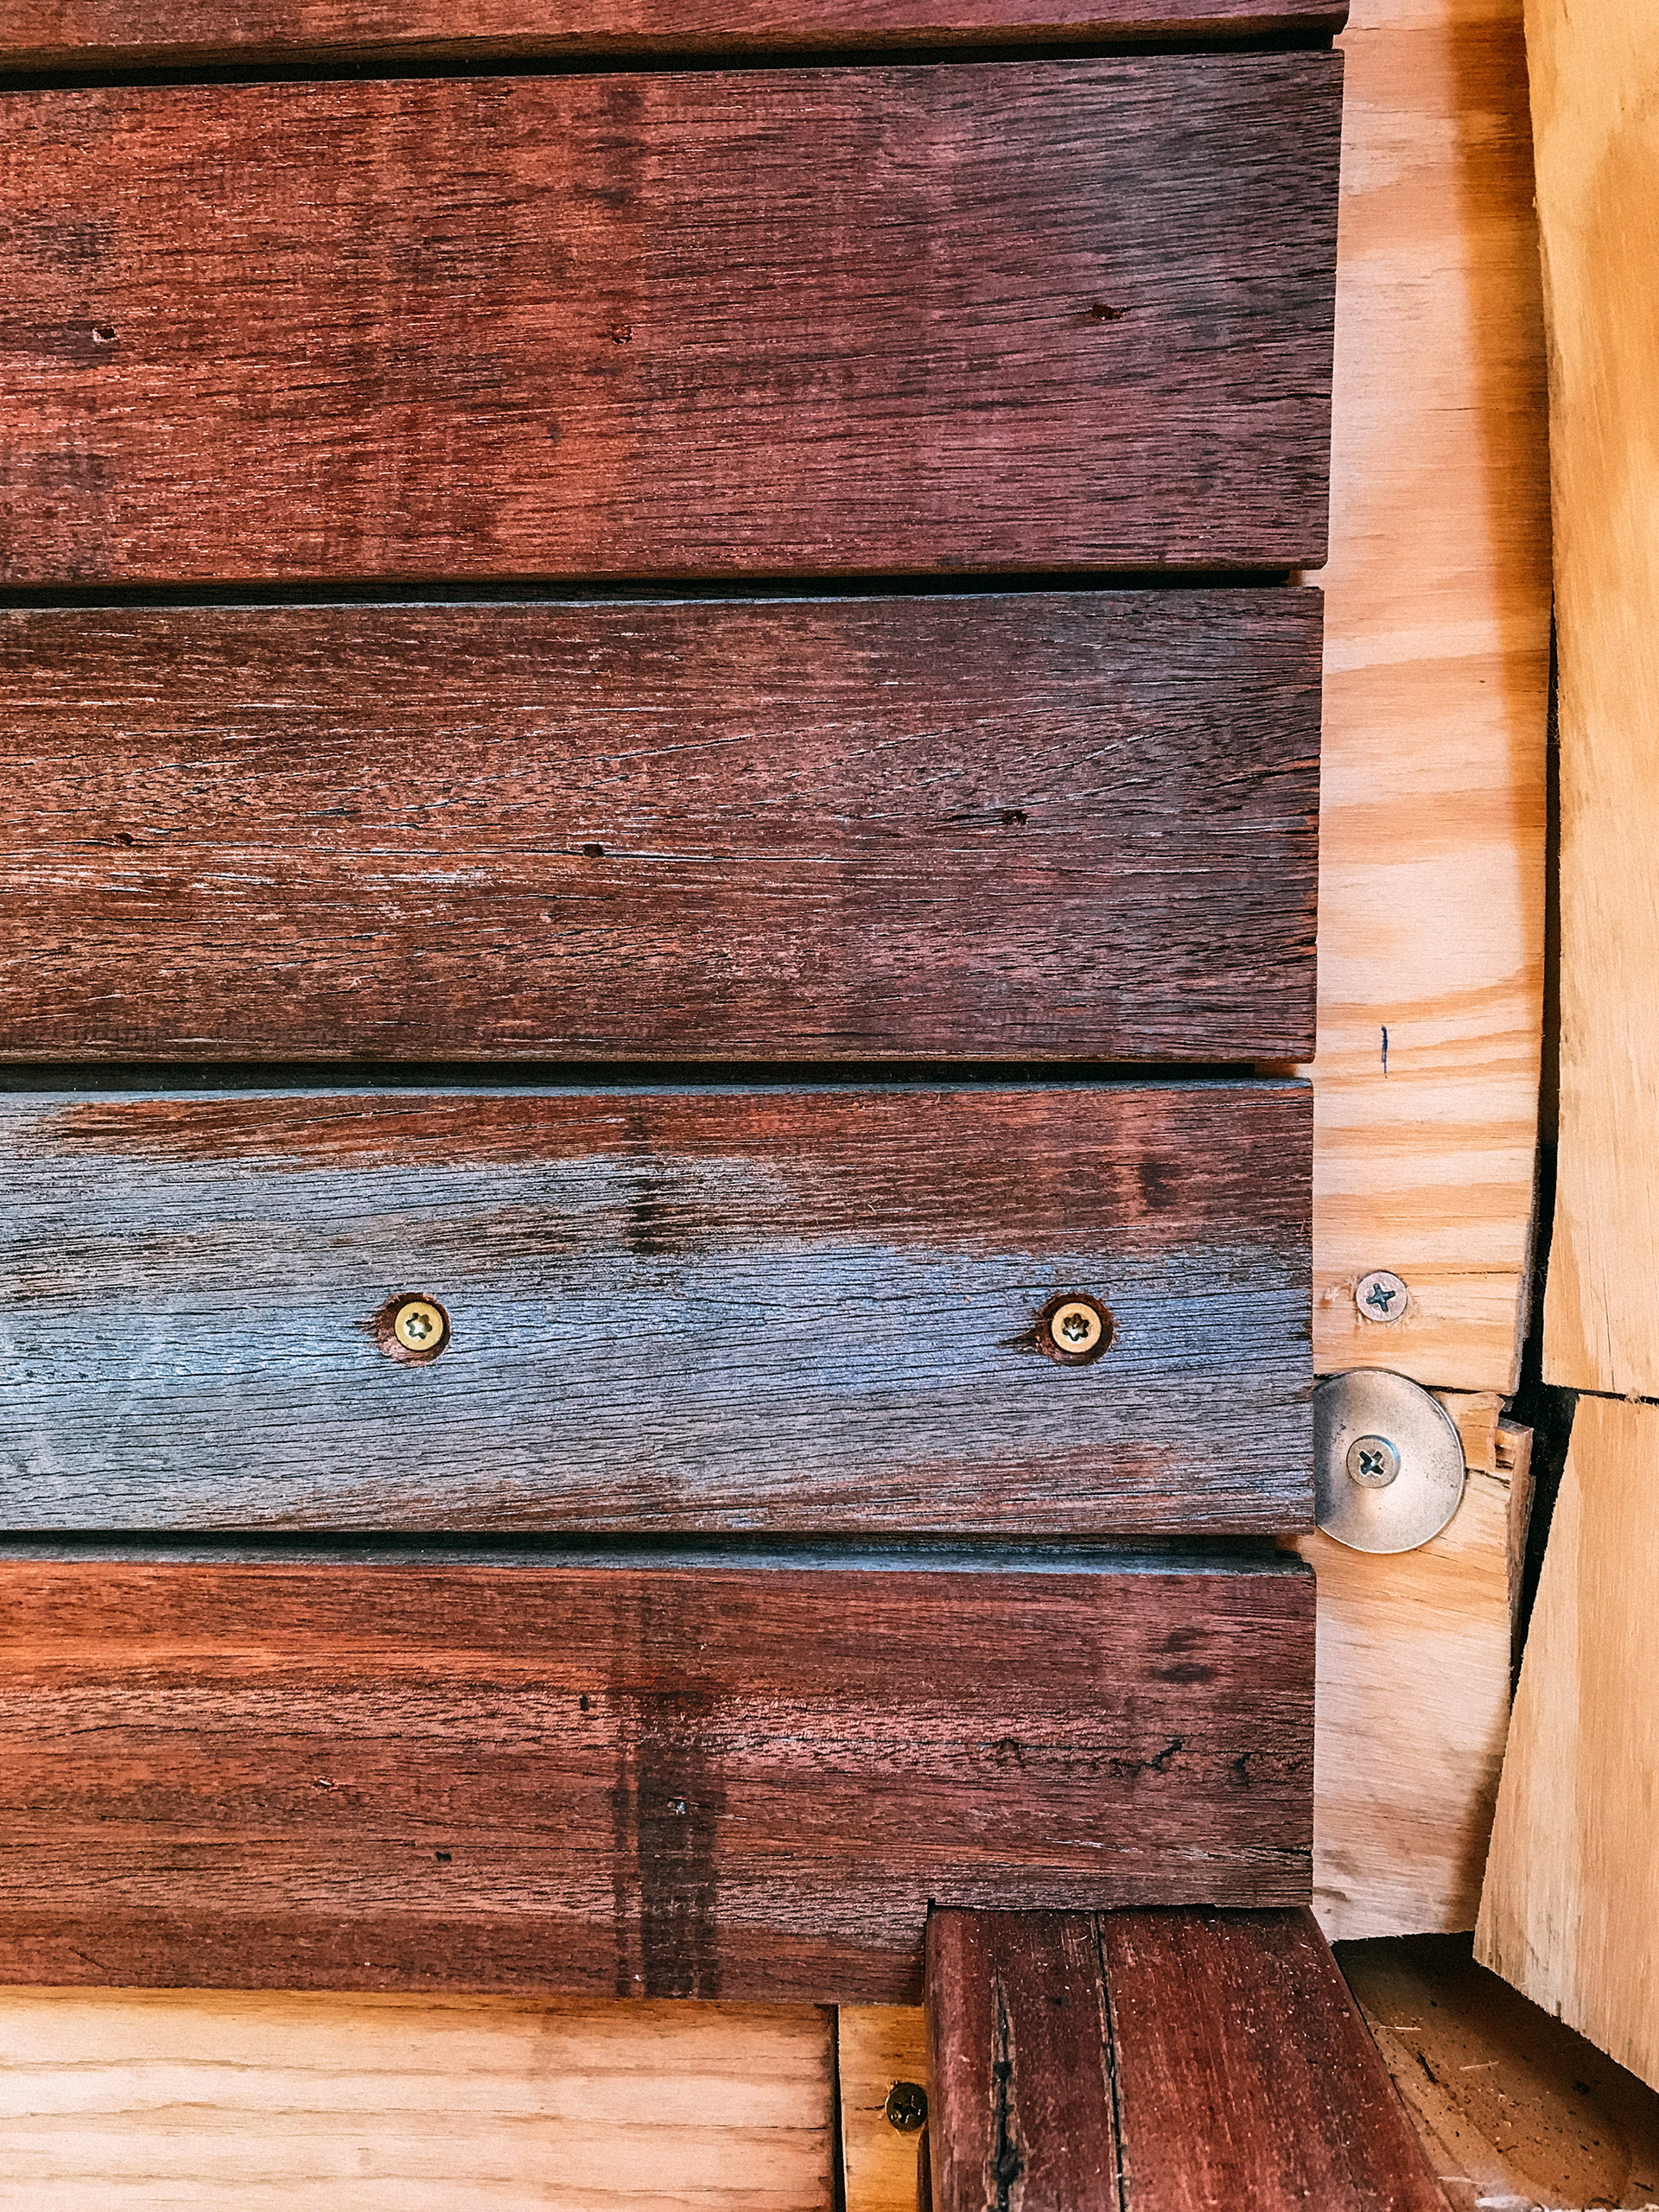
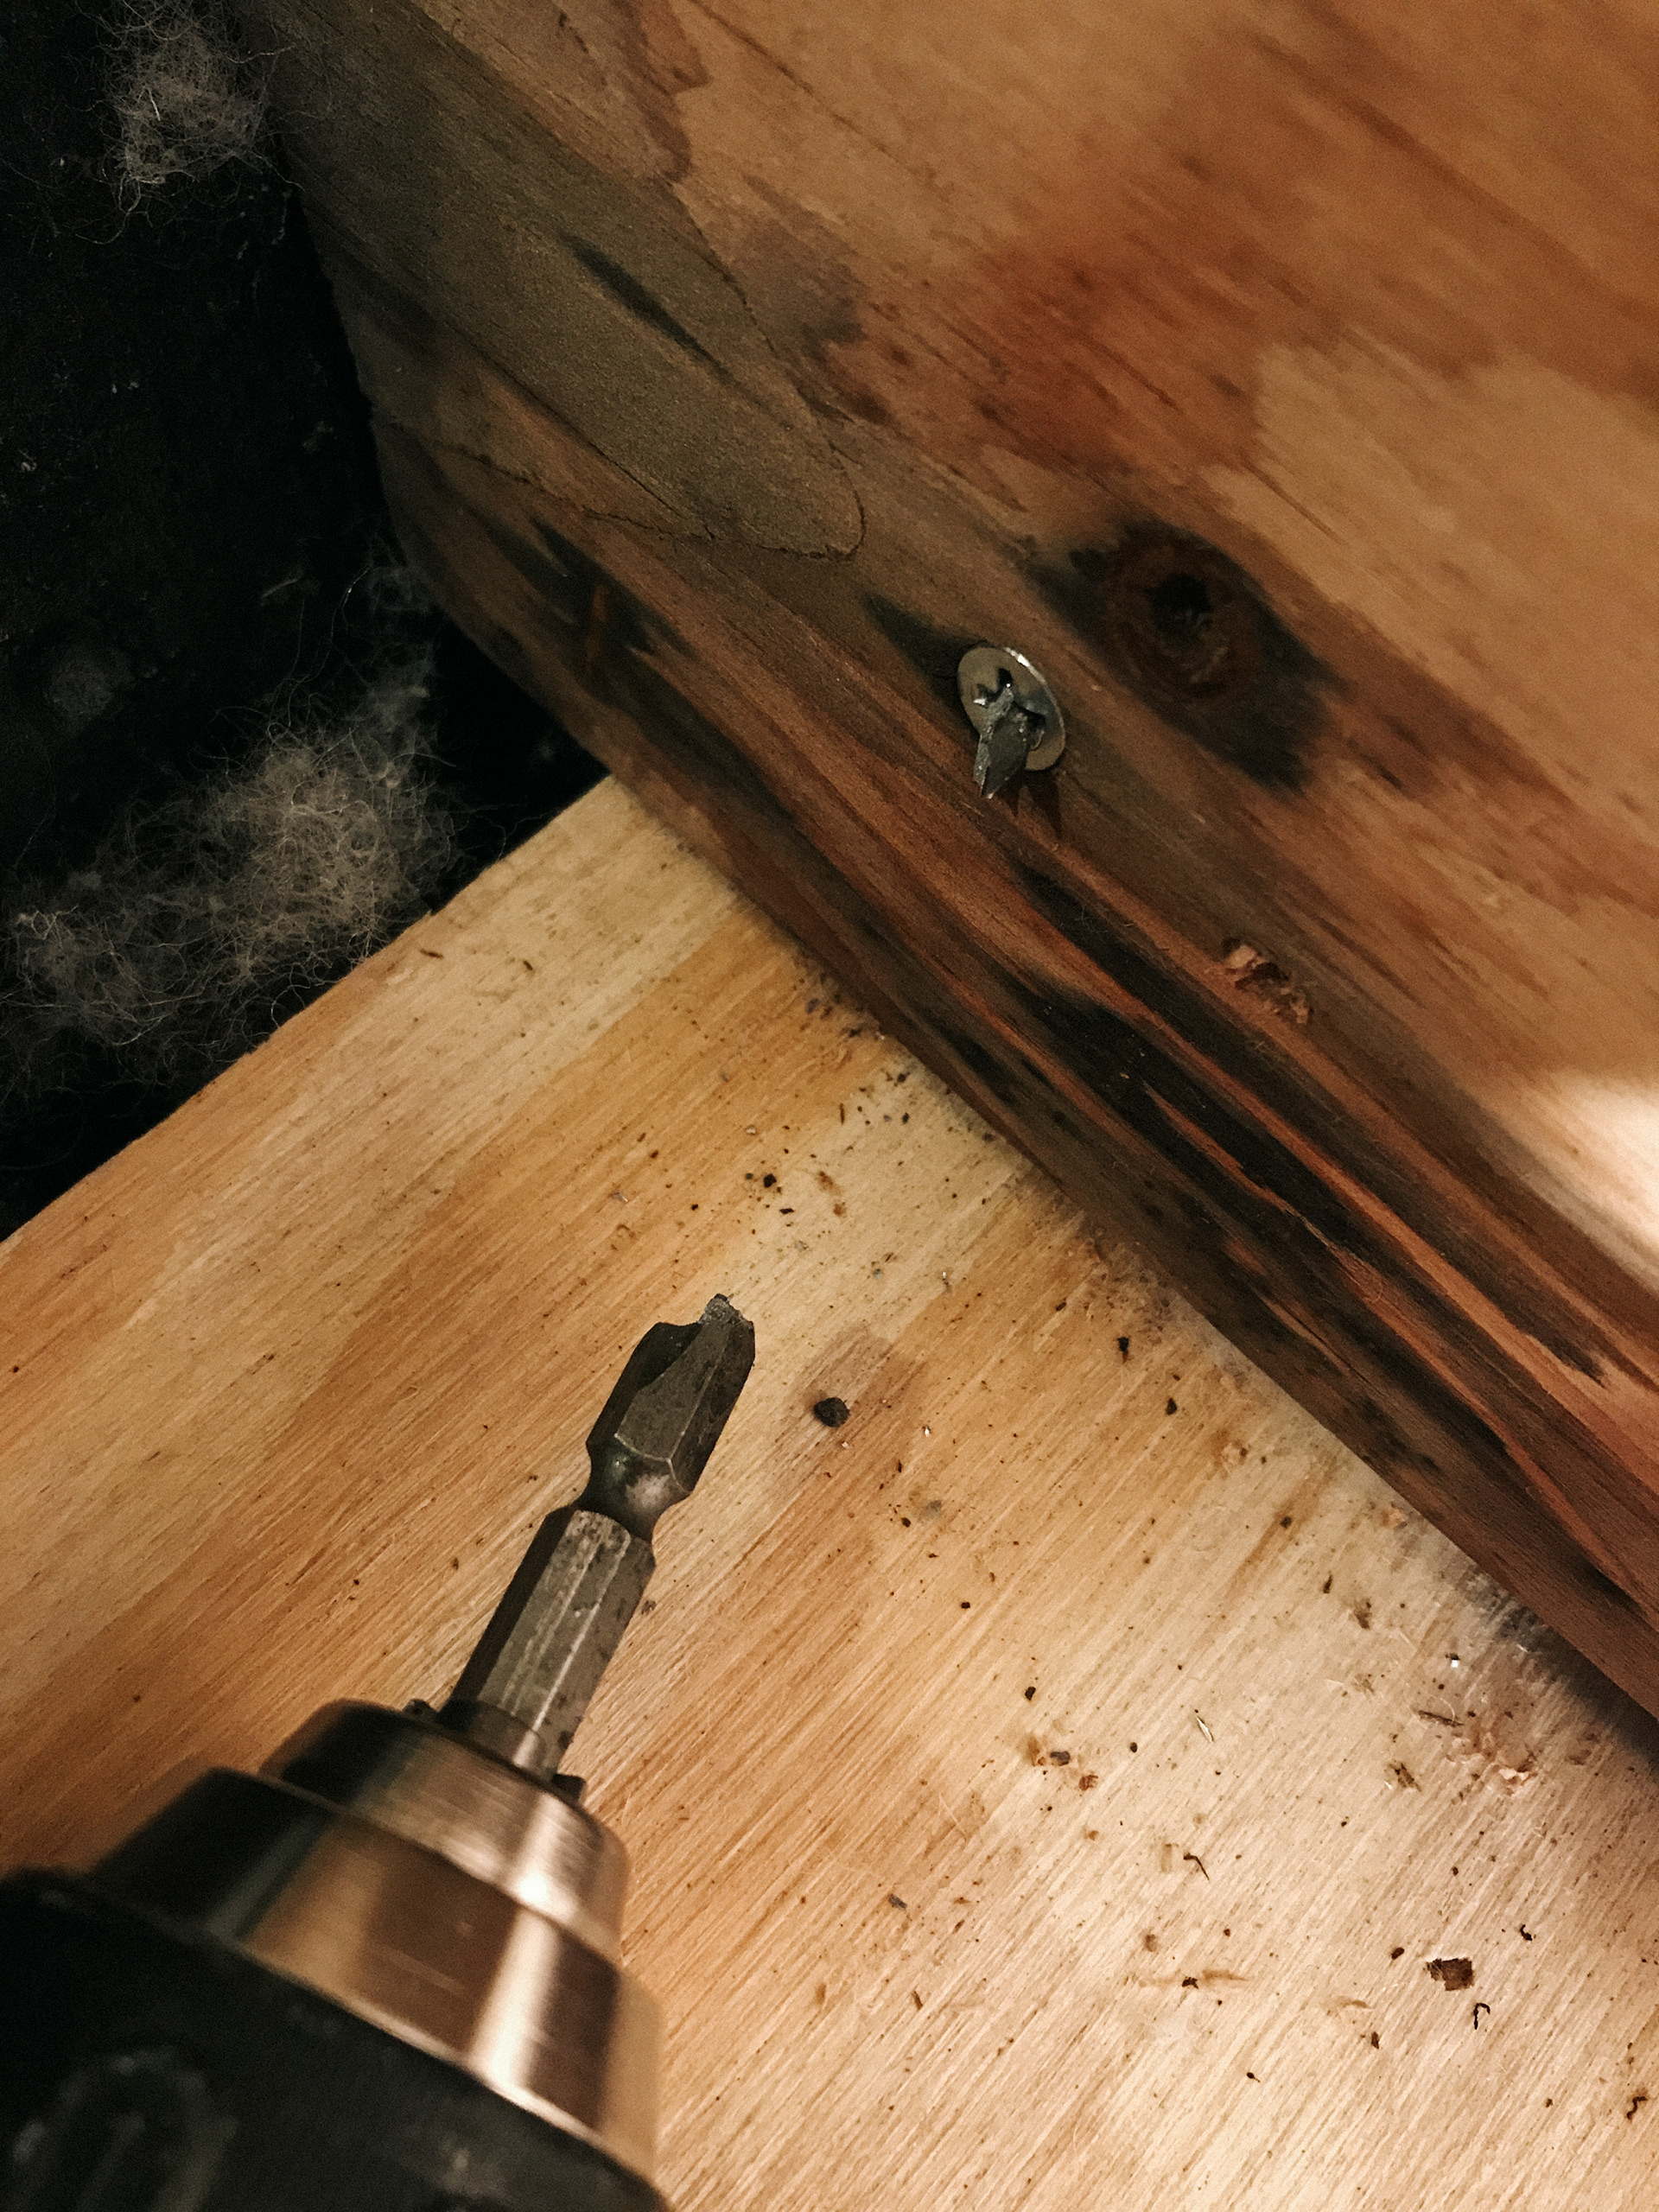
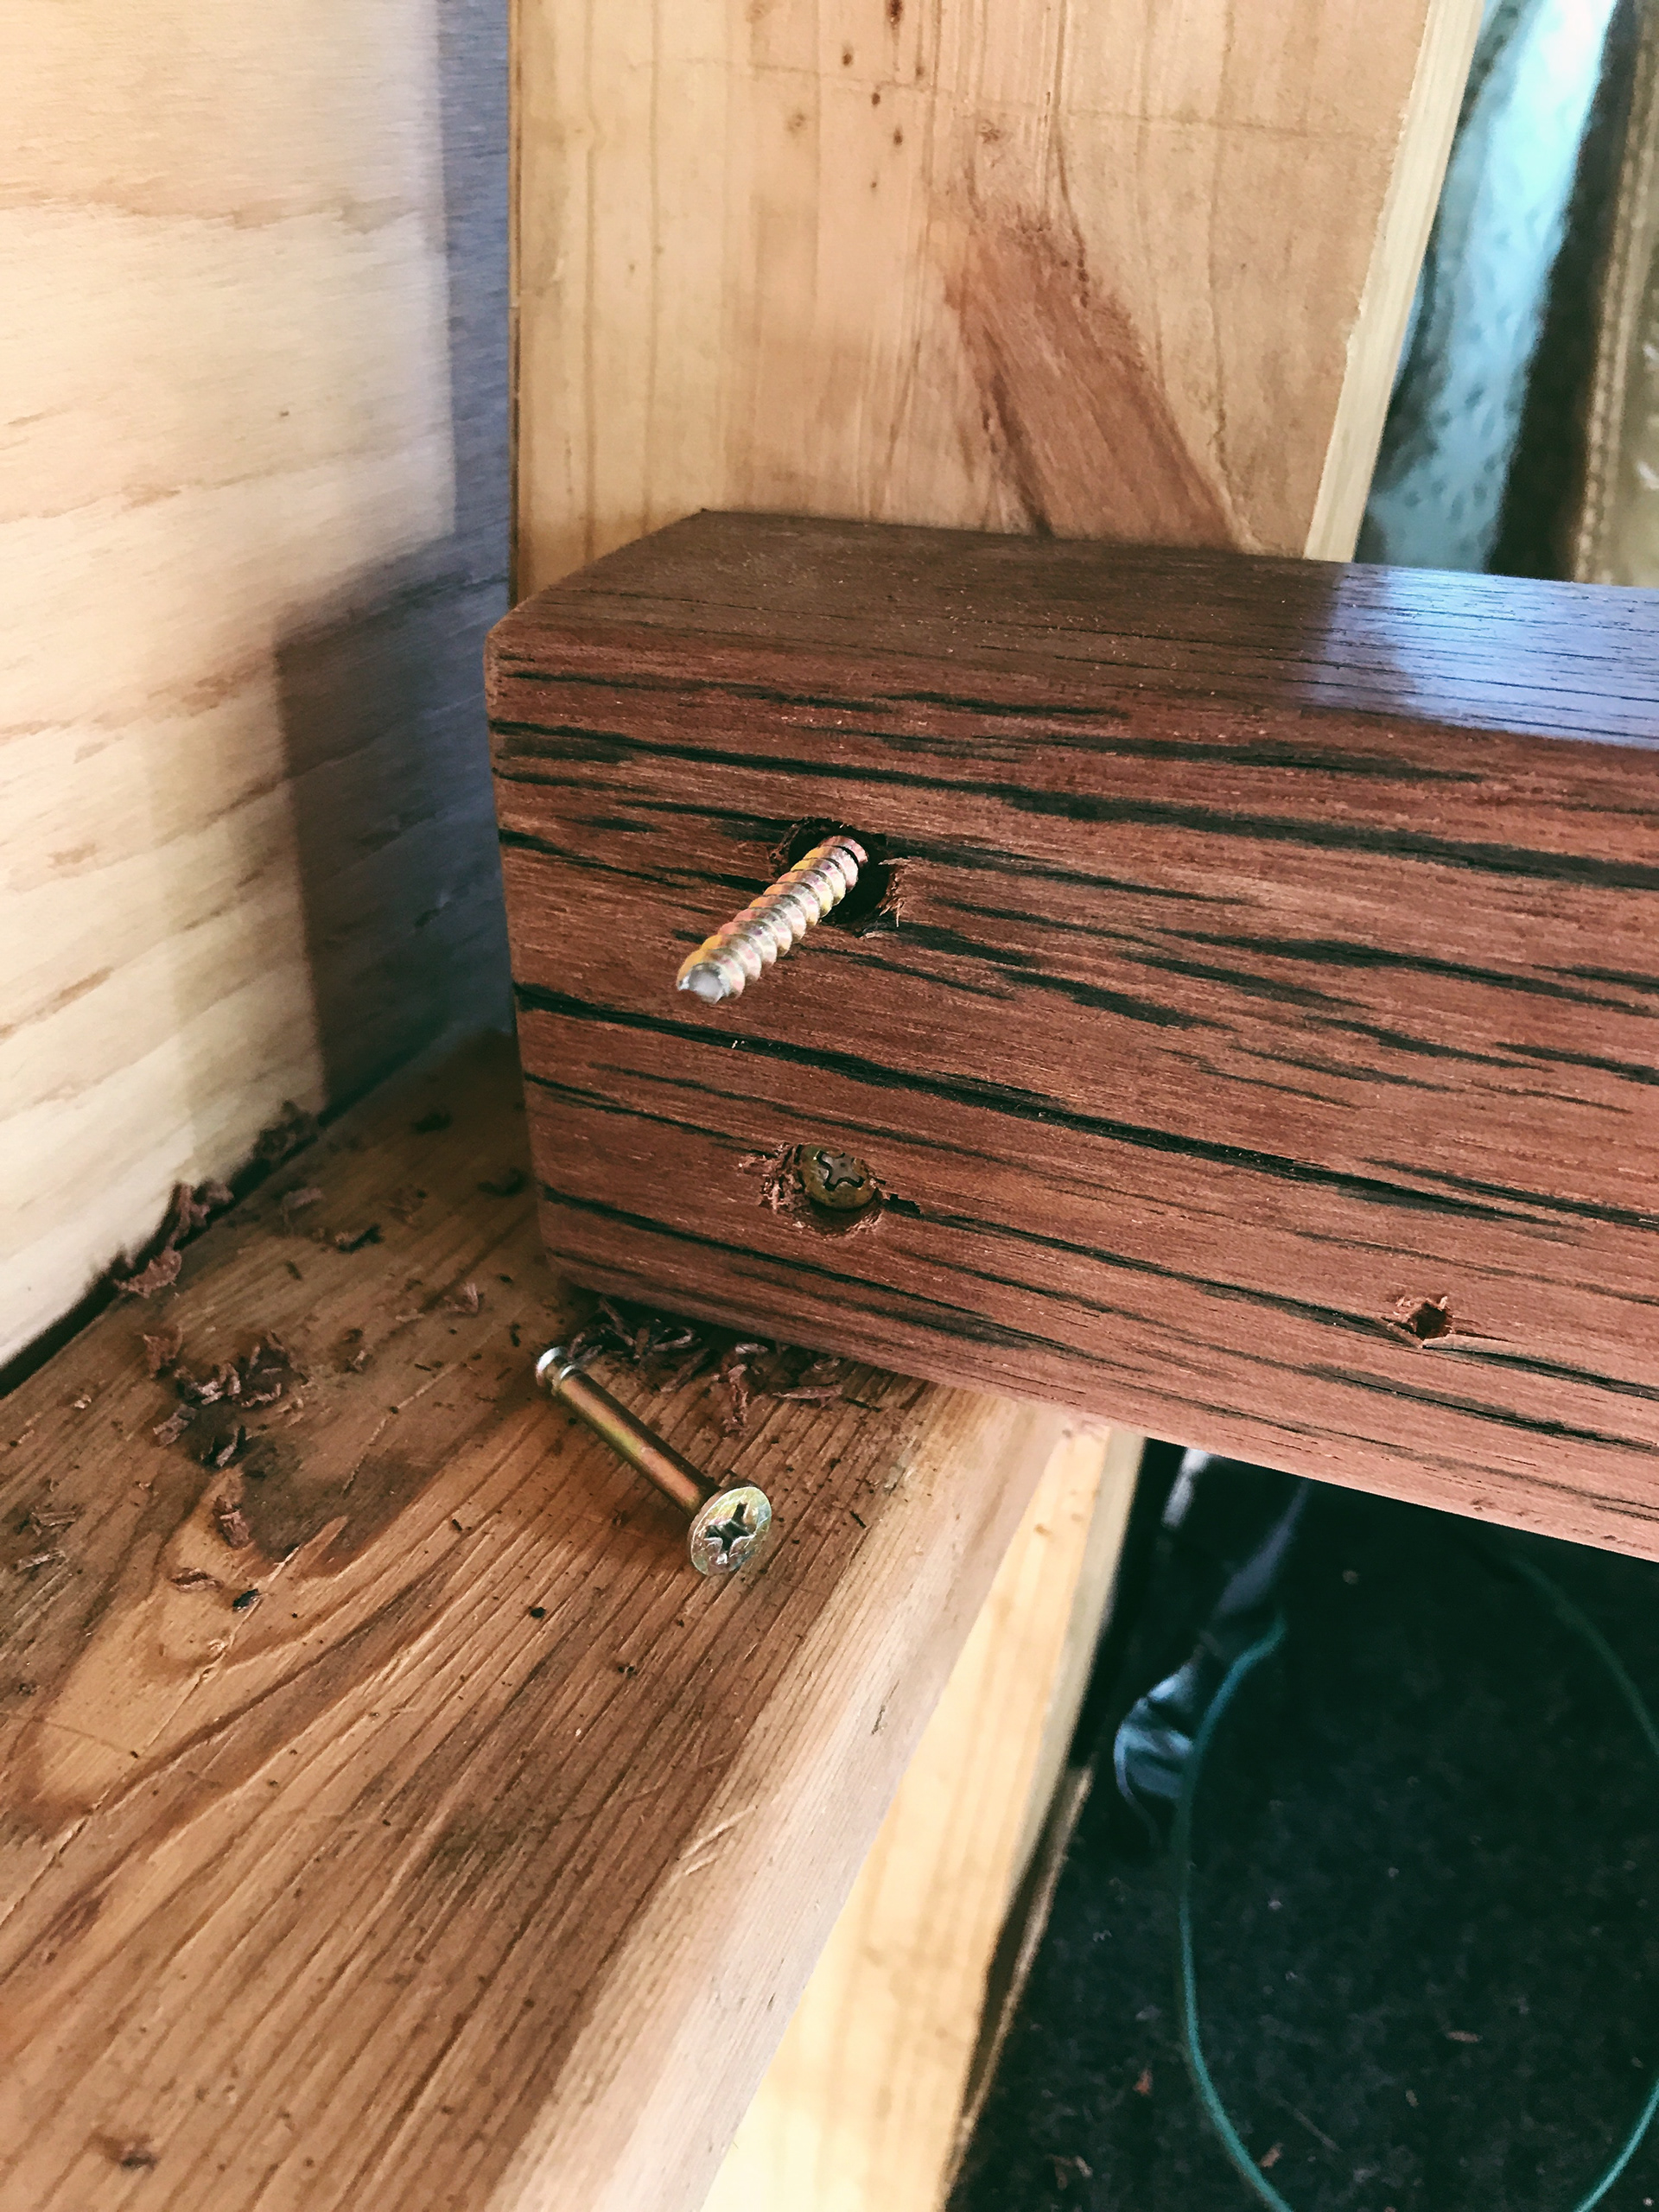
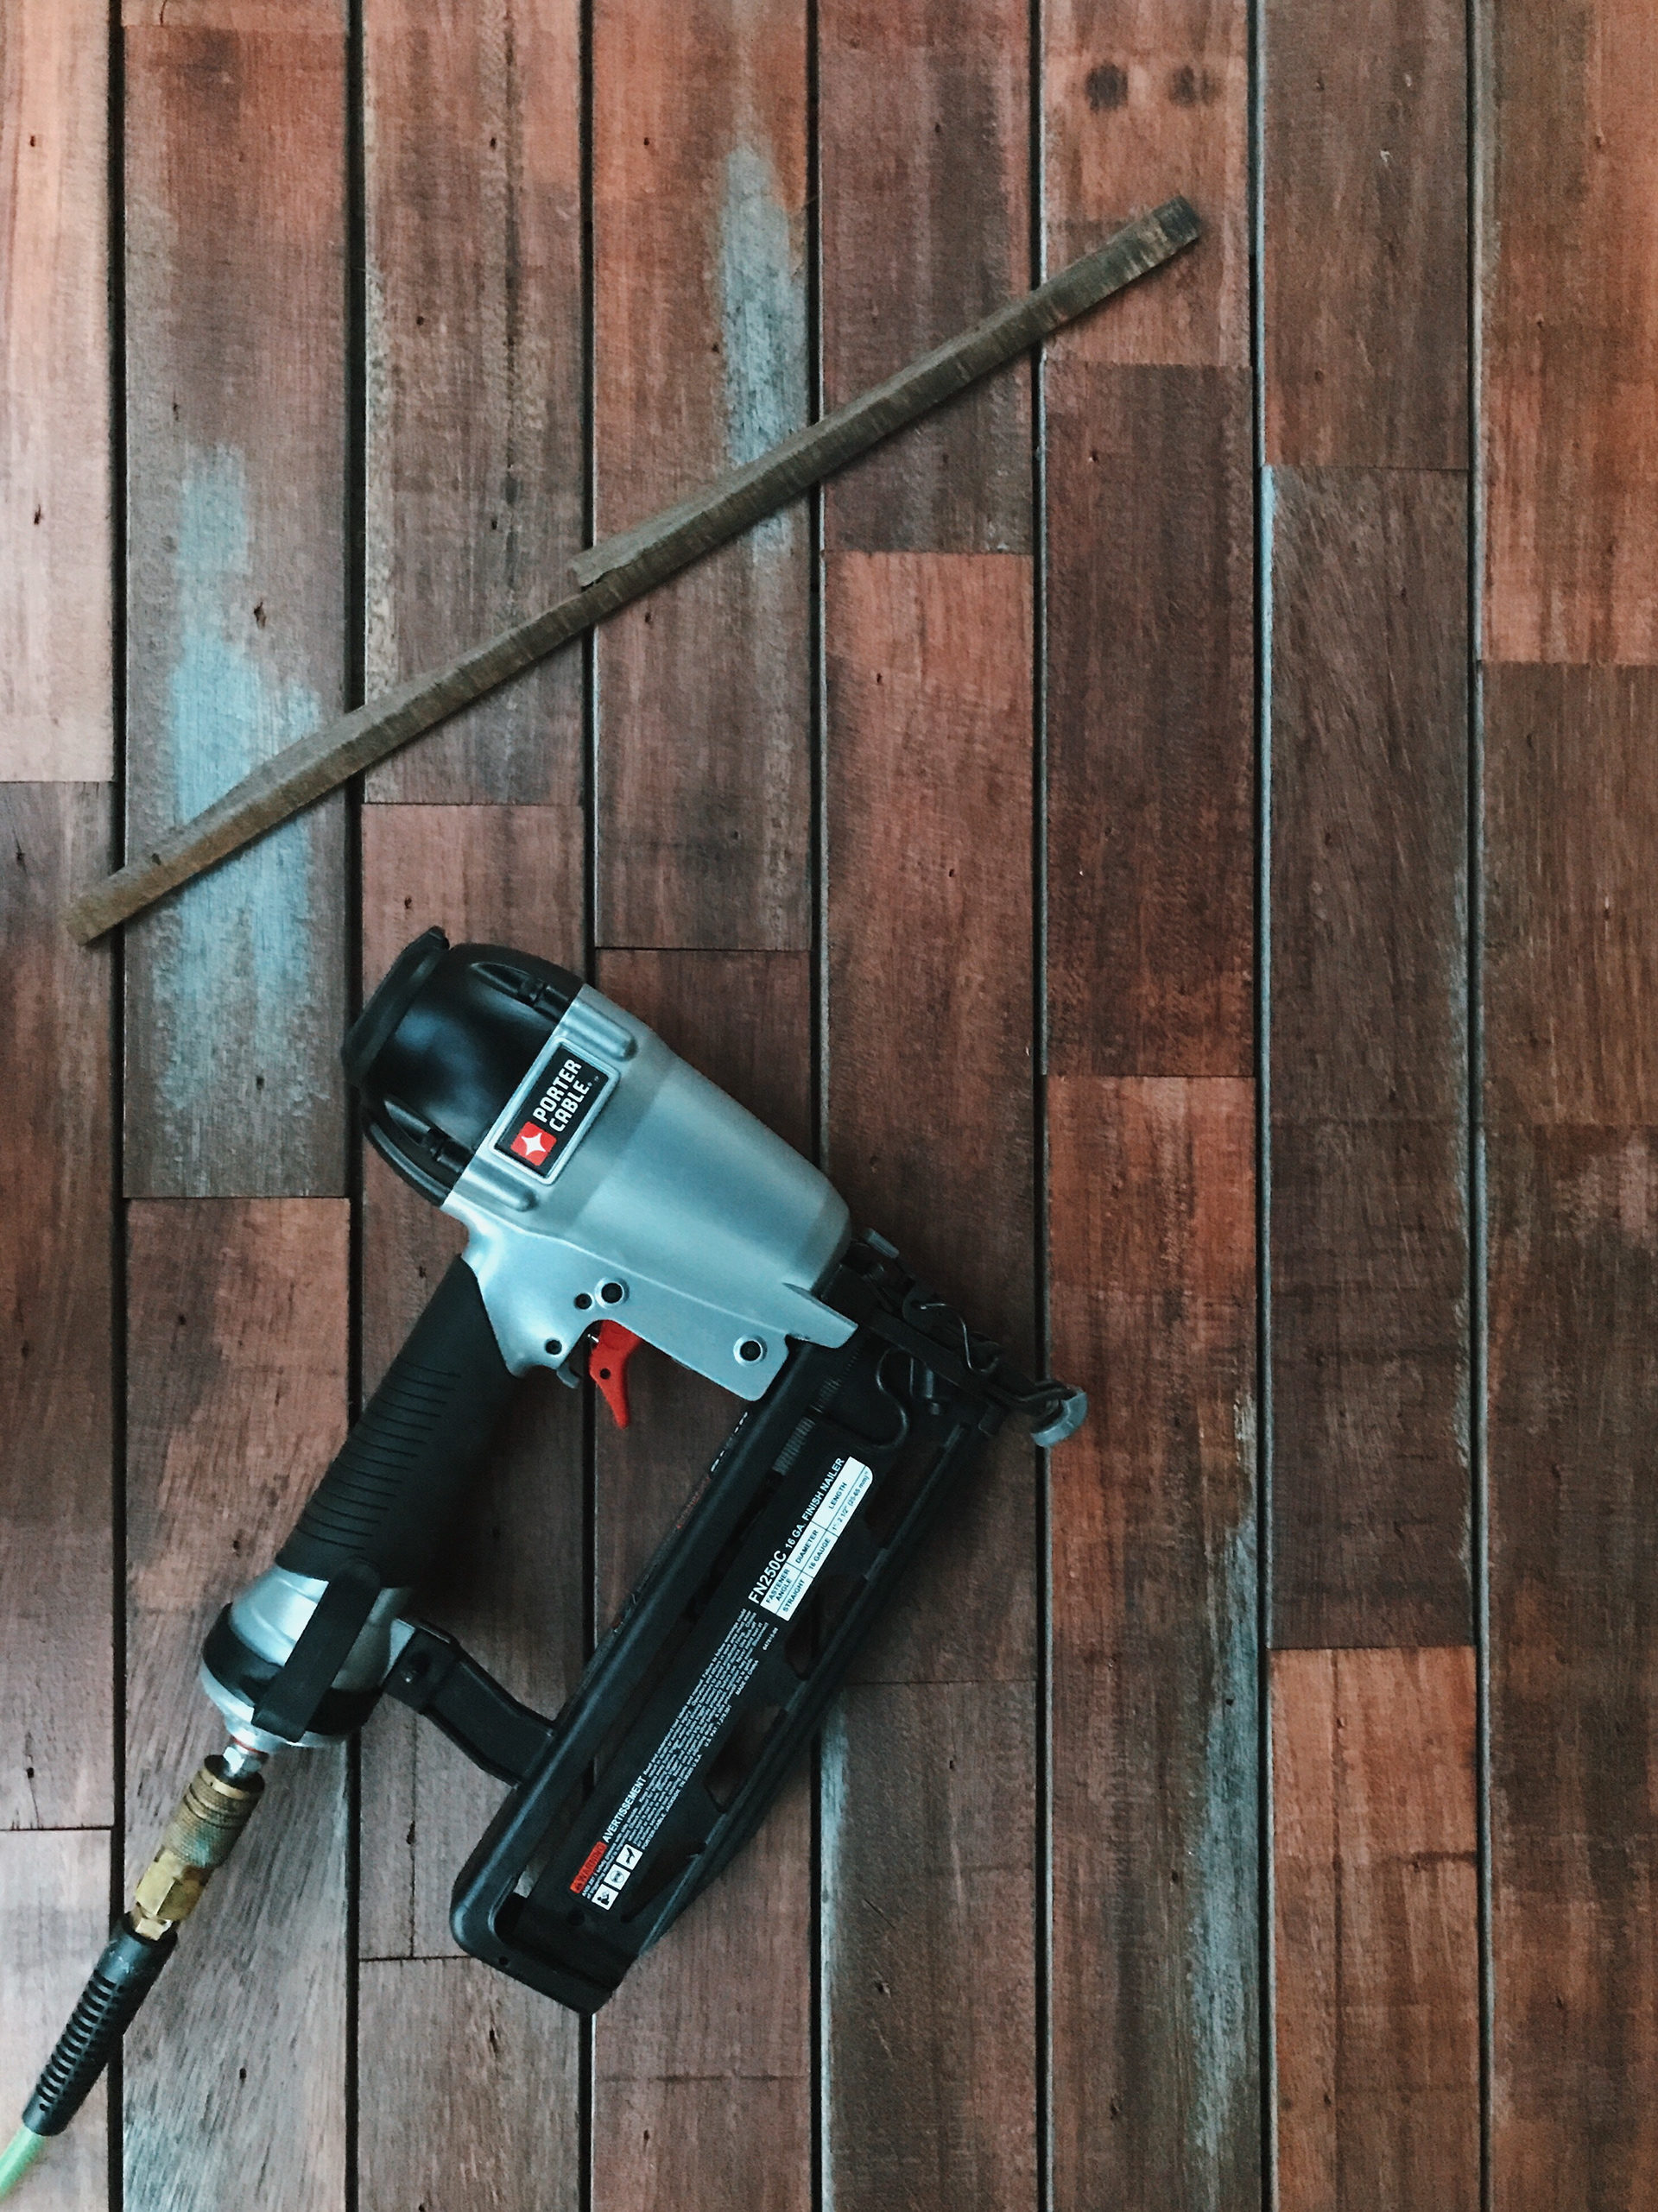
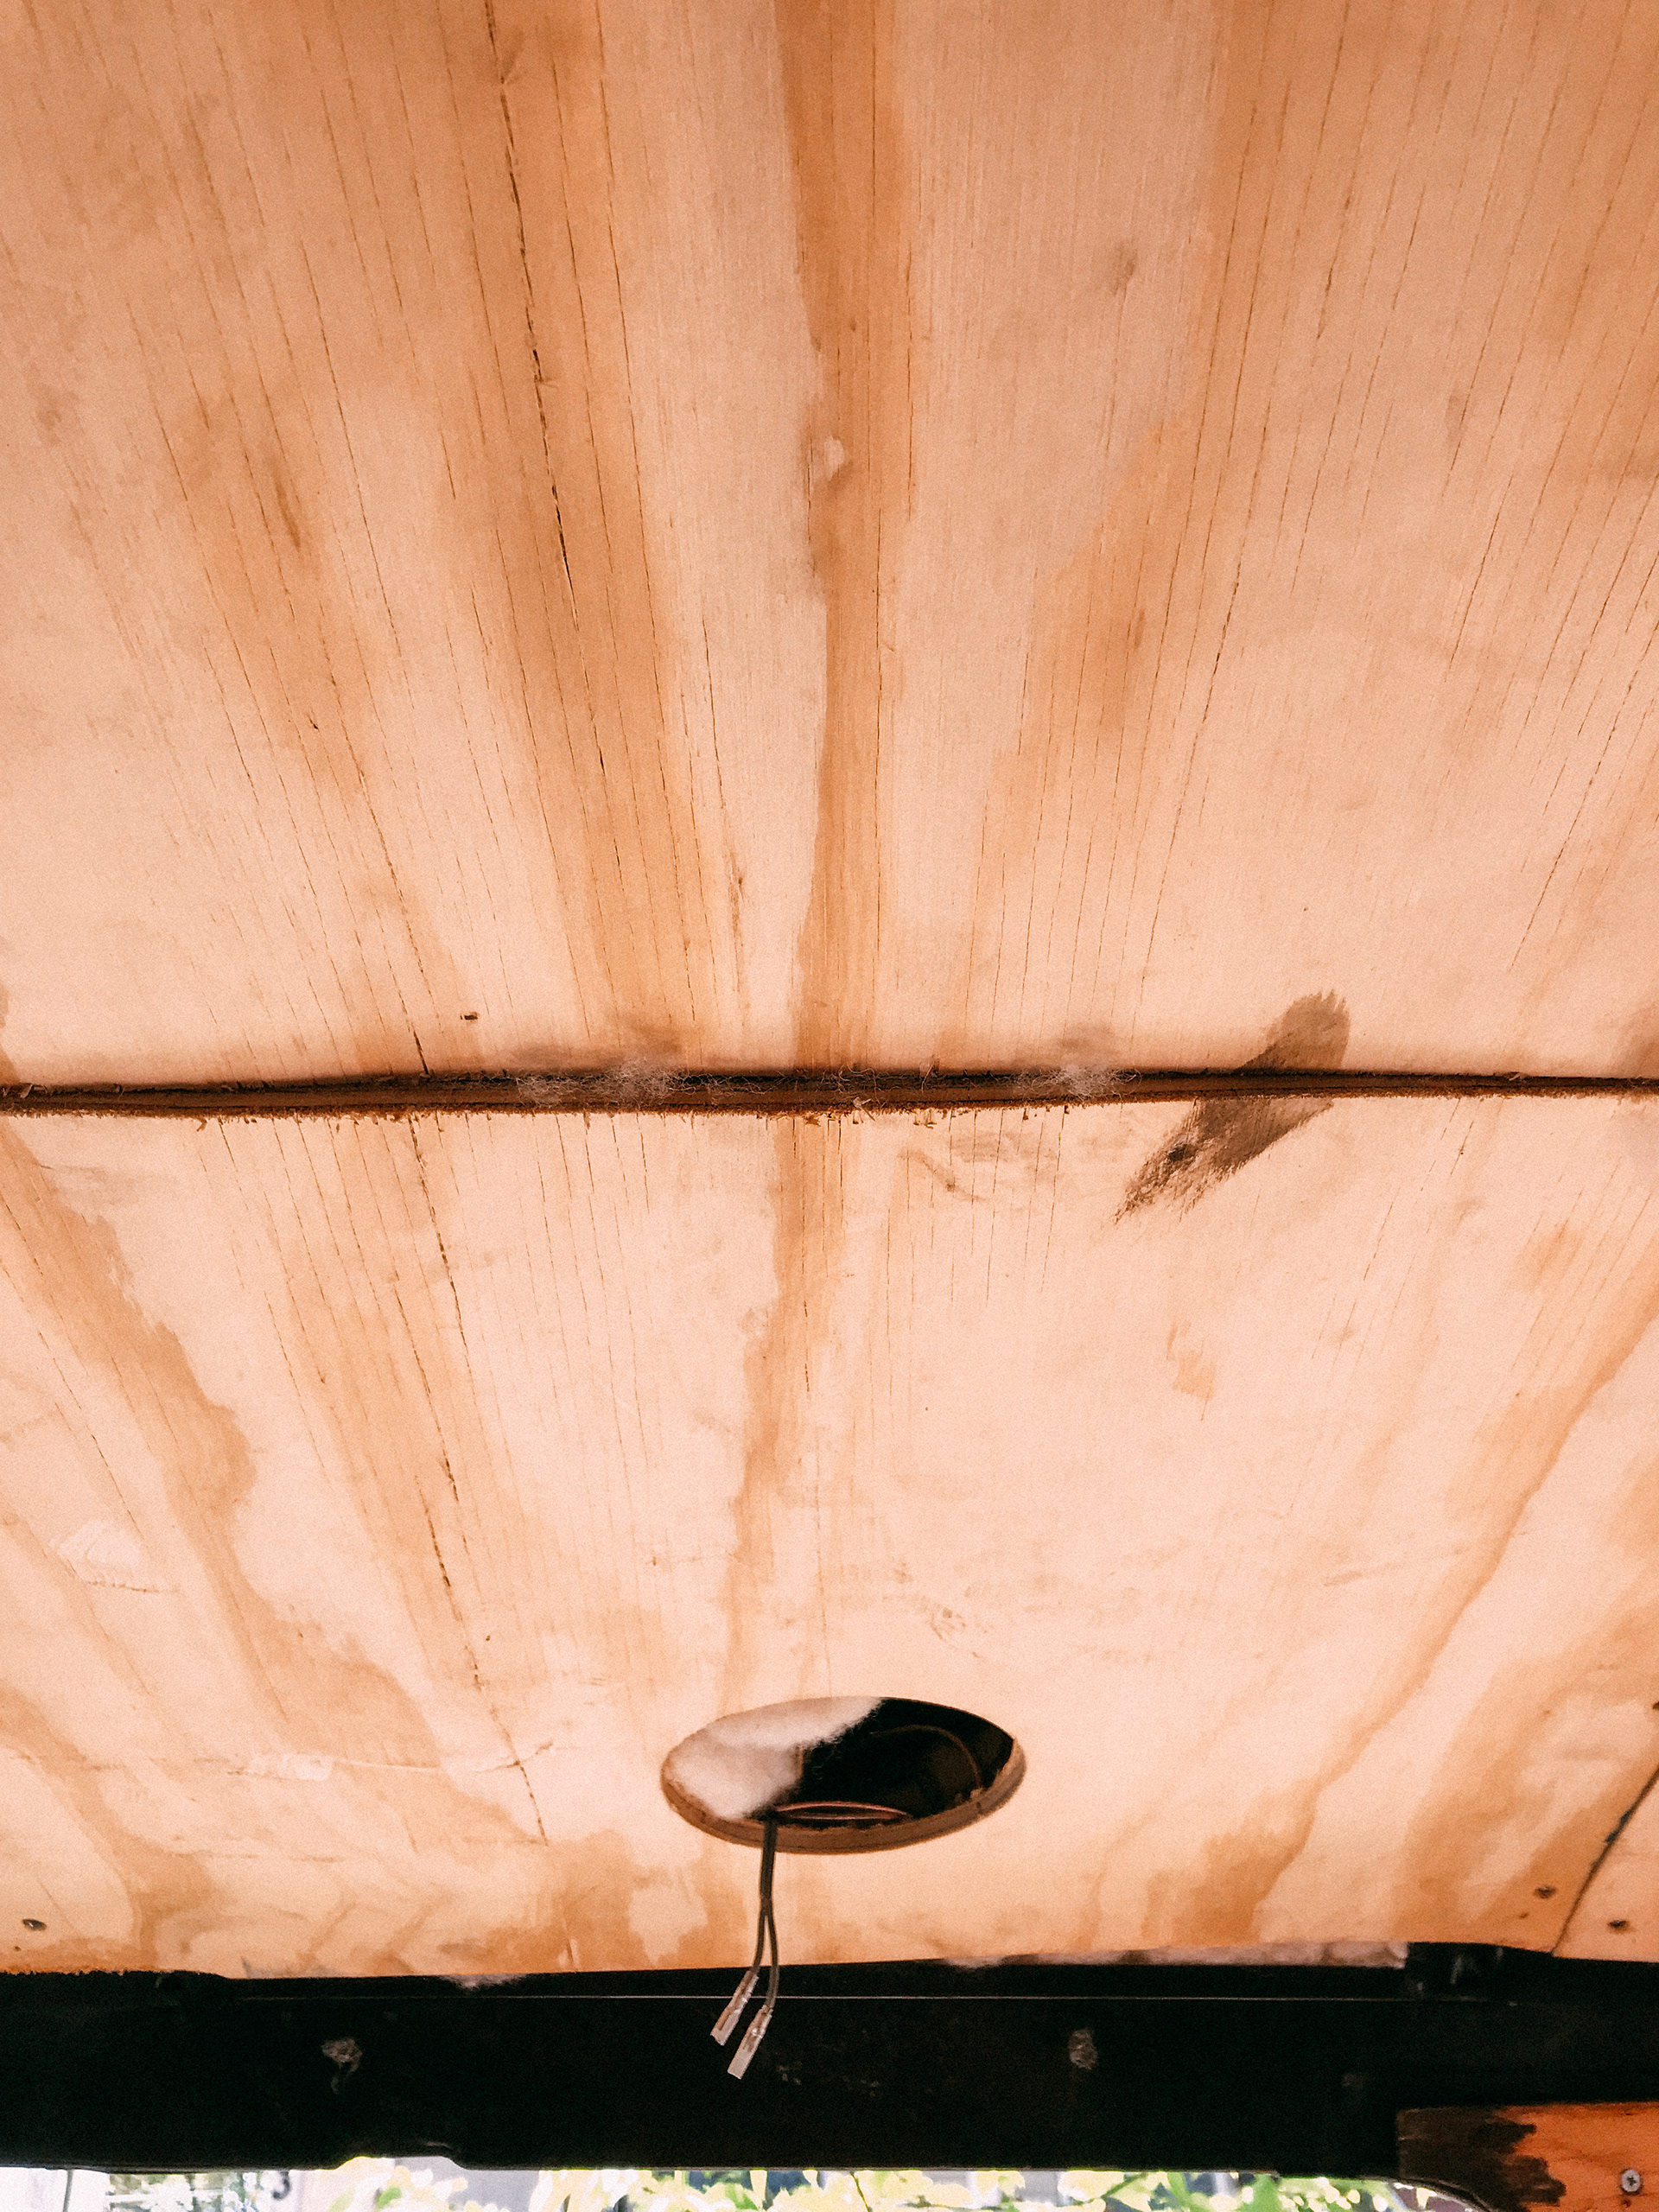
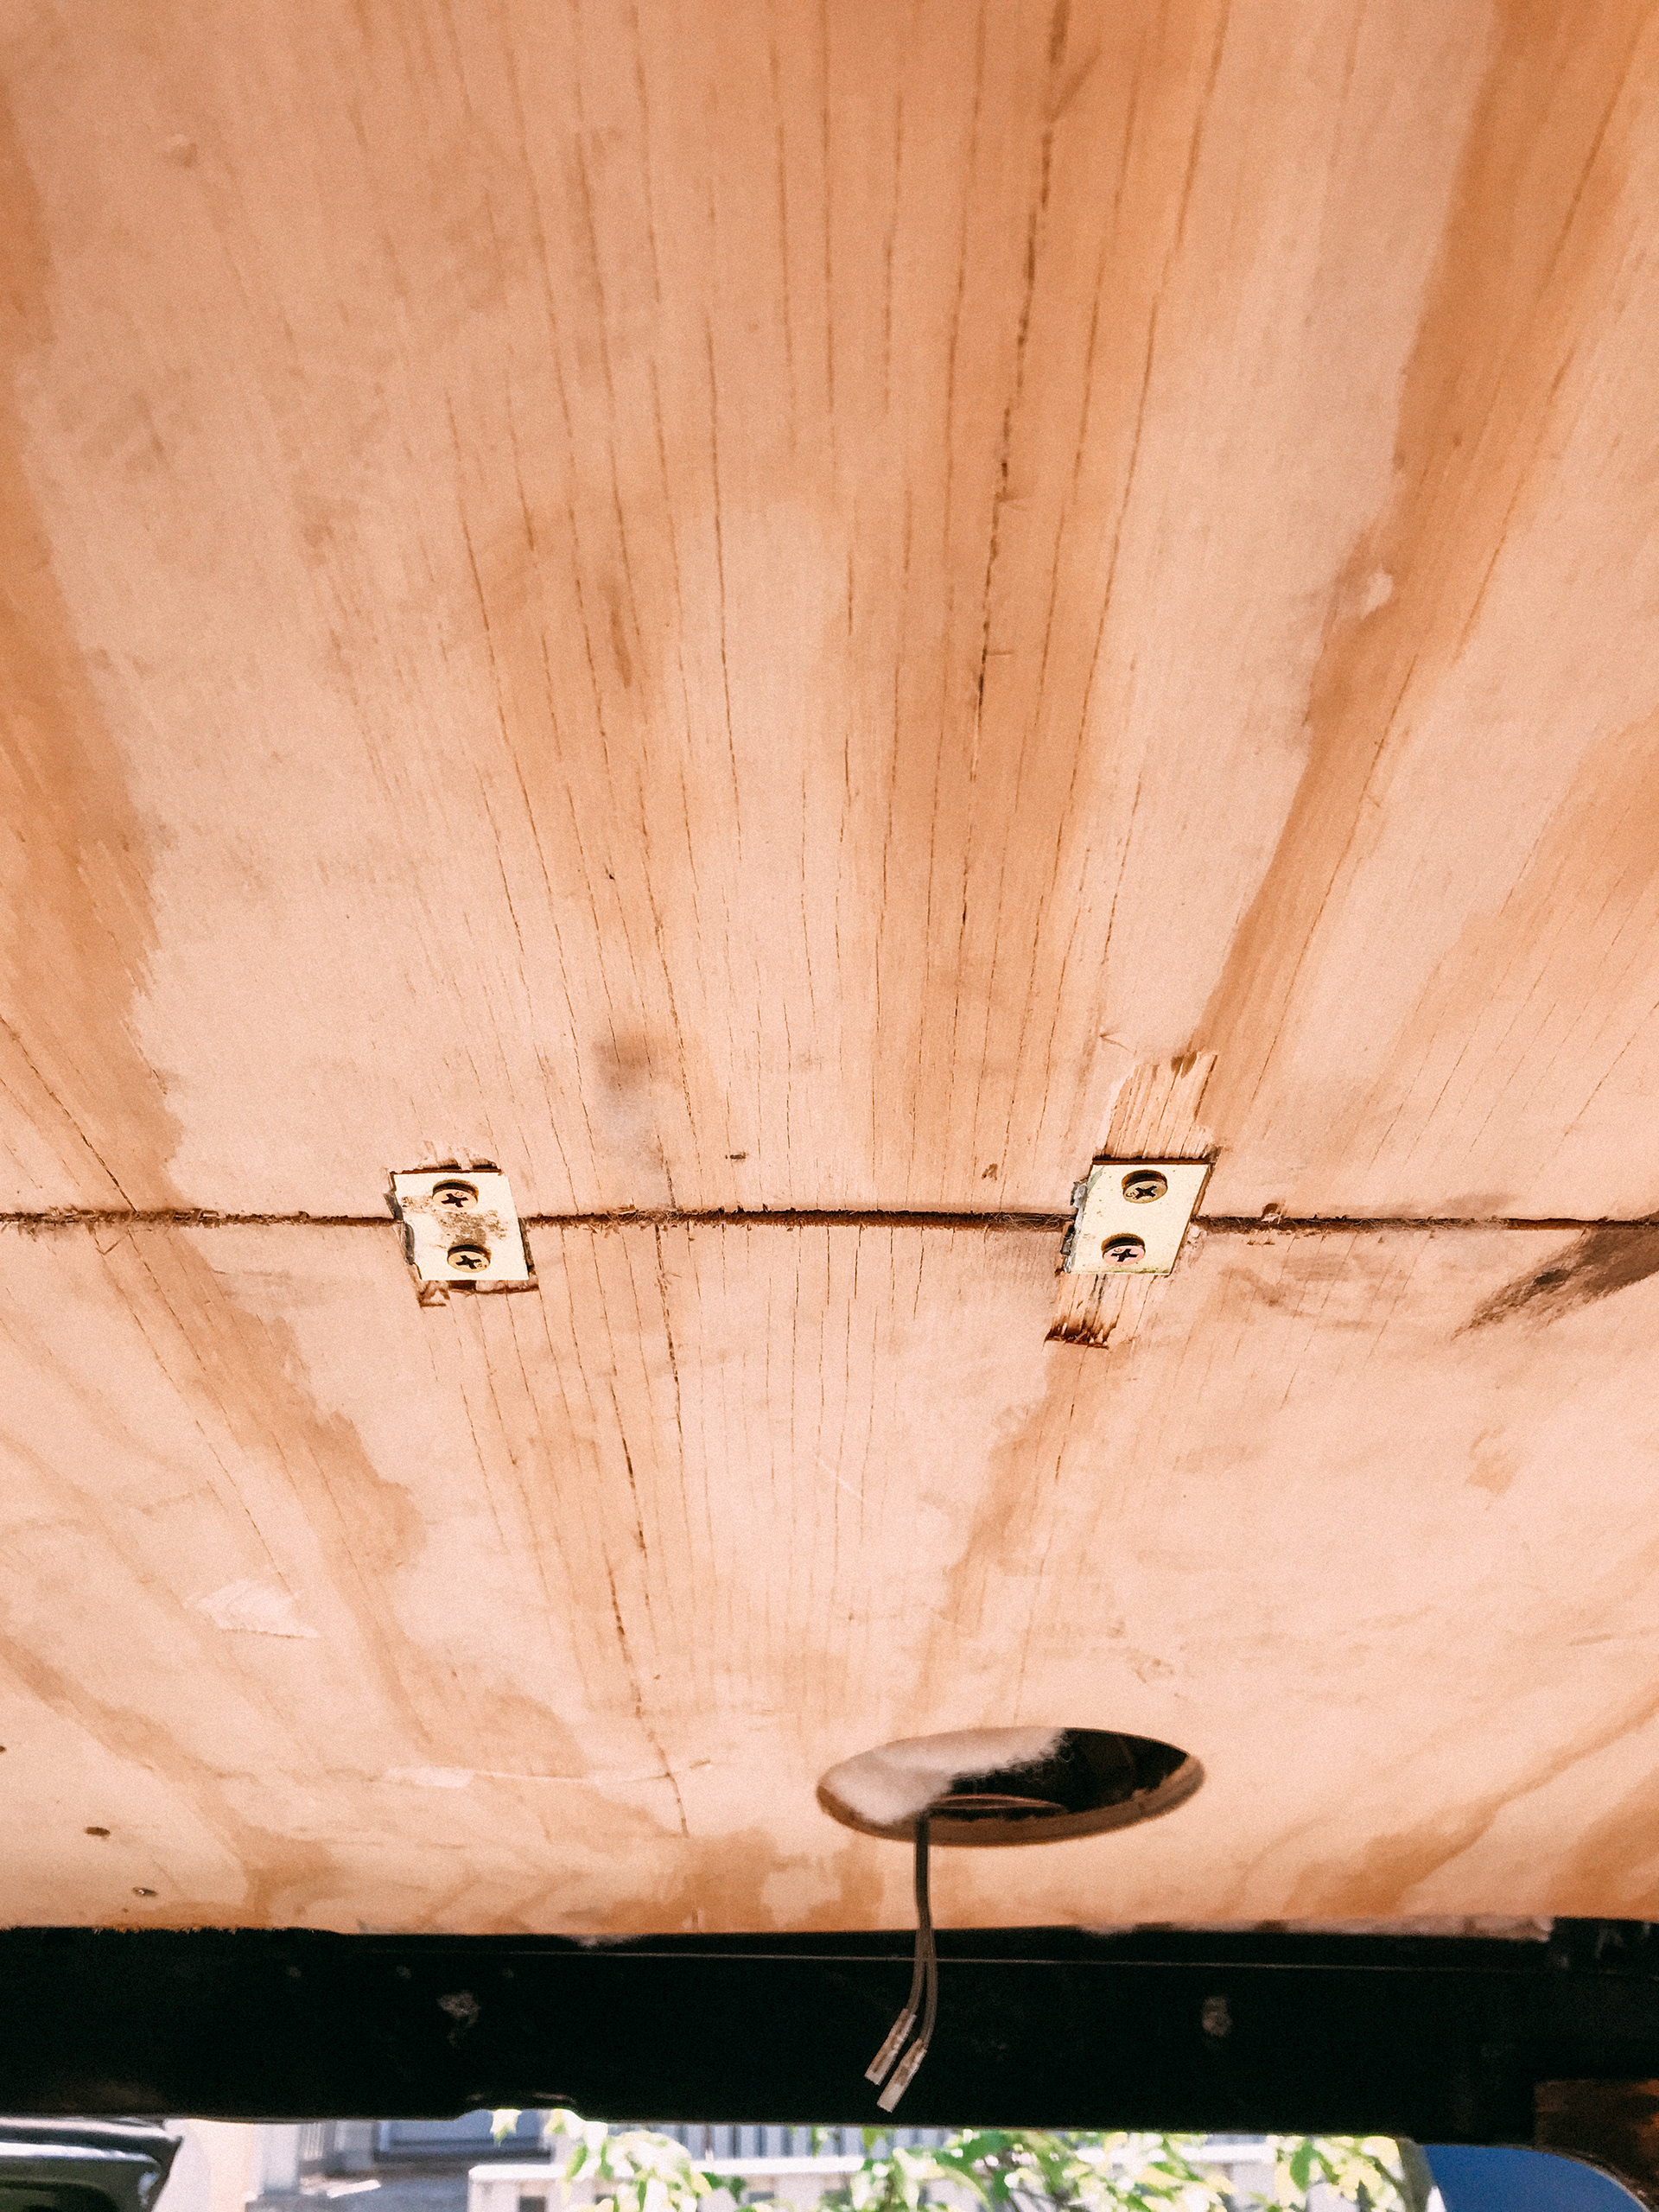
When I got all this wood, it was grey and weathered. Lots of planing or sanding and it has come back to life. It saddens me that cities all over will just throw away quality wood that once gave shelter to massive amounts of wildlife in a jungle somewhere and it got cut down for us to use for some time and then discard like it was never some animals home. It isn't easy working with wood like this but at least it isn't going in a landfill somewhere. For the most part I was lucky enough to use a nail gun for most of the installation for the walls/floor and ceiling but there are some spots where I have to pre drill into steel, wood and then hand screw each screw so that I don't strip or break the head off.